Showing posts with label Video. Show all posts

Sunday, January 31, 2021

Water Stenciling Video Tutorial

Hi everyone! It is the last day of January and I hope you are well! Here we have a lot of snow and it is very cold, but also sunny. I took this winter's most beautiful walk today.

I have a video tutorial to share with you today, for a very quick and easy background technique with Distress Ink, a stencil and water.

Layers of ink - Water Stenciling Video Tutorial by Anna-Karin Evaldsson.

I made a tag, but the technique works for many different types of projects. Lots of fun elements on this tag, and the tiny envelope can be opened. There is a small card inside, which is also a fun idea for cardmaking. You can place an extra sentiment of message inside the envelope.

Let's jump right into the video. You can also find step photos below.


You can also watch the video on YouTube. You'll find the steps below too, including info on the rest of the tag.

Layers of ink - Water Stenciling Video Tutorial by Anna-Karin Evaldsson. Ink with Distress Ink.

Start by inking the tag with Distress Inks.

Layers of ink - Water Stenciling Video Tutorial by Anna-Karin Evaldsson.

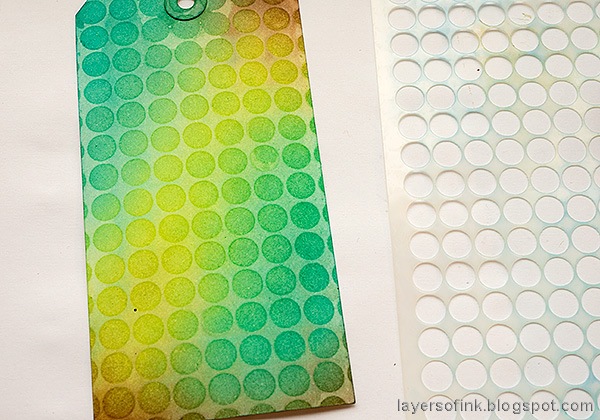
Mist the Simon Says Stamp Bubble Wrap stencil pretty heavily with water and place it on the tag.

Layers of ink - Water Stenciling Video Tutorial by Anna-Karin Evaldsson.

Remove the stencil and you get this ghost effect, where the dots look darker since the stencil removed some of the ink.

Layers of ink - Water Stenciling Video Tutorial by Anna-Karin Evaldsson. Die cut the Simon Says Stamp Mini Interactive Envelope.

Die cut the Simon Says Stamp Mini Interactive Envelope from scrap paper.

Layers of ink - Water Stenciling Video Tutorial by Anna-Karin Evaldsson. Stamp with Simon Says Stamp Mix and Match Circles.

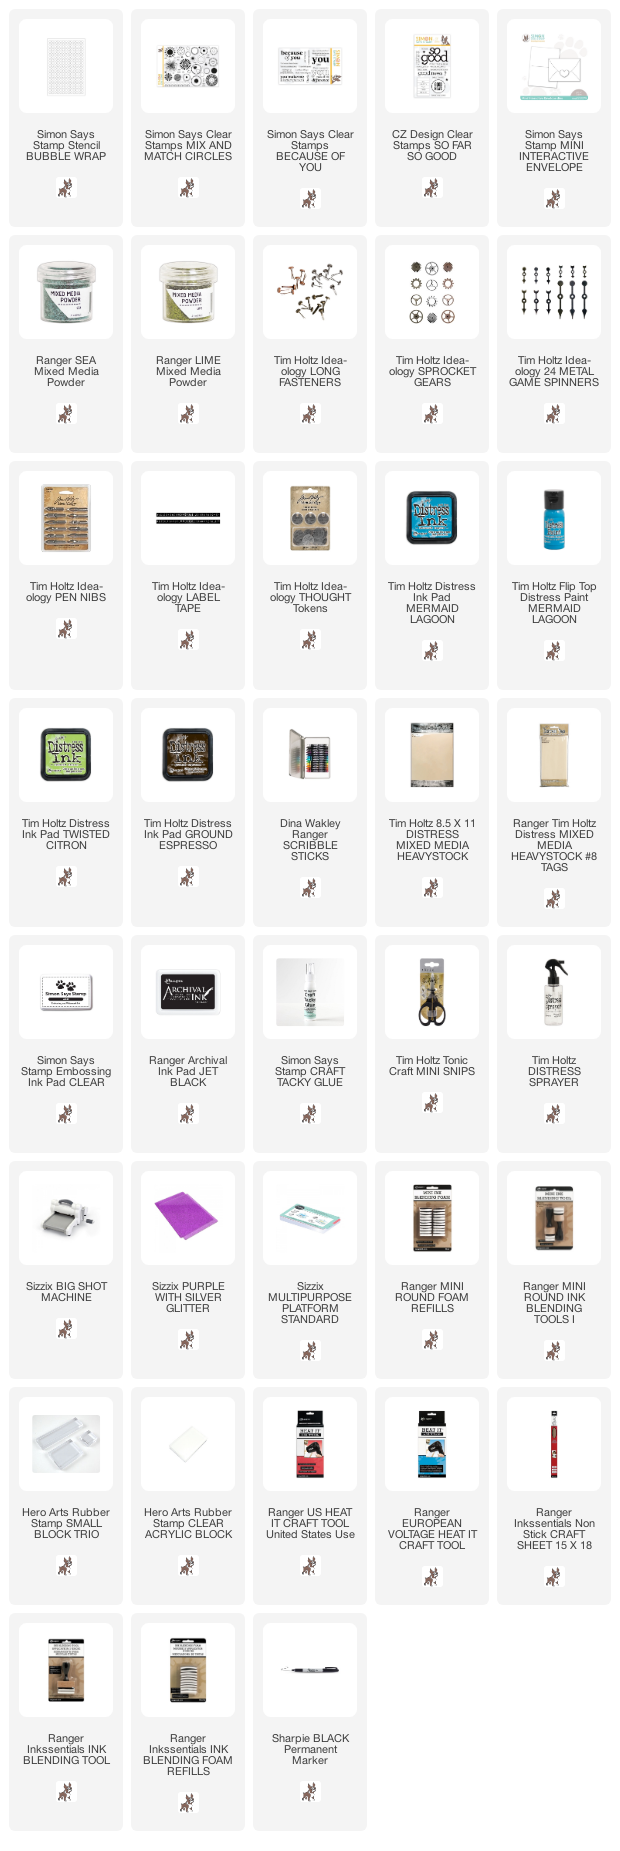
Stamp and emboss circles from Simon Says Stamp Mix and Match Circles. I used Ranger's Mixed Media powders. Always be very careful when heat heat-embossing and never touch the melted powder.

Layers of ink - Water Stenciling Video Tutorial by Anna-Karin Evaldsson.

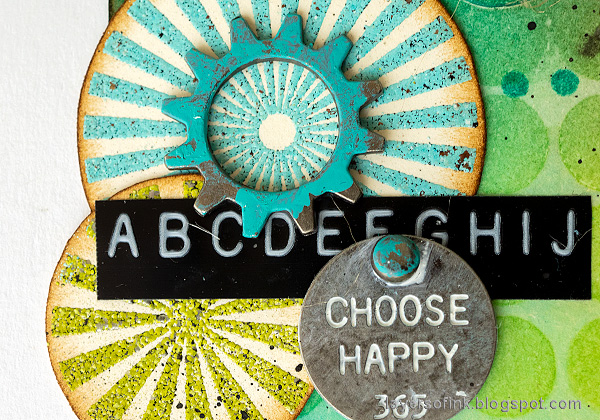
Cut the circles out and ink the edges. I also added some metallic idea-ology embellishments, such as this Thought Token.

Layers of ink - Water Stenciling Video Tutorial by Anna-Karin Evaldsson.

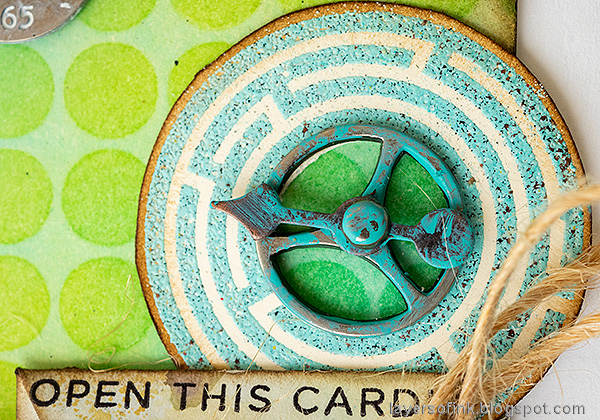
The labyrinth was cut out in the center too and I added a gear and a game spinner to it.

Layers of ink - Water Stenciling Video Tutorial by Anna-Karin Evaldsson.

I also splattered some black Scribble Stick on the background. 

Layers of ink - Water Stenciling Video Tutorial by Anna-Karin Evaldsson.

The tiny envelope was inked and assembled. For another project using the Mini Interactive Envelope die check out my Scrap Paper Envelopes.

Layers of ink - Water Stenciling Video Tutorial by Anna-Karin Evaldsson. Tiny envelope and card.

Inside the envelope is the little card with a stamped sentiment.

Layers of ink - Water Stenciling Video Tutorial by Anna-Karin Evaldsson.

And on the inside of the card I stamped these two sentiments from Because of You.

Layers of ink - Water Stenciling Video Tutorial by Anna-Karin Evaldsson.

Here you can see the effect from the stencil technique a little better. 

Layers of ink - Water Stenciling Video Tutorial by Anna-Karin Evaldsson.

The small dot border comes from Mix and Match Circles and the sentiment is from So Far So Good.

Layers of ink - Water Stenciling Video Tutorial by Anna-Karin Evaldsson.

I colored the tip of the pen nib with a permanent marker and added some paint to the rest of the nib.

Layers of ink - Water Stenciling Video Tutorial by Anna-Karin Evaldsson.

I hope you enjoyed this tutorial! I will see you again tomorrow. 


Thank you so much for taking the time to stop by here today! 

Happy crafting!

Anna-Karin

Supplies:

* Please note: the links are affiliate links, for which I receive a small percentage of sales generated by the link, at no extra cost to you.
Friday, January 1, 2021

Favorite Projects of 2020

Happy New Year! I hope 2021 is going to be a good year, much better than 2020. I meant to post this yesterday, but didn't have time to finish the post. At the end of each year, I look back at all my posts from the year and pick some of my favorite projects. I am not good at picking favorites, since I like almost all projects, for different reasons. 

I enjoy looking back at my projects from the year and it gives a sense of perspective. It is easy to feel that the time has flown by, but when I look at the projects I did at the beginning of the year, it still feels pretty long ago. This year, that is even more the case, because there is very clear line when it became clear that Covid-19 would be a very serious thing.

A big thank you to everyone who takes the time to look at my projects, posts comments here and on my social media channels and click on affiliate links. I really appreciate it and I hope that my projects inspire creativity and art making. 

Click on the photo or the ink to find the tutorial.

Layers of ink - Watercolor Winter Scene by Anna-Karin Evaldsson.

I really enjoyed stamping and painting this winter scene. I wish I could go on a holiday to that little house.

Layers of ink - Rusty Heart Tutorial by Anna-Karin Evaldsson.

I like the dimension and textures of this Rusty Heart Tag.

Layers of ink - Peony Mixed Media Canvas Tutorial by Anna-Karin Evaldsson.

This Peony Mixed Media 6 x 6 in canvas was one of my projects from February. It's got a fun mix of textures.

Layers of ink - Mixed Media Patchwork Bird Tutorial by Anna-Karin Evaldsson.

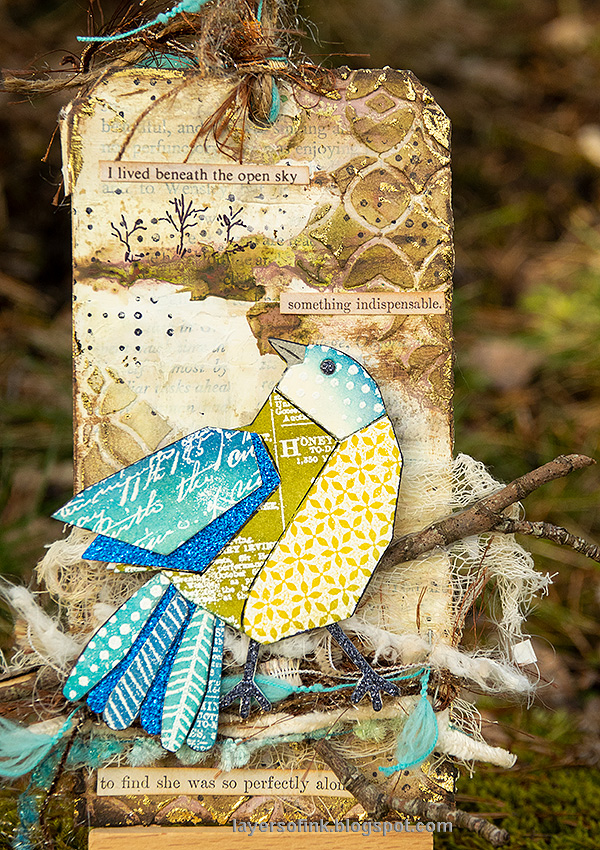
As you probably know, I love birds and this stamped Patchwork Bird tag was such fun to make.

Layers of ink - Hearts Mixed Media Scrapbooking Tutorial by Anna-Karin Evaldsson.

We have come to the end of March, and the Covid-pandemic is starting to be visible in some of my projects, such as this mixed media layout, using an older photo of my dad and the boys. 

Layers of ink - Vintage Notebook Tutorial by Anna-Karin Evaldsson.

I have made quite a few sketchbooks and journals this year and I enjoy either giving them away or using them myself. This is a Vintage Nature Journal.

Layers of ink - Colorful Flowers Tutorial by Anna-Karin Evaldsson.

I really enjoyed the techniques on these two tags: Watercolor Floral on Black Background and Flowers on White Background.  

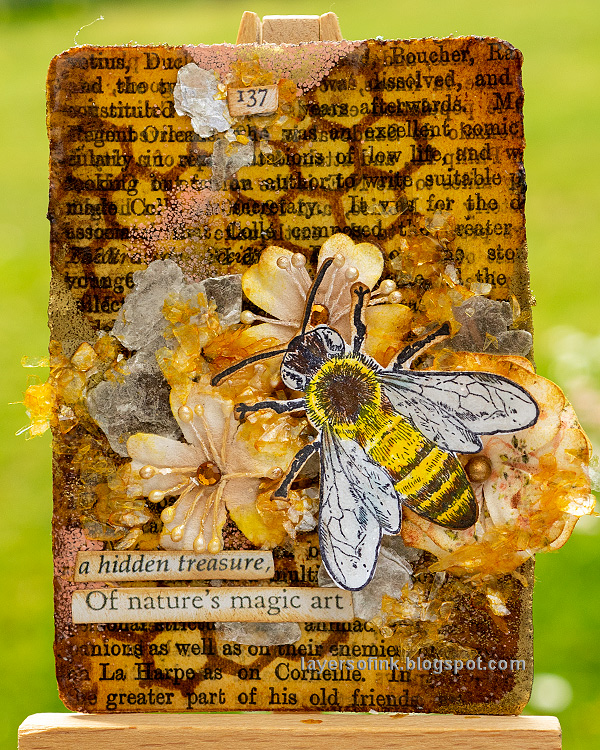
Layers of ink - Honeybee Artist Trading Card Tutorial by Anna-Karin Evaldsson.

I like the mix of words, embossing powder and mica flakes on this Honeybee Artist Trading Card and I also picked it since I have just finished editing two videos for my sister's honeybee business.

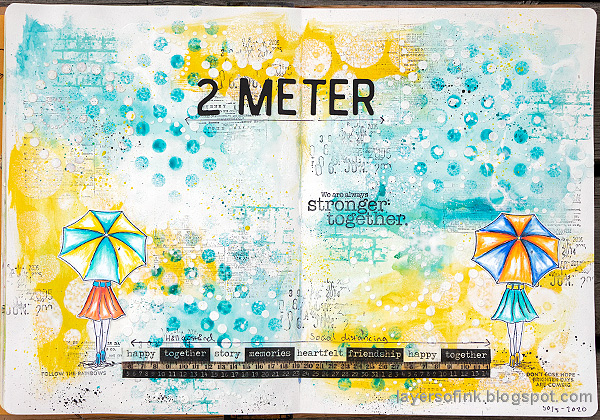
Layers of ink - Two Metres Apart by Anna-Karin Evaldsson.

Covid is especially visible in my art journals, such as with this 2 Metres Apart page. And who would have thought I'd make an art journal page about toilet paper

Layers of ink - Magical Gnome Forest Tutorial by Anna-Karin Evaldsson.

I had such fun making this Magical Gnome Forest tag, from the glitter dots in the background, to the mushrooms and the small shrink plastic gnomes.

Layers of ink - Thoughtful Flowers Art Journal Page by Anna-Karin Evaldsson.

One of the absolute highlights of this year was designing stamps for Simon Says Stamp and this art journal page was my first project with my first set, Thoughtful Flowers

Layers of ink - Colored Pencil Flowers on vintage paper by Anna-Karin Evaldsson.

These three Wildflowers No-line Stamping and Coloring cards were made with the same stamp set. I have used my colored pencils a lot this year.

Layers of ink - Speckled Egg Vintage Tag tutorial by Anna-Karin Evaldsson.

One fun thing this year has been the release of the new Tim Holtz Ranger Distress colors and I have enjoyed making a tag with each new color as it arrived. This is the Speckled Egg tag. I also made tags with Crackling Campfire and Rustic Wilderness.

Layers of ink - Distress Ink Blocks Card by Anna-Karin Evaldsson.

I really like using scraps and this Distress Ink Blocks card was one of those projects. 

Layers of ink - Colored Pencil flowers on tinted background by Anna-Karin Evaldsson.

This Happy art journal page is another colored pencil project. Using colored pencils on an inky or watercolor background is a really fun technique.

Layers of ink - Double Embossing Video Tutorial by Anna-Karin Evaldsson.

I also made some video tutorials, even though I would have liked to have done more. This Double Embossing project was lots of fun to do and I really like the look of the background.

Layers of ink - Colorful Floral Art Journal Page by Anna-Karin Evaldsson.

And now for some color on this Colorful Floral art journal page, colored with Scribble Sticks.

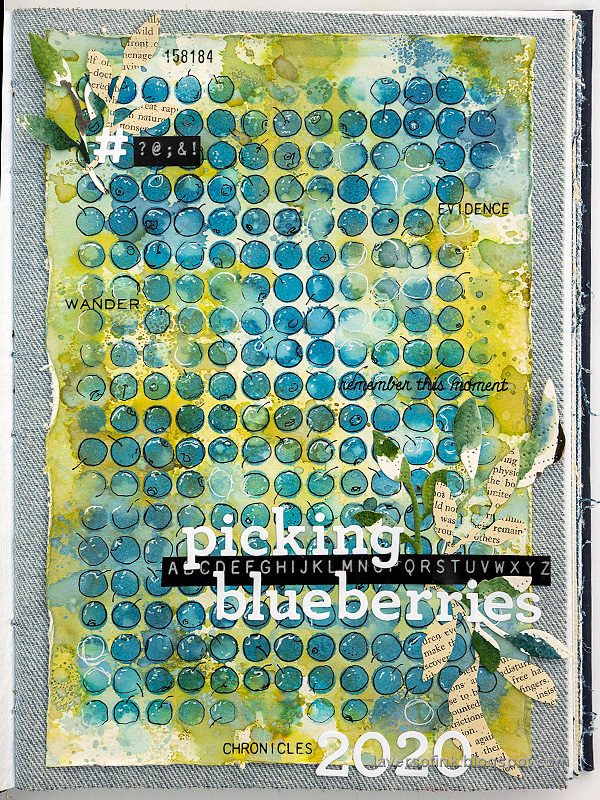
Layers of ink - Blueberries Art Journal Page by Anna-Karin Evaldsson.

One of the highlights of my summer was picking lots and lots of blueberries in the forest. We still have a quite a few bags left in the freezer and I often add them to my cereal bowl in the morning. It is like eating a little bit of sunshine. This Blueberries with Ink and Pencil page was inspired by all that blueberry picking.

Layers of ink - Watercolor and cling wrap technique by Anna-Karin Evaldsson.

For these cards I enjoyed revisiting a favorite technique, creating texture with watercolors and cling wrap.

Layers of ink - Wax Paper Resist Video Tutorial by Anna-Karin Evaldsson.

These two cards were also done for my Wax Paper Resist video tutorial, another really fun texture technique with watercolors and embossing folders.

Layers of ink - Dry Embossing Tutorial by Anna-Karin Evaldsson.

One of my favorite autumn projects this year was my Mushroom Tag, with a lovely glittery dry embossed background.

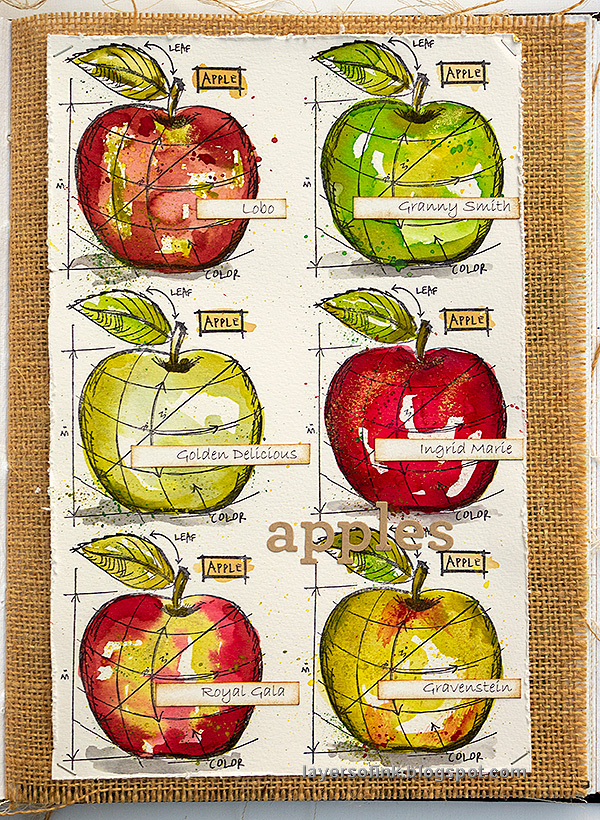
Layers of ink - Watercolor Apples Tutorial by Anna-Karin Evaldsson.

Another project I really enjoyed doing was this Watercolor Apples art journal page. I love apples and it was fun looking at reference photos and trying to get the colors of each kind of apple right.

Layers of ink - Watercolor Cardinal Tag Tutorial by Anna-Karin Evaldsson.

I love to do projects with a transparent, yet colorful background, such as this one for my Cardinal tag.

Layers of ink - Honeycomb Patchwork Tutorial by Anna-Karin Evaldsson.

It seems that I have enjoyed using the fabric pages in my Dina Wakley Media Journals a lot this year. This Honeycomb Patchwork is also another project using a lot of scrap papers and many small sentiment stamps.

Layers of ink - December Daily Journal Tutorial by Anna-Karin Evaldsson.

My December Journal usually makes it onto this list. Now it is filled with memories from December 2020. 

I added too many projects here! As usual. I am really bad at picking favorites - favorite book, favorite movie, favorite color (all of them!).

Thank you so much for all your support and comments through the past year! Now let's head into 2021 with hope for a better year. 


Happy crafting!

Anna-Karin

* Please note: the links are affiliate links, for which I receive a small percentage of sales generated by the link, at no extra cost to you.

Saturday, August 29, 2020

Double Embossing Video Tutorial

Hello stampers! Today I have a fun tutorial for you, for a double embossed textured background. It is both a stepped tutorial and a video tutorial.

Layers of ink - Double Embossing Video Tutorial by Anna-Karin Evaldsson.


I made a card with this fun double embossed background. The background almost has a 3-D effect, and lots of texture. It is an unpredictable technique and you never know exactly what you will get, which is fun, since you might get a surprise. I used Simon Says Stamp stamps and dies in combination with Ranger embossing powders and Distress Ink. Since I didn't mean for this to be a tutorial as I was only testing something, I didn't take step photos from the start, which is why I decided to do a video instead. Let's start with the video.


Click here to watch it in HD.

Layers of ink - Double Embossing Video Tutorial by Anna-Karin Evaldsson.

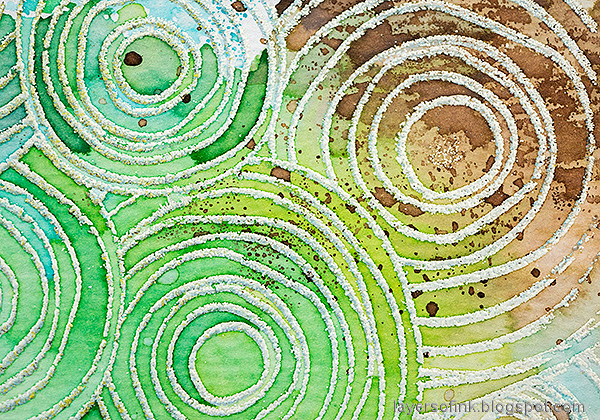
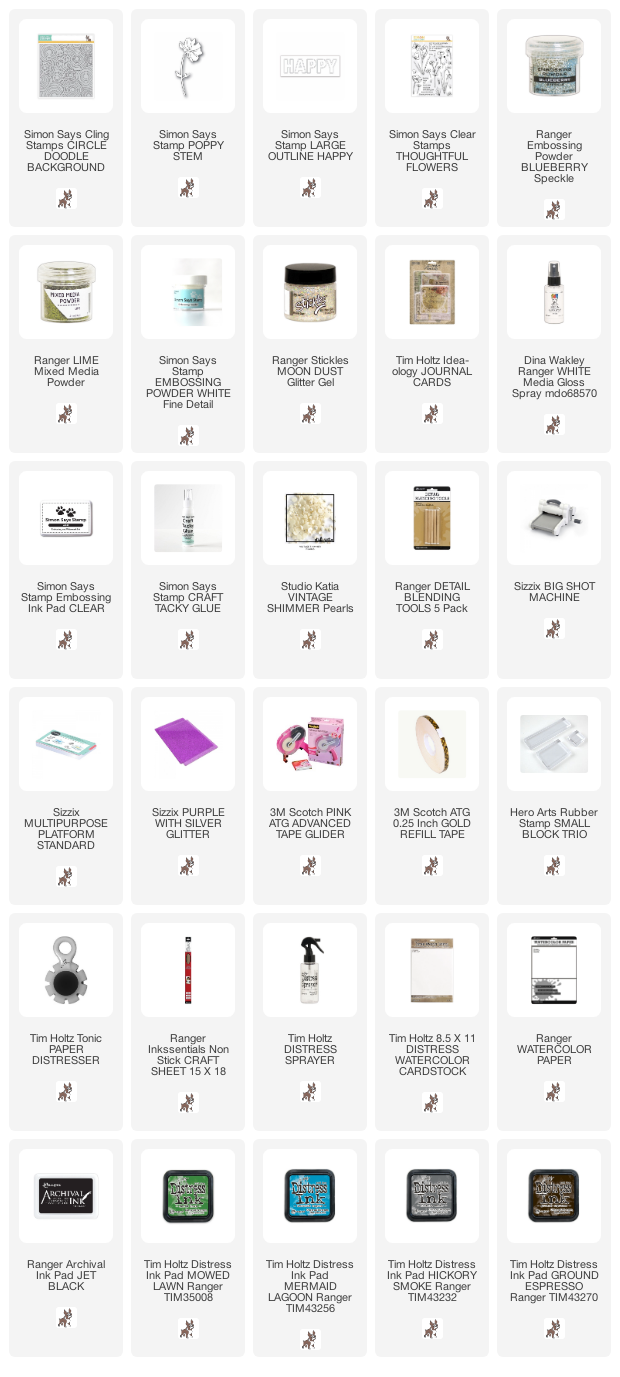
For the background, I used the Simon Says Stamp Doodle Circles Background stamp. The powders are: Blueberry Speckle, Lime Mixed Media and SSS White. As you could see in the video, I lined up the stamps too perfectly for that background, so although it is still very cool, I did like my first background a little better. I didn't have time to redo the video and thought it wasn't necessary. In my first background, the white embossing is not lined up as well with the colored embossing, so you get more of a shadow effect. 

Layers of ink - Double Embossing Video Tutorial by Anna-Karin Evaldsson.

I also splattered some white gloss spray on the background.

Layers of ink - Double Embossing Video Tutorial by Anna-Karin Evaldsson. Die cut Simon Says Stamp Large Outline Happy die.

The SSS Large Outline Happy die comes from the Let's Connect release and was die cut from one of Tim Holtz Journal Cards and from watercolor paper that had been colored with brown shades of Distress Ink.

Layers of ink - Double Embossing Video Tutorial by Anna-Karin Evaldsson. Moon Dust Stickles.

I decided that I wanted some glitter and smeared Moon Dust Stickles over the letters.

Layers of ink - Double Embossing Video Tutorial by Anna-Karin Evaldsson. Simon Says Stamp Poppy Stem.

Die cut the Poppy Stem from old book paper. If the old book paper is too thin (mine was), glue it to a piece of cardstock before die cutting.

Layers of ink - Double Embossing Video Tutorial by Anna-Karin Evaldsson.

Ink them slightly with a Detail Blending Tool.

Layers of ink - Double Embossing Video Tutorial by Anna-Karin Evaldsson.

I also added a pearl to the center of the flowers.

Layers of ink - Double Embossing Video Tutorial by Anna-Karin Evaldsson.

Here are some close-ups of the texture and double embossing.

Layers of ink - Double Embossing Video Tutorial by Anna-Karin Evaldsson.

The white and colored embossing powder looks nice together with the shades of Distress Ink.

Layers of ink - Double Embossing Video Tutorial by Anna-Karin Evaldsson.

Another look at the circles.

Layers of ink - Double Embossing Video Tutorial by Anna-Karin Evaldsson.

I stapled two pieces of twine to the base of the card.

Layers of ink - Double Embossing Video Tutorial by Anna-Karin Evaldsson.

This is the sheet that I made in the video. I only added one layer of inking to this one, so that you can see the difference. It gives a cleaner and less distressed look.

Layers of ink - Double Embossing Video Tutorial by Anna-Karin Evaldsson.

Both of them together. I like both, but the one to the left has a more subtle overlapping effect.

Layers of ink - Double Embossing Video Tutorial by Anna-Karin Evaldsson.

Since the lines were stamped so close together, the white powder melted together with the green and the blue powder, which also created a nice effect.

Layers of ink - Double Embossing Video Tutorial by Anna-Karin Evaldsson.

Here the circles line up almost completely. I have no idea how I managed to do that without a stamp positioner. I didn't even try to line them up!

Layers of ink - Double Embossing Video Tutorial by Anna-Karin Evaldsson.

The Stickles gives a great look to the die cut letters. The small sentiment was stamped with Thoughtful Flowers. For more inspiration using the Large Outline Happy die, check out my Happy Textured Background (also with a video) and Happy Art Journal page.


Thank you so much for taking the time to visit my blog today! I will be back on Monday with a project using background you saw in the video.

Happy crafting!

Anna-Karin

Supplies:

* Please note: the links are affiliate links, for which I receive a small percentage of sales generated by the link, at no extra cost to you.