Hi friends! I hope you are well and had a good weekend! Today I have a tag to share with lots and lots of sunny yellow.
Please note: this post has affiliate links, for which I receive a small percentage of sales generated by the link, at no extra cost to you.


Start by dry embossing a tag in Tim Holtz new Vault Flourish ML folder. ML stands for multi-level. I applied embossing ink to some of the embossed parts and sprinkled with white embossing powder. The goal is not a perfect look, but a messy, shabby chic look.

Ink the tag with Distress Ink. The white embossing will resist the ink.

Smear Mustard Seed Distress Oxide on a non-stick craft sheet and mist with water. Press the tag lightly into the ink.

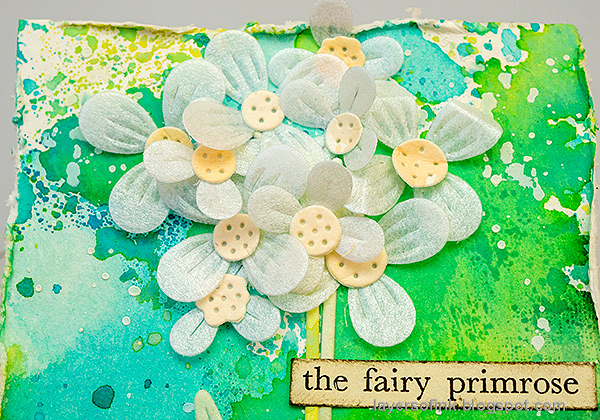
Die cut flowers using Simon Says Stamp Rustic Layering Flower and Morning Blossom. I used inky or watercolored paper in various shades of yellow, as well as Simon Says Stamp Ice Vellum.

I also die cut some Simon Says Stamp Poised Primula flowers, from left-over inky paper and from Simon Says Stamp Color-Blend paper. The Color-Blend paper is glossy.

Shape the flowers with Tim Holtz Shaping Kit.

Assemble the flowers and shape the small flowers too.

I wasn't careful at all when applying the embossing ink, since this is the look I was aiming for.

The sentiments were stamped with Simon Says Stamp Create set and die cut with the coordinating dies.

I added Simon Says Stamp Pawsitively Dazzling Sunbeam Gems to the small flower centers and Prism Gems to the larger flowers.

The Ice Vellum has a really cool sparkly look.

I glued cheese cloth under the flowers.

The Poised Primula flowers are so cute and such a great size.

Here, you can better see that the yellow small flowers are glossy. Mixing different surfaces adds interest.
Join us this week in our Monochrome challenge! You have a chance to win a $25 gift voucher to do some fun shopping at Simon Says Stamp. You have until Monday 8am Ohio time. 1pm UK time, 2 pm CET to join in.
%20(1).jpg)
Do you use Instagram? If so please add #sssmchallenge so we can see your entries there too.


Thank you so much for visiting today!
Happy crafting!
Anna-Karin
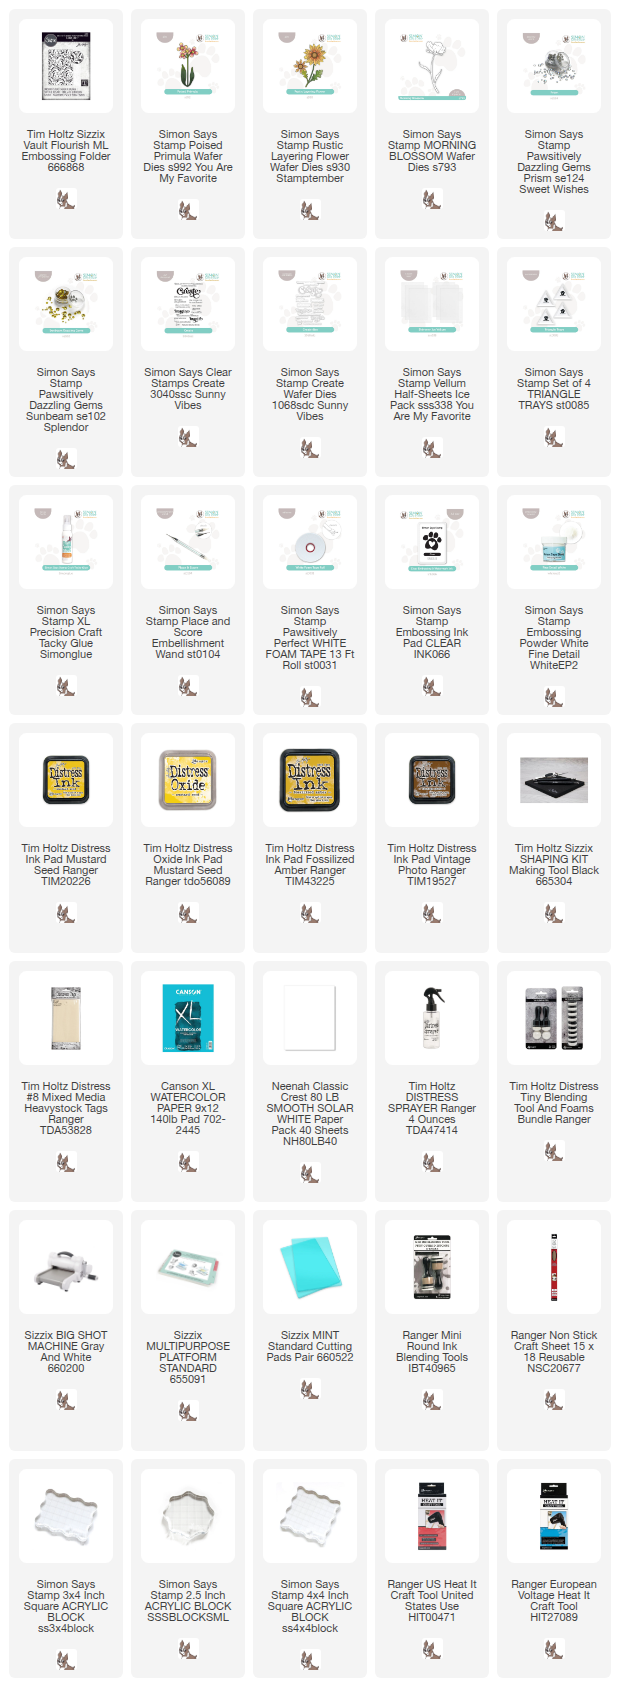
Supplies:
* Please note: the links are affiliate links, for which I receive a small percentage of sales generated by the link, at no extra cost to you.
* Please note: the links are affiliate links, for which I receive a small percentage of sales generated by the link, at no extra cost to you.