Hello friends! I hope you are well! The sun is shining and we have a new challenge for you at the Simon Says Stamp Monday Challenge blog. Our theme this week is Let's Art Journal.
Please note: this post has affiliate links, for which I receive a small percentage of sales generated by the link, at no extra cost to you.


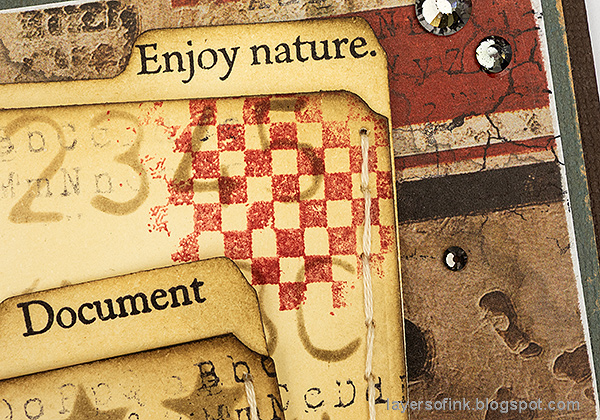
Stamp here and there with Simon Says Stamp Old Letter.

Add Stickles glitter glue to the stenciled area, using your finger.

Stamp Tim Holtz French Garden flowers on watercolor paper.

Paint with watercolors. Drop in darker shades before the first layer dries completely.

Die cut with Simon Says Stamp coordinating French Garden dies.

I also die cut Simon Says Stamp Stitching Butterflies from paper that had already been painted.

Add a few postage stickers from Tim Holtz Postmarked and numbers from his Clippings Stickers.

Don't worry about perfection when watercoloring.

I also added Tim's Design Tape Trims and sentiment stickers.

I found some strips of Tim Holtz Backdrops papers on my desk and added them to the page, together with Design Tape.

Join us this week in our Let's Art Journal challenge! You have a chance to win a $25 gift voucher to do some fun shopping at Simon Says Stamp. You have until Monday 8am Ohio time. 1pm UK time, 2 pm CET to join in.

%20(1).jpg)
Do you use Instagram? If so please add #sssmchallenge so we can see your entries there too.


Thank you so much for visiting today!
Happy crafting!
Anna-Karin
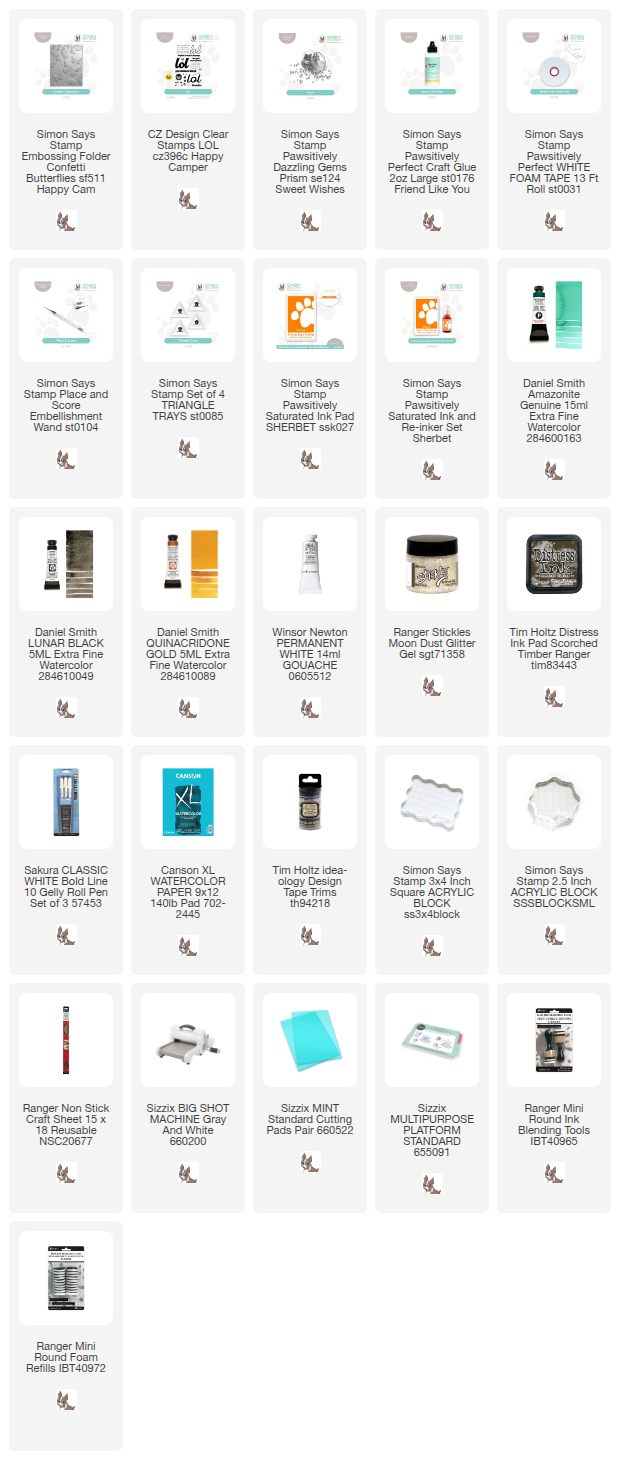
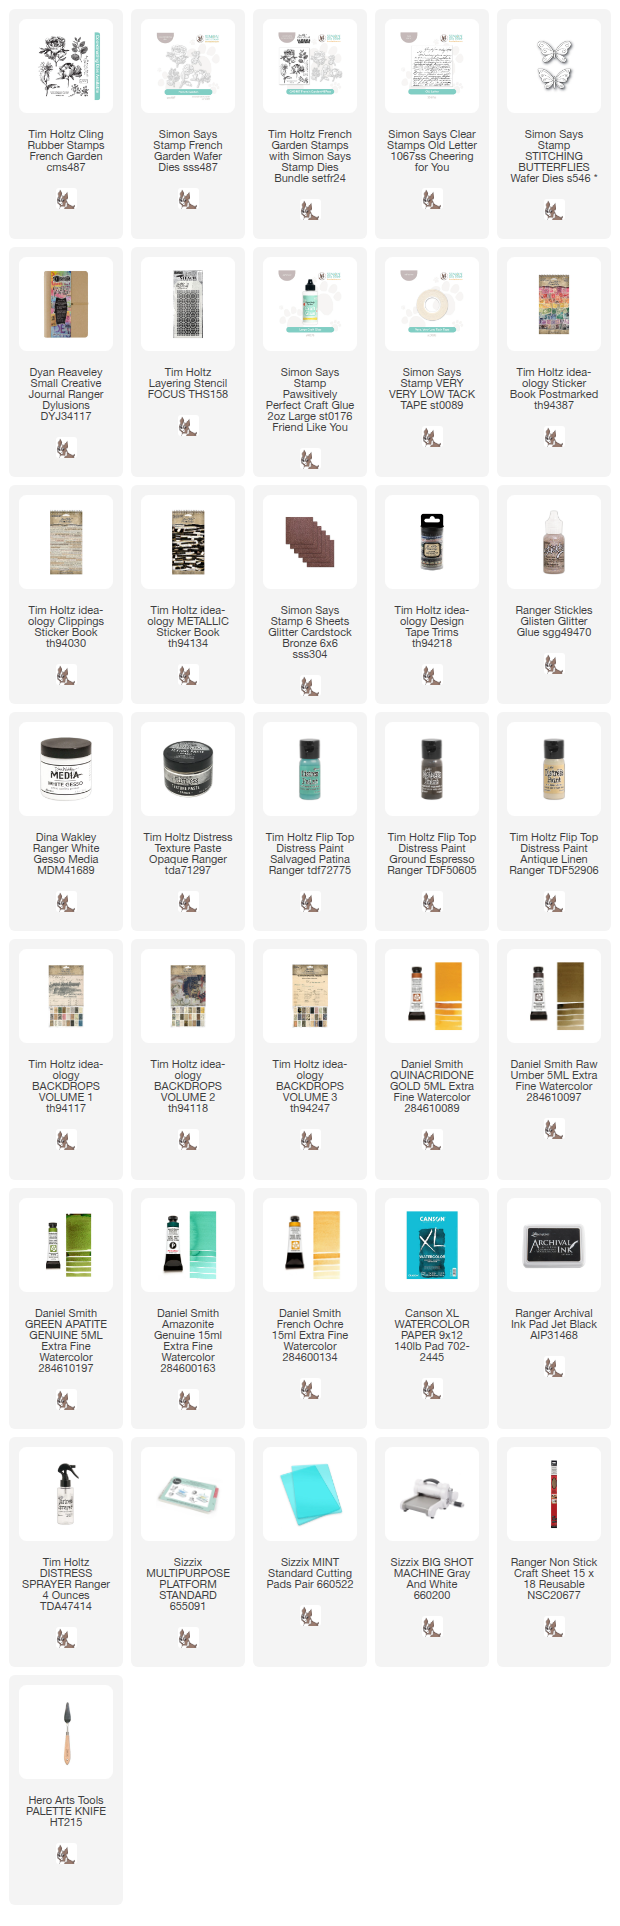
Supplies:
* Please note: the links are affiliate links, for which I receive a small percentage of sales generated by the link, at no extra cost to you.
* Please note: the links are affiliate links, for which I receive a small percentage of sales generated by the link, at no extra cost to you.

.jpg)