Hi everyone! I can't believe January is already over, this month went way too fast. I have another
Sizzix tutorial for you today, a little mini book.
I love making mini books, and picking topics for them. This little book measures 3.2 x 4.6 in, and contains a surprising amount of photos and text (I added most of the journaling after taking the photos). When I was thinking of what to do, I found a bunch of photos I had taken (and already developed) of Anton at his old school, and thought that would be a great topic for a mini book. The photos were a part of me documenting details everyday during a week, inspired by
Ali Edwards' Week In The Life - which also reminds me that I haven't shared the album I made with those photos yet. I'll try to get to that soon.
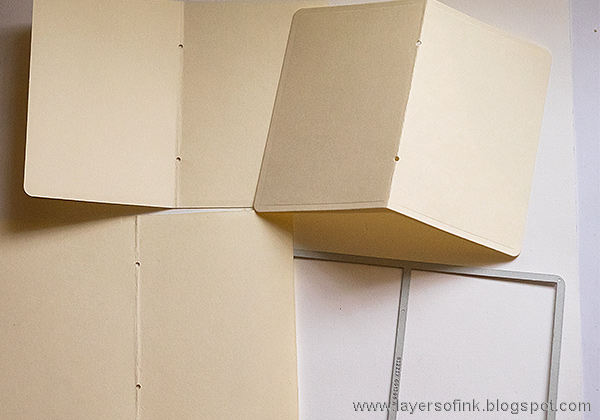
Die cut three cover pages using Tim Holtz
Mixed Media Heavystock paper. Use this sandwich: Multipurpose Platform Tab 2, Cutting Pad, paper, die facing down, second Cutting Pad.
Die cut another six pages from patterned paper. I used these great
Basics papers by Simple Stories, which combine two of my favourite patterns, ledger and wood-grain. You need two pages for each Heavystock cover page. The book consists of three signatures.
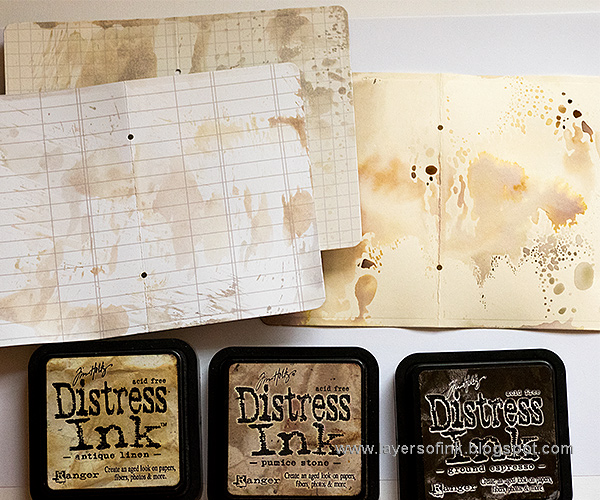
Smear Antique Linen, Pumice Stone and Ground Espresso on a craft sheet. Mist with water and press the Heavystock papers into the ink (both sides), as well as the ledger sides of the patterned papers.
When dry, stamp with the ledger stamp from Tim Holtz's
School Desk set, as well as the alphabet stamp from the same set. I also used a Tim Holtz
star stamp, and bunch of sentiment stamps from Darkroom Door.
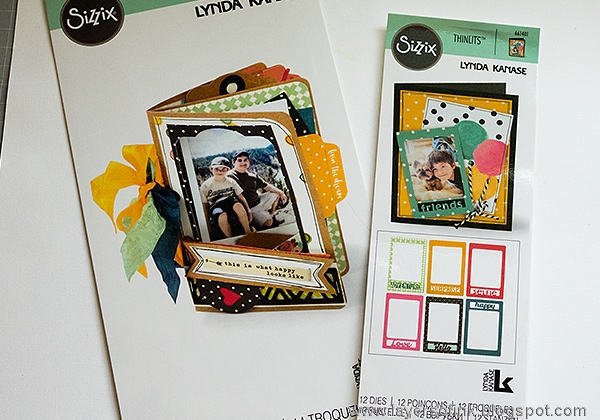
I really like the frame and all the words you can add to it from the
Photo Frame & Words set. It is best to use these dies together with the
Sizzix Magnetic Platform, since it keeps them in place. Use this sandwich: Magnetic Platform, Cutting Pad, paper, die facing down with the word die in the space as seen above, second Cutting Pad.
This is the resulting frame. Isn't it great?
You can also use the word dies with the banner die from the
Mini Album set, by placing them as shown here.
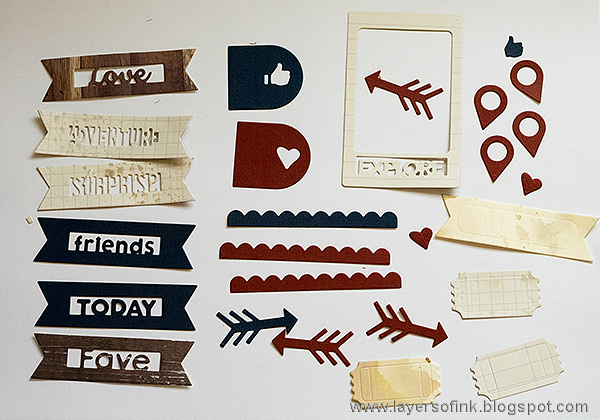
Die cut a bunch of frames, banners, scalloped borders, arrows, tickets and more, from leftover inky papers and from kraft-core cardstock. Sand the kraft-core pieces.
To assemble the book: place two patterned sheets inside each of the three Heavystock cover sheets. This leaves you with three signatures. Use the same die you used to die cut the pages, to cut a piece of brown
Paper Leather for the spine. Paper Leather is very strong and durable, which makes it a great material for a spine. Cut it shorter and make the die cut holes a little larger. I used my Crop-a-Dile for that. Tie each signature with string and tie them all together on the outside of the spine.
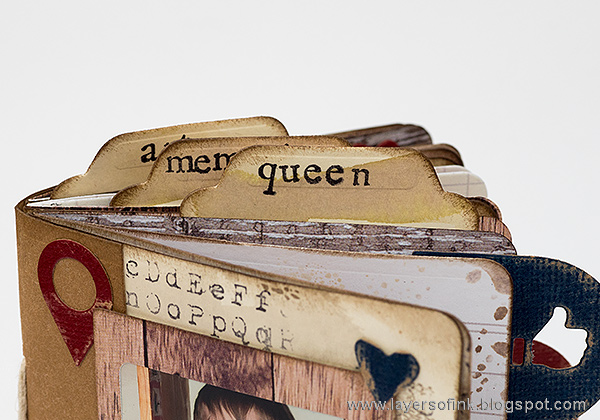
The tabs add a fun element to the book, as do the thumbs up and heart tabs along the side.
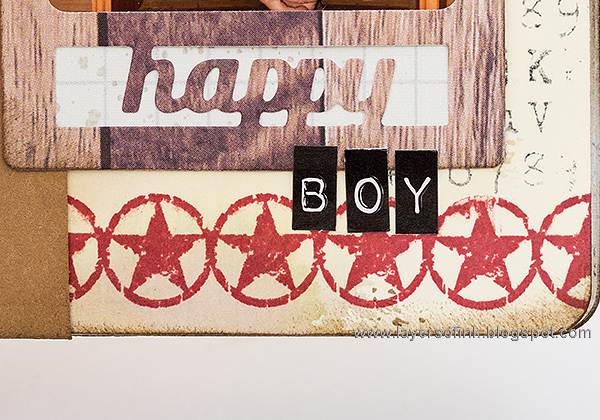
I used label stickers to complete the title.
The inside is full of photos, sentiment stamps and journaling. I left some of the spreads for journaling only, and left space for additional photos, since I have some photos I want to add to this album which aren't developed yet (I don't print photos at home). Both sentiments here come from Darkroom Door.
Place the die cut embellishments and words here and there throughout the album.
I like the look of the partially inky ledger pages.
I am happy about having taken the photo to the right, of his school bag and shoes, both of which aren't used any longer.
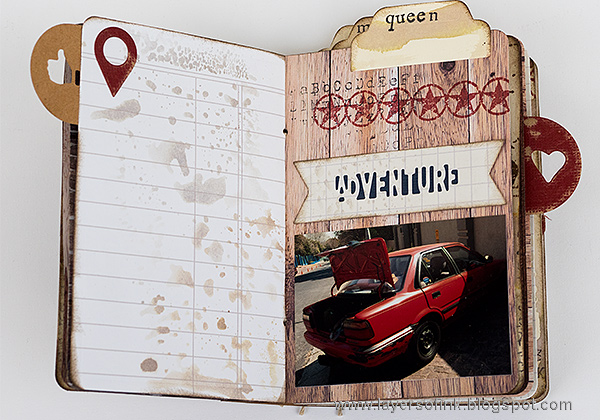
I also used a photo of my car parked outside the school. Because my car was red, Anton called it 'McQueen', from
Lightning McQueen. But when he was very little he couldn't say 'McQueen', but instead said 'Queen' - which is the name that stuck for the car.
The stamping on the tabs was done with alphabet stamps.
Here you can see what it looks like where two signature meets. I liked including the
world map stamp, focusing on Africa.
This is one of my favourite
sentiment stamps, and I've used it on a lot of projects.
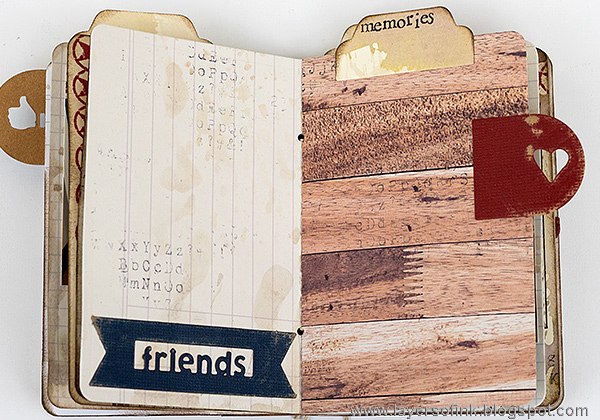
Here there is space open for photos with friends, yet to be developed.
A photo of Anton's place at the table, and more space for journaling.
I love this wood paper, such great texture.
Space for more photos. A photo of Anton and his teacher will go to the right.
Here's the back of the book. After binding it, I realised I had covered the last part of the stamped sentiment, so I just restamped 'brave' on the spine.
If you don't press the paper down hard into the ink on the craft sheet, you get these cool dots, which I really like.
I hope you enjoyed this tutorial and that it inspired you to make a mini book.
Thank you for stopping by today and happy crafting!!
Anna-Karin
Supplies:

