Hello and welcome to my blog! I am happy to take part in the Simon Says Stamp blog hop to celebrate the release of the
You Are Loved collection. This is the last stop on the hop, and you should have arrived here from the wonderful
Barb Engler.
The
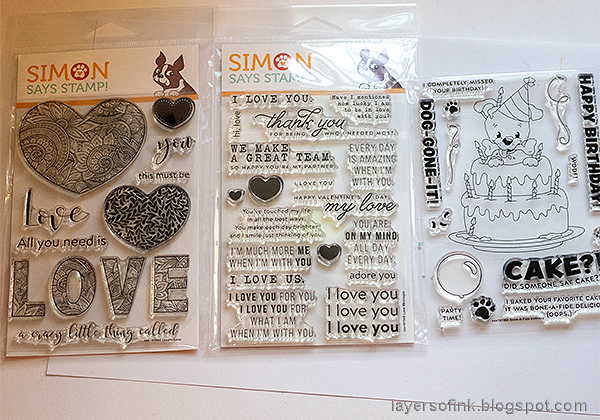
You Are Loved collection contains a wide range of new dies, stamps, stencils, watercolor cards and sequins. You can see the whole collection
here.
There is also a free gift for you. If you use the code LVE584, when you make an order, you will get a a free Tim Holtz Festive Berries Distress Oxide Ink Pad (while supplies last!) with any purchase. The code will expire Sunday, 1/13 at 11:59 pm EST.
I made a wall-hanging and a card, both with step photos. As usual, you can use the techniques on almost any type of project. Let's start.
I really like the
Windows to my Heart die and thought it would look good as a background. The wall-hanging is about 6 x 6 in and I used mat board as my base. I found a sweet photo of my mother and grandmother, which fit well on the project. For a different look, use other colors.
This is the die and the stencil set that I used:
Windows to my Heart and
Heart Layers.
I wanted nine heart windows on my panel, but the die only has six. To get three more, I marked the center of the die and placed the second cutting pad just inside that mark. My hearts aren't lined up perfectly, but it didn't matter.
Coat the
watercolor paper with gesso, to prepare it for the next step.
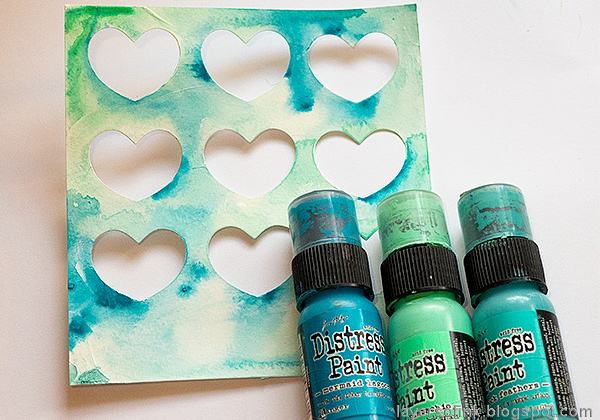
Paint watered down Distress Paints on the panel and mist with more water.
When dry, stencil the smallest hearts from the
Heart Layers set with Peacock Feathers paint.
The background Sizzix mat board was also coated with gesso, and then painted brown. When dry, I adhered old book paper to it and added a layer of
matte medium on top too.
White wash with Picket Fence paint, to tone down the text a little.
Glue the heart window panel to the background with matte medium. When dry, apply
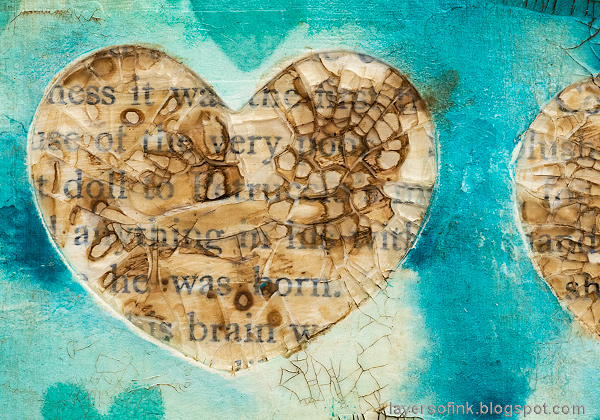
Rock Candy Distress Crackle paint, using a palette knife. Press with the knife, so that you get a thicker layer of paint in the windows, and a very thin layer on the rest of the panel. Don't worry about perfection here. Cracks appear as the paste dries. The thicker the layer, the larger the cracks.
Water down brown paint and apply to the cracks. Wipe off the excess with a cloth. If you want a less grungy look, use a different color paint for the cracks. White looks wonderful too.
Here's a look at the finished hearts. They look almost like crackled glass, and the words show through in fragments.
You can use a brown Distress Crayon where the cracks are smaller, apply it with your finger, and again wipe of the excess. The crayon can be used for the larger cracks too, but I thought that the paint gave a better result there, and it is quicker. These fine cracks give a very cool texture.
Three
gumdrop hearts were colored with
alcohol ink and I also used some
Clippings Stickers. Apart from that, I didn't add many embellishments, since I wanted the window hearts to show. For a different idea with the
Windows to my Heart die, creating dimensional hearts, check out my
Celebrate 2019 layout from earlier this week.
Stamp LOVE from the
Ornate Love set with brown Archival Ink and ink with Distress Ink. Cut out and glue to the panel.
The card has a completely different look from the panel, and I thought Leo might get this card on his birthday. The dog in the birthday cake from
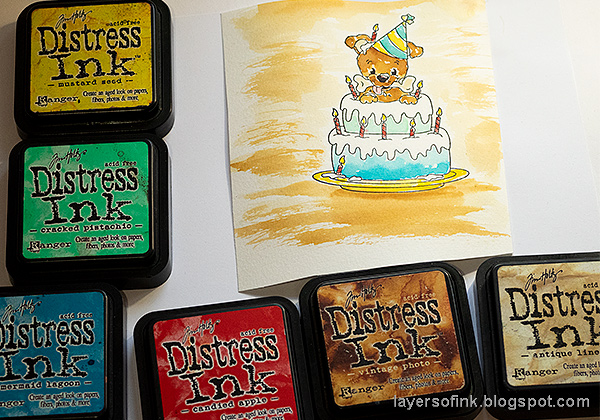
Bone-a-Fide Birthday is such a fun and cute image, and it is fun to color too. I watercolored the image loosely with Distress Ink.
Stamp on watercolor paper with Archival Ink. Smear Distress Inks on a craft sheet, mist with water and pick up with a paint brush. Color the image loosely, leaving some of the white of the paper showing.
For some bling, apply
Glossy Accents to the candles and
Crystal Stickles to the icing.
Here's a closer look at the happy dog.
I
distressed the edges, and used
vellum and another piece of watercolor paper as a matte.
The background is a dry embossed panel, made with the
Sizzix 3-D Confetti Hearts folder (
you can find a tutorial for it here).
I used a wire to attach the balloon to the background, giving it some dimension too.
The Crystal Stickles have different shades of colors in it and looks different depending on how the light falls on it, something that will be fascinating for a child.
There are of course prizes to be won and at each stop on the hop SSS is giving away a
$25 coupon, randomly drawn from those who leave a comment. The winners will be posted post on the
Simon Says Stamp store blog on Wednesday, the 16th of January.
Here are all the stops along the hop:
For more
You Are Loved inspiration, remember to check out the
You Are Loved gallery at SSS, and if you make something with products from the range, it is fun if you post it in in the gallery too. There are galleries for all releases, and for the card kits, full of inspiration. There is also going to be a second blog hop tomorrow, so don't miss that.
Thank you so much for visiting today and I hope you will have a lovely weekend!
Happy crafting!
Anna-Karin
Supplies:
* Please note: the links are affiliate links, for which I receive a small percentage of sales generated by the link, at no extra cost to you.

