Monday, September 16, 2024

Watercolor Flowers ATCs

Hello friends! I hope you are well and had a good weekend. It is starting to get chilly here, especially at night. 

Please note: this post has affiliate links, for which I receive a small percentage of sales generated by the link, at no extra cost to you.

Our theme this week at the Simon Says Stamp Monday Challenge Blog is 'Not a card'. Lots of options here! Don't miss the project by our September guest designer Kerry B.

Layers of ink - Watercolor Flowers Artist Trading Cards tutorial by Anna-Karin Evaldsson.

I made two Artist Trading Cards, which although the word 'card' is in the title, aren't really the type of cards we are talking about here (greeting cards). ATCs are 2.5 x 3.5 in and a really fun size to work with. I did no-line watercoloring using a stamp set by Simon Says Stamp. I used lighter colors than normally when coloring, aiming for an airy and almost see-through look.

Layers of ink - Watercolor Flowers Artist Trading Cards tutorial by Anna-Karin Evaldsson. Stamp Simon Says Stamp Wild & Free Flowers.

Cut two ATCs from watercolor paper and stamp flowers from Simon Says Stamp Wild & Free Flowers with Lost Shadow Distress Ink.

Layers of ink - Watercolor Flowers Artist Trading Cards tutorial by Anna-Karin Evaldsson. Watercolor with Gansai Tambi paints.

I watercolored the images with Zig Kuretake Gansai Tambi paints. Start by deciding which colors to use and then mix with water on a palette. The aim is to make quite light colors. Start coloring the outlines and then pull the paint into the petals. You might need to rinse the brush to avoid getting too much pigment in the center of the petals. Do the same for the leaves.

Layers of ink - Watercolor Flowers Artist Trading Cards tutorial by Anna-Karin Evaldsson. Deepen the colors.

Use a more concentrated version of the same colors and darken som of the areas, still keeping most of the flowers very lightly colored. I couldn't help but to add some texture and splattered a little green paint along the bottom of the cards. Round the corners with a Corner Chomper

Layers of ink - Watercolor Flowers Artist Trading Cards tutorial by Anna-Karin Evaldsson. Add white highlights.

Stamp sentiments with grey ink. Add a few highlights with a white gel pen.

Layers of ink - Watercolor Flowers Artist Trading Cards tutorial by Anna-Karin Evaldsson.

I finished the cards with a few pearls. The purple flower might be my favorite. 

Layers of ink - Watercolor Flowers Artist Trading Cards tutorial by Anna-Karin Evaldsson.

Some of the Lost Shadow stamped lines will still show and add details and movement to the flowers. They look like pencil marks, which I like.

Layers of ink - Watercolor Flowers Artist Trading Cards tutorial by Anna-Karin Evaldsson.

The sentiment comes from Simon Says Stamp Forest Scenery.

Layers of ink - Watercolor Flowers Artist Trading Cards tutorial by Anna-Karin Evaldsson.

Next, the pink flowers, which have more greenery and also some flower buds. 

Layers of ink - Watercolor Flowers Artist Trading Cards tutorial by Anna-Karin Evaldsson. Pink flower.

I added just a few dots with the white gel pen, as you can see here. I often add more.

Layers of ink - Watercolor Flowers Artist Trading Cards tutorial by Anna-Karin Evaldsson. Stamp sentiment with grey ink.

The sentiment comes from Simon Says Stamp Create stamp set. I filled in the 'w' a little with a grey marker since it didn't show well.

Layers of ink - Watercolor Flowers Artist Trading Cards tutorial by Anna-Karin Evaldsson. Add pearls.

Don't worry about getting the coloring perfect. The flowers are meant to have a loose and imperfect look.

Join us this week in our Not a Card challenge! You have a chance to win a $25 gift voucher to do some fun shopping at Simon Says Stamp. You have until Monday 8am Ohio time. 1pm UK time, 2 pm CET to join in.

STAMPtember


Don't miss all the surprises and inspiration during STAMPtember®! You can find the Simon Says Stamp Exclusive release here.


Do you use Instagram? If so please add #sssmchallenge so we can see your entries there too.


Thank you so much for stopping by here today! 

Happy crafting!

Anna-Karin

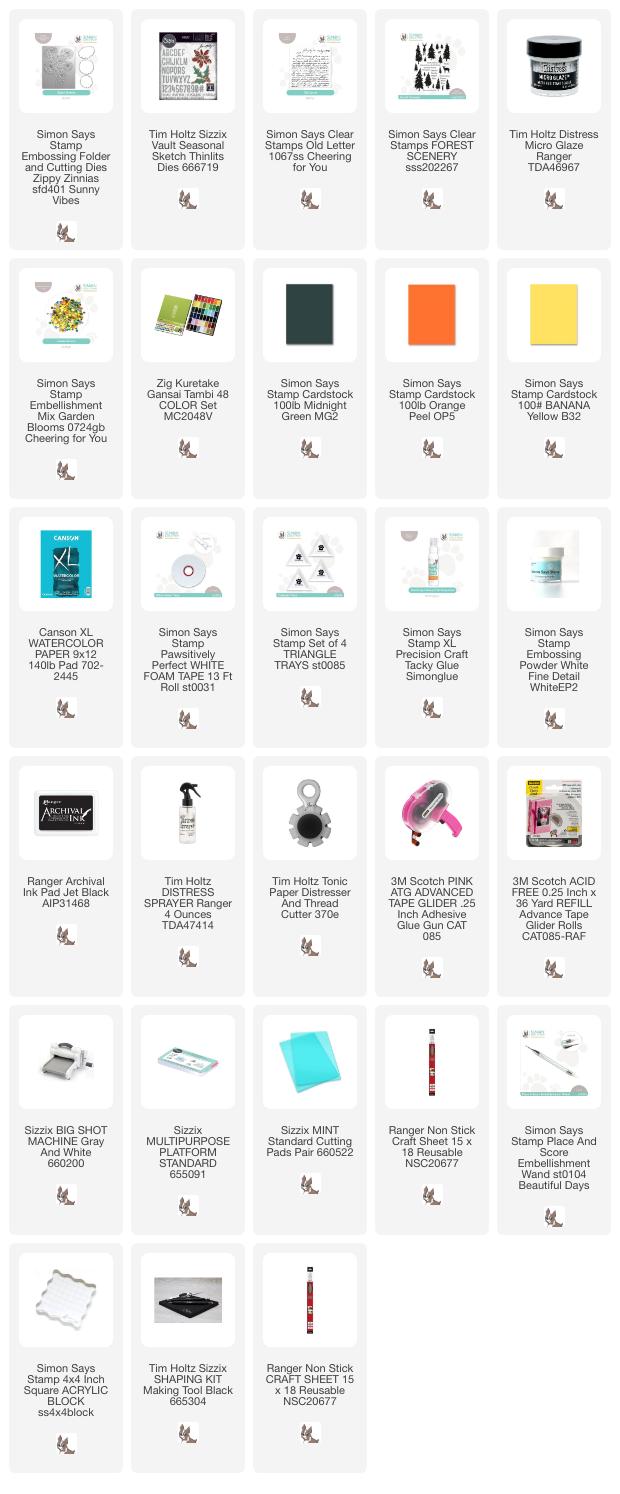
Supplies:

* Please note: the links are affiliate links, for which I receive a small percentage of sales generated by the link, at no extra cost to you.


Friday, September 13, 2024

Plaid Mixed Media Background

Hi friends! Today I have an art journal page to share, but the techniques can also be used for other types of projects. 

Please note: this post has affiliate links, for which I receive a small percentage of sales generated by the link, at no extra cost to you.

Layers of ink - Plaid Mixed Media Art Journal Page Tutorial by Anna-Karin Evaldsson.

The Simon Says Stamps Stripes and Plaid builder stencil set is so versatile and you can make many different backgrounds with it. I used only two of the three stencils here and could seamlessly fill the whole background with them, even though the page in my Small Creative Journal is taller than the stencils. I used products from the Simon Says Stamp STAMPtember® release.

Autumn arrived here on Monday, after one last weekend of summer. 

Layers of ink - Plaid Mixed Media Art Journal Page Tutorial by Anna-Karin Evaldsson.

Start by coating the page with gesso. When dry, apply texture paste with a palette knife through the largest stripes of the set. Let dry.

Layers of ink - Plaid Mixed Media Art Journal Page Tutorial by Anna-Karin Evaldsson. Add diagonal lines.

Place the stencil back and complete the first diagonal stripes. It is easy to line up the stencil. Then repeat the process, but turn the stencil the other way around. I accidentality deleted some of the step photos for this project.

Layers of ink - Plaid Mixed Media Art Journal Page Tutorial by Anna-Karin Evaldsson. Paint with Distress Paint

Paint the page with watered-down Mustard Seed and a little Carved Pumpkin Distress Paint and let dry. The paint the thick stripes with Carved Pumpkin. Use more water for one direction to get a lighter color. Let dry and then use one of the other stencils. Sponge Abandoned Coral through the stencil. Repeat to cover the whole page. 

Layers of ink - Plaid Mixed Media Art Journal Page Tutorial by Anna-Karin Evaldsson.

Turn the stencil in the other direction and add more stripes with Abandoned Coral.

Layers of ink - Plaid Mixed Media Art Journal Page Tutorial by Anna-Karin Evaldsson.

Paint the whole page with watered-down Ground Espresso. Remove most of the paint with a paper towel. Skip this step, if you don't want a distressed look.

Layers of ink - Plaid Mixed Media Art Journal Page Tutorial by Anna-Karin Evaldsson. Add Stickles glitter gel.

Place one of the stencils back on the design and add Starshine Stickles Glitter Gel with a palette knife.

Layers of ink - Plaid Mixed Media Art Journal Page Tutorial by Anna-Karin Evaldsson. Die cut flowers from gold paper.

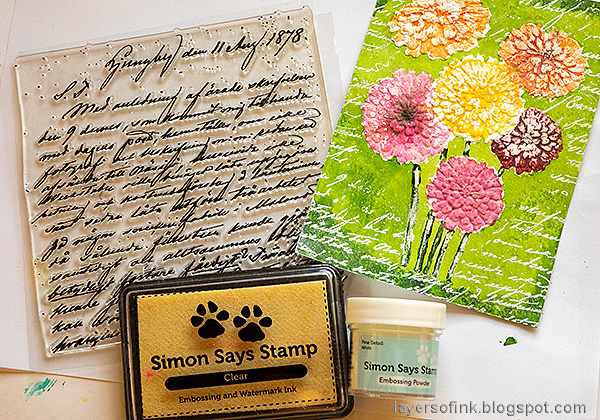
Die cut the flowers from gold paper with the Simon Says Stamp Crimped Floral Embossing Folder and Cutting dies and emboss in the coordinating folder. You can emboss a bunch of flowers at the same time.

Layers of ink - Plaid Mixed Media Art Journal Page Tutorial by Anna-Karin Evaldsson. Simon Says Stamp Just Because.

The Simon Says Stamp Fancy Just Because die was die cut from Simon Says Stamp Color-Blend cardstock, Lemon glitter cardstock and black cardstock.

Layers of ink - Plaid Mixed Media Art Journal Page Tutorial by Anna-Karin Evaldsson.

The die cut and embossed flowers look pretty in gold. For a different version of these flowers, check out my Just Because tag.

Layers of ink - Plaid Mixed Media Art Journal Page Tutorial by Anna-Karin Evaldsson.

Using a combination of texture paste, acrylic paint and glitter gives an interesting look to the plaid pattern.

Layers of ink - Plaid Mixed Media Art Journal Page Tutorial by Anna-Karin Evaldsson. Simon Says Stamp Just Because.

There is a piece of organza ribbon behind the title. I like the combination of the glossy Color-Blend cardstock and the glittery Lemon glitter paper. The second sentiment 'kindness matters' was stamped with the Simon Says Stamp Just Because stamp set.


STAMPtember


Don't miss all the surprises and inspiration during STAMPtember®! You can find the Simon Says Stamp Exclusive release here.


Thank you so much for stopping by here today! Have a good weekend!

Happy crafting!

Anna-Karin

Supplies:

* Please note: the links are affiliate links, for which I receive a small percentage of sales generated by the link, at no extra cost to you.


Monday, September 9, 2024

Birthday Card with ink and pencils

Hi stampers! I hope you had a good weekend! We went to a fun Lego exhibit and an autumn market. Today we are continuing our STAMPtember® celebrations at the Simon Says Stamp Monday Challenge Blog.

Please note: this post has affiliate links, for which I receive a small percentage of sales generated by the link, at no extra cost to you.


In honour of STAMPtember® we have a Stamping theme this week. There is nothing better than stamping. Don't miss the fun project by our September guest designer Kerry B.

Layers of ink - Birthday Card with ink and pencils tutorial by Anna-Karin Evaldsson.

I made a birthday card this week using new Simon Says Stamp STAMPtember® exclusive stamps. The image was stamped with the Simon Says Stamp Birthday Party set and colored with colored pencils. I didn't add as much texture and details as I normally do.

Layers of ink - Birthday Card with ink and pencils tutorial by Anna-Karin Evaldsson. Stamp with Simon Says Stamp Birthday Party.

Start by stamping the image from Simon Says Stamp Birthday Party on heavystock cardstock.

Layers of ink - Birthday Card with ink and pencils tutorial by Anna-Karin Evaldsson. Color with Prismacolor pencils.

Color with pencils. I used Prismacolors. Color the light areas too, using a light color or white pencils. This is to protect them from the inking.

Layers of ink - Birthday Card with ink and pencils tutorial by Anna-Karin Evaldsson. Ink with Distress Ink.

I stamped the boy one more on Simon Says Stamp Masking Paper and masked him, but this step is not really necessary. I just wanted to make sure that I hadn't missed coloring any skin areas, since those areas would then become blue. The colored areas resist the ink. Ink with Distress Ink.

Layers of ink - Birthday Card with ink and pencils tutorial by Anna-Karin Evaldsson.

Remove the mask and ink around the edges. I like the way Scorched Timber blends with other colors, creating a dark grey/brown.

Layers of ink - Birthday Card with ink and pencils tutorial by Anna-Karin Evaldsson.

Add grass and a shadow with the colored pencils. Then add details and highlights and grass with a black pen and a white gel pen.

Layers of ink - Birthday Card with ink and pencils tutorial by Anna-Karin Evaldsson.

I stamped sentiments from Simon Says Stamp Birthday Party on the background. I also added Simon Says Stamp Pawsitively Dazzling Surf Gems. I love these gems. They are so sparkly.

Layers of ink - Birthday Card with ink and pencils tutorial by Anna-Karin Evaldsson.

I used bright colors since that fit with the birthday theme. 

Layers of ink - Birthday Card with ink and pencils tutorial by Anna-Karin Evaldsson.

I hope you enjoyed this project! 

STAMPtember


Don't miss all the surprises and inspiration during STAMPtember®! You can find the Simon Says Stamp Exclusive release here.


Do you use Instagram? If so please add #sssmchallenge so we can see your entries there too.


Thank you so much for stopping by here today! 

Happy crafting!

Anna-Karin

Supplies:

* Please note: the links are affiliate links, for which I receive a small percentage of sales generated by the link, at no extra cost to you.


Monday, September 2, 2024

Recycled Tag

Hello stampers! It is STAMPtember®! The best month of the creative year! This year it is extra special because it is the 15th STAMPtember®.

Please note: this post has affiliate links, for which I receive a small percentage of sales generated by the link, at no extra cost to you.


Our theme this week at the Simon Says Stamp Monday Challenge Blog is Recycle. Lots of fun options with this one! Since it is the first Monday of a new month, the team is showcasing products by a specific designer/company and this week it is Brutus Monroe. You can find all their stamps, stencils, papers, embossing powders and more here. You don't have to use products by Brutus Monroe, but it is fun if you do. 

We also have a new guest designer and during September Kerry B will be joining us. Visit her blog Kerry's Papercraft to see what she has created.

Layers of ink - Recycled Tag Tutorial by Anna-Karin Evaldsson.

I made a tag and used cardboard for the base of the tag. The buttons are also recycled from old clothes and all the die cuts were made from left-over paper. Autumn is starting to make its presence known, with a chill in the wind and some of the trees starting to change colors. 

Layers of ink - Recycled Tag Tutorial by Anna-Karin Evaldsson.

After cutting the tag, I tore off some of the top layer and coated the tag partly with gesso. When the gesso was dry, I applied texture paste with a palette knife through Brutus Monroe Lots of Lines Slimline Stencil. Let dry. 

Layers of ink - Recycled Tag Tutorial by Anna-Karin Evaldsson. Paint with Distress Paint.

Paint with Distress Paint and mist with Twisted Citron Distress Spritz for glimmer. 

Layers of ink - Recycled Tag Tutorial by Anna-Karin Evaldsson. Add Stickles Glitter Gel.

I placed the stencil back on the tag and applied Ranger's Starshine Glitter Gel with a palette knife.

Layers of ink - Recycled Tag Tutorial by Anna-Karin Evaldsson. Die cut with Tim Holtz Vault Foliage Wreath.

The autumn leaves were die cut from left-over paper with Tim Holtz Vault Foliage Wreath. I used paper that had been colored with Paper Artsy's Infusions Colored Stains.

Layers of ink - Recycled Tag Tutorial by Anna-Karin Evaldsson. Stamp with Simon Says Stamp Just Because.

The Just Because stamp set is from the Simon Says Stamp exclusive STAMPtember® release. I used the same stamp on a background on my STAMPtember® Blog Party post earlier today, but here I stamped it with black ink on inked heavystock cardstock to get individual sentiments that can be cut into strips.

Layers of ink - Recycled Tag Tutorial by Anna-Karin Evaldsson.

I cut out some of the sentiment and inked the edges with Scorched Timber. The leaves were shaped a little and glued here and there with Simon Says Stamp craft glue. I also glued recycled buttons to the tag. 

Layers of ink - Recycled Tag Tutorial by Anna-Karin Evaldsson.


Layers of ink - Recycled Tag Tutorial by Anna-Karin Evaldsson.

The Just Because die is also from the STAMPtember® release. I die cut it from left-over paper and from black cardstock. The die also comes with a matte, which you can see on my STAMPtember® blog party tag here.

Layers of ink - Recycled Tag Tutorial by Anna-Karin Evaldsson.

More gems and buttons.

Layers of ink - Recycled Tag Tutorial by Anna-Karin Evaldsson.

The Distress Spritz sinks in between the texture paste areas, while the Stickles Glitter gel glitters on the texture paste.

STAMPtember


Don't miss all the surprises and inspiration during STAMPtember®! You can find the Simon Says Stamp Exclusive release here.


Do you use Instagram? If so please add #sssmchallenge so we can see your entries there too.


Thank you so much for stopping by here today! 

Happy crafting!

Anna-Karin

Supplies:

* Please note: the links are affiliate links, for which I receive a small percentage of sales generated by the link, at no extra cost to you.