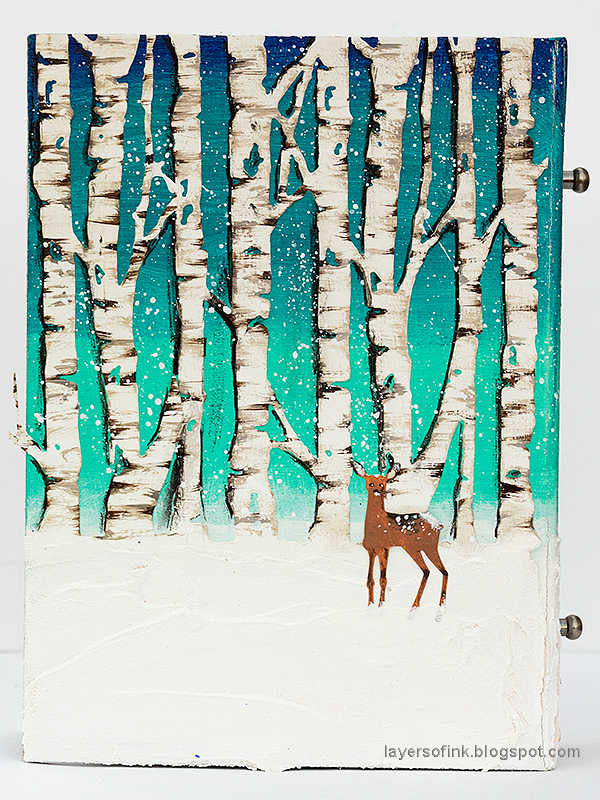
Hello friends! It is the last day of November and I have done the finishing touches to the journaling tags for my December Countdown Calendar. This is a Sizzix tutorial showing you how to do the tags.

I made the wall-hanging for my countdown calendar three years ago, with the plan of reusing it for my countdown tags. It hangs on a wall in the living room, and every day I take one of the tags off the hook. The tag then goes into my December Daily journal, with memories and stories from that particular day written on the tag. I used dies and stamps by Tim Holtz for this project.

I like the way my December Daily journal and countdown calendar coordinate, with the latter doubling as journaling cards. I also have an ATC advent calendar, which I made years ago, and I always enjoy taking it out on the first of December.
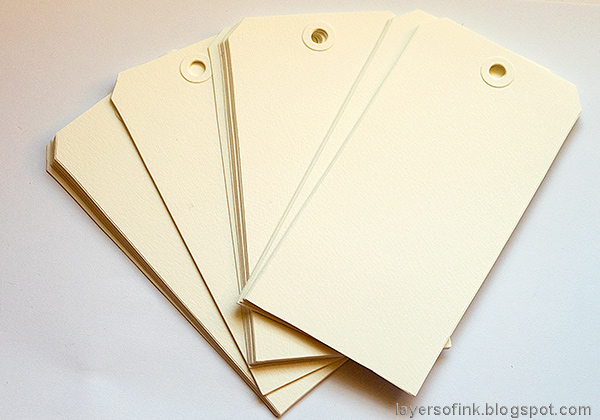
Start by die cutting tags from watercolor paper, or another paper, using the largest die in the Stacked Tags set. Use the small dies in the set to die cut the holes and the reinforcers. Glue the reinforcers to the tag. I die cut everything with the Sizzix Foldaway Big Shot.
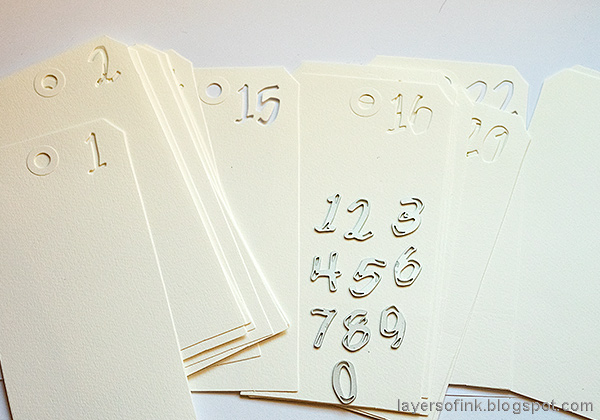
On my first December journal, I die cut the number of the day, but after that I have mainly stamped it. This year, I decided to die cut the numbers, since it adds such a nice touch, and I like that you can glimpse the next tag through the negative die cut. Use the Cutout Script Thinlits set, together with the Sizzix Magnetic Platform to die cut numbers out of each tag. My tags go to the 26th of December, to also include Boxing Day.
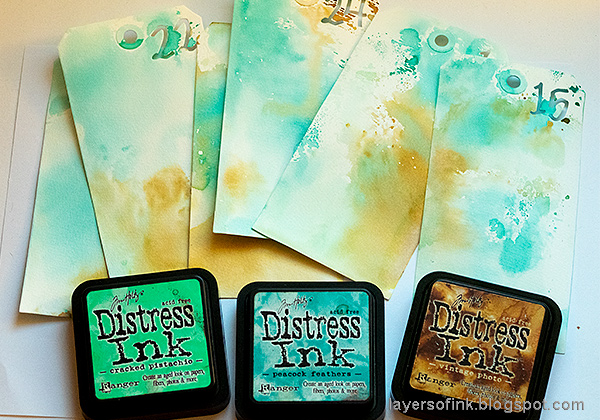
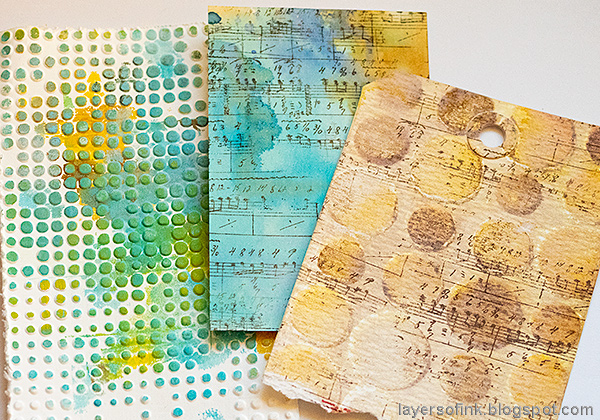
Smear Distress Inks on a craft sheet, mist with water and press each tag into the ink. Repeat on the back.

I like to use the ledger stamp from Tim Holtz's School Desk set on my journaling tags. It was stamped with Forget-Me-Not ink on both the front and the back of the tags.

Now comes the super fun part. Sit down surrounded by Christmas stamps and stamp away. I use a lot of the Christmas stamps I have at home on this project. Most of them are from Tim Holtz and you can find them in the supply list below. Mix image, word and background stamps. I used quite a lot of the designs from the Winter Watercolor set, to add branches and flowers.

Here's a look at some of the tags. They are all different, and both sides are stamped, since when they are in the journal, you see both sides.

More tags. I really have such fun just stamping like this, without much of a plan, and if you make a mistake, it doesn't matter.
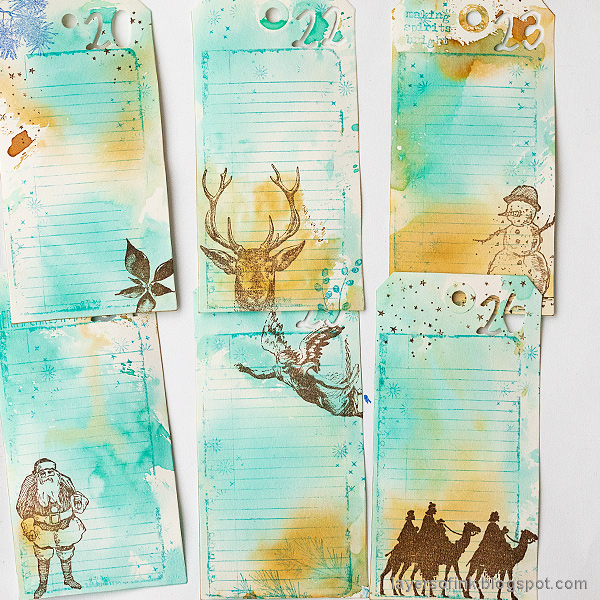
Some of the tags have images that were a little more planned, such as the 24th always having a Santa stamp, since that is the day when Santa comes to visit here.

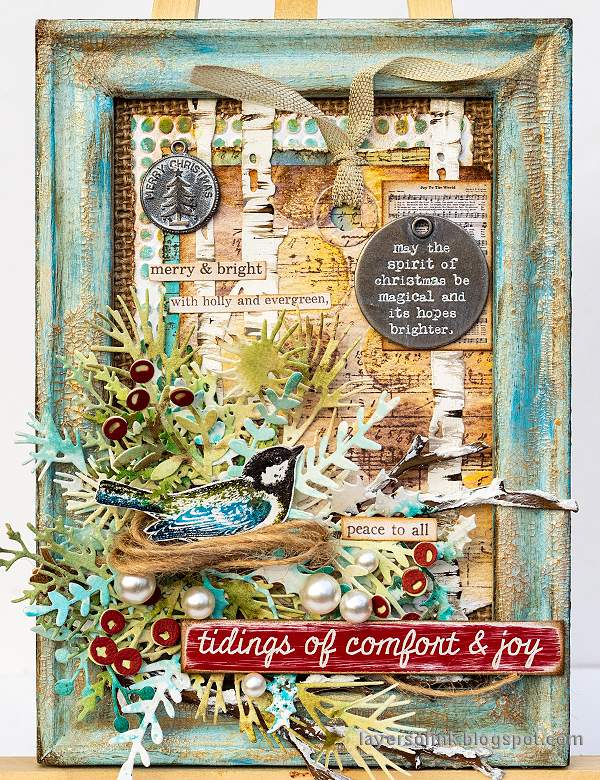
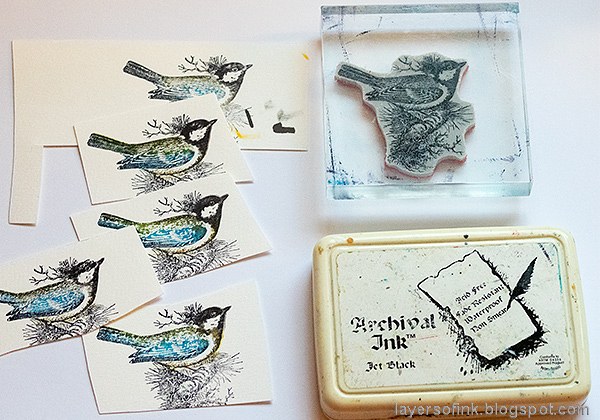
In my December Daily journal, I have Tim's Tag Pockets, ready to be filled. I just add journaling and some times a small photo, but the focus in my December journal is on the words. I normally scrapbook my Christmas photos instead, mainly since I don't print photos at home. The bird stamp is from the Festive Overlay set, and is the same stamp that I used on my Christmas Bird Frame tutorial earlier this week.

At the back of the journal, I add extra unnumbered tags, in case I need more space. They are also used to write down the gifts everyone received each year. I started writing down my birthday and Christmas gifts when I learned how to write, and those lists are a lot of fun to have and bring back many memories.

I hope you enjoyed this tutorial and that it inspired you to maybe make your own version. You can find my December Daily Winter Birch Forest tutorial here. For more inspiration:
The original Countdown Calendar tutorial.
Countdown tags 2016, with a video
Advent Calendar with boxes
ATC Advent Calendar
Tomorrow, I am planning to take out our electric chandeliers and stars. They always give such a cozy Christmas feeling.
Have a lovely weekend! Thank you for the visit!
Happy Christmas crafting!
Anna-Karin
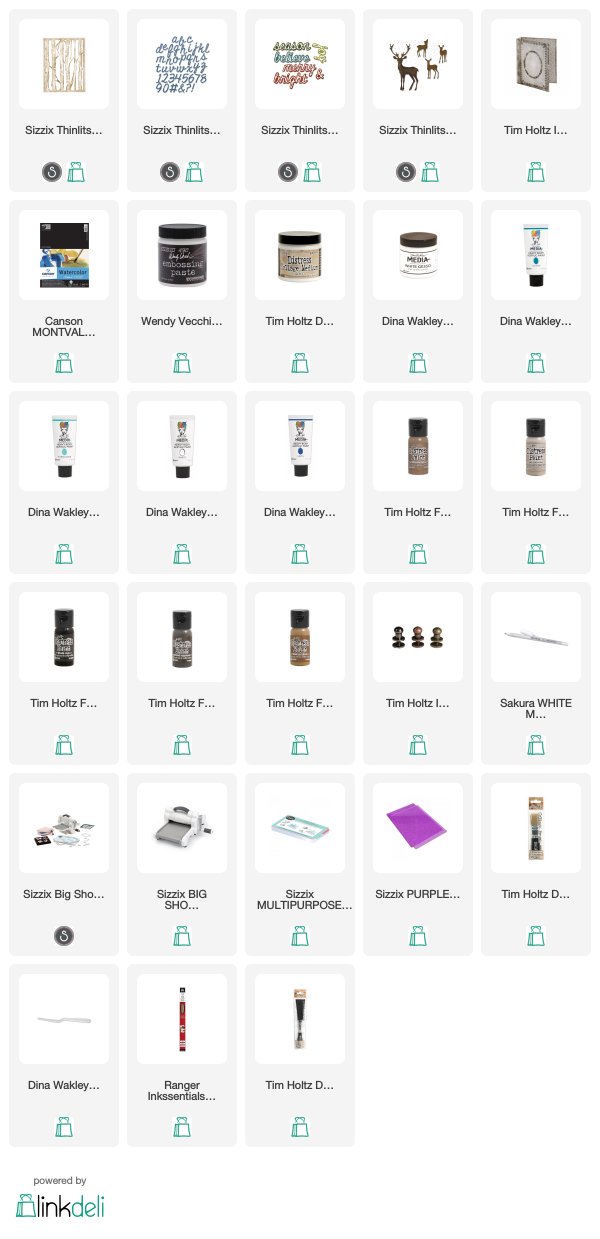
* Please note: the links are affiliate links, for which I receive a small percentage of sales generated by the link, at no extra cost to you.
