Hi stampers! It's a new Monday and we are back with a Simon Says Stamp Monday Challenge.
Please note: this post has affiliate links, for which I receive a small percentage of sales generated by the link, at no extra cost to you.

We also have a new guest designer and during July Thom Santilla will be joining us. He created a fantastic project for this week's challenge, don't miss it.

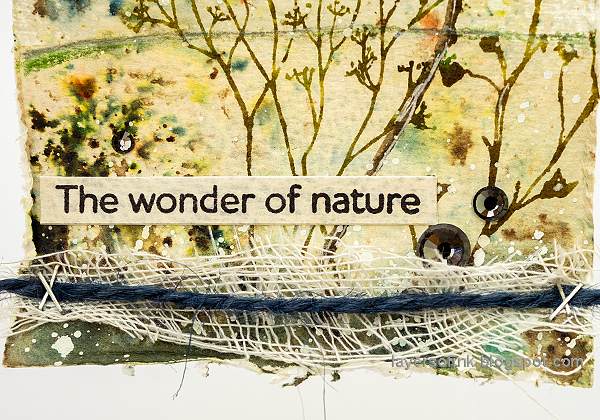
I made a mixed media tag using watercolor paint, gouache and Paper Artsy Infusions Colored Stain. The tag was stamped with two stamp sets designed by Alison Bomber: Winter Umbels and Winter Grasses. Just because the title is 'winter' doesn't mean that they are only for winter projects.


%20(1).jpg)


I start out with a tag that I cut from paper that had been watercolored, to use up left-over paint.

Mist the tag with water and sprinkle In the Navy Infusions Colored Stain at the sky area and The Sage on the ground. I had already planned where the stamping would be and added less color there. Mist again with water to blend.

When dry, ink stamps from Winter Grasses and Winter Umbels with Distress Ink, mist with water and stamp.

I stamped two sentiments on the background using Simon Says Stamp Forest Scenery and covered them up with Design Tape to prevent splattering. Splatter the tag with Winsor & Newton Permanent White gouache.

Distress the edges of the tag. Here you can see the cool effect of the Infusions Colored Stain.

I also added Simon Says Stamp Pawsitively Dazzling Gunmetal Gems to the tag.

The white gouache will pick up some of the color of the ink. I made the ground area more visible with a colored pencil.

The main sentiment also comes from Simon Says Stamp Forest Scenery. I also added some mummy cloth and twine.

I tied the tag with mummy cloth, twine and ric-rac.

Join us this week in our Play With Paint challenge! You have a chance to win a $25 gift voucher to do some fun shopping at Simon Says Stamp. You have until Monday 8am Ohio time. 1pm UK time, 2 pm CET to join in.
%20(1).jpg)
Do you use Instagram? If so please add #sssmchallenge so we can see your entries there too.

Thank you so much for visiting today!
Happy crafting!
Anna-Karin
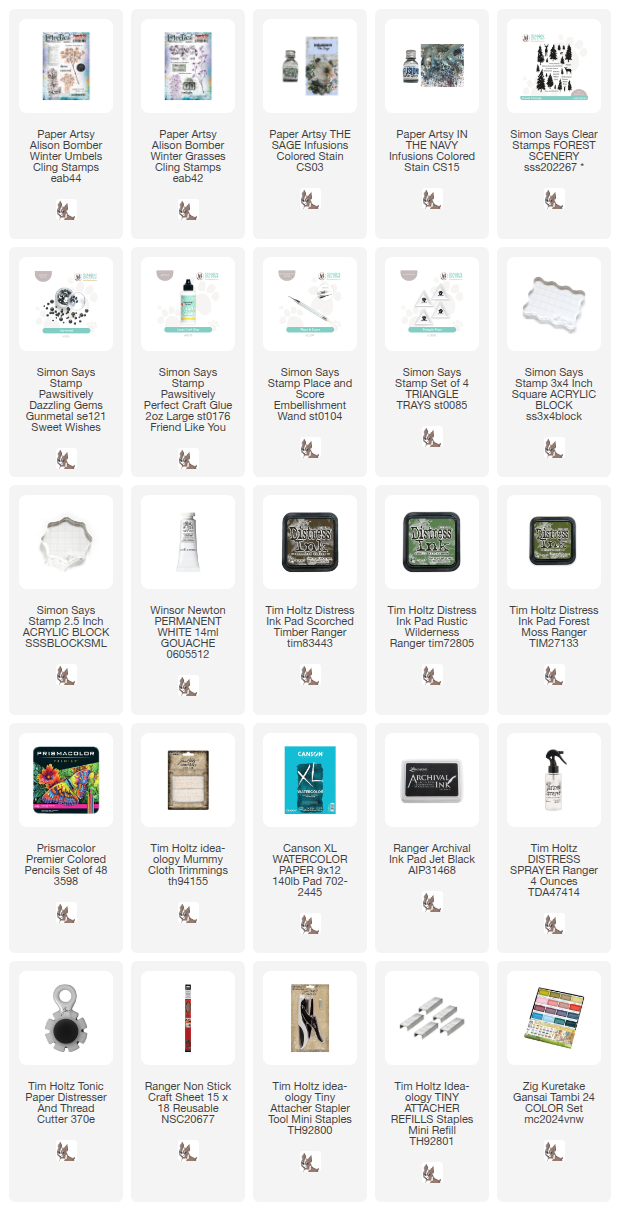
Supplies:
* Please note: the links are affiliate links, for which I receive a small percentage of sales generated by the link, at no extra cost to you.
* Please note: the links are affiliate links, for which I receive a small percentage of sales generated by the link, at no extra cost to you.