Showing posts with label ATC. Show all posts

Monday, August 18, 2025

Butterfly Artist Trading Cards

Hello friends! I hope you are well! There is a chill in the air here, but I hope summer will remain a little longer. 

Please note: this post has affiliate links, for which I receive a small percentage of sales generated by the link, at no extra cost to you.

This week we have a Play with ATCs theme at the Simon Says Stamp Monday Challenge Blog. I hope you will join us! Artist Trading Cards are such a fun format to work on (3.5x2.5 in). Don't miss the beautiful project by our August guest designer Ann Chuang.

Layers of ink - Butterfly Artist Trading Cards Tutorial by Anna-Karin Evaldsson.

I made two ATCs with a butterfly theme. The cards were stamped so that they can fit together on both sides. I only stamped each butterfly once. The butterflies were colored with Prismacolor pencils, which also acts as a resist, protecting them from the inking, so you do not need to do any masking. 

Layers of ink - Butterfly Artist Trading Cards Tutorial by Anna-Karin Evaldsson.

This is how they fit together from the other sides.

Stamp with Tim Holtz Perspective.

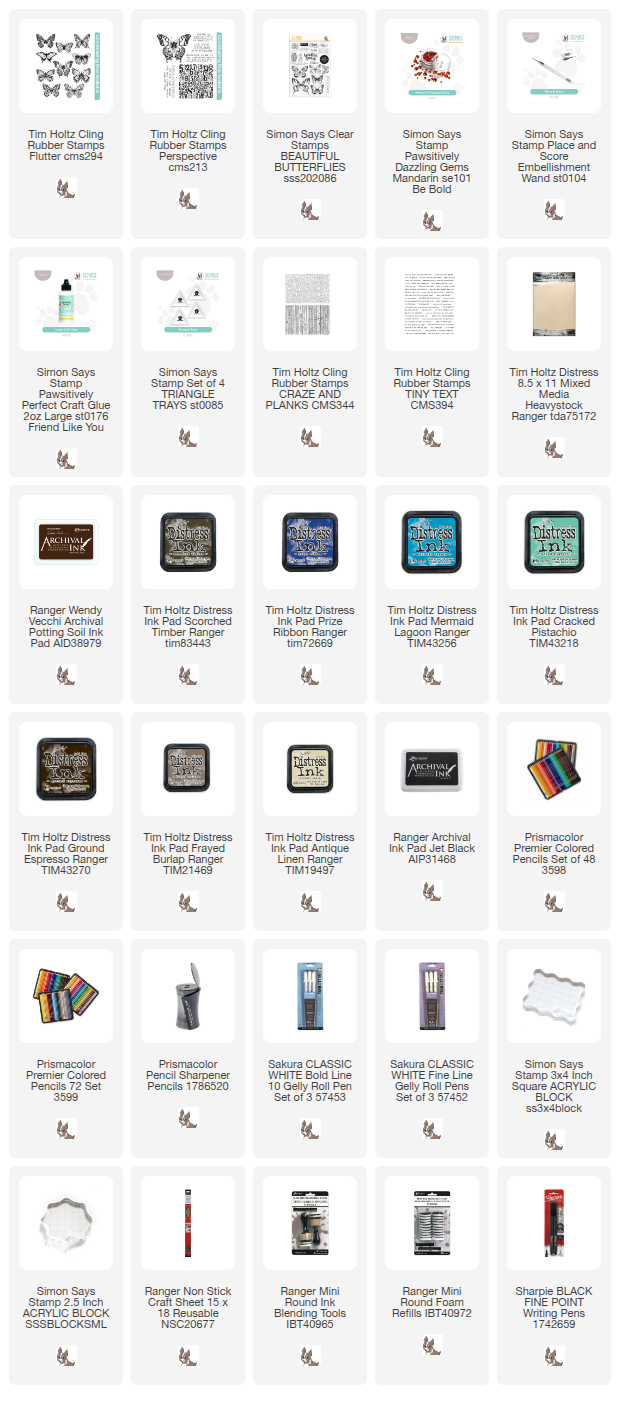
I started by cutting a two ATCs from heavystock paper. They are 3.5 x 2.5 in. Place them together and stamp Tim Holtz Perspective Butterfly. Make sure to place the stamp so that the entire body is on one of the cards. 

Stamp again with Tim Holtz Flutter.

Switch the cards around and repeat with a butterfly from Tim Holtz Flutter set. Stamp the body on the card that only has wings.

Color with Prismacolor Pencils.

Color them with Prismacolor pencils. I aimed for strong, contrasting colors.

Ink with Distress Ink.

Ink with Distress Inks using an ink-blending tool.


Add dots and highlights with a white gel pen and darken some of the details with a black pen.

Stamp with Tim Holtz Craze.

Stamp the sentiment with Simon Says Stamp Beautiful Butterflies. Stamp here and there with Tim Holtz Craze & Planks stamp, using Archival Ink Potting Soil.

Splatter with white gouache.


Layers of ink - Butterfly Artist Trading Card Tutorial by Anna-Karin Evaldsson.

Butterflies are always fun to color! The card with the large butterfly can easily be on its own too.


I found some tiny butterfly charms in an old box and stitched them to the card. 


This sentiment was stamped with Tim Holtz Tiny Text.

Layers of ink - Butterfly Artist Trading Cards Tutorial by Anna-Karin Evaldsson.

On the second card, the focus is on the smaller butterfly and the sentiment.

Add Simon Says Stamp Pawsitively Dazzling Gems.

I distressed the edges slightly and added Simon Says Stamp Pawsitively Dazzling Mandarin Gems to the cards.


Try not to get too much crackle stamping on the butterflies, but if you do, it doesn't matter.


White gel pens are great for adding highlights. 

Layers of ink - Butterfly Artist Trading Cards Tutorial by Anna-Karin Evaldsson.

I hope you enjoyed this tutorial!


Don't miss the Kid's Summer Vacation Challenge, which goes on until 29 August. There are three great surprise parcels to be won! For kids 2-16 years. Read more here.


Join us this week in our Play with ATCs challenge! You have a chance to win a $25 gift voucher to do some fun shopping at Simon Says Stamp. You have until Monday 8am Ohio time. 1pm UK time, 2 pm CET to join in.


Do you use Instagram? If so please add #sssmchallenge so we can see your entries there too.


Thank you so much for visiting today! 

Happy crafting!

Anna-Karin

Supplies:

* Please note: the links are affiliate links, for which I receive a small percentage of sales generated by the link, at no extra cost to you.


Tuesday, May 13, 2025

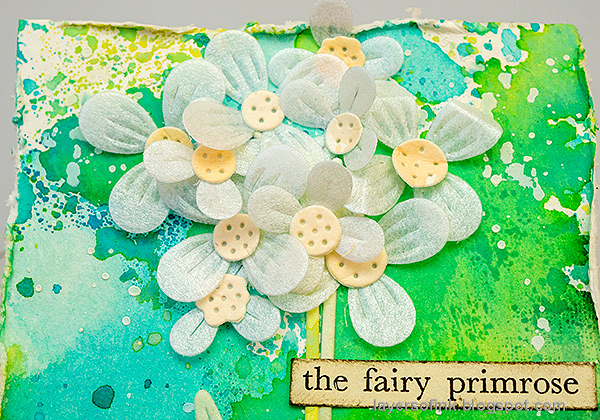
Primula Artist Trading Cards

Hi friends! I am happy to have a tutorial on the Simon Says Stamp store blog. I made three Artist Trading Cards, with fun techniques.

Layers of ink - Primula Artist Trading Cards by Anna-Karin Evaldsson.

The ATC is such a fun size to work on and it is a great way of making small stamps or die cuts appear larger. I used the Simon Says Stamp Poised Primula die set from the You Are My Favorite release. Here is a sneak peek of one of the three cards. You will find all the three cards and the tutorial on the Simon Says Stamp store blog. 


Thank you for visiting!

Happy crafting!

Anna-Karin


Monday, December 2, 2024

Be of Good Cheer ATC

Hi crafters! Today I have a fun surprise project to share, a Santa Artist Trading Card.

Please note: this post has affiliate links, for which I receive a small percentage of sales generated by the link, at no extra cost to you.


DieCember® has just gotten started at Simon Says Stamp and today there is a big Cyber Monday surprise. You will get the exclusive Tim Holtz Be of Good Cheer set as a gift with any Tim Holtz $25 purchase (while supplies last). You don't need to add a code.

Layers of ink - Be a Good Cheer ATC tutorial by Anna-Karin Evaldsson.

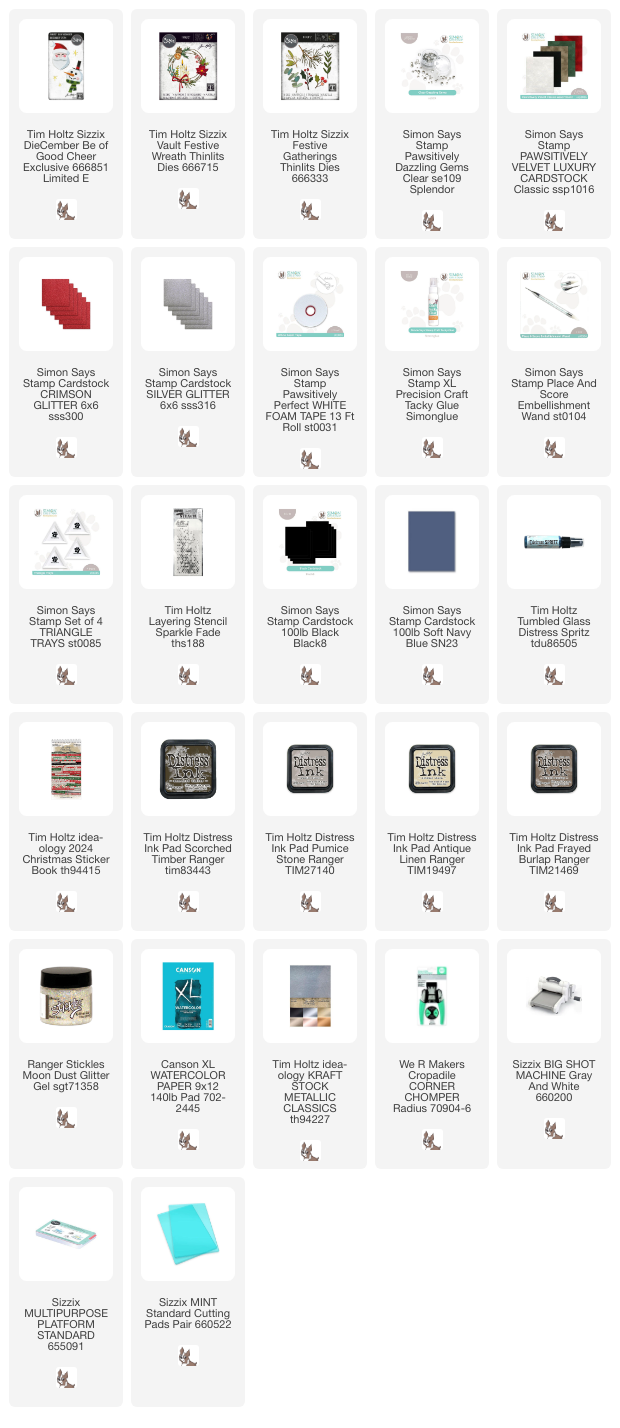
I decided to make an Artist Trading Card for this project, since I thought Santa would fit well on the space of an ATC (2.5x3.5 in). I die cut Santa from various left-over papers and from Simon Says Stamp velvet paper. 

Tim Holtz Be a Good Cheer.

Here you can see the cute exclusive Be of Good Cheer set. There is also a snowman head. I die cut the pieces for Santa as you can see here. The rim of the hat was die cut twice, once from collage paper and once from white velvet paper. I cut off the beard part from the velvet paper.

Coat with Moon Dust Stickles.

Coat the collage paper die cut with Moon Dust Stickles. I used this same technique on my DieCember® blog party tag yesterday.

Assemble the snowman.

Assemble and glue all the pieces.

Color with Distress Ink.

I cut the ATC from watercolor paper which had already been colored with Distress Ink. Smear Distress Inks on a non-stick craft sheet and mist with water. Press the paper into the ink. Let the paper dry and then repeat. 

Mist with Distress Spritz.

Mist with Distress Spritz Tumbled Glass through the Sparkle Fade stencil.

Die cut foliage and pine branches.

Die cut pine branches using Tim's Vault Festive Wreath and Festive Gatherings sets. I die cut them from silver kraft-stock, Simon Says Stamp silver glitter paper and Navy cardstock.


Layer the pine branches on the ATC and add some Clear Simon Says Stamp Pawsitively Dazzling Gems. The sentiments come from Tim's Christmas Sticker Book.

Santas hat.

The Pawsitively Luxury Velvet paper adds a nice touch to the hat. 

Santa's glittery beard.

This shadow die cut is so cleverly done. It was die cut from a small piece of paper where I had tried out some watercolor paint. Santa was adhered with foam tape.

Pine branches die cut from silver and glitter paper.

Mixing different types of pine branch die cuts adds interest. 

Add gems to the stars.

The small stars also comes from the Be of Good Cheer set and were die cut from silver cardstock. I added gems to some of the centers. 


Thank you for visiting!

Happy Christmas crafting!

Anna-Karin

Supplies:

* Please note: the links are affiliate links, for which I receive a small percentage of sales generated by the link, at no extra cost to you.


Monday, September 16, 2024

Watercolor Flowers ATCs

Hello friends! I hope you are well and had a good weekend. It is starting to get chilly here, especially at night. 

Please note: this post has affiliate links, for which I receive a small percentage of sales generated by the link, at no extra cost to you.


Our theme this week at the Simon Says Stamp Monday Challenge Blog is 'Not a card'. Lots of options here! Don't miss the project by our September guest designer Kerry B.

Layers of ink - Watercolor Flowers Artist Trading Cards tutorial by Anna-Karin Evaldsson.

I made two Artist Trading Cards, which although the word 'card' is in the title, aren't really the type of cards we are talking about here (greeting cards). ATCs are 2.5 x 3.5 in and a really fun size to work with. I did no-line watercoloring using a stamp set by Simon Says Stamp. I used lighter colors than normally when coloring, aiming for an airy and almost see-through look.

Layers of ink - Watercolor Flowers Artist Trading Cards tutorial by Anna-Karin Evaldsson. Stamp Simon Says Stamp Wild & Free Flowers.

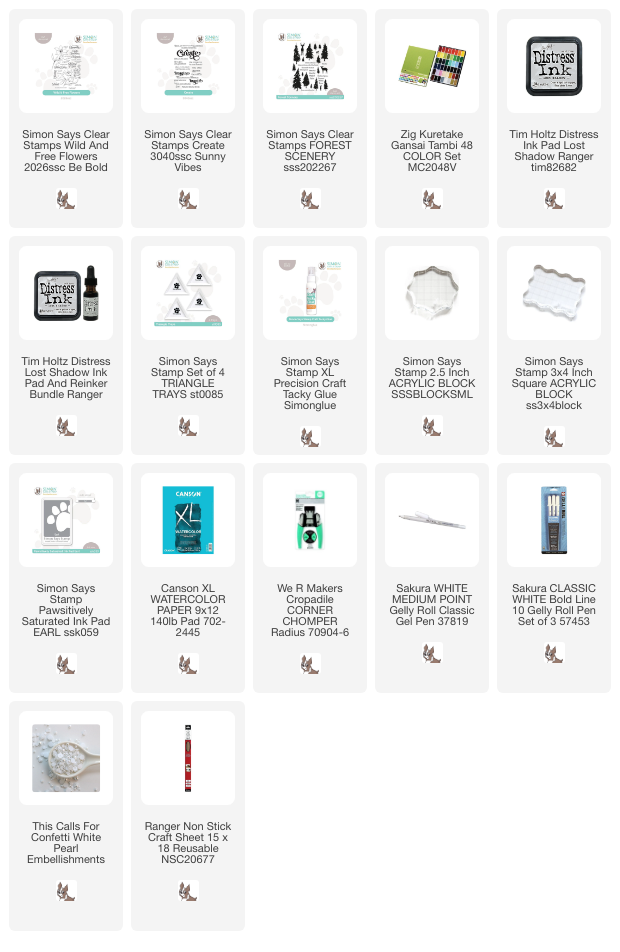
Cut two ATCs from watercolor paper and stamp flowers from Simon Says Stamp Wild & Free Flowers with Lost Shadow Distress Ink.

Layers of ink - Watercolor Flowers Artist Trading Cards tutorial by Anna-Karin Evaldsson. Watercolor with Gansai Tambi paints.

I watercolored the images with Zig Kuretake Gansai Tambi paints. Start by deciding which colors to use and then mix with water on a palette. The aim is to make quite light colors. Start coloring the outlines and then pull the paint into the petals. You might need to rinse the brush to avoid getting too much pigment in the center of the petals. Do the same for the leaves.

Layers of ink - Watercolor Flowers Artist Trading Cards tutorial by Anna-Karin Evaldsson. Deepen the colors.

Use a more concentrated version of the same colors and darken som of the areas, still keeping most of the flowers very lightly colored. I couldn't help but to add some texture and splattered a little green paint along the bottom of the cards. Round the corners with a Corner Chomper

Layers of ink - Watercolor Flowers Artist Trading Cards tutorial by Anna-Karin Evaldsson. Add white highlights.

Stamp sentiments with grey ink. Add a few highlights with a white gel pen.

Layers of ink - Watercolor Flowers Artist Trading Cards tutorial by Anna-Karin Evaldsson.

I finished the cards with a few pearls. The purple flower might be my favorite. 

Layers of ink - Watercolor Flowers Artist Trading Cards tutorial by Anna-Karin Evaldsson.

Some of the Lost Shadow stamped lines will still show and add details and movement to the flowers. They look like pencil marks, which I like.

Layers of ink - Watercolor Flowers Artist Trading Cards tutorial by Anna-Karin Evaldsson.

The sentiment comes from Simon Says Stamp Forest Scenery.

Layers of ink - Watercolor Flowers Artist Trading Cards tutorial by Anna-Karin Evaldsson.

Next, the pink flowers, which have more greenery and also some flower buds. 

Layers of ink - Watercolor Flowers Artist Trading Cards tutorial by Anna-Karin Evaldsson. Pink flower.

I added just a few dots with the white gel pen, as you can see here. I often add more.

Layers of ink - Watercolor Flowers Artist Trading Cards tutorial by Anna-Karin Evaldsson. Stamp sentiment with grey ink.

The sentiment comes from Simon Says Stamp Create stamp set. I filled in the 'w' a little with a grey marker since it didn't show well.

Layers of ink - Watercolor Flowers Artist Trading Cards tutorial by Anna-Karin Evaldsson. Add pearls.

Don't worry about getting the coloring perfect. The flowers are meant to have a loose and imperfect look.

Join us this week in our Not a Card challenge! You have a chance to win a $25 gift voucher to do some fun shopping at Simon Says Stamp. You have until Monday 8am Ohio time. 1pm UK time, 2 pm CET to join in.

STAMPtember


Don't miss all the surprises and inspiration during STAMPtember®! You can find the Simon Says Stamp Exclusive release here.


Do you use Instagram? If so please add #sssmchallenge so we can see your entries there too.


Thank you so much for stopping by here today! 

Happy crafting!

Anna-Karin

Supplies:

* Please note: the links are affiliate links, for which I receive a small percentage of sales generated by the link, at no extra cost to you.