Hello friends! I hope you are well and that you had a good weekend. On Saturday the sun was shining and I went for a long walk along a lake. Yesterday we had a fun outing to town.
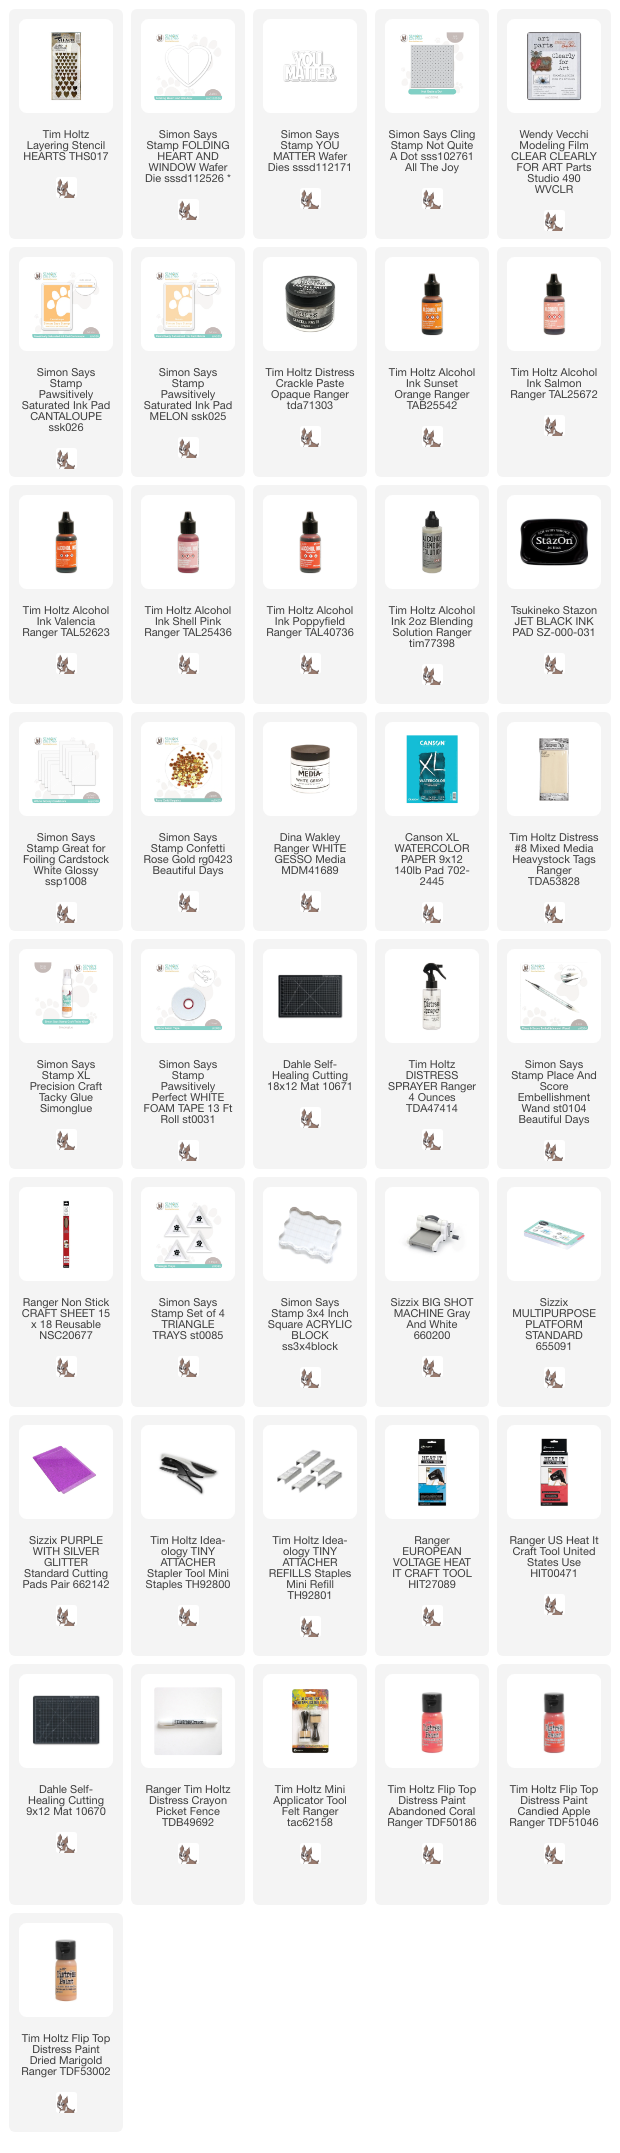
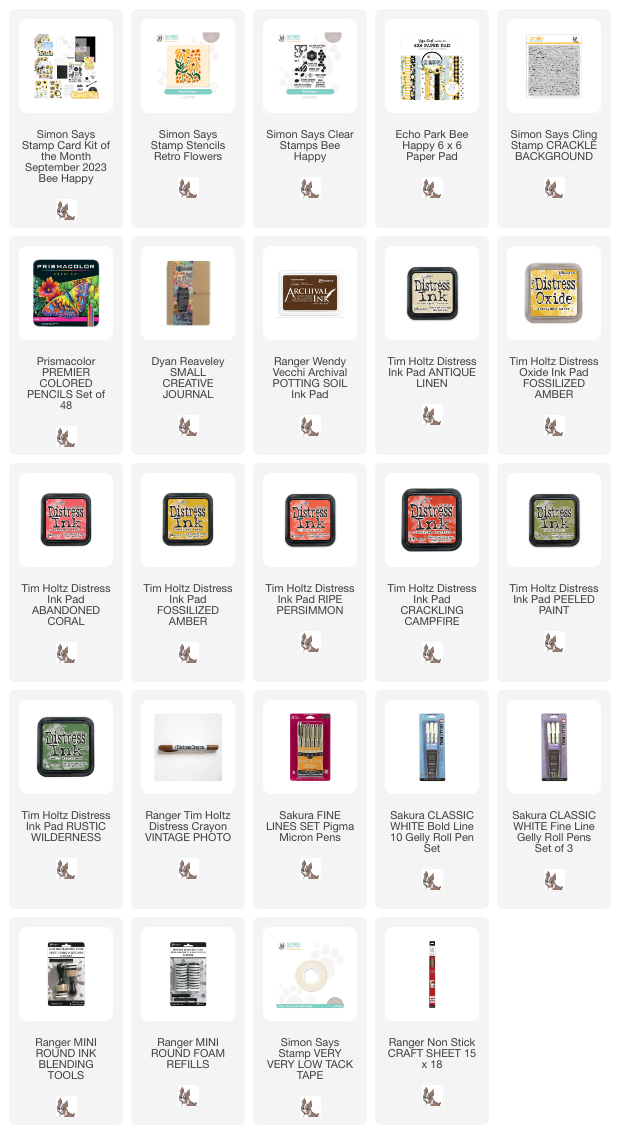
Please note: this post has affiliate links, for which I receive a small percentage of sales generated by the link, at no extra cost to you.

This week our theme at the Simon Says Stamp Monday Challenge Blog is Hearts. I hope you will join us! And don't miss the last project by our January guest designer Rox.

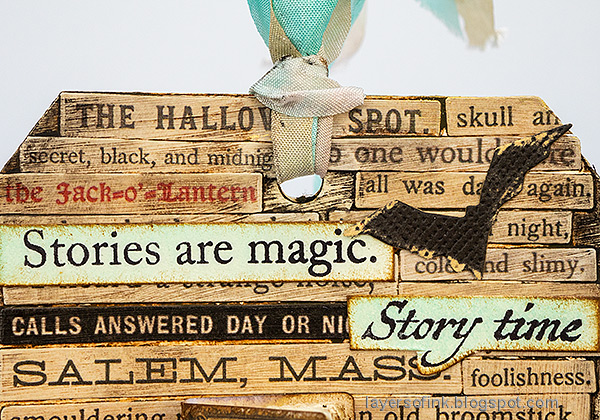
I made a tag with many hearts: crackle paste hearts in the background and dimensional hearts fluttering across the tag, almost like butterflies. I also found some very old heart beads on my desk, which I added to the tag. If you don't want to make a tag, the techniques work just as well for cardmaking. If you make the hearts less dimensional, they will also fit into an art journal or on a scrapbooking page.


I had a piece of already prepared text paper from another project. Glue old book paper to watercolor paper. Add a layer of matte medium on top of the paper too and let dry. Cover partly with gesso. These papers make for great background elements, with just enough texture. Die cut three hearts.


Stamp the front of the hearts with Simon Says Stamp Not Quite a Dot.


I hope you will join us this week in our Hearts challenge. You have a chance to win a $25 gift voucher to do some fun shopping at Simon Says Stamp. You have until Monday 8am Ohio time. 1pm UK time, 2 pm CET to join in.


Thank you so much for stopping by here today!
* Please note: the links are affiliate links, for which I receive a small percentage of sales generated by the link, at no extra cost to you.