Hi everyone! I am happy to take part in the Simon Says Stamp Friends blog hop, to celebrate the latest release, which is called
Friends. If you are following along the hop, you have come here from
Heather Hoffman, and I am sure she shared some wonderful card ideas with you.
The
Friends collection consists of forty gorgeous dies, stamps and stencils. Most of them are very versatile and can be used for many different projects and themes.
I made two things for the tutorial, and both have step photos below. There are two similar Valentine's cards that I made for my boys, and a board book that I made for my youngest to help him learn the colors.
Let's start with the cards. These are Valentine's cards, but I forgot to immediately hide them, so my oldest have already seen them. Anton likes to check out what is going on on my desk every day, and never fails to notice new things. I used the very cute
Picture Book Zebra for the cards. Do you spot the mistake on the cards? The last thing I did was to quickly stamp what I thought was 'I love you' in the upper right corner, but when I took the photos, I realised it read 'I love and', so the phrase should have had a continuation (check the stamp set below). I will fix it later, but didn't have time to take new photos.
These are the stamps and dies that I used from the
Friends collection:
Stained Glass Love,
Handwritten Love,
Picture Book Elephant, and
Picture Book Zebra.
I started with a piece of watercolor paper that had been colored with Paper Artsy's Infusions. It came from a
Winter Penguin card that I made at the end of last year, with the
Picture Book Hugging Penguin. I die cut it with the
3 Sided Scallop to make a shaped card.
The
Picture Book Zebra was die cut from wool felt and pieced together. I don't know if you can see it here, but I didn't use black felt, but really
dark blue felt. It looks almost black. I keep reaching for felt when using the
Picture Book dies, since they look so soft and lovely in felt. For another example, check out the
Framed Animals Baby Gift nursery decor that I made for my nephew, and on that project, I turned this Zebra into a giraff instead.
Die cut the
Sketch Heart from
Deep Sea Blue glimmery cardstock, and from white cardstock and
vellum. Use only the center piece of the latter two and stamp a sentiment from
Handwritten Love on the white one.
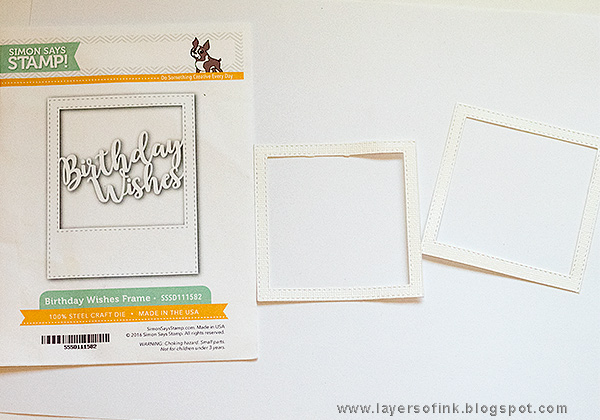
Die cut the
Birthday Wishes frame from
White Diamond Glimmery paper and cut away the sentiment and trim the bottom edge.
I also die cut a piece of vellum with one of the
Eyelet Arch Borders dies. The small sentiments come from the
Stained Glass Love set, and the larger one is from
Handwritten Love. I will use Label Letter stickers to write 'you' over the 'and' in that sentiment at the top.
The sentiment that I wanted to use for this card was too large for the heart, so instead I stamped it on a die cut
Stitched Circle. It was stamped with a dark blue ink,
Night Archival ink from Dina Wakley.
The only part on the
Zebra not done with felt are the eyes, which I die cut from black cardstock. I like to press the die into a piece of cardstock to make an impression and cut that out roughly with scissors to give myself a base to work on with the Picture Book dies. It makes it much easier to glue everything down.
I really like the speckled look of the background here.
Here's the second Zebra card, which is pretty similar to the first one.
The sentiment fitted perfectly into the heart.
The hearts were die cut with the
Clipping Heart die, from the same white and dark blue felt that was used on the Zebra.
My little one, Leo, is learning the colors, but struggles to say most of their names, and has made up his own words instead. For some colors he uses the names of the fun kid's characters called
Babblarna. He loves elephants and when I saw the
Picture Book Elephant, I thought it should be the star in its very own book. So this is Leo's Happy Book of Colors.
I used
Eileen Hull's
Journal die to die cut the pages, but you can do them by hand too. The base is
Little Sizzles Mat Board and I cut each panel in half, cut off the binding part and rounded the corner where I had made the cut. The pages are 4.3 x 4.5 in.
Stamp Happy from
Stained Glass Love on the mat board with blue, red, yellow and green.
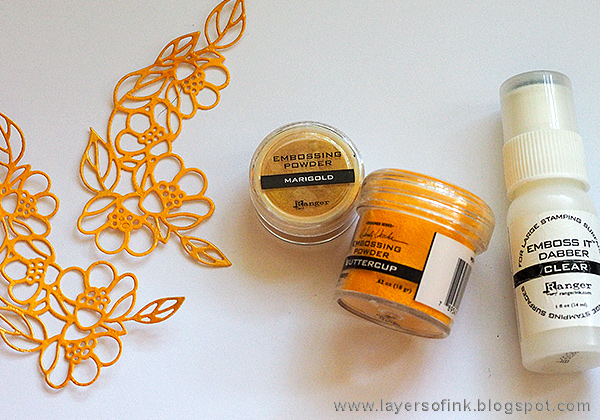
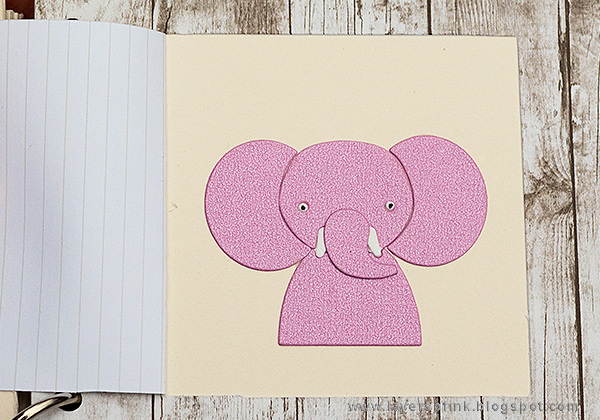
Die cut
elephants using
SSS cardstock, which comes in such a lovely range of colors. I also die cut the eyes and the tusks from white paper.
The elephant on the front cover is the original grey one, and got googly eyes to make him extra fun. I also stamped some small hearts on the cover, from the Stained Glass Love set.
Punch holes with a Crop-a-dile.
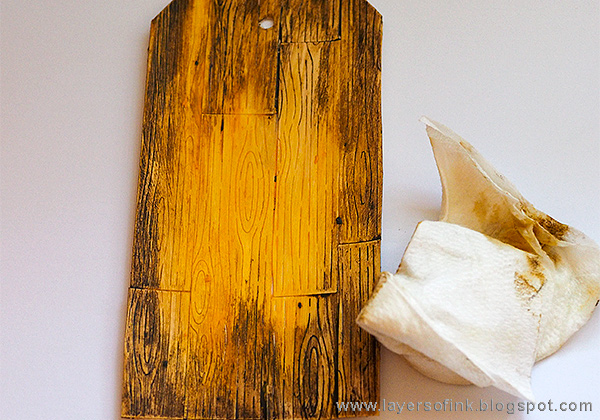
I wanted doors that he could open on the inside and used Simple Stories Basics papers, making the doors look like wood. If you want a more elaborate version, you could use a different paper for the background and a second one for the door. I cut the doors with a metallic ruler and a craft knife.
Glue the elephants inside the doors. Have a look at the elephant's eyes here - later you will see that I added a black dot, to make them look more alive.
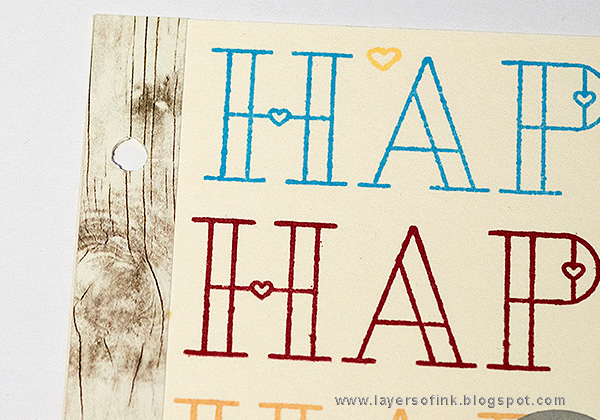
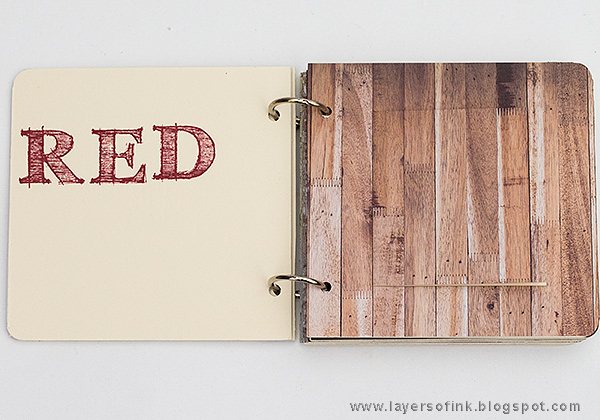
On the opposite cover, I stamped the name of the color using the
Sketched Alphabet set and a variety of SSS inks.
Repeating the same word in different colors work well for many types of backgrounds, and all the words in the
Stained Glass Love set could be used like this. Or you could stamp them many times with the same ink, or perhaps emboss with a pretty powder.
I bound the books with rings, which was lucky, since I forgot to include a brown elephant, and will add that later.
Blue is the first panel, because he names that color correctly.
Each wood paper is different. You can use any type of patterned paper, or use cardstock and stamp a background on it instead.
Here you can see what a difference the black dot makes for the eyes. You can also die cut them from black and add a white highlight.
The green cardstock and the green ink matches almost perfectly.
This is my favourite of the wood papers. You can also use the same technique for the inside or outside of a card. Kids always enjoy interactive projects.
The pink elephant was die cut from glimmery paper, which gives such a nice shine.
And here the purple elephant peaks out. There is also a yellow, orange and black elephant, but I don't want to load this post with too many photos.
I hope you enjoyed this post. Of course there are prizes to be won too! On every stop of the hop a $25 Simon Says Stamp gift voucher will be given away. All you need to do is to leave a comment. The winners will be posted on the
SSS Store blog on Wednesday. Don't miss the
Friends blog hop that took place yesterday too, for even more inspiration.
Your next stop on the hop is the wonderful
Barb Engler, who will share fantastic cardmaking inspiration. She made a lot of cards, and there is also an example of how to use that little sentiment that I made a mistake with. :) If you get lost along the hop, these are all the stops:
Thank you so much for stopping by my blog today. I hope you will have a lovely weekend!
Happy crafting!!
Anna-Karin
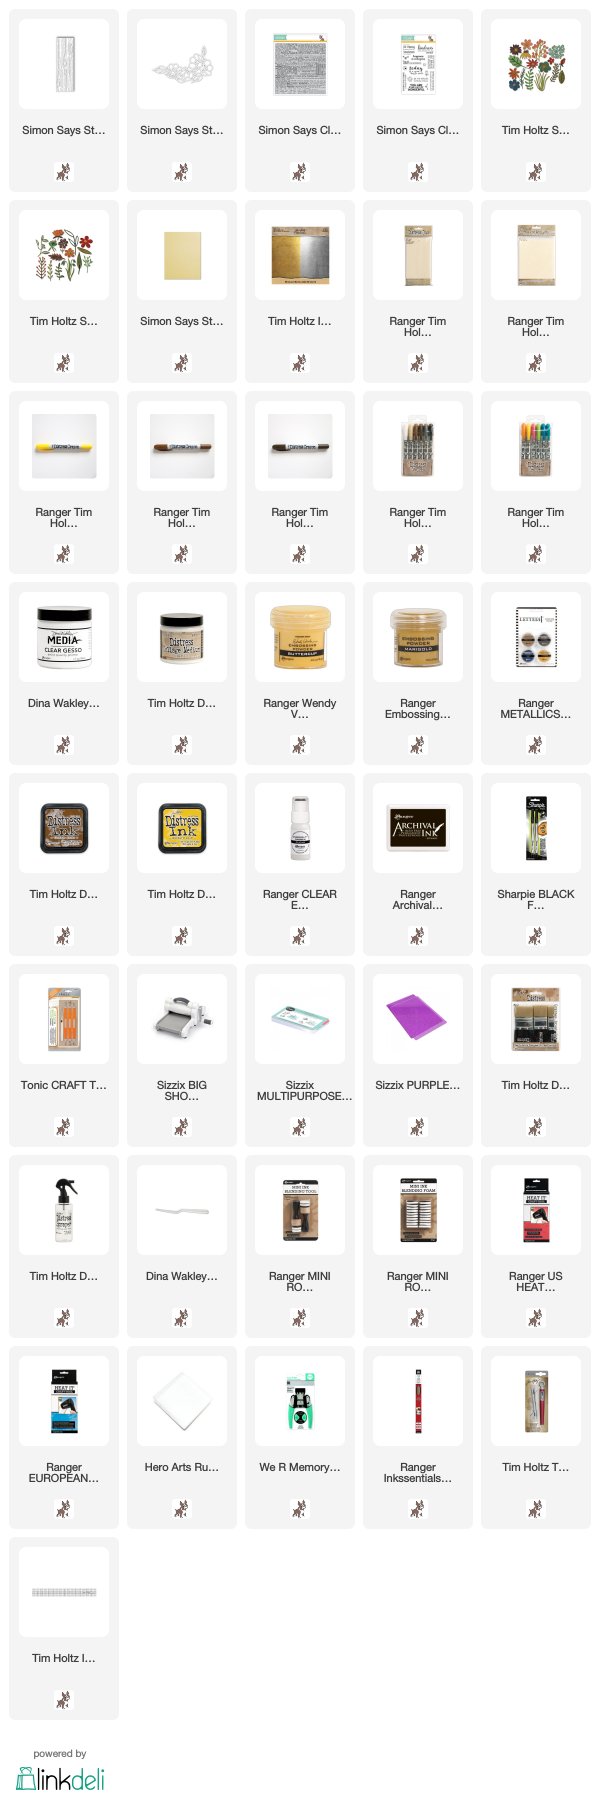
Supplies:
|
Simon Says Clear Stamps STAINED GLASS LOVE
|
Simon Says Clear Stamps HANDWRITTEN LOVE
|
Simon Says Stamp PICTURE BOOK ELEPHANT
|
Simon Says Stamp PICTURE BOOK ZEBRA
|
Simon Says Stamp CLIPPING HEART
|
Simon Says Stamp BIRTHDAY WISHES FRAME
|
Simon Says Stamp SKETCH HEART
|
Simon Says Stamp EYELET ARCH BORDERS
|
Simon Says Stamp STITCHED CIRCLES
|
Simon Says Stamp 3 SIDED SCALLOP
|
Simon Says Clear Stamps SKETCHED ALPHABET
|
Simon Says Stamp MELON
|
Simon Says Stamp BLUE JAY
|
Simon Says Stamp TEENY BIKINI
|
Simon Says Stamp GREEN APPLE
|
Simon Says Stamp SCHOOLHOUSE RED
|
Simon Says Stamp DUCKLING
|
Simon Says Stamp LAVENDER Purple
|
Simon Says Stamp Cardstock GLIMMERY ASSORTMENT PACK
|
Simon Says Stamp Cardstock GLIMMERY WHITE DIAMOND
|
Simon Says Stamp Cardstock GLIMMERY DEEP SEA BLUE
|
Simon Says Stamp VELLUM
|
Simon Says Stamp Wool Felt Sheets NIGHT SKY
|
Simon Says Stamp Wool Felt Sheets White Felt
|
Simon Says Stamp Card Stock 100# SET OF 24 COLORS
|
Simon Says Stamp Card Stock 100# RAINBOW PACK
|
Sizzix JOURNAL die
|
Simple Stories BASICS 6 x 6
|
Tim Holtz Distress Collage Medium MATTE
|
Ranger Inkssentials GLOSSY ACCENTS
|
Sizzix LITTLE SIZZLES MAT BOARD PACK 6x13 CREAM
|
Ranger DINA WAKLEY MEDIA Archival Mixed Media Palette
|
Paper Artsy A BIT JADED Infusions Colored Stain
|
Paper Artsy IN THE NAVY Infusions Colored Stain
|
Canson MONTVAL WATERCOLOR 9x12
|
Sizzix BIG SHOT MACHINE
|
Sizzix MULTIPURPOSE PLATFORM STANDARD FOR WAFER THIN DIES
|
Sizzix PURPLE WITH SILVER GLITTER
|
We R Memory Keepers Cropadile CORNER CHOMPER
|
We R Memory Keepers CROP-A-DILE
|
Tim Holtz DISTRESS SPRAYER
|
3M Scotch PINK ATG ADVANCED TAPE GLIDER 0.25 Inch Adhesive Glue Gun CAT 085
|
3M Scotch ATG 0.25 Inch GOLD REFILL TAPE Adhesive 36 Yards Acid Free
|
Hero Arts Rubber Stamp SMALL BLOCK TRIO CLEAR ACRYLIC BLOCKS
|
Tim Holtz Idea-ology TINY ATTACHER
|
Ranger Inkssentials Non Stick CRAFT SHEET 15 X 18
|
Tim Holtz Idea-ology DESIGN RULER
|
Tim Holtz Tonic CRAFT KNIFE
|
Tim Holtz Idea-ology LABEL LETTERS
|
| |
* Please note: the links are affiliate links, for which I receive a small percentage of sales generated by the link, at no extra cost to you.