Showing posts with label Scenic Stamping. Show all posts

Monday, August 4, 2025

Birthday Cottage Card

Hello friends! This week we would like you to join us for the Monday Challenge's 15th Birthday Celebrations!

Please note: this post has affiliate links, for which I receive a small percentage of sales generated by the link, at no extra cost to you.
Can you believe that the Simon Says Stamp Monday Challenge has been going for 15 years! We would like to say a huge thank you to all of our fellow crafters who have joined us over the years and we hope you will continue to join us. So many years of creativity and inspiration! And about 760 challenges, if I calculated correctly.

Our theme this week is of course Happy Birthday. Since it is the first Monday of a new month, the team is showcasing products by a specific company/designer and this week it is AALL & Create. You can find all their stunning products here. You don't have to use AALL & Create products to join in the challenge, but it is fun if you do.

We also have a new guest designer and during August Ann Chuang will be joining us. Remember to check her blog to see what she has created.

Layers of ink - Birthday Cottage Card Tutorial by Anna-Karin Evaldsson.

I made a tall birthday card and created a scene with AALL & Create Tudor Cottage set. It was painted with watercolor paint adding stamped sentiments and sentiment strips. 


The AALL & Create Tudor Cottage is such a fun stamp set and you can create many different houses and scenes with it. I stamped a tall house, a lamp post, some animals and some pebbles.


I started by painting the house with various watercolors.

Paint the sky with watercolor paint.

Paint the sky and then paint the ground. The dark paint is Daniel Smith Lunar Black, which is a granulating paint, adding texture.

Add details with a white gel pen and a black pen.

Add highlights with a white gel pen and details and shading with a black pen.


Here you can see the granulating effect for the Lunar Black paint. The watercolor panel was mounted on Slate, Cotton Candy and folded Cornflower Simon Says Stamp cardstock.


The stamp set contains fun little details such as the directional arrows.


Don't worry about perfection when painting. Add shading before the first layer of paint is completely dry, so that the colors will blend.


This stamp set would be fun for a Christmas house too, just change the colors and add some snow. The sentiment strips come from AALL & Create Mindful Moments.


Join us this week in our Happy Birthday challenge! You have a chance to win a $25 gift voucher to do some fun shopping at Simon Says Stamp. You have until Monday 8am Ohio time. 1pm UK time, 2 pm CET to join in.


Do you use Instagram? If so please add #sssmchallenge so we can see your entries there too.


Thank you so much for visiting today! 

Happy crafting!

Anna-Karin

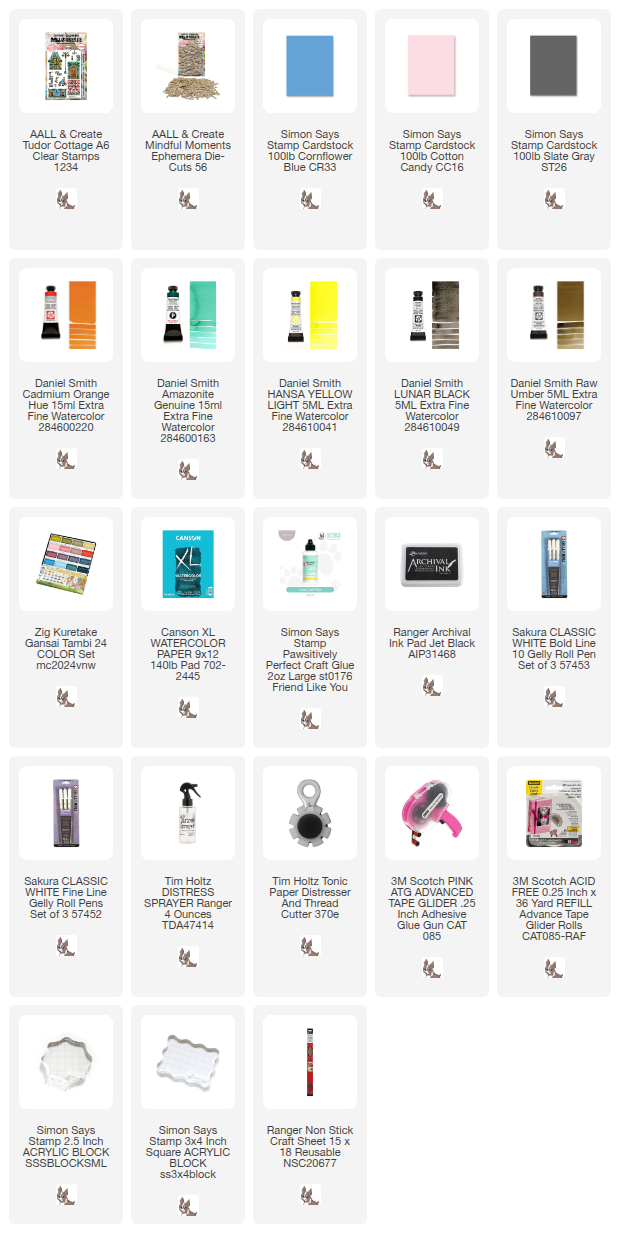
Supplies:

* Please note: the links are affiliate links, for which I receive a small percentage of sales generated by the link, at no extra cost to you.


Monday, February 24, 2025

Winter Night Art Journal

Hello crafters! I hope you are well and that you had a good weekend. Our beautiful snow didn't last long, but in my art journal it can last forever. 

Please note: this post has affiliate links, for which I receive a small percentage of sales generated by the link, at no extra cost to you.


This week we have a Night Sky (stars/universe/planets) theme at the Simon Says Stamp Monday Challenge Blog. I hope you will join us! Don't miss the last project by our February guest designer Cassie Lynch aka mk_knits.

Layers of ink - Winter Night Art Journal Tutorial by Anna-Karin Evaldsson.

I made a winter night art journal page this week, with a snowy and hilly landscape, a full moon and a sky filled with stars. The page was done in my Stamperia Happiness Mixed Media Journal. I have enjoyed working in this journal lately and really like the tall pages, which reminds me of tags. 

Paint the background with watercolor paint.

Draw a hill with a pencil and then paint the sky with watercolors. Mix all the colors before you start painting and let them blend wet-into-wet. When this layer was dry, I darkened the upper part since I wanted a darker looking sky.

Stamp with Simon Says Stamp Forest Scenery.

I stamped the trees with Simon Says Stamp Forest Scenery, which is one of the stamp sets that I designed. Ink with three shades of Distress Ink and mist with water before stamping.

Add paint to darken the trees.

The stamped Distress Ink was a little light on the dark sky and I added watercolor paint to the trees, to make them stand out better. Paint shadows and some texture on the snow. The bits of yellow is the same color as used for the moon.

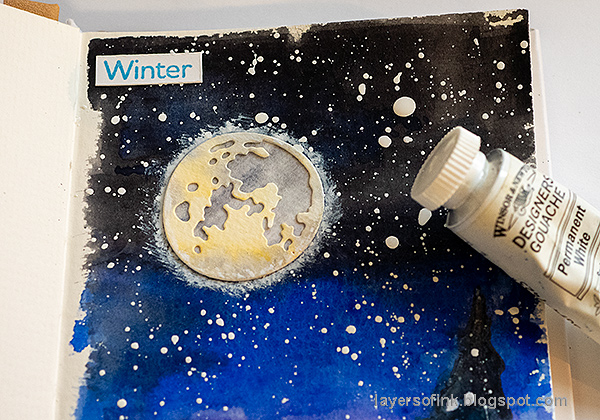
Splatter with Winsor and Newton Permanent White Gouache.

For the stars, I used Winsor & Newton Permanent White Gouache. Mix a little water into the paint and splatter it with a small paint brush.

Stamp sentiments and deer with the Forest Scenery set.

Stamp sentiments on the background. Ink the small deer with two shades of Distress Ink, wipe the ink off from the bottom of the legs and mist with water. Wiping ink off makes it appear as if the deer is standing in the snow.

Die cut the moon with Tim Holtz Vault Christmas Magic.

Die cut the moon from Tim Holtz Sizzix Vault Christmas Magic set from watercolor paper and paint with watercolors. 

Apply white gouache around the moon.

Glue the moon to the background and dry brush a little gouache around it for shine.


Some of the sentiments were stamped with Archival Ink Cobalt on white paper and cut into strips. All the sentiments come from Simon Says Stamp Forest Scenery.


Glue one of the sentiments partly overlapping the moon. 

Watercolor stars in a night time sky.

The splatters could also be snow, but on this night, the skies were clear and there were lots of visible stars.

The wonder of nature.

The bottom sentiment was a little crooked and I restamped it on white paper instead, it also looks nice with a third blue sentiment strip on the page.

Stamped and watercolored pine trees.

I covered the trees when splattering, but then decided to add just a hint of splatters on them too, for highlights.


It is fun to combine Distress Ink and watercolor paint and they blend really well. 

Join us this week in our Night Sky (stars/universe/planets) challenge! You have a chance to win a $25 gift voucher to do some fun shopping at Simon Says Stamp. You have until Monday 8am Ohio time. 1pm UK time, 2 pm CET to join in.


Do you use Instagram? If so please add #sssmchallenge so we can see your entries there too.


Thank you so much for visiting today! 

Happy crafting!

Anna-Karin

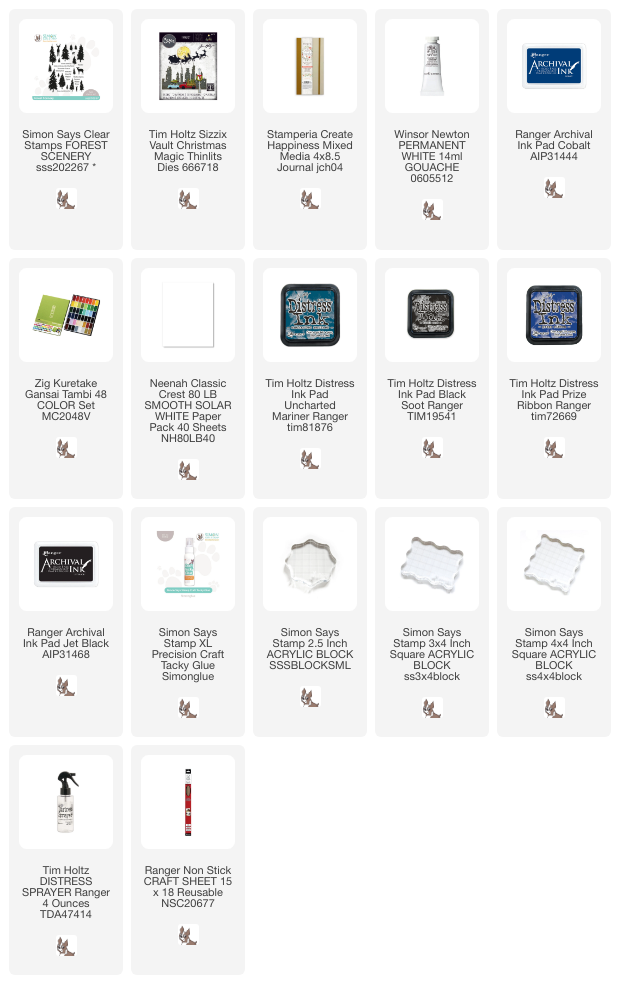
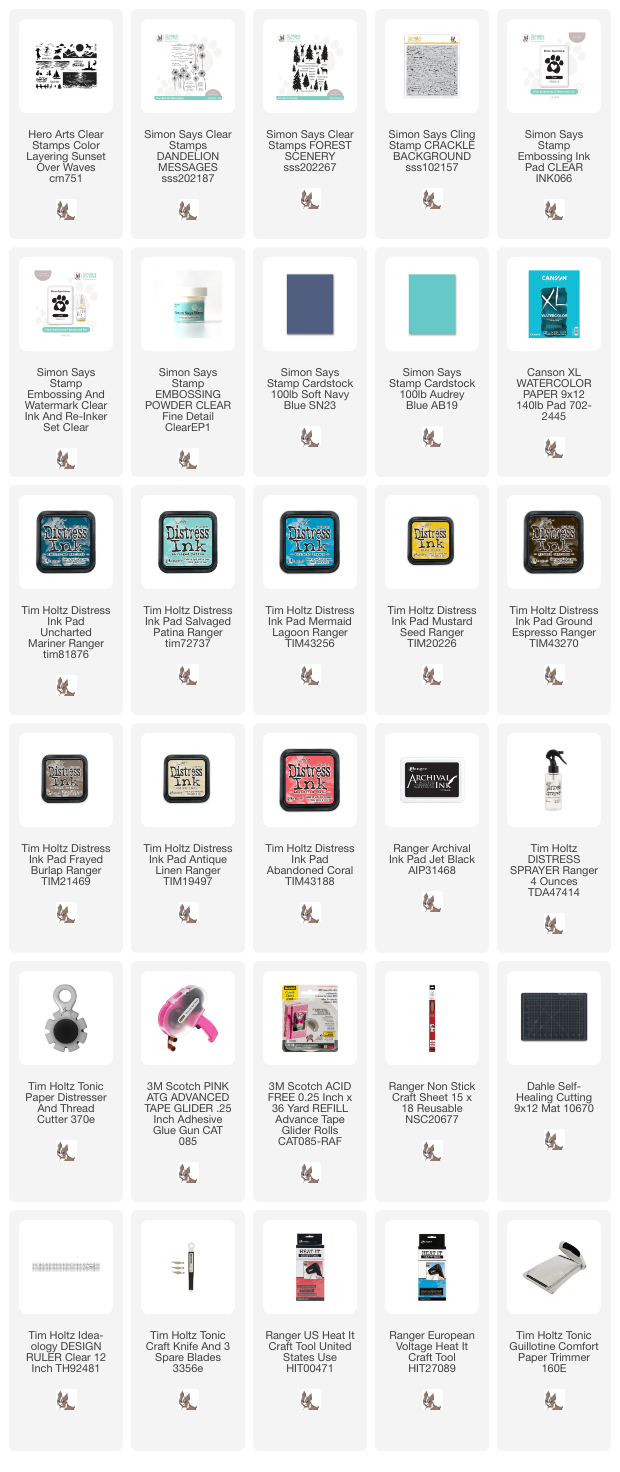
Supplies:

* Please note: the links are affiliate links, for which I receive a small percentage of sales generated by the link, at no extra cost to you.


Monday, July 8, 2024

Stamped Beach Card

 Hi friends! It is Monday again and I hope you had a good weekend!

Please note: this post has affiliate links, for which I receive a small percentage of sales generated by the link, at no extra cost to you.


This week we have a Summer Fun! theme at the Simon Says Stamp Monday Challenge Blog. I hope you will join us! Don't miss the beautiful project by our guest designer Laura Cassina

Layers of ink - Stamped Beach Card Tutorial by Anna-Karin Evaldsson.

I made a summery beach card with bright and happy colors. The card was mainly made with Hero Arts Color Layering Sunset over Waves stamp set and watercolor stamped with Distress Ink. 

Layers of ink - Stamped Beach Card Tutorial by Anna-Karin Evaldsson. Stamp with Hero Arts Sunset Over Waves.

Ink the cloud bank and the sun with Mustard Seed and Abandoned Coral. Mist the stamp with water before stamping. Let dry.

Layers of ink - Stamped Beach Card Tutorial by Anna-Karin Evaldsson. Clear emboss.

Restamp both images with Simon Says Stamp Clear Embossing Ink and emboss with clear powder. This step will protect the stamping from the next layers. Also clear emboss some ripples in the sea.

Layers of ink - Stamped Beach Card Tutorial by Anna-Karin Evaldsson. Stamp wit Distress Ink.

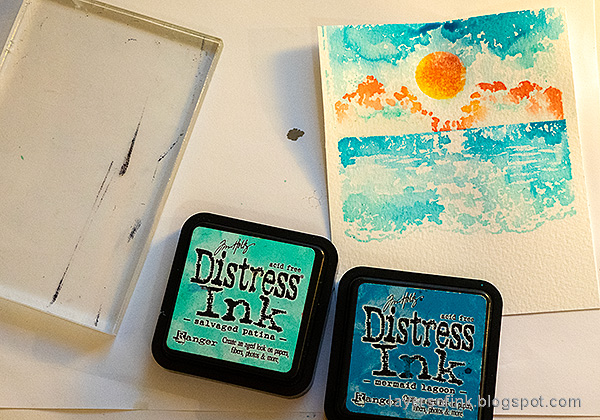
Stamp the sea with Mermaid Lagoon towards the back and Salvaged Patina towards the front. Mist with water before stamping.

Layers of ink - Stamped Beach Card Tutorial by Anna-Karin Evaldsson.

Stamp the sky by applying ink to an acrylic block and misting it heavily with water. stamp with the block.

Layers of ink - Stamped Beach Card Tutorial by Anna-Karin Evaldsson.

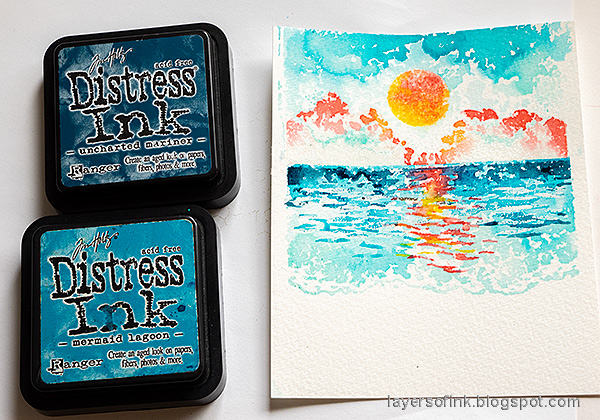
Repeat the shades of the sun and clouds in the sea.

Layers of ink - Stamped Beach Card Tutorial by Anna-Karin Evaldsson.

Stamp more ripples with Uncharted Mariner towards the back and Mermaid Lagoon towards the front.

Layers of ink - Stamped Beach Card Tutorial by Anna-Karin Evaldsson.

When dry, stamp the beach using the acrylic block. Add some white to the sea and to the clouds with a white paint pen. Add a little Unchartered Mariner to the upper part of the sky.

Layers of ink - Stamped Beach Card Tutorial by Anna-Karin Evaldsson.

Stamp the birds, the child and the sentiments with black ink. The birds and the silhouette of the child also comes from Hero Arts Sunset over waves.

Layers of ink - Stamped Beach Card Tutorial by Anna-Karin Evaldsson. Stamp with Simon Says Stamp Crackle Background.

I added texture to the sand with Simon Says Stamp Crackle Background.

Layers of ink - Stamped Beach Card Tutorial by Anna-Karin Evaldsson.

I also stamped 'summer' with Simon Says Stamp Forest Scenery. Distress the edges of the watercolor panel.

Layers of ink - Stamped Beach Card Tutorial by Anna-Karin Evaldsson.

Here you can see the ripples caused by the clear embossing better.

Layers of ink - Stamped Beach Card Tutorial by Anna-Karin Evaldsson.

Scribble a shadow for the child and castle.

Layers of ink - Stamped Beach Card Tutorial by Anna-Karin Evaldsson.

This sentiment comes from Simon Says Stamp Dandelion Messages.

Join us this week in our Summer Fun challenge! You have a chance to win a $25 gift voucher to do some fun shopping at Simon Says Stamp. You have until Monday 8am Ohio time. 1pm UK time, 2 pm CET to join in.


Do you use Instagram? If so please add #sssmchallenge so we can see your entries there too.


Thank you so much for stopping by here today! 

Happy crafting!

Anna-Karin

Supplies:

* Please note: the links are affiliate links, for which I receive a small percentage of sales generated by the link, at no extra cost to you.