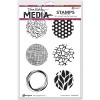
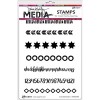
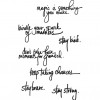
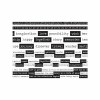
Hello everyone and very welcome to my blog! I am so happy to be a part of the blog hop celebrating the release of the Simon Says Stamp
One of a Kind line of products.
One of a Kind has wonderful stamps, dies, inks, an embossing plate and sequins. You can see the
full release here. I hope you will join us on the hop and there are of course prizes to win along the way. If you follow along
the hop, you came here from the very creative
Heather Ruwe.
I made an art journal page and two cards, and took some step photos along the way. The techniques can be used on any type of project.
I love the
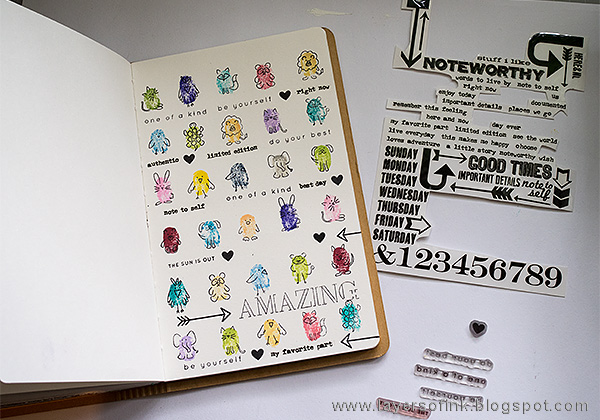
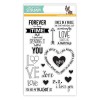
Fingerprint Doodles set and is is such a fantastic idea for a stamp set. All those little fun characters on one set (twenty-two of them). You also get four great sentiments, and five fingerprint stamps. I wanted as many as possible of them on one page, and decided to make a fun art journal page in my
Small Creative Journal. This project could just as well be a card. Kids will love it too. In fact, my oldest son wants me to make exactly the same panel that he can have in his room.
These are the stamp sets and dies that I used - I forgot to include the
Big Day die on this photo. Here you see:
Artsy Fruit, Fingerprint Doodles,
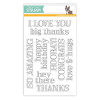
Big Grettings 1,
Thanks and the
3 Sided Scallop.
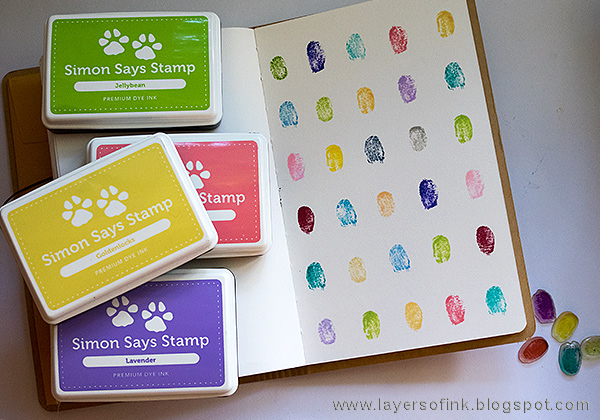
I started out by stamping the different
fingerprints with many different
Simon Says Stamp inks (they are all in the supply list below).
Stamp
characters on all the fingerprints. I used only vertical characters here, some are meant for horizontally stamped fingerprints. This was so fun to do.
I didn't want to cover up any of my characters, so instead I added stamped and rub on words and phrases in between the lines, in addition to a
title and stamped hearts and arrows.
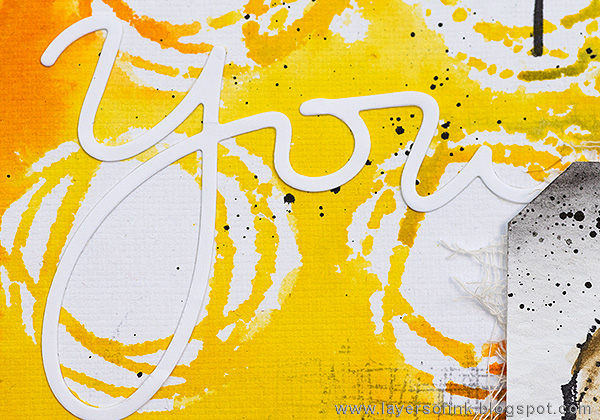
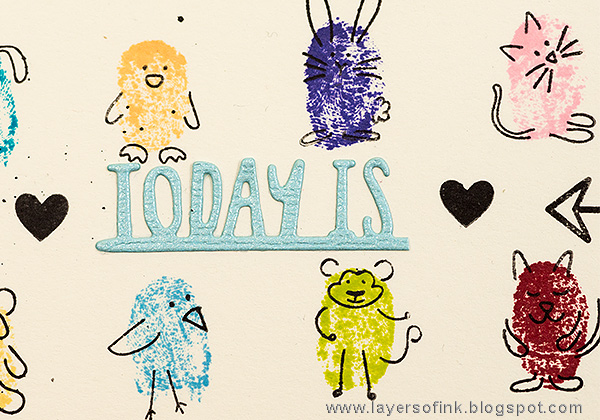
The first part of my title was die cut with the
Big Day die, from
glimmer cardstock, and using only the first part of the phrase.
I glued it on the page to form the title 'Today is amazing', which is the theme of the page.
These doodles characters are really such fun and I liked having so many of them on one page. The page was splattered with a black Scribble Stick, just to add a tiny amount of texture. The scalloped edge is a left-over from the
3 Sided Scallop.
The elephant is one of my favourites. As you can see, you get a better effect with lighter inks than with dark inks, such as the Navy to the left.
More fun characters. I really love
this stamp set.
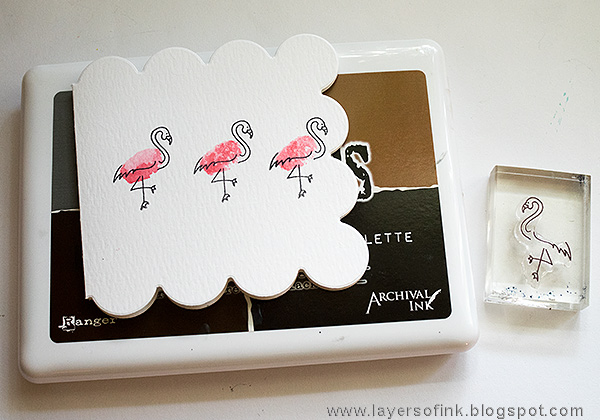
I also wanted to show you how quickly you can make a simple card with the
Fingerprint Doodles, and since the stamp set has so many different characters, you can make a lot of different cards. Use only one animal as here, or a whole bunch of them, as above. The sentiment is stamped with the
Big Greetings 1 die.
For the card, I used the
3 Sided Scallop to die cut a card from watercolor cardstock. This die is so clever, since it only cuts three out of four sides, it is perfect for cards. If your paper is too thick, it is easy to line the die up to die cut it one side at a time. I had to do that with the watercolor paper. Ink up a fingerprint stamp, mist with water and stamp on the card, slightly at an angle.
When dry, stamp the flamingos on top.
Smear Pumice Stone Distress Ink on a craft sheet, mist with water and pick up with a paint brush, paint ground and a shadow for the flamingos. I did the same with Worn Lipstick, to add color to their long necks.
Finally, another scalloped card, made with the awesome
Artsy Fruits set. As with the Fingerprint Doodles set, you get many stamps on one set and they are meant to be combined in different ways, so that you create a lot of variation in the fruit that you stamp. I have a particular thing for pear stamps, so I immediately decided to use the pears.
Something that I really like with the
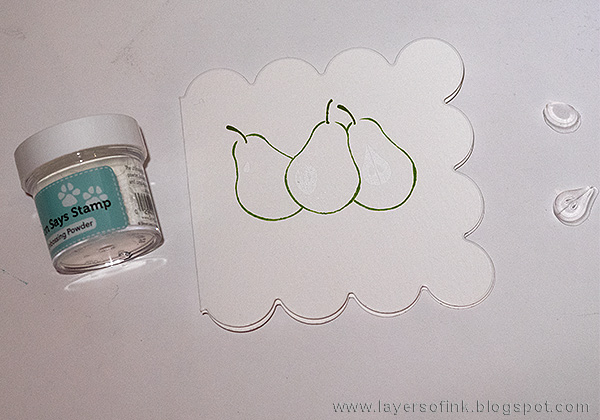
Artsy Fruits stamps, is that the line is varied, which gives a nice look to them. Start by stamping the pear once with Leaf Green ink and another time on
Masking Paper. Cut the latter out.
Place the mask over the stamped pear and stamp a pear on each side of it, varying the angle.
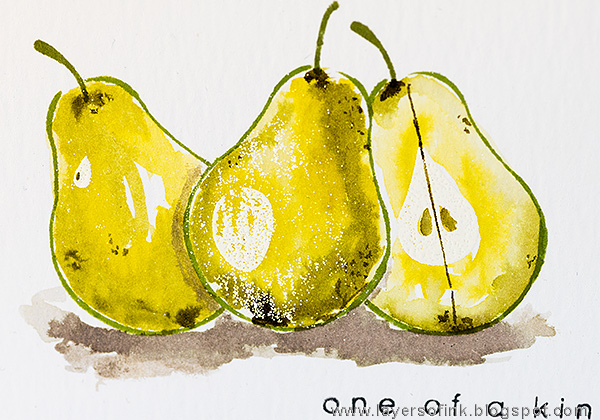
Stamp the stem of the pear with Fern Green ink. White emboss three different stamps on the pears. If some specks of embossing powder is stuck on the pears, leave it, since it creates great textures.
Smear Shabby Shutters, Crushed Olive, and Peeled Paint Distress Ink on a craft sheet, mist with water and pick up with a paint brush. Paint the pears. The embossing resists the ink. When the ink is dry, add a couple of specks here and there for texture. The shadow was done with Pumice stone. You can use this same technique on all the fruits in the
Artsy Fruits set.
Don't miss all the inspiration along the hop, and of course there are also prizes to be won. A $25 gift voucher is given away on each stop on the hop, all you need to do to have a chance at winning it, is to leave a comment. The winners will be posted on the
SSS blog on Tuesday.
The next stop on the hop is
Kelly Latevola and don't miss the fantastic post that she has for you. If you get lost somewhere along the way, you can always head back to the
Simon Says Stamp Blog. Below are all the stops along the hop:
I hope you will have a great weekend! In Sweden, we are celebrating
Midsummer's Eve today, and by the time you read this, the kids and I have returned from a traditional celebration where we danced around a maypole.
Thank you for stopping by at my blog! Happy crafting!
Anna-Karin
Supplies:


