Showing posts with label dye inks. Show all posts

Saturday, June 29, 2024

Blue Rainbow

Hi friends! Today I have a tag to share using a rainbow stencil, but not really for a rainbow, but for an interesting background design.

Please note: this post has affiliate links, for which I receive a small percentage of sales generated by the link, at no extra cost to you.
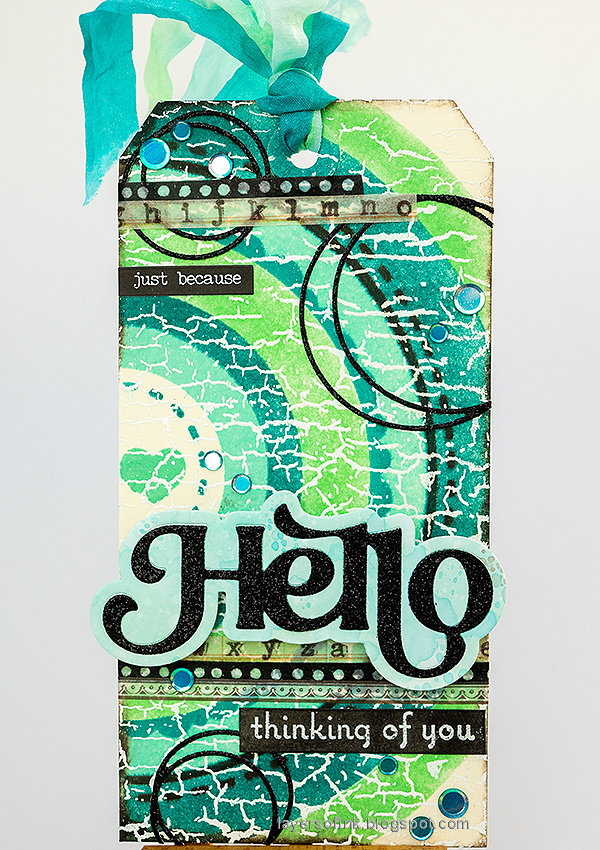
Layers of ink - Blue Rainbow Card Tutorial by Anna-Karin Evaldsson.

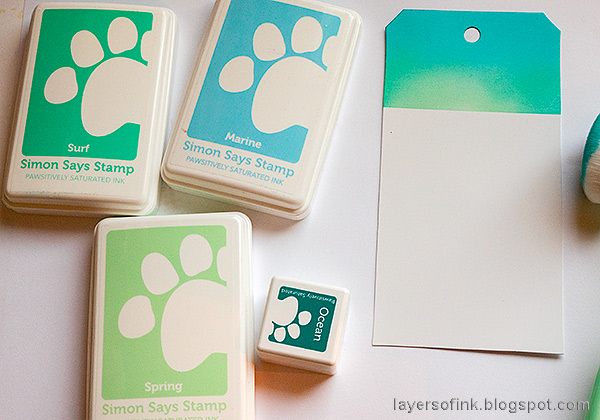
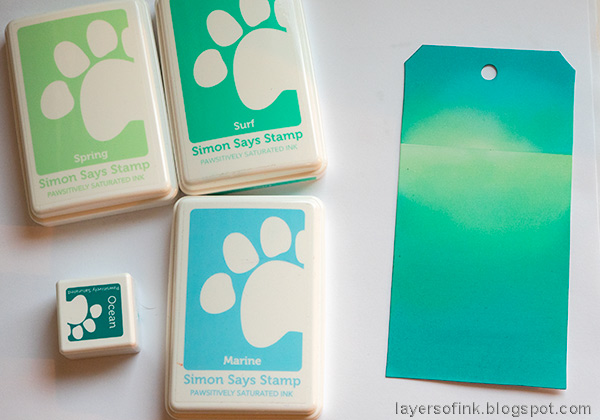
I used the Simon Says Stamp Happy Rainbow stencil set to create the background of this tag. The stencils are meant for a rainbow design, but I decided to turn them on the side instead and use only shades of blue, green and turquoise. The background was ink with Simon Says Stamp Pawsitively Saturated inks. The Happy Rainbows set is a part of the new Sunny Vibes release.

Layers of ink - Blue Rainbow Card Tutorial by Anna-Karin Evaldsson. Stamp with Simon Says Stamp Crackle Background.

Start by white embossing Simon Says Stamp Crackle Background on the entire tag.

Layers of ink - Blue Rainbow Card Tutorial by Anna-Karin Evaldsson. Ink through Simon Says Stamp Happy Rainbow.

Place down one of the stencils and ink with Seafoam ink using an ink-blending brush.

Layers of ink - Blue Rainbow Card Tutorial by Anna-Karin Evaldsson.

Take the next stencil and line it up. Ink with Pawsitively Saturated Ocean ink.

Layers of ink - Blue Rainbow Card Tutorial by Anna-Karin Evaldsson. Add more ink.
 
Next stencil, but this time with Spring ink. I turned the heart around since I didn't want it placed on it's side. 

Layers of ink - Blue Rainbow Card Tutorial by Anna-Karin Evaldsson. Ink through the stencil.

Repeat with Ocean ink again.

Layers of ink - Blue Rainbow Card Tutorial by Anna-Karin Evaldsson. Ink with Pawsitively Saturated Ink.

I wanted the ink to be darker for one of the designs and repeated it with Woodsy ink. The white embossing will resist the inks.

Layers of ink - Blue Rainbow Card Tutorial by Anna-Karin Evaldsson. Dye the ribbons.

The May Arts Faux Wrinkled Silk Ribbon was dyed with three of the Pawsitively Saturated inks used on the project.

Layers of ink - Blue Rainbow Card Tutorial by Anna-Karin Evaldsson. Add design tape.

I added even more circle designs to the tag. Simon Says Stamp Circle Loops were die cut from black glittery cardstock. The dotted tape is from Tim Holtz Design Tape Trims and there are of course also some sequins. 

Layers of ink - Blue Rainbow Card Tutorial by Anna-Karin Evaldsson.

I inked the edges with the Woodsy ink.

Layers of ink - Blue Rainbow Card Tutorial by Anna-Karin Evaldsson.

The Simon Says Stamp Fancy Hello was die cut from black glitter cardstock and from leftover inky Specialty Stamping paper. Adhere with foam tape.

Layers of ink - Blue Rainbow Card Tutorial by Anna-Karin Evaldsson. Stamp a sentiment.

This sentiment stamp comes from Simon Says Stamp Beachcombing, also from the Sunny Vibes release.

Layers of ink - Blue Rainbow Card Tutorial by Anna-Karin Evaldsson.


I hope you enjoyed this tutorial and that it helped you to look at new ways to use your stencils.


Don't miss the new Sunny Vibes release.


Thank you so much for stopping by here today! 


Anna-Karin

Supplies:

* Please note: the links are affiliate links, for which I receive a small percentage of sales generated by the link, at no extra cost to you.


Friday, July 29, 2022

Scenic Stamping Summer ATC Tutorial

Hi friends! Today I have three Artist Trading Cards to share, with vibrant summer scenes. They are quick and easy to do.

Please note: this post has affiliate links, for which I receive a small percentage of sales generated by the link, at no extra cost to you.

Layers of ink - Scenic Stamping Summer ATC Tutorial by Anna-Karin Evaldsson.

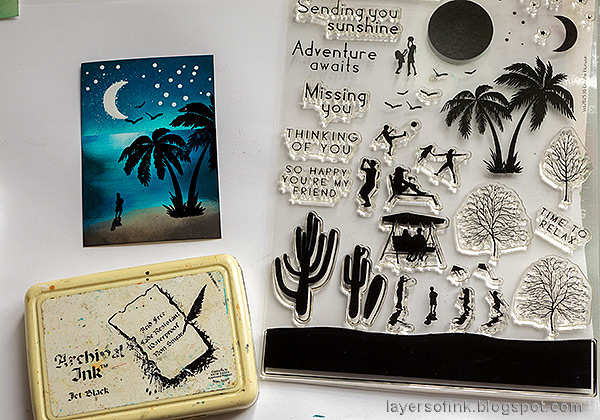
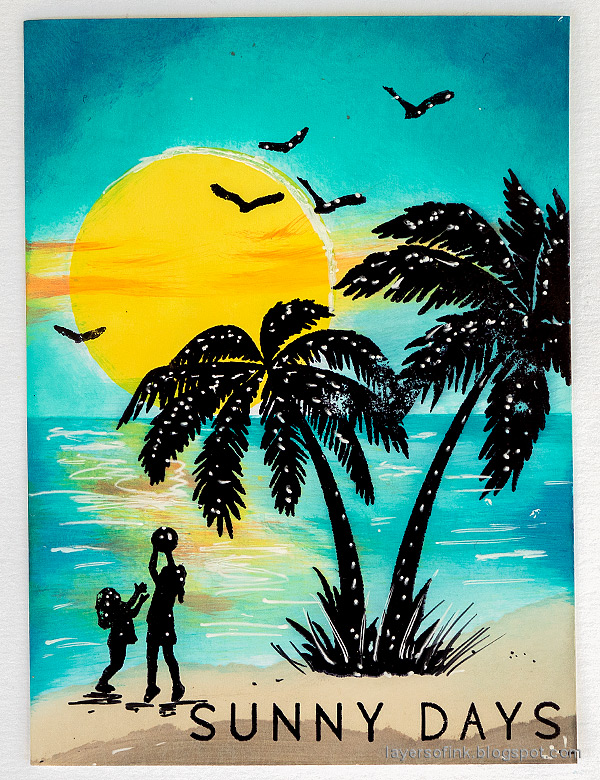
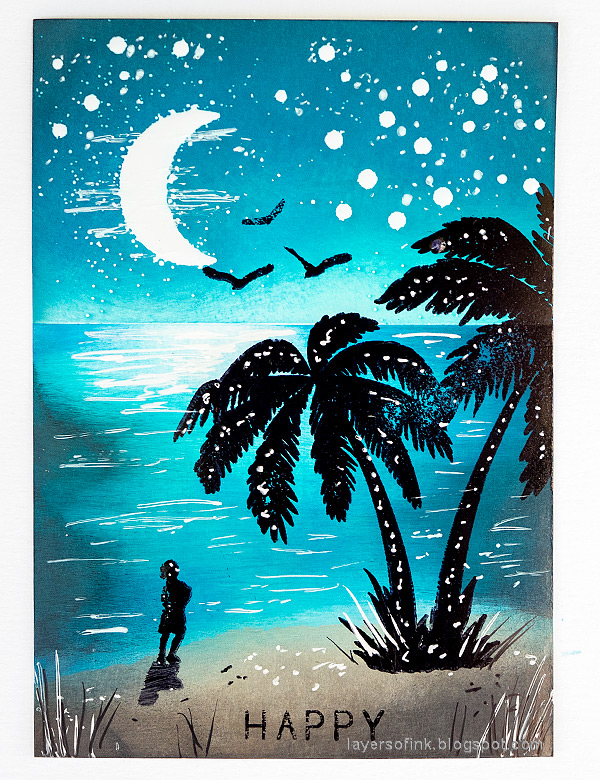
These are the three cards, two day-time scenes and one night-time scene. They are all done on glossy cardstock. I actually almost tossed the card to the left since I had pressed a bit too hard when stamping the palm trees. My son thought I was being too meticulous, so I listened and decided to continue with that card too (even though I still prefer the palm trees on the right-hand card). The left-hand and the right-hand cards were done in different orders, to show you that both ways work.

I used stamps and Very Low Tack Tape from Simon Says Stamp new Dream Big release.

Layers of ink - Scenic Stamping Summer ATC Tutorial by Anna-Karin Evaldsson.

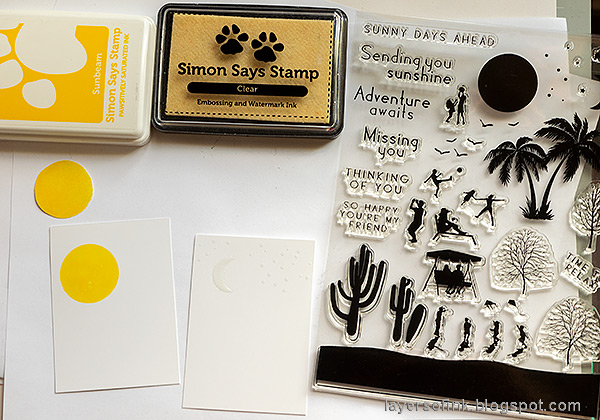
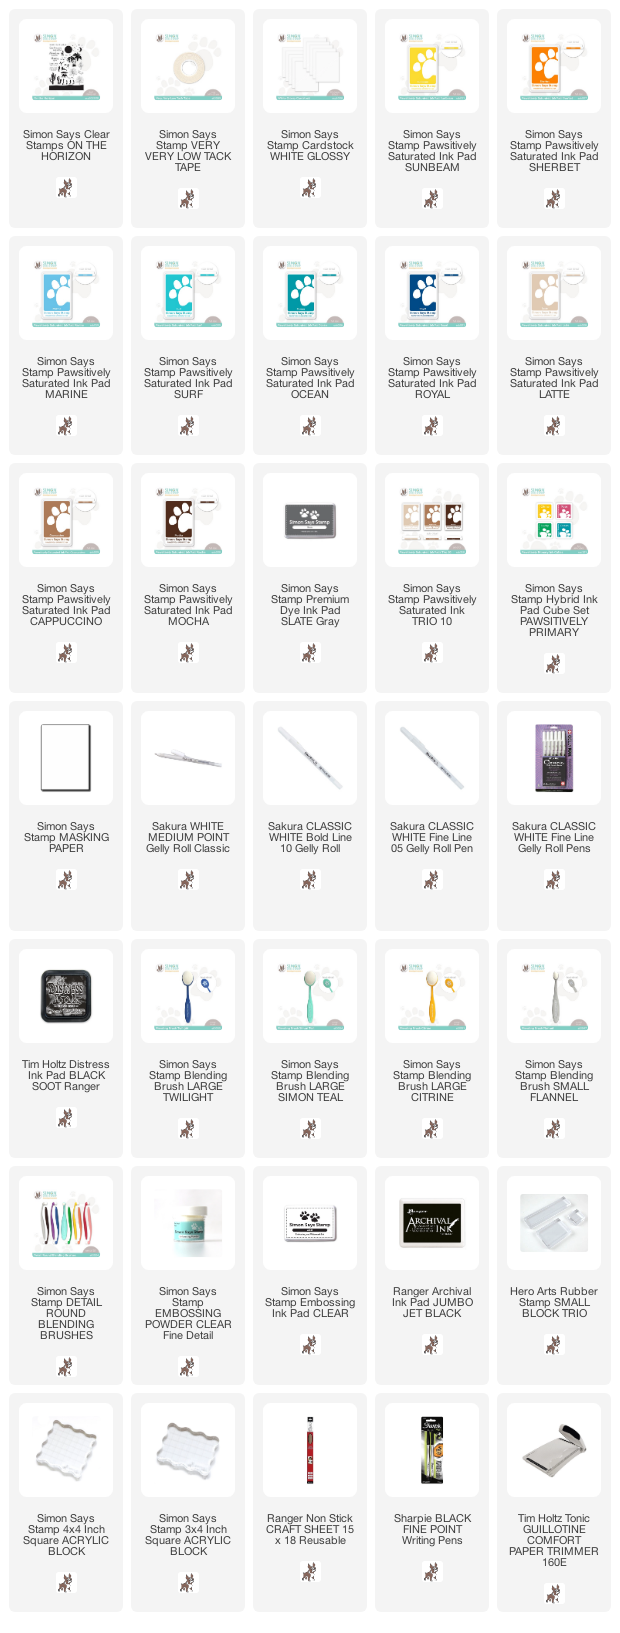
Cut gloss cardstock to 2.5 x 3.5 in. Start by stamping the sun from Simon Says Stamp On The Horizon with Simon Says Stamp Pawsitively Sunbeam ink and the moon and stars with embossing ink. Clear emboss the latter. Stamp the sun on masking paper too and cut out.

Layers of ink - Scenic Stamping Summer ATC Tutorial by Anna-Karin Evaldsson. Stamp on glossy cardstock.

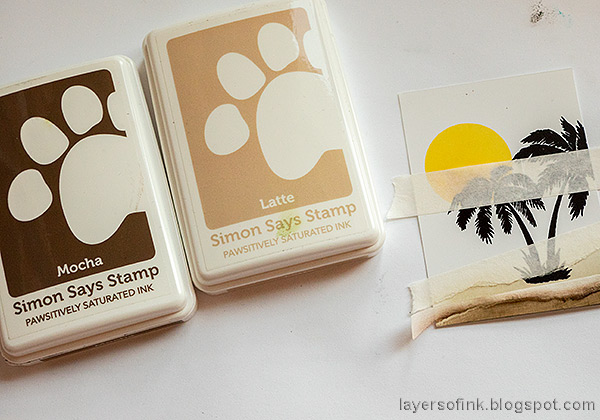
The Very Very Low Tack Tape is perfect for masking. It won't stick to your paper as normal masking tape might do. I tore a piece of the beach and added another piece for the horizon line. The masking tape sun is adhered above the sun.

Layers of ink - Scenic Stamping Summer ATC Tutorial by Anna-Karin Evaldsson. Ink the sand.

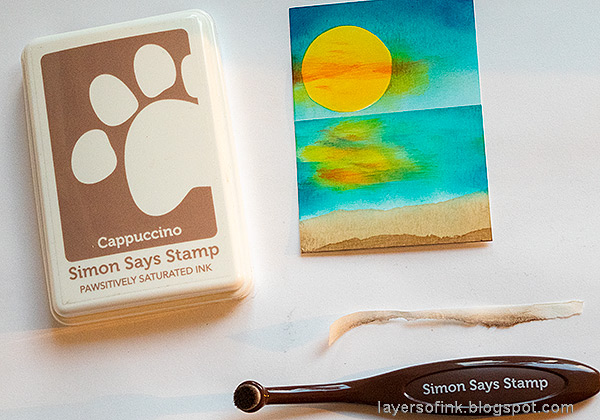
Ink the sand with Simon Says Stamp blending brushes and Latte and Cappuccino inks.

Layers of ink - Scenic Stamping Summer ATC Tutorial by Anna-Karin Evaldsson. Ink the sun rays.

Ink the reflection of the sun in the water. The Detail Round Blending Brushes work great for this. 

Layers of ink - Scenic Stamping Summer ATC Tutorial by Anna-Karin Evaldsson. Ink the sea.

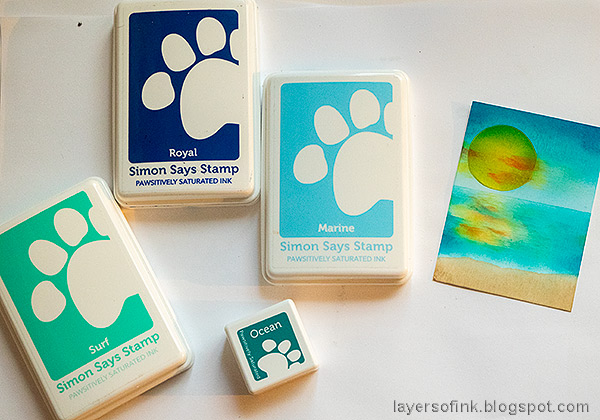
Ink the sea with Marine, Surf, and Ocean Pawsitively Saturated ink.

Layers of ink - Scenic Stamping Summer ATC Tutorial by Anna-Karin Evaldsson.

Continue with the sky, using tape to mask the horizon and the sea.

Layers of ink - Scenic Stamping Summer ATC Tutorial by Anna-Karin Evaldsson.

Remove the sun mask and add some ink over the sun. I didn't cut the circle mask for the sun carefully enough and the sun doesn't look perfectly round because of that. I used left-over torn tape to darken an area of the beach.

Layers of ink - Scenic Stamping Summer ATC Tutorial by Anna-Karin Evaldsson.

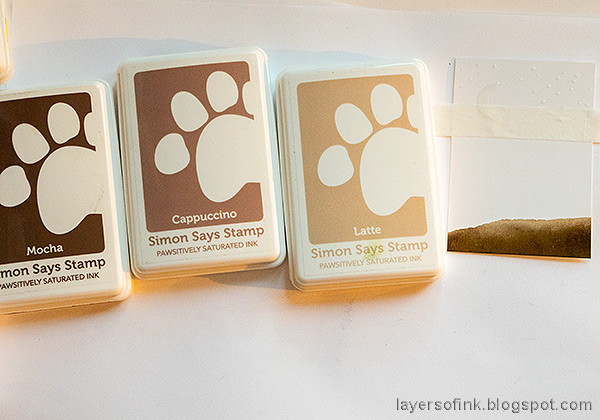
Next the night-time card. The beach was done in the same way on the night-time card, making it darker by also adding Mocha ink.

Layers of ink - Scenic Stamping Summer ATC Tutorial by Anna-Karin Evaldsson. Ink the sea.

Mask the sky with the Very Very Low Tack Tape and ink the sea.

Layers of ink - Scenic Stamping Summer ATC Tutorial by Anna-Karin Evaldsson.

Ink the sky. The embossing will resist the ink.

Layers of ink - Scenic Stamping Summer ATC Tutorial by Anna-Karin Evaldsson. Stamp the palm tree and images.

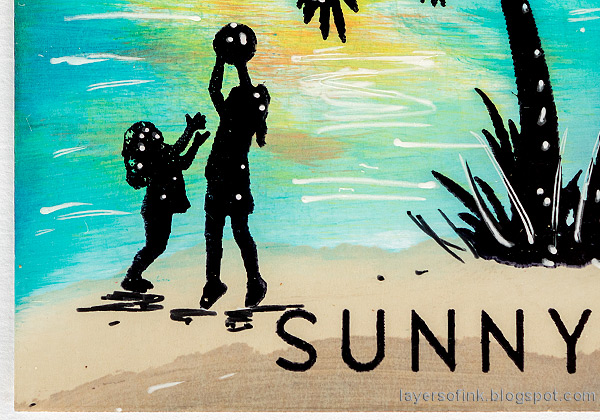
Stamp the palm tree, child and birds from On The Horizon with Jet Black ink.

Layers of ink - Scenic Stamping Summer ATC Tutorial by Anna-Karin Evaldsson. Stamp the palm tree and images. Add details with a white gel pen.

Add stars, grass and highlights with white gel pens.

Layers of ink - Scenic Stamping Summer ATC Tutorial by Anna-Karin Evaldsson. Stamp the trees.

The second day-time scene was done in a slightly different order. Start by stamping the sun and the palm tree from On the Horizon. Sometimes it is easier to position the main stamps before inking.

Layers of ink - Scenic Stamping Summer ATC Tutorial by Anna-Karin Evaldsson. Stamp the palm tree and images.

Add Very Very Low Tack Tape as before. Ink the sand. 

Layers of ink - Scenic Stamping Summer ATC Tutorial by Anna-Karin Evaldsson. Stamp the palm tree and images.

Ink reflections in the water.

Layers of ink - Scenic Stamping Summer ATC Tutorial by Anna-Karin Evaldsson. Stamp the palm tree and images.

And next comes the sea.

Layers of ink - Scenic Stamping Summer ATC Tutorial by Anna-Karin Evaldsson. Stamp the palm tree and images.

Add ink to the sun. I didn't mask the sun here (the mask had gone missing on my desk).

Layers of ink - Scenic Stamping Summer ATC Tutorial by Anna-Karin Evaldsson. Stamp the palm tree and images. Add details with a white gel pen.

Continue in the same way as before and finish the scene.

Layers of ink - Scenic Stamping Summer ATC Tutorial by Anna-Karin Evaldsson.

I added white highlights and details to the day-time cards too.

Layers of ink - Scenic Stamping Summer ATC Tutorial by Anna-Karin Evaldsson.

A black pen was used for the shadows and a few dots here and there.

Layers of ink - Scenic Stamping Summer ATC Tutorial by Anna-Karin Evaldsson.

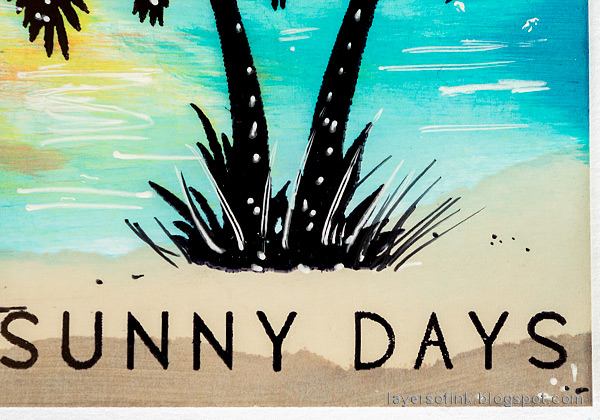
Stamp a sentiment from On The Horizon in the sand. I used the Very Very Low Tack tape to mask out the word 'ahead' when stamping the sentiment.

Layers of ink - Scenic Stamping Summer ATC Tutorial by Anna-Karin Evaldsson.

The card with the slightly smudged palm tree. 

Layers of ink - Scenic Stamping Summer ATC Tutorial by Anna-Karin Evaldsson.

Dye ink looks so vibrant on glossy cardstock and the white scribbles add life to the water.

Layers of ink - Scenic Stamping Summer ATC Tutorial by Anna-Karin Evaldsson.

The night-time scene is my favorite, partly since the black stamping blends in so well. I wiped off the ink from the shadow on the stamp of the child before stamping, so that it wouldn't be as solid as the child herself.

Layers of ink - Scenic Stamping Summer ATC Tutorial by Anna-Karin Evaldsson.

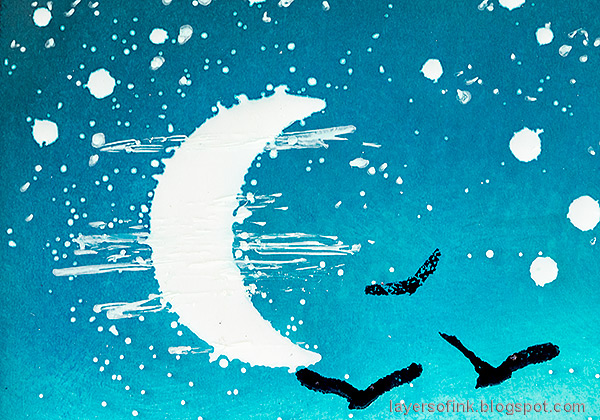
The small dots around the moon are from stray embossing powder. I wish there had been even more of that. 

Layers of ink - Scenic Stamping Summer ATC Tutorial by Anna-Karin Evaldsson.

The white scribbles add light to the moonlit areas of the sea.


Thank you so much for stopping by here today! Have a lovely day!

Happy crafting!

Anna-Karin

Supplies:

* Please note: the links are affiliate links, for which I receive a small percentage of sales generated by the link, at no extra cost to you.

Monday, June 20, 2022

Summer at the Sea Tutorial

Hi crafters! We have enjoyed beautiful summer weather lately. My favorite part of summer might, however, be that it stays light until late at night. 

Please note: this post has affiliate links, for which I receive a small percentage of sales generated by the link, at no extra cost to you.


This week with have a 'Something beginning with S' theme at the Simon Says Stamp Monday Challenge Blog. I hope you will join us and don't miss the gorgeous project by our June guest designer Alison Bomber.

Layers of ink - Summer at the Sea Tutorial by Anna-Karin Evaldsson.

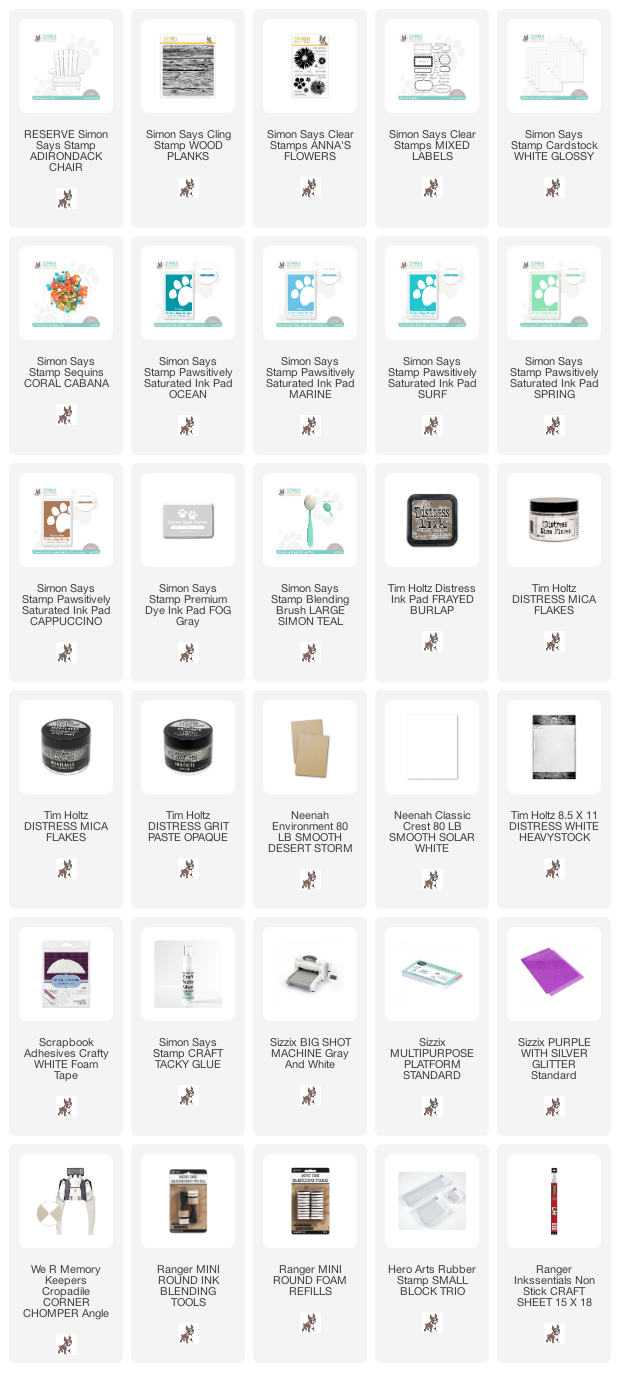
My inspiration is S for 'SUMMER' and 'SEA' and I made a calm sea-side scene on a tag, with a lovely peaceful sea and glittering sand. The chair was made with the new Simon Says Stamp Adirondack Chair die, from the new Let's Chill release

I'd love to sit in that chair now. I like to sit and paint with watercolors at the sea.

Layers of ink - Summer at the Sea Tutorial by Anna-Karin Evaldsson.

Start by cutting a tag from Simon Says Stamp white glossy cardstock. Mask with a piece of printer paper and ink with a blending brush. Start with the lighter shade. I just love the look of these Simon Says Stamp inks together. My horizon line is not perfectly straight, but once I discovered that, I had already done too much to start over.

Layers of ink - Summer at the Sea Tutorial by Anna-Karin Evaldsson.

Do the same for the sea. The Simon Says Stamp Pawsitivily Saturated Inks look wonderful on glossy cardstock.

Layers of ink - Summer at the Sea Tutorial by Anna-Karin Evaldsson. Apply grit-paste.

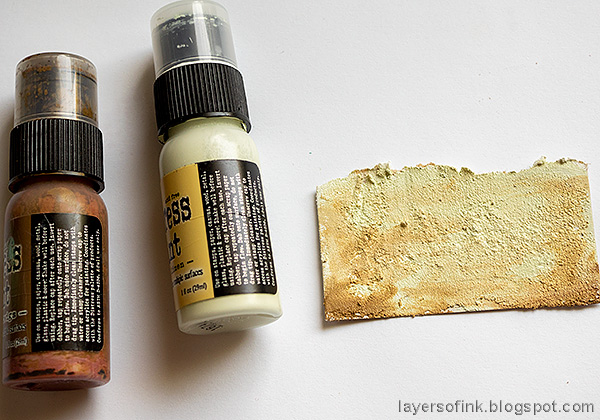
For the beach, tear a piece of kraft cardstock and apply Distress Grit-Paste on top.

Layers of ink - Summer at the Sea Tutorial by Anna-Karin Evaldsson. Paint the sand.

When dry, paint with Distress Paint.

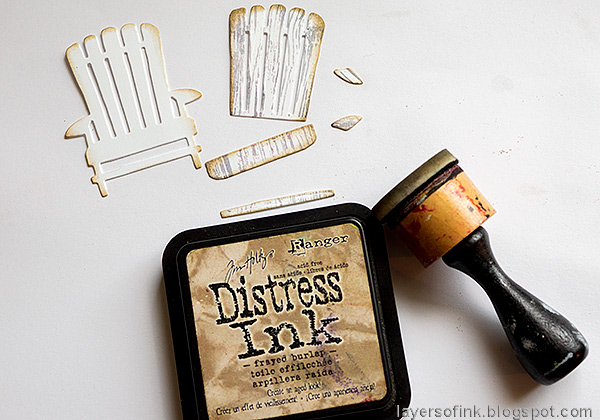
Layers of ink - Summer at the Sea Tutorial by Anna-Karin Evaldsson. Die cut with Simon Says Stamp Adirondack Chair.


Layers of ink - Summer at the Sea Tutorial by Anna-Karin Evaldsson. Stamp with Simon Says Stamp Wood Planks.

Stamp the front pieces with Simon Says Stamp Wood Planks Background and Fog ink. I was aiming for a white weathered-paint look.

Layers of ink - Summer at the Sea Tutorial by Anna-Karin Evaldsson.

Ink lightly with Frayed Burlap.

Layers of ink - Summer at the Sea Tutorial by Anna-Karin Evaldsson.

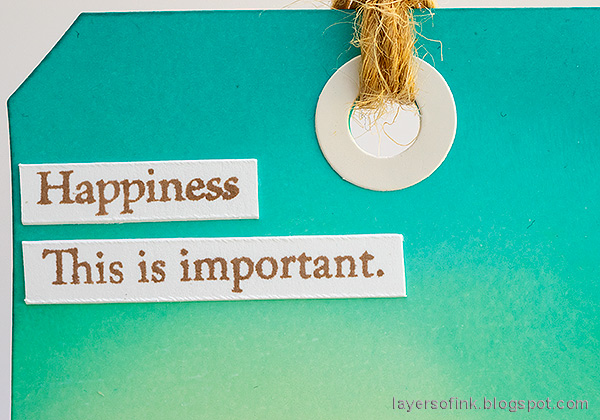
The sentiments were stamped with Simon Says Stamp Cappuccino ink and comes from Simon Says Stamp Anna's Flowers and Mixed Labels.

Layers of ink - Summer at the Sea Tutorial by Anna-Karin Evaldsson.

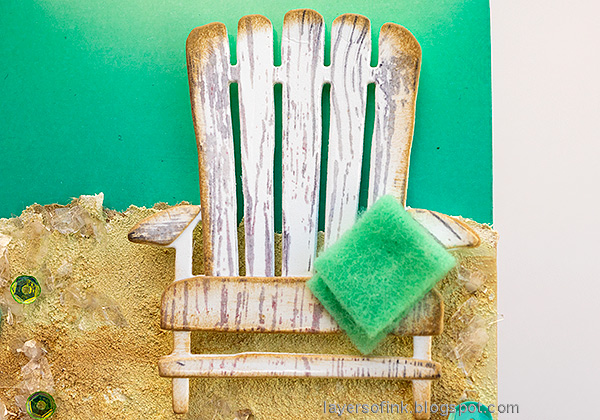
Assemble the chair and adhere with foam dots. Cut a small towel from felt.

Layers of ink - Summer at the Sea Tutorial by Anna-Karin Evaldsson.

I added some glue to the sand and sprinkled it with Tim Holtz Mica Flakes, to create a shimmering beach. The sentiment comes from Anna's Flowers.

Layers of ink - Summer at the Sea Tutorial by Anna-Karin Evaldsson.

I also added some Simon Says Stamp sequins

I hope you will join us this week in our 'Something beginning with S' challenge. You have a chance to win a $25 gift voucher to do some fun shopping at Simon Says Stamp. You have until Monday 8am Ohio time. 1pm UK time, 2 pm CET to join in.


Do you use Instagram? If so please add #sssmchallenge so we can see your entries there too.


Thank you so much for visiting my blog today! 

Happy crafting!

Anna-Karin

Supplies:

* Please note: the links are affiliate links, for which I receive a small percentage of sales generated by the link, at no extra cost to you.