
Hello everyone! I hope you had a good weekend! The kids haven't been 100% well, but are much better now. Yesterday, I went to an art gallery to see a really inspiring exhibition with nature paintings and drawings.

It is Monday again and we have a new fun Simon Says Stamp Monday Challenge for you, namely Use Your Fave Tool.
Our guest designer this month is Nicole from Paper Profusion, don't miss her gorgeous projects.

I have several tools that are all my favourite, so I couldn't stick to just one. I used my Sizzix Big Shot of course, which is a tool I use on most projects. Stamps are tools too, and probably my top tools, so I also used some stamps on this tag. Finally, I really like my We R Memory Keepers Crop-a-dile tools and can clearly remember when I got the first original Crop-a-Dile, years ago. It is still going strong. There is a funny story from nursery school when Anton asked his teacher to make a hole in a project, and wasn't quite impressed with the tool they used, since he was used to asking me to make holes with the Crop-a-Dile. 'Don't you have a proper hole-making machine?". I also used their new Angle Corner Chomper, which I really like.
I took step photos while making this One tag, Many Tags project.
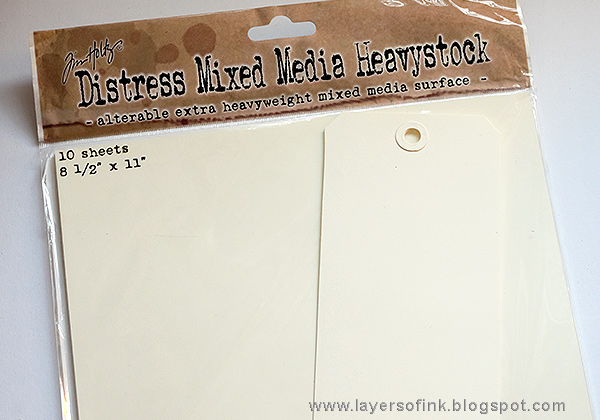
I started out using one of my all-time favourite dies, Tim Holtz's Tag & Bookplates, which I use all the time to die cut tags from different surfaces. Here I used the new Mixed Media Heavystock.

Then I got the idea to make a lot of small odd-sized tags to add to my tag to build up an entire background made of tags. I used both the large and the small angle on the Angle Corner Chomper tool, and punched the holes with my Crop-a-dile.

After arranging the tags on the larger tag, I glued them all down with Matte Collage Medium and added a layer on top too.

When dry, I stamped the background randomly with a date stamp.

Then I added Crazing Medium here and there on the tag. Let dry.

I coloured the tags with Distress Crayons, using a bunch of blue and teal ones, as well as some black and brown. I smeared the colour out with my finger. I also used a pencil to make some scribbles into the crayon.

Shadows were added around the tags with a bit of black paint.

Finally, I wanted some shine on my background and used Ranger's foil. Apply a tiny bit of Collage Glue to an area, press the foil down and rub. Repeat to cover the tag. I was happy with my background and almost didn't want to place anything on top of it.

I die cut Tiny Tattered Florals from Metallic Kraft-Core cardstock.

They were sanded slightly.

And then I used the slotted quilling tool that comes with the set to roll up the flowers. If you want to see this in action, my very first video showed how to use the Tiny Tattered Florals die, you can find it in this Flowers in a Mason Jar post.

I arranged the flowers diagonally across the tag and glued them in place.

I like the look of these shiny metallic flowers. They were die cut from silver, gold and copper paper.

The background was also randomly stamped with the Newsprint background stamp. Here you can see the shine of the foil better. The label stickers were inked and stamped.

Here's the second label sticker. By inking them you can make them fit any project. As you can see, I also splattered the finished tag with some black paint.

At the bottom of the tag, I added an Industrious Sticker.

The layers of tags made for an interesting and different background. I also added some idea-ology metallic pieces, which had been distressed with paint.

There are also some gears, tucked in among the flowers.

The crinkle ribbon was dyed with Peacock Feathers and Brushed Pewter Distress Stain, with a tiny bit of Black Soot.

The brush strokes of the Matte Medium are clearly visible when colouring with Distress Crayons, which I really like, since it adds texture. Here and there, you also find the additional texture of the crazing areas.
I really hope you will join us in our Use Your Fave Tool challenge. As every week, you have a chance to win a $50 gift voucher from Simon Says Stamp. You have until Monday 8am Ohio time. 1pm UK time, 2 pm CET to join in.

If you want to, follow Simon Says Stamp on Instagram, they post great stuff daily.


Thank you so much for visiting today!
Happy crafting!
Anna-Karin
Supplies:


