Hello friends! It is Monday again and it is the last day of March. The sun is shining.
Please note: this post has affiliate links, for which I receive a small percentage of sales generated by the link, at no extra cost to you.


Easter project are often so joyful and I wanted one of them in my art journal. You can of course turn this into a card or a tag instead if you want to. The bunny from Simon Says Stamp new Hoppy Birthday set was perfect for my page. It was watercolor stamped, which is one of my favorite techniques since you can't control the result completely. You can easily see that here, since the two bunnies are different from each other.

I worked in my Stamperia Happiness Mixed Media Journal 4x8.5 in. Smear Distress Ink on an acrylic block and mist with water. Stamp on the page.

Ink the bunny from Simon Says Stamp Hoppy Birthday with Gathered Twigs at the top two-thirds and Vintage Photo at the bottom one-third. Mist with water and stamp on the page. Repeat.

Ink through Tim Holtz Nordic Flowers with Worn Lipstick and Mustard Seed.

Die cut Simon Says Stamp Bouncy Happy Easter from glitter cardstock and brown cardstock.

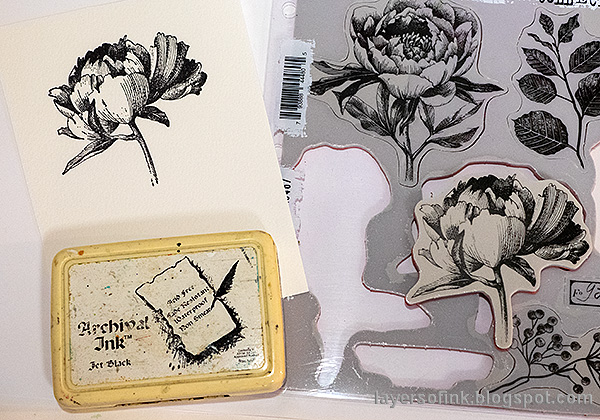
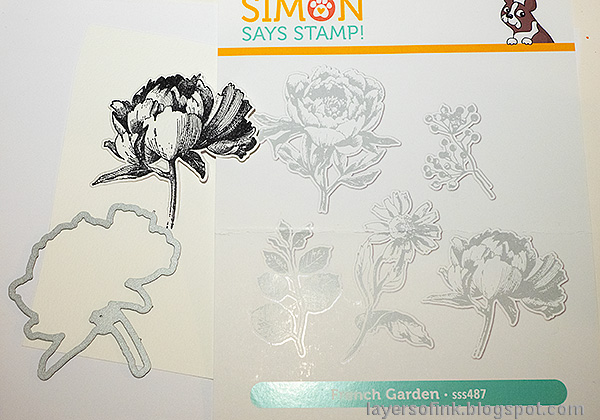
Die cut two of the flowers from Tim Holtz Vault Floristry from left-over watercolored or inky paper.

Stamp hearts from Simon Says Stamp Retro Hearts with brown ink and Saltwater Taffy Distress Oxide Ink. Stamp only the word 'hoppy' with brown ink repeatedly on the page. The stamp originally says 'hoppy birthday'. Avoid inking 'birthday'.

Glue the flowers here and there. If you are making a card instead, you can make the flowers dimensional. I prefer to keep my art journal pages pretty flat, so I didn't do that.

Glue the title to the bottom of the page, offsetting it slightly. This die set and the Hoppy Birthday stamp set both come from the new Simon Says Stamp Rain or Shine release.

The Simon Says Stamp Hoppy Birthday set also comes with a coordinating floral stamp, with which you will be able to stamp the flowers and leaves inside the bunny. I didn't use it here.
Join us this week in our Hip Hop (Rabbits/Music) challenge! You have a chance to win a $25 gift voucher to do some fun shopping at Simon Says Stamp. You have until Monday 8am Ohio time. 1pm UK time, 2 pm CET to join in.
%20(1).jpg)
Do you use Instagram? If so please add #sssmchallenge so we can see your entries there too.


Thank you so much for visiting today!
Happy crafting!
Anna-Karin
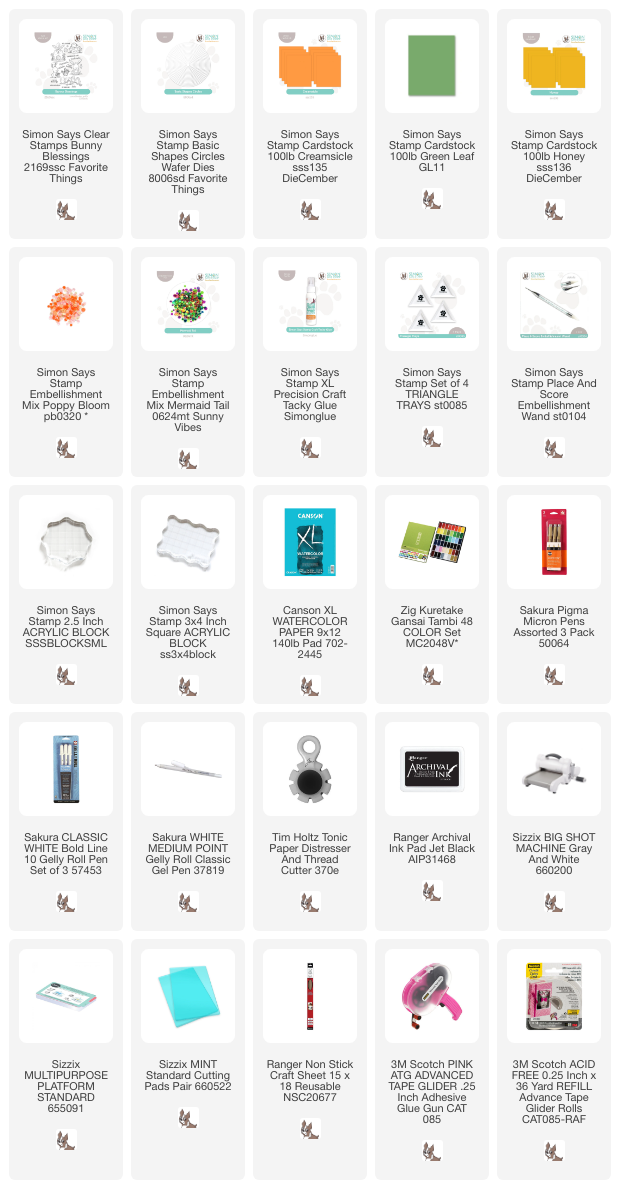
Supplies:
* Please note: the links are affiliate links, for which I receive a small percentage of sales generated by the link, at no extra cost to you.
* Please note: the links are affiliate links, for which I receive a small percentage of sales generated by the link, at no extra cost to you.