Hi crafters! It is Monday again! Time flies way too quickly during summer.
Please note: this post has affiliate links, for which I receive a small percentage of sales generated by the link, at no extra cost to you.

Summertime Blues is our theme this week at the Simon Says Stamp Monday Challenge Blog. I hope you will join us! Don't miss the last project by our July guest designer Thom Santilla.

I made a mixed media seaside tag using gesso, texture paste and watercolor paint, which is always a fun combination. There is a little boat on the sea going out on an adventure.

Start by applying gesso to the tag, making marks with a palette knife. When dry, use texture paste to create the sea.

Watercolor paint gives interesting effects on both gesso and texture paste. The paste is more absorbent. Mix paint, but don't use too much water. Start by painting the sky. Let the paints flow into each other. You can dab some paint off with a paper towel. Make the sky lighter towards the horizon. Then paint the sea. I used Daniel Smith watercolor paint.

When dry, wipe some paint off with an almost dry paper towel, to increase the texture.

Splatter with Winsor & Newton Permanent White Gouache.

The birds were stamped with Hero Arts Sunset Over Waves.

Sentiments were stamped with Tim Holtz Tiny Text on the margins of the same old book paper used for the boat. Cut into strips.

Watercolor on gesso creates very interesting textures, especially if you leave marks in the gesso.

The boat was made with old book paper, a black pen and a piece of left-over inky paper. I stamped 'summer' with Simon Says Stamp Forest Scenery.

I also added Simon Says Stamp Pawsitively Dazzling Opal Gems to the tag.

Tie the tag with cheese cloth, twine and organza ribbon.

Join us this week in our Summertime Blues challenge! You have a chance to win a $25 gift voucher to do some fun shopping at Simon Says Stamp. You have until Monday 8am Ohio time. 1pm UK time, 2 pm CET to join in.
%20(1).jpg)
Do you use Instagram? If so please add #sssmchallenge so we can see your entries there too.


Thank you so much for visiting today!
Happy crafting!
Anna-Karin
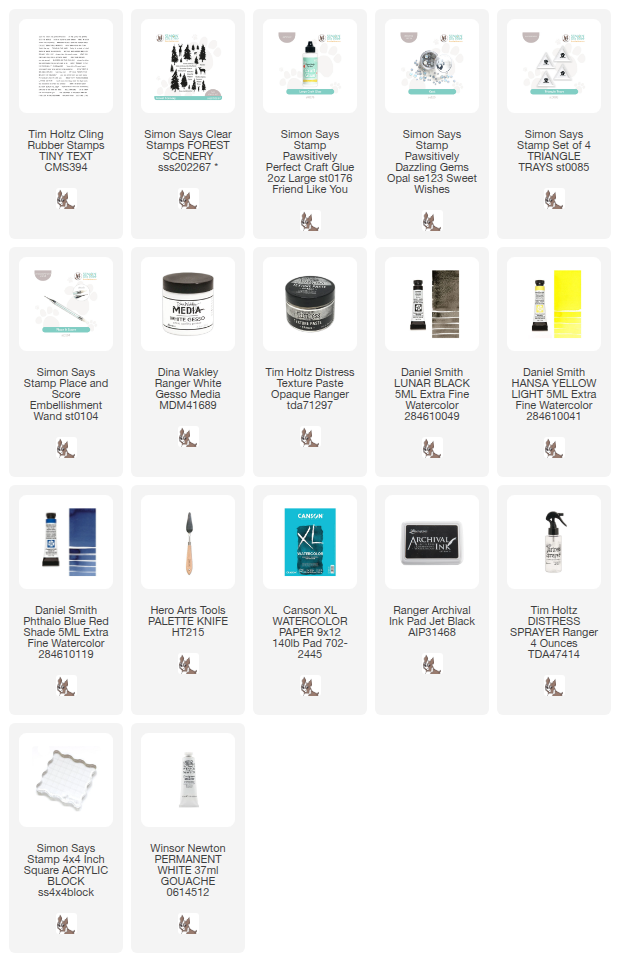
Supplies:
* Please note: the links are affiliate links, for which I receive a small percentage of sales generated by the link, at no extra cost to you.
* Please note: the links are affiliate links, for which I receive a small percentage of sales generated by the link, at no extra cost to you.