Sunday, April 20, 2025

Dimensional Floral Card

Hello friends! Today I have a floral card to share, with dimensional flowers die cut from left-over watercolored and inky paper. The background is three different dry embossed papers.

Please note: this post has affiliate links, for which I receive a small percentage of sales generated by the link, at no extra cost to you.

Layers of ink - Dimensional Floristry Card Tutorial by Anna-Karin Evaldsson.

I used Tim Holtz Vault Floristry for the flowers and the top embossed panel. It was fun to arrange the flowers on the card. I also sprinkled gems all over the bouquet of flowers.

Die cut Tim Holtz Vault Floristry.

Start by die cutting the flowers from Tim Holtz Vault Floristry from left over watercolor and inky paper. Most of my paper had been watercolored. 

Shape the die cut watercolor flowers.

Shape the flowers with Tim Holtz Shaping Tool Kit and glue together. I used foam tape for some of the flowers. 

Die cut various stems.

I needed some stems too and die cut stems with Simon Says Stamp Fresh Cut Floral Stem, Lily Duo and Poppy Stem

Emboss the folder from Vault Floristry.

I embossed watercolored paper that had already been inked with Distress Inks in light brown shades. Ink the highlight the pattern. 


I found another two dry embossed papers in my scrap box. Distress the edges. The first paper was embossed with Tim Holtz Tapestry, the middle one with Simon Says Stamp Spun Glass, and the last one with the embossing folder that comes with the Vault Floristry set.

Adhere the flowers with foam tape.

When die cutting from leftover papers you can get all kinds of interesting effects and patterns.


Layering dry embossed papers give interest to the background.

Add Simon Says Stamp Pawsitively Dazzling Opal Gems.

I glued Simon Says Stamp Pawsitively Opal Gems here and there among the bouquet of flowers.


Look at your scrap papers to see if there are particularly interesting sections. Sometimes it is fun to place a die where two colors blend or interact.


Using a variety of stems fit well with there being so many different flowers.


The sentiments were stamped with Simon Says Stamp Thank You Basics. 

Layers of ink - Dimensional Floristry Card Tutorial by Anna-Karin Evaldsson.

If you use foam tape here and there for added dimension.

Layers of ink - Dimensional Floristry Card Tutorial by Anna-Karin Evaldsson.

I hope you enjoyed this tutorial! It is a great way to use scraps and get a colorful project at the same time.


Thank you for visiting!

Happy crafting!

Anna-Karin

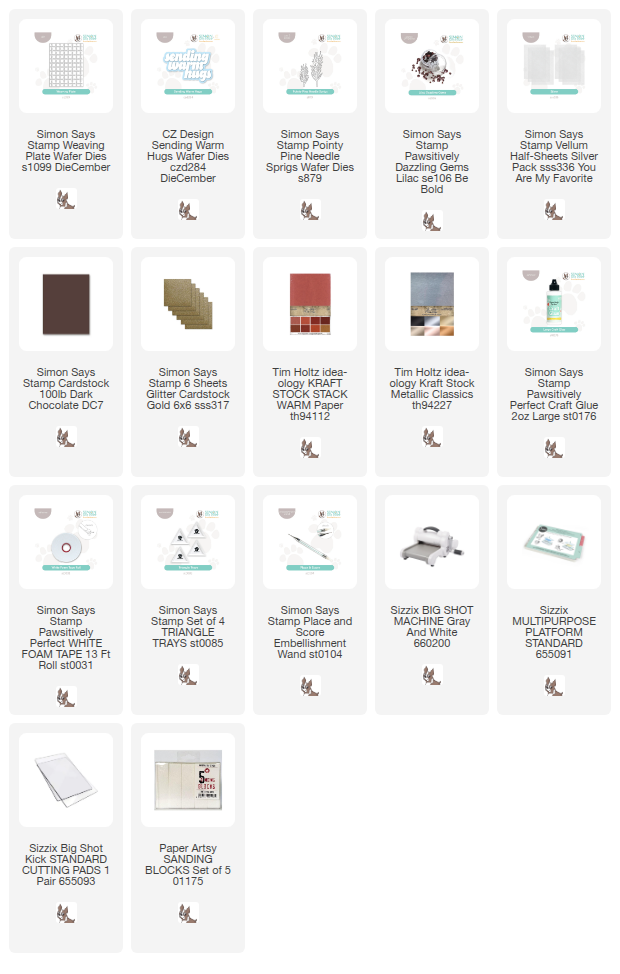
Supplies:

* Please note: the links are affiliate links, for which I receive a small percentage of sales generated by the link, at no extra cost to you.


Monday, April 14, 2025

Sweet TreatsTag

 Hello friends! I hope you had a good weekend! Today I have a spring/Easter tag to share.

Please note: this post has affiliate links, for which I receive a small percentage of sales generated by the link, at no extra cost to you.


This week we have a Sweet Treats theme at the Simon Says Stamp Monday Challenge Blog. I hope you will join us! Don't miss the project by our April guest designer Fiona Whitehead.
.
Layers of ink - Sweet Treats Tag Tutorial by Anna-Karin Evaldsson.

I made a tag featuring a bunny who is out for a walk on a bright spring day and sprinkles sweet treats on the ground. Or is he maybe picking the treats up? The background was inked and stamped and the bunny is colored with pencils. 

Stamp Tim Holtz Spring Sprung.

I started out by stamping one of my favorite stamps by Tim Holtz on a tag. It is from the Spring Sprung set. Using my MISTI, I first stamped the bunny with Simon Says Stamp Pawsitively Saturated Violet ink and then again with black ink (avoiding to ink the jacket, apart from the edges). 

Mask the image, ink and stamp the background.

Stamp the bunny again on Simon Says Stamp Masking Paper and cut out. Ink the background with Distress Ink and stamp with the grass stamp from Spring Sprung and a dot stamp from Tiny Textures. Stamp a sentiment.


The smaller sentiments come from Tim's Holtz Tiny Text and were stamped and cut into strips. The sentiment is from Tim's Warehouse District.

Color the bunny with pencils.

The rest of the bunny was colored with Prismacolor pencils. Use the white pencil to blend the colours. 

Sprinkle Simon Says Stamp Pawsitively Dazzling Gems.

Sprinkle Simon Says Stamp Pawsitively Dazzling Gems on the ground as treats. I used a different colors.

Join us this week in our Sweet Treats challenge! You have a chance to win a $25 gift voucher to do some fun shopping at Simon Says Stamp. You have until Monday 8am Ohio time. 1pm UK time, 2 pm CET to join in.


Do you use Instagram? If so please add #sssmchallenge so we can see your entries there too.


Thank you so much for visiting today! 

Happy crafting!

Anna-Karin

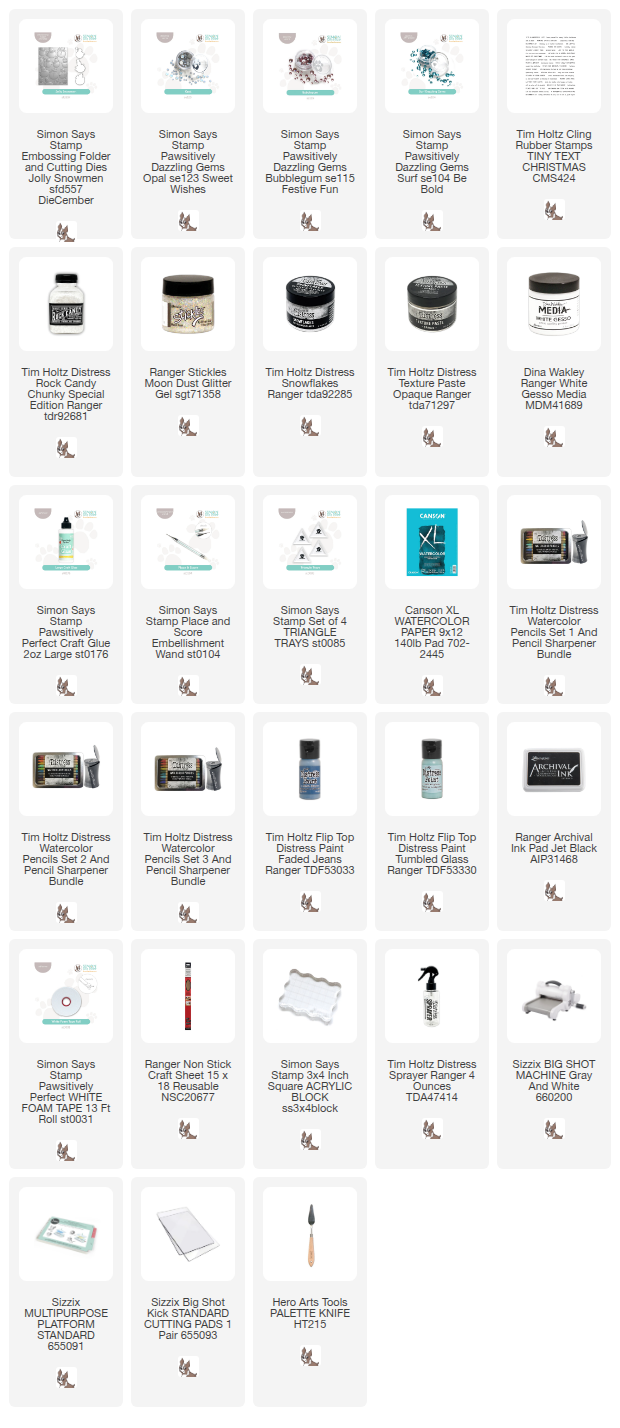
Supplies:

* Please note: the links are affiliate links, for which I receive a small percentage of sales generated by the link, at no extra cost to you.


Thursday, April 10, 2025

3D Blocks Dry Embossing

Hello crafters! Today I am sharing a tag using a very cool embossing folder, which creates a 3-d looking background. 

Please note: this post has affiliate links, for which I receive a small percentage of sales generated by the link, at no extra cost to you.

Layers of ink - 3D Blocks Dry Embossing Tag Tutorial by Anna-Karin Evaldsson.

I really like dry embossing and it can create interesting and textured backgrounds in just a few steps. The Simon Says Stamp Cubical Illusion 3-D folder that I used here is really cool. Depending on how you angle the background and they way shadows fall, the cubes can change direction. The same goes for inking and shading. 

The Cubical Illusion folder is from the new Rain or Shine release. 

Paint with watercolors and dry emboss in Simon Says Stamp Cubical Illusion.

I cut tags from watercolor paper and painted them with Daniel Smith Cascade Green, which is a granulating color with shades of both green and teal. The two tags to the right were embossed while the paint was wet. The ended up looking very different from each other. The tag to the left was left to dry and was then dry embossed. No shading has been added, the dimensional effect that you see is all because of how the shadows fall. Very cool!

Close up of the cubical illusion background.

No shading has been added, the dimensional effect that you see is all because of how the shadows fall. Very cool!

Ink with Distress Ink.

You don't need to ink the backgrounds, but I wanted to see what would happen. The tag in the middle was left without ink. The inking changes the dimensional effect. I ended up using the tag to the right.

Die cut Simon Says Stamp Rustic Layering Flower.

Simon Says Stamp Rustic Layering Flower was die cut from left-over inky paper.

Shape the flowers.

Shape with a shaping tool and a pair of round tweezers. 

Die cut Simon Says Stamp Fancy Hello.

The title was die cut from yellow and coral glitter cardstock using Simon Says Stamp Fancy You die. 


You can see it here, but the lighter edges of the boxes are in fact debossed, while the darker edges are embossed. The inking reverses the effect, since the embossed lines are inked and the darker color makes it look like they are further away, while in fact, it is the other way around. 

Dimensional paper flowers.

Layer the flowers into there flowers. You can create a whole lot of different flowers with the Rustic Layering Flower set. 


Simon Says Stamp Cubical Illusion background.

Daniel Smith Cascade Green is a very interesting paint and here you can see the different color variations, from this one tube of paint. 

Layers of ink - 3D Blocks Dry Embossing Tag Tutorial by Anna-Karin Evaldsson.

I also distressed the edges of the tag and dyed the ribbon with the same colors as used on the tag. 

Layers of ink - 3D Blocks Dry Embossing Tag Tutorial by Anna-Karin Evaldsson.

The title was adhered with foam tape for added dimension. 


Thank you for visiting!

Happy crafting!

Anna-Karin

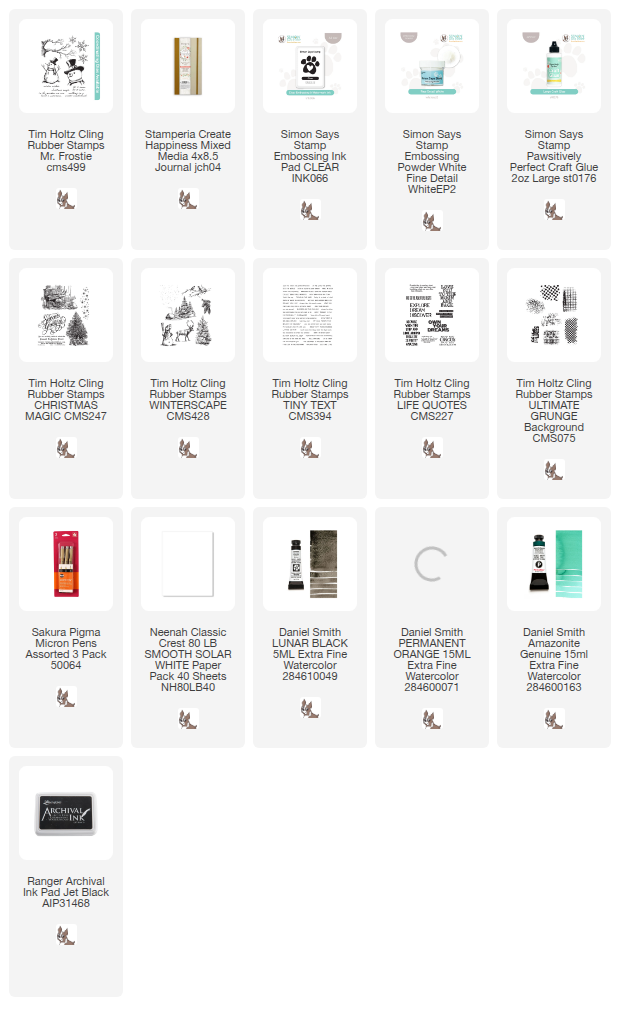
Supplies:

* Please note: the links are affiliate links, for which I receive a small percentage of sales generated by the link, at no extra cost to you.


Monday, April 7, 2025

Pastel Watercolor Peony Tag

Hello stampers! I hope you had a good weekend and got some crafty time. 

Please note: this post has affiliate links, for which I receive a small percentage of sales generated by the link, at no extra cost to you.


This week we have a Tag It theme at the Simon Says Stamp Monday Challenge Blog. Fun! Since it is the first Monday of a new month, the team is showcasing products by a specific designer/company. This week it is Studio Light. You can find all their papers, stamps, dies and other products here. You don't have to use Studio Light products to join, but it is fun if you do. 

We also have a new guest, and during April, Fiona Whitehead will design with us. I hope you will stop by her blog to see what she has created for the challenge.

Layers of ink - Pastel Watercolor Peony Tag Tutorial by Anna-Karin Evaldsson.

With everything going on in the world, I wanted to create a very happy project this week and went with bright pastel colors on this tag. I used Studio Light's Timeless Peony stamp set and watercolored both the flower and the background.

Stamp Studio Light Timeless Peony.

Start with a tag cut from watercolor paper and stamp the peony from on the tag with Jet Black Archival Ink.

Extend the stem with a black pen.

I wanted a longer stem and extended it with a black pen. 

Paint the peony with watercolor paint.

Paint the flower with watercolors. I worked one petal at a time and dropped a little yellow into the pink paint before it dried. 

White emboss texture stamps.

Paint the stem and the leaves. When dry, white emboss the clock and script stamp from Timeless Peony on the background.

Paint the background.

Paint the background with watercolor paint. Start from the edges and then use clean water to pull the paint into the tag, making it lighter around the flower itself. The embossing will resist the paint.

Die cut Simon Says Stamp Simple Thanks.

Die cut Simon Says Stamp Simple Thanks from Lemon Glitter Cardstock and Color-Blend cardstock.

Dye ribbon.

I painted the ribbon with the watercolor paint too.

Distress the edges of the tag.


The white script adds texture without overwhelming the peony. Distress the edges slightly.

Add Simon Says Stamp Pawsitively Dazzling Opal Gems to the tag.

Leave some of the paper unpainted for highlights. 


I really like clock stamps. There is something about the circular design, combined with the concept of time and an often vintage look, which I like very much.

Simon Says Stamp Basics Thank You.

Off-set the pink die cut slightly when you glue the word to the tag. The second sentiment was stamped with Simon Says Stamp Thank You Basics. 

Join us this week in our Tag It challenge! You have a chance to win a $25 gift voucher to do some fun shopping at Simon Says Stamp. You have until Monday 8am Ohio time. 1pm UK time, 2 pm CET to join in.


Do you use Instagram? If so please add #sssmchallenge so we can see your entries there too.


Thank you so much for visiting today! 

Happy crafting!

Anna-Karin

Supplies:

* Please note: the links are affiliate links, for which I receive a small percentage of sales generated by the link, at no extra cost to you.