Hello friends! I hope you had a fun weekend! This was a Pokemon-weekend for us and a lot of fun.
Please note: this post has affiliate links, for which I receive a small percentage of sales generated by the link, at no extra cost to you.


I made a 6x6 in card using a whole bunch of ephemera and also some scrap pieces which were left-over from previous projects. These projects are a lot of fun to make. I really enjoy deciding which pieces to use and then moving them around until I am happy with the look.

I started by going through some scrap boxes and also picked out a bunch of Tim Holtz idea-ology ephemera. I didn't use everything and added a few more items after taking this photo. I used ephemera from: Organic Layers, Palette Ephemera, Snippets, and Snippets Number Strips.

Sand all the edges and fold and crease some of them. Ink with Ground Espresso and then distress with an edge distressor tool.

After planning where to place everything, I started adhering it in layers to cream background cardstock.

I made sure not to cover up any words, numbers or images which I wanted to keep visible, such as the title of this book.

The dragonfly was left-over from another project. The stamp comes from Stamper's Anonymous Classics #1 and was stamped on acetate and colored with alcohol ink. I added Stickles to the wings. The circles in the background were also in my scrap box and were die cut with Simon Says Stamp Thin Frames. The cloud background from Organic Layers is really nice.

Here you can see the glitter effect on the wings better.

I gathered little groups of ephemera on the tag, and also added Simon Says Stamp Pawsitively Dazzling Gold Gems.

The ticket was stamped with Tim Holtz Odds & Ends and was also in my scrap box, as was the ribbon, cheese cloth, and the very old paper flower.

Join us this week in our Use Ephemera/Layer It Up challenge! You have a chance to win a $25 gift voucher to do some fun shopping at Simon Says Stamp. You have until Monday 8am Ohio time. 1pm UK time, 2 pm CET to join in.
%20(1).jpg)
Do you use Instagram? If so please add #sssmchallenge so we can see your entries there too.


Thank you so much for visiting today!
Happy crafting!
Anna-Karin
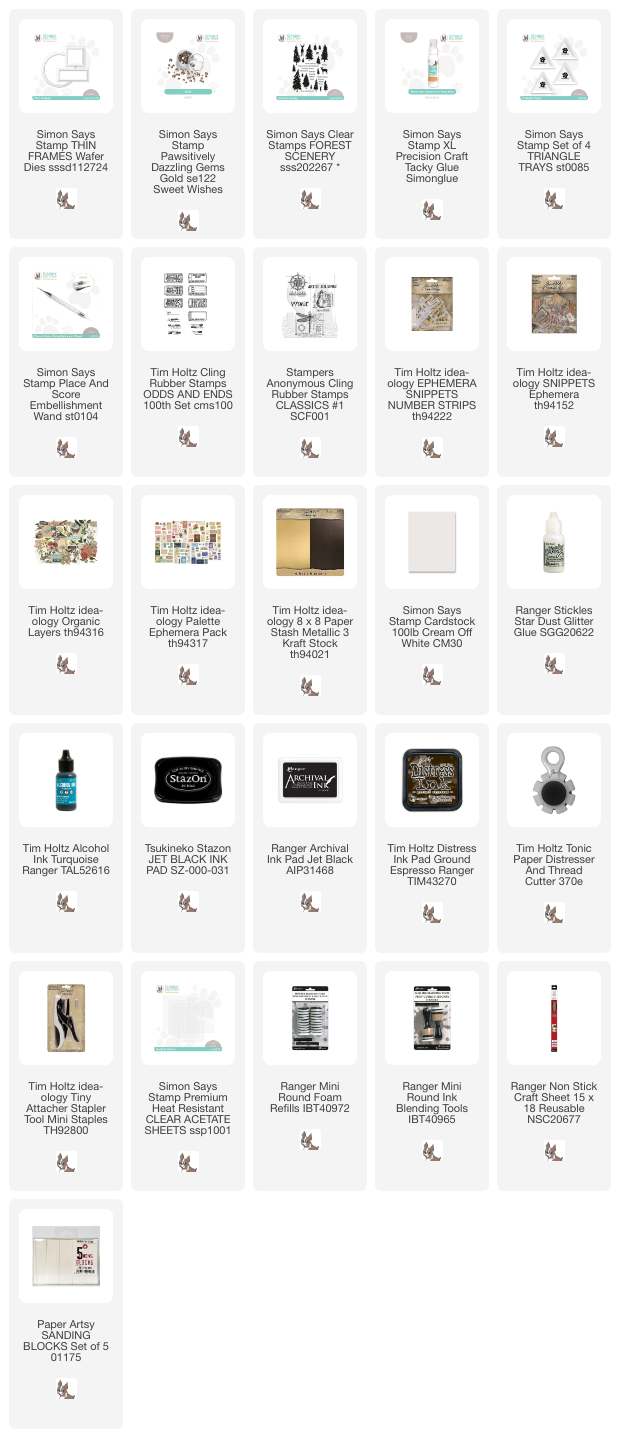
Supplies:
* Please note: the links are affiliate links, for which I receive a small percentage of sales generated by the link, at no extra cost to you.
* Please note: the links are affiliate links, for which I receive a small percentage of sales generated by the link, at no extra cost to you.