Hi friends! It is Monday again and I hope you had a good weekend!
Please note: this post has affiliate links, for which I receive a small percentage of sales generated by the link, at no extra cost to you.

This week we have a Summer Fun! theme at the Simon Says Stamp Monday Challenge Blog. I hope you will join us! Don't miss the beautiful project by our guest designer Laura Cassina.

I made a summery beach card with bright and happy colors. The card was mainly made with Hero Arts Color Layering Sunset over Waves stamp set and watercolor stamped with Distress Ink.


Restamp both images with Simon Says Stamp Clear Embossing Ink and emboss with clear powder. This step will protect the stamping from the next layers. Also clear emboss some ripples in the sea.

Stamp the sea with Mermaid Lagoon towards the back and Salvaged Patina towards the front. Mist with water before stamping.

Stamp the sky by applying ink to an acrylic block and misting it heavily with water. stamp with the block.

Repeat the shades of the sun and clouds in the sea.

Stamp more ripples with Uncharted Mariner towards the back and Mermaid Lagoon towards the front.

When dry, stamp the beach using the acrylic block. Add some white to the sea and to the clouds with a white paint pen. Add a little Unchartered Mariner to the upper part of the sky.

Stamp the birds, the child and the sentiments with black ink. The birds and the silhouette of the child also comes from Hero Arts Sunset over waves.

I added texture to the sand with Simon Says Stamp Crackle Background.

I also stamped 'summer' with Simon Says Stamp Forest Scenery. Distress the edges of the watercolor panel.

Here you can see the ripples caused by the clear embossing better.

Scribble a shadow for the child and castle.

Join us this week in our Summer Fun challenge! You have a chance to win a $25 gift voucher to do some fun shopping at Simon Says Stamp. You have until Monday 8am Ohio time. 1pm UK time, 2 pm CET to join in.

Do you use Instagram? If so please add #sssmchallenge so we can see your entries there too.


Thank you so much for stopping by here today!
Happy crafting!
Anna-Karin
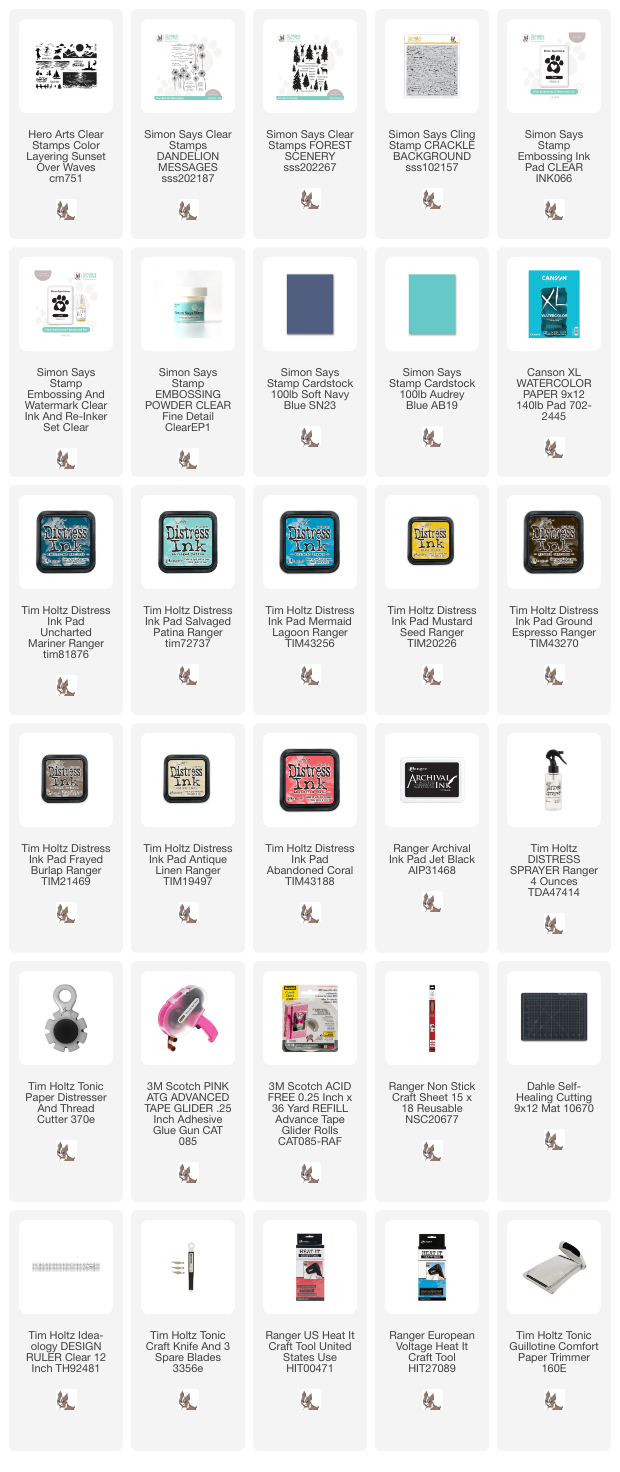
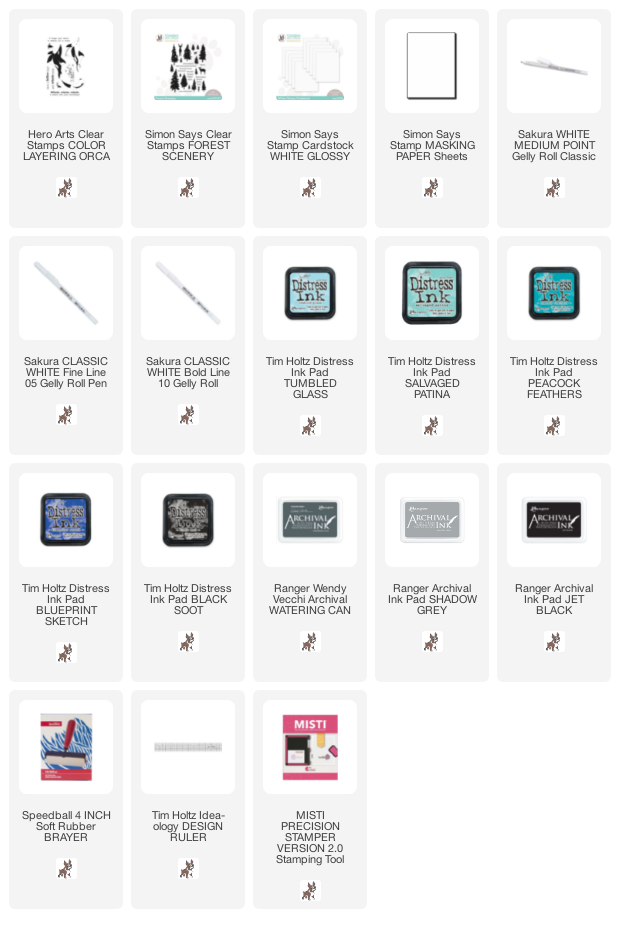
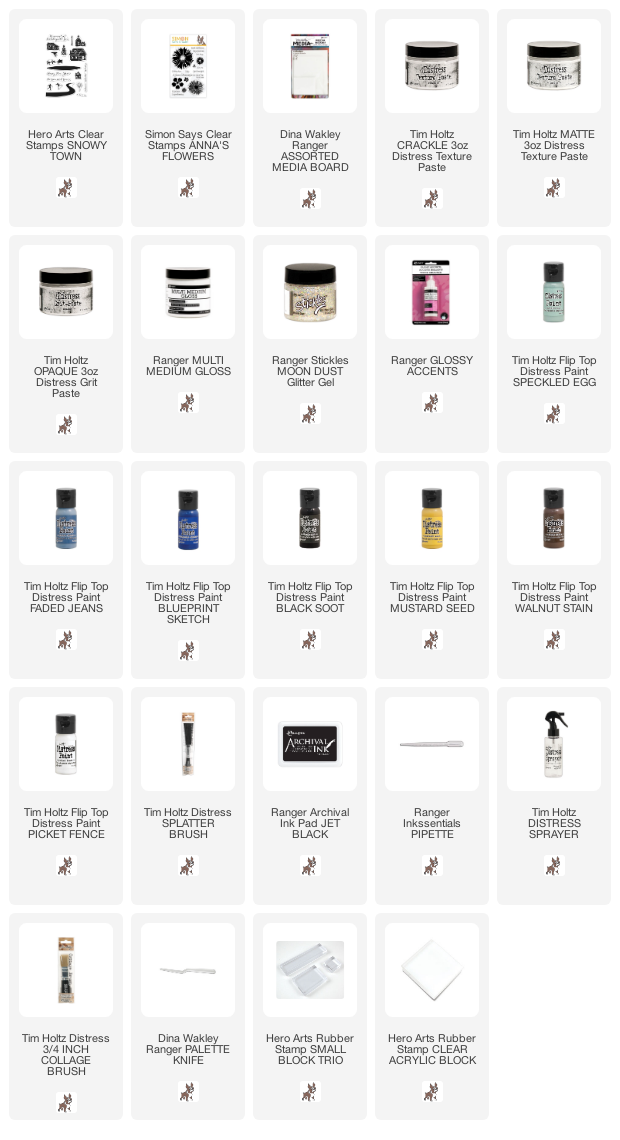
Supplies:
* Please note: the links are affiliate links, for which I receive a small percentage of sales generated by the link, at no extra cost to you.
* Please note: the links are affiliate links, for which I receive a small percentage of sales generated by the link, at no extra cost to you.