Showing posts with label Quilling. Show all posts

Friday, April 29, 2022

Altered Vintage Bottle Tutorial

Hi friends! Today I have a fun vintage altered bottle tutorial to share, using a bottle that I found in a second-hand store.

Please note: this post has affiliate links, for which I receive a small percentage of sales generated by the link, at no extra cost to you.

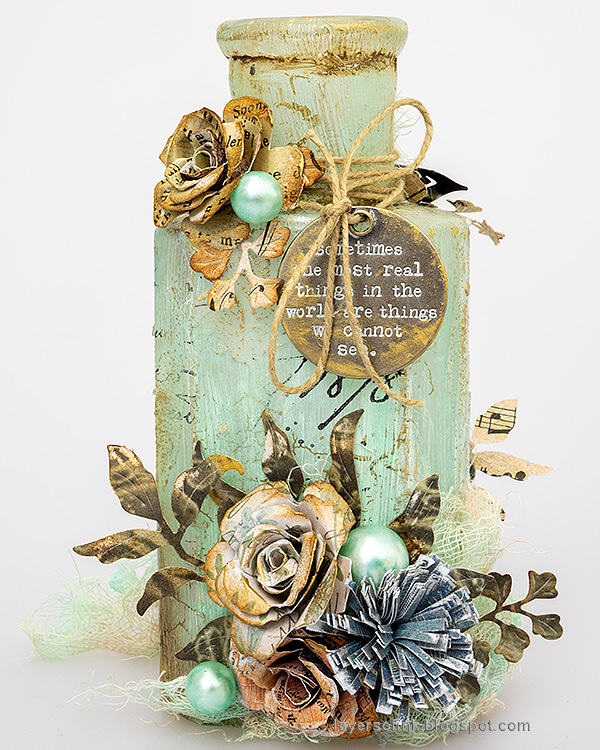
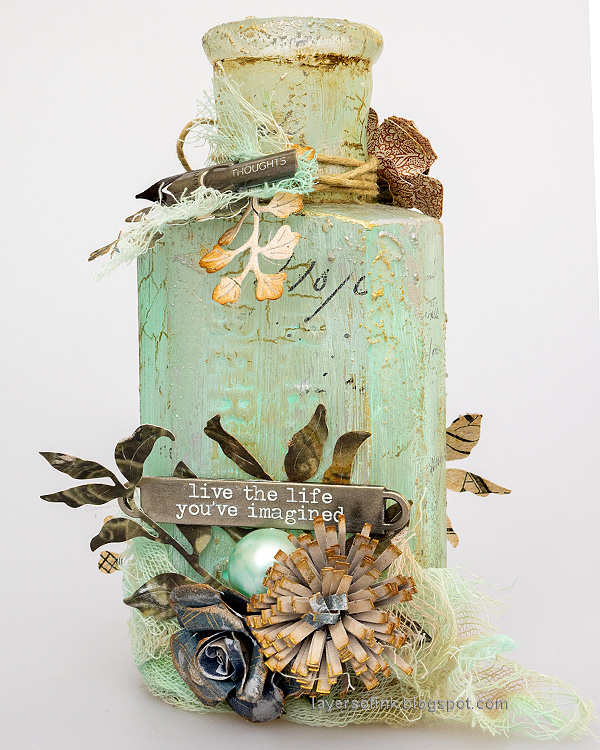
Layers of ink - Altered Vintage Bottle Tutorial by Anna-Karin Evaldsson.

I haven't altered a bottle in quite many years, which made this project extra fun to do. The bottle is about 5.5 in tall. You can use any kind of glass bottle or glass jar instead. Sea glass was one of my inspirations for this piece, but with added texture. I wanted the bottle to be translucent, although not everywhere. It was decorated with paper flowers, pearls and some Tim Holtz idea-ology metal pieces.

Layers of ink - Altered Vintage Bottle Tutorial by Anna-Karin Evaldsson.

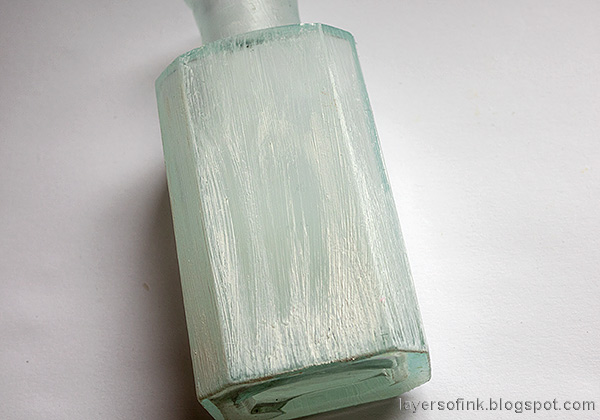
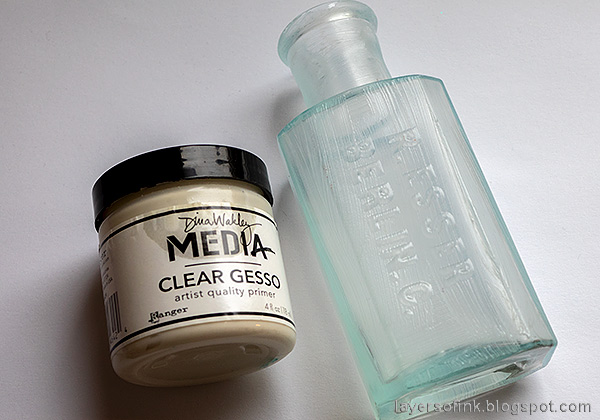
I started with a layer of clear gesso, for a base to work on.

Layers of ink - Altered Vintage Bottle Tutorial by Anna-Karin Evaldsson.

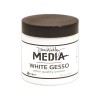
Next add white gesso, but don't cover the clear layer completely. I made the bottle more opaque towards the bottom.

Layers of ink - Altered Vintage Bottle Tutorial by Anna-Karin Evaldsson.

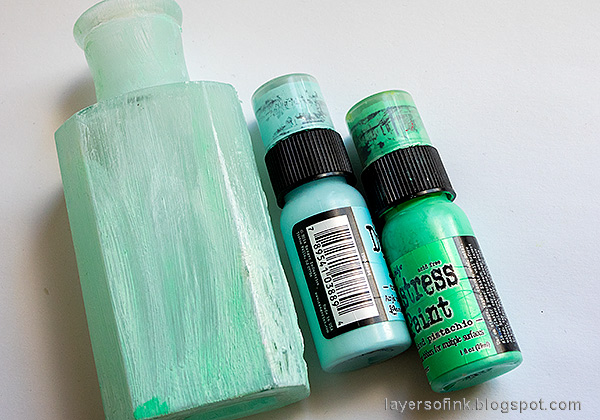
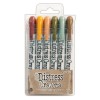
Next, Distress Paint in two shades. Try to keep the layer thin, so that light can still move through the bottle.

Layers of ink - Altered Vintage Bottle Tutorial by Anna-Karin Evaldsson.

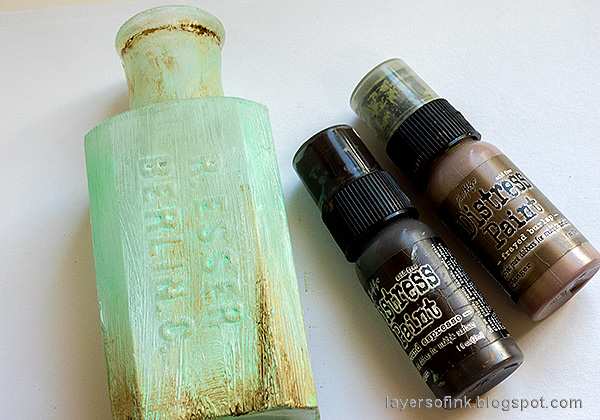
I rubbed darker brown paint into some of the areas, particularly at the bottom and along the rim.

Layers of ink - Altered Vintage Bottle Tutorial by Anna-Karin Evaldsson.

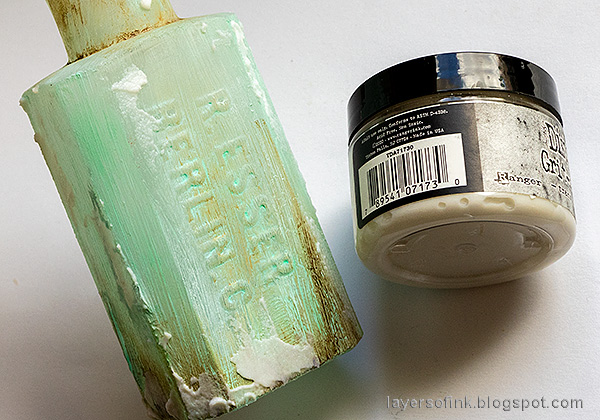
For more texture, add a little Translucent Grit-Paste here and there. Let dry.

Layers of ink - Altered Vintage Bottle Tutorial by Anna-Karin Evaldsson. Stamp with Simon Says Stamp Old Letter

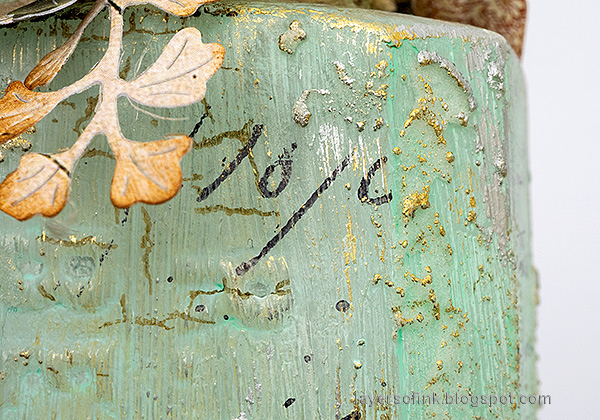
Stamp the bottle lightly with Simon Says Stamp Old Letter and black ink and Simon Says Stamp Crackle Background and brown ink.

Layers of ink - Altered Vintage Bottle Tutorial by Anna-Karin Evaldsson.

Finally, rub some Sizzix silver and gold luster wax here and there on the bottle, particularly on the edges and where there is grit-paste.

Layers of ink - Altered Vintage Bottle Tutorial by Anna-Karin Evaldsson. Make a fringed flower.

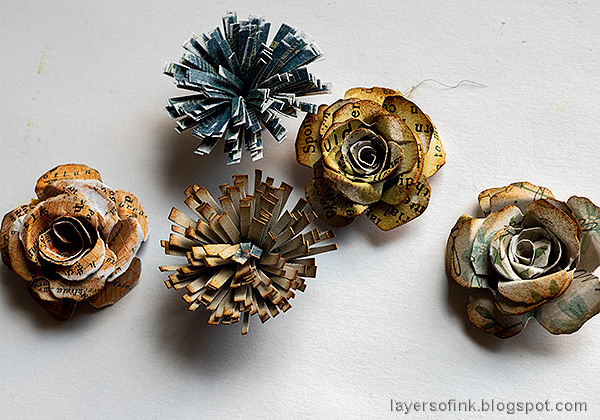
Fringe to strips of paper cut from Tim Holtz Backdrops paper. Roll into flowers.

Layers of ink - Altered Vintage Bottle Tutorial by Anna-Karin Evaldsson.

Die cut four roses from backdrops paper using Tim's Tattered Pinecone die

Layers of ink - Altered Vintage Bottle Tutorial by Anna-Karin Evaldsson.

Trim the roses with scissors to make the pinecone shape more like a rose. Roll back the petals with tweezers.

Layers of ink - Altered Vintage Bottle Tutorial by Anna-Karin Evaldsson. Make paper roses.

Assemble the flowers and ink the edges.

Layers of ink - Altered Vintage Bottle Tutorial by Anna-Karin Evaldsson.

Apply a tiny bit of wax to the flowers.

Layers of ink - Altered Vintage Bottle Tutorial by Anna-Karin Evaldsson.

I decorated both sides of the bottle, so that it can be turned around for a different look.

Layers of ink - Altered Vintage Bottle Tutorial by Anna-Karin Evaldsson.

I dyed cheese cloth with Distress Ink. The leaves were die cut from Backdrops paper with Simon Says Stamp Fine Textured Leaf. I added black alcohol ink to the pen nib.

Layers of ink - Altered Vintage Bottle Tutorial by Anna-Karin Evaldsson.

The larger leaves were die cut with Simon Says Stamp Tattered Leaves. White paint was rubbed into the Word Band.

Layers of ink - Altered Vintage Bottle Tutorial by Anna-Karin Evaldsson.

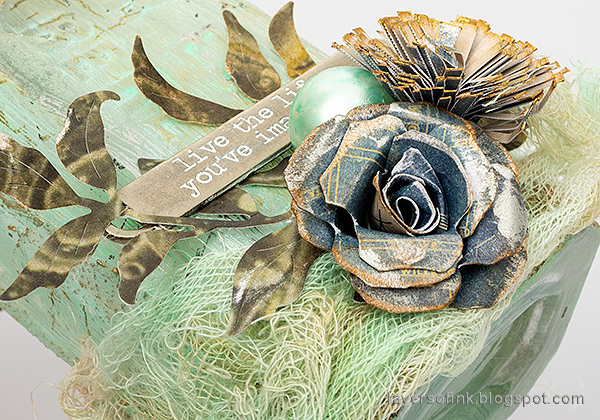
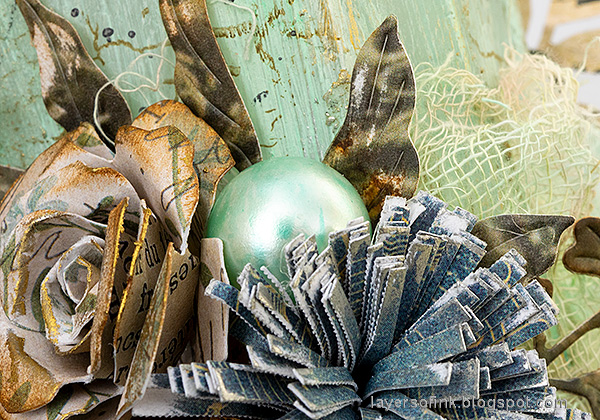
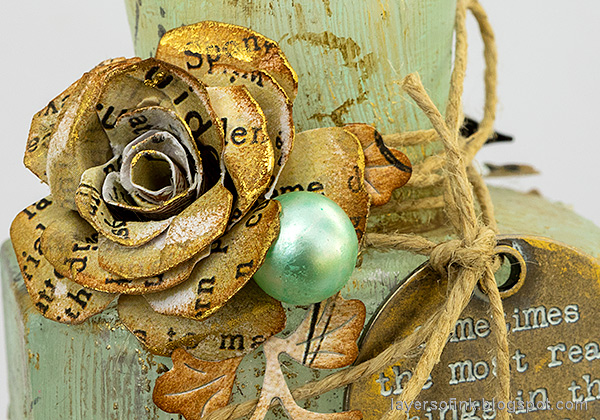
I also dyed four Tim Holtz Baubles with Aqua alcohol ink and tucked them in among the flowers. Here you can see how dimensional the flowers are.

Layers of ink - Altered Vintage Bottle Tutorial by Anna-Karin Evaldsson.

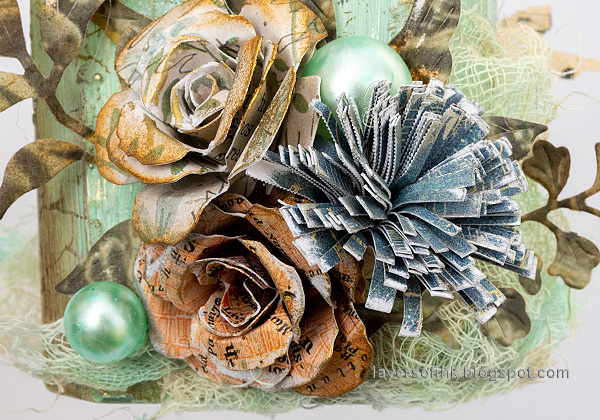
On the other side of the bottle there is one additional rose and more beads.

Layers of ink - Altered Vintage Bottle Tutorial by Anna-Karin Evaldsson. DIY paper flower and roses.

I sanded some of the roses slightly.

Layers of ink - Altered Vintage Bottle Tutorial by Anna-Karin Evaldsson.

The metallic wax looks particularly good on the edges of the fringed flowers.

Layers of ink - Altered Vintage Bottle Tutorial by Anna-Karin Evaldsson.

Making paper flowers is a great way of using scrap patterned papers.

Layers of ink - Altered Vintage Bottle Tutorial by Anna-Karin Evaldsson.

Again, there is white paint rubbed into the letters on the Quote Token, and some gold wax around the edges.

Layers of ink - Altered Vintage Bottle Tutorial by Anna-Karin Evaldsson.

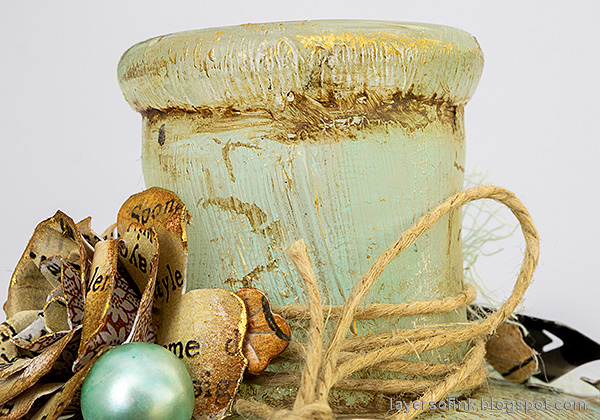
I tied a piece of twine around the top of the bottle, and added more leaves and another rose.

Layers of ink - Altered Vintage Bottle Tutorial by Anna-Karin Evaldsson.

The texture from the gesso and paint comes through nicely.

Layers of ink - Altered Vintage Bottle Tutorial by Anna-Karin Evaldsson.

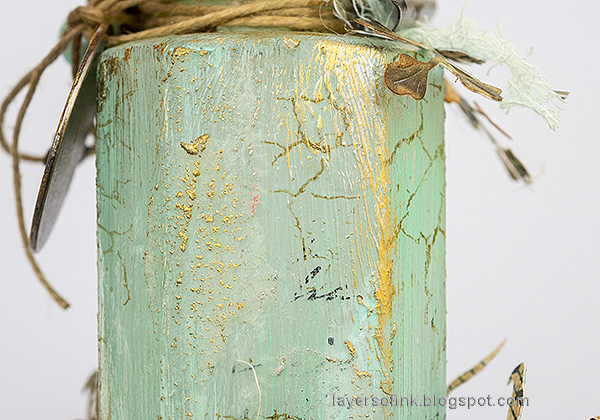
Here you can see the grit-paste better. It also has an interesting feel to it, like the feel of very old glass.

Layers of ink - Altered Vintage Bottle Tutorial by Anna-Karin Evaldsson.

When the bottle is held up against the light, you can see that it is slightly transluscent.

Layers of ink - Altered Vintage Bottle Tutorial by Anna-Karin Evaldsson.

The stamped crackles add just a bit of extra texture.

Layers of ink - Altered Vintage Bottle Tutorial by Anna-Karin Evaldsson.

Here you can see the effect of the metallic waxes better.


I hope you enjoyed this project! Thank you so much for taking the time to stop by here today!

Happy crafting!

Anna-Karin

Supplies:

* Please note: the links are affiliate links, for which I receive a small percentage of sales generated by the link, at no extra cost to you.
Monday, March 13, 2017

Fringed Flowers in Tape Frame Tutorial

Hello and welcome to my blog! I hope you had a fun weekend. We had lovely spring weather, and spent a lot of time outdoors. My dad and I also went to a show, which was fun and something I don't do often.  


This week at the Simon Says Stamp Monday Challenge we have a Handmade Flowers theme, something I really like to do. 

Don't miss our guest designer Linda Kunsman and the pretty projects that she made this week.


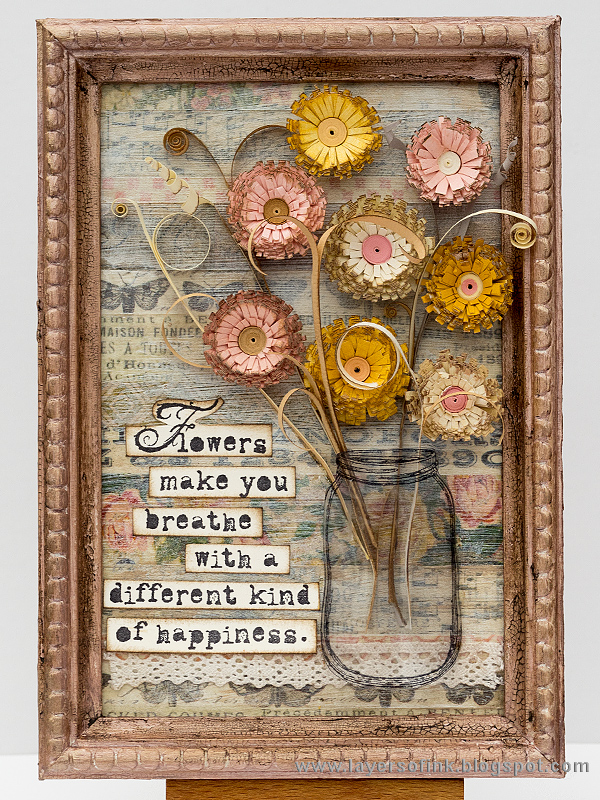
Layers of ink - Quilled Fringed Flowers in Tape Frame Tutorial by Anna-Karin

I find quilling to be very relaxing and quilled fringed flowers are both fun and easy to make. For this project, I made a bouquet of them and placed them in a stamped mason jar. I also had fun making a background with Tim Holtz new design tapes, and to alter the frame. I took some step photos, mainly of the background and frame process. I am working on something a little bigger regarding showing the process of making fringed flowers, which I hope to post in about two weeks.

Layers of ink - Quilled Fringed Flowers Tutorial by Anna-Karin

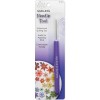
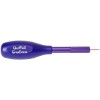
All my flowers were made with 3/8 in white paper by Quilled Creations, colored with Distress Inks. It is easy to color quilling paper with ink. The centers were made with small pieces of 1/8" paper I had in a box, but you can also cut your own thin strips. Cut thin slits into the wider paper paper, glue the thinner paper to the end and start rolling from the thin side. I use a needle tool when quilling, to get a neat round center, but you can also use a slotted quilling tool.

Layers of ink - Quilled Fringed Flowers in Tape Frame Tutorial by Anna-Karin

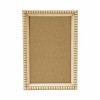
The Tim Holtz Mini Framed Panels frame and back piece were covered with two layers of white gesso, letting it dry in between.

Layers of ink - Quilled Fringed Flowers in Tape Frame Tutorial by Anna-Karin

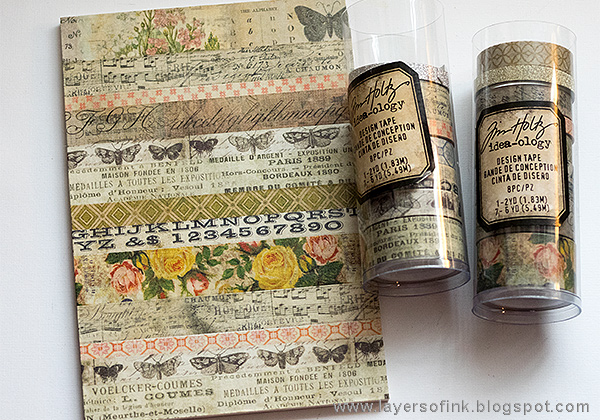
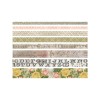
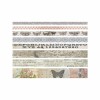
I applied a thin layer of Matte Distress Collage Medium to the background, to make sure the tapes would be stuck down real well. Make a stripe pattern with different tapes, folding the ends around the back.

Layers of ink - Quilled Fringed Flowers in Tape Frame Tutorial by Anna-Karin

Add a layer of Matte Medium on top of the tape too.

Layers of ink - Quilled Fringed Flowers in Tape Frame Tutorial by Anna-Karin

Paint a thin layer of gesso on the background to tone down the tape a little where the flowers will be.

Layers of ink - Quilled Fringed Flowers in Tape Frame Tutorial by Anna-Karin

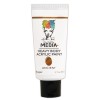
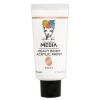
I painted the frame with Dina Wakley's new Rosy paint. I love this paint - as well as the other two new ones Ancient and Medieval. When I ordered the paint, I hadn't realized that it was perleascent and I got a nice surprise when discovering that it has a lovely vintage pearly look.

Layers of ink - Quilled Fringed Flowers in Tape Frame Tutorial by Anna-Karin

It is hard to capture the look of this paint on a photo, but here you can maybe see both the pearlescent effect better, and the vintage look. It is like the paint has more than one shade.

Layers of ink - Quilled Fringed Flowers in Tape Frame Tutorial by Anna-Karin

When the paint was dry, I added thin layers of Crazing Medium, but not covering the entire frame. Leave to dry.

Layers of ink - Quilled Fringed Flowers in Tape Frame Tutorial by Anna-Karin

When the Crazing was dry, I rubbed Gathered Twigs Distress Crayon into the cracks to make them stand out more. I also dry-brushed a little Ancient paint here and there on the frame.

Layers of ink - Quilled Fringed Flowers in Tape Frame Tutorial by Anna-Karin

Add a tiny amount of Ancient paint here and there on the background.

Layers of ink - Quilled Fringed Flowers in Tape Frame Tutorial by Anna-Karin

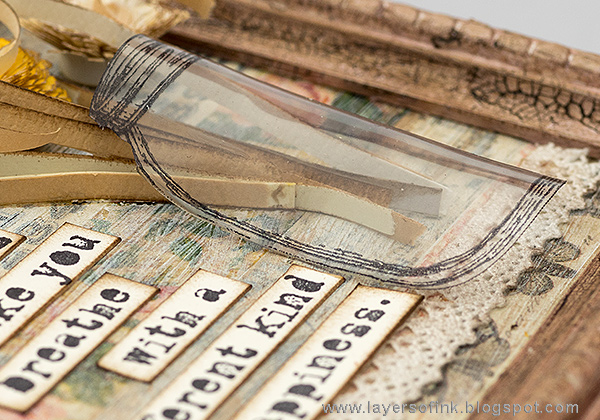
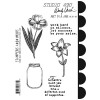
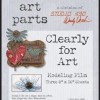
The mason jar comes from Wendy Vecchi's Art In A Jar set and was stamped on Clearly For Art Modeling Film. Cut it out. 

Layers of ink - Quilled Fringed Flowers in Tape Frame Tutorial by Anna-Karin

I used my heat gun to soften the plastic so that I could shape it. Be careful not to burn yourself. The film keeps it's shape perfectly.

Layers of ink - Quilled Fringed Flowers in Tape Frame Tutorial by Anna-Karin

I also inked the flowers slightly with Ground Espresso and dry-brushed some Ancient paint on the edges. Thin (1/8 in) strips of beige paper were inked and shaped into stems, leaves and tendrils.

Layers of ink - Quilled Fringed Flowers in Tape Frame Tutorial by Anna-Karin

There is enough space behind the mason jar for the stems.

Layers of ink - Quilled Fringed Flowers in Tape Frame Tutorial by Anna-Karin

Here's a look from the side, so that you can better see what the mason jar looks like.

Layers of ink - Quilled Fringed Flowers in Tape Frame Tutorial by Anna-Karin

You can vary the size of the flowers by using longer or shorter pieces of quilling paper. My larger flowers were made with the full 16 in paper, while the smaller ones were made from 11 inches, plus the center.

Layers of ink - Quilled Fringed Flowers in Tape Frame Tutorial by Anna-Karin

I like the look of the patterns of the tape peeking through.

Layers of ink - Quilled Fringed Flowers in Tape Frame Tutorial by Anna-Karin

The sentiment was stamped on mixed media cardstock and cut into strips. The strips were inked with Ground Espresso.

Layers of ink - Quilled Fringed Flowers in Tape Frame Tutorial by Anna-Karin

I glued a piece of lace trim to the background, to give my mason jar vase something to stand on. Here you can see the texture of the frame better.

Layers of ink - Quilled Fringed Flowers in Tape Frame Tutorial by Anna-Karin

It was hard capturing the look of the vintage pearlescent frame.

Layers of ink - Quilled Fringed Flowers in Tape Frame Tutorial by Anna-Karin

Quilling is one of the oldest paper crafts and for someone who loves paper, it is such fun to create shapes and designs out of only strips of paper. On this photo, you can see the dimension of the piece better. 

I really hope you will join us in our Handmade Flowers challenge. As every week, you have a chance to win a $50 gift voucher from Simon Says Stamp. You have until Monday 8am Ohio time. 1pm UK time, 2 pm CET to join in.


Don't forget to follow Simon Says Stamp on Instagram, they post great stuff daily. 


new-instagram-icon22

Do you use Instagram? If so please add #sssmchallenge so we can see your entries there too.


Happy crafting!

Anna-Karin

Supplies: