Showing posts with label Mica. Show all posts

Saturday, December 28, 2024

Winter Forest Decoration

Hello friends! I hope you had a wonderful Christmas! Today I am sharing a winter decoration. We have had very little snow so far this season, but hopefully it will come.

Please note: this post has affiliate links, for which I receive a small percentage of sales generated by the link, at no extra cost to you.
Layers of ink - Winter Forest Ornament Tutorial by Anna-Karin Evaldsson.

I like having winter decorations which aren't Christmas themed. When Christmas is over, I keep the winter themed decor items out until spring time. Here is a little family of deer in a snowy forest. The base is a wood slice and I used idea-ology items to create the scene, in addition to my favorite way to make snow.

Color the deer with alcohol ink.

The deer from Tim Holtz Salvaged Reindeer were colored with alcohol ink. I like how the alcohol ink brought out the great texture of the deer. They also stay shiny. You can use Distress Paint instead of alcohol ink.

Paint the trees with acrylic paint.

The three Tim Holtz Woodland Tree Lot were colored in an ombre fashion using Distress Paint. Mist the tree with water. Place the paint in a plastic bag and place the tree in the bag. Press to make sure you get paint everywhere. Let dry.

Add texture paste and glitter for snow.

When the paint and the deer were dry, I applied texture paste mixed with a tiny bit of white paint to the trees and to the deer. Sprinkle with Mica Flakes and then with Rock Candy Glitter.


Apply a thick layer of texture paste to the wood slice and press the deer and the trees into the paste. The paste will act as a glue. Sprinkle with Mica Flakes first and then with Rock Candy Glitter.

Deer in snow.

The snow looks thick since the deer sink into it.

Add idea-ology baubles to the snow.

I also added Tim Holtz Baubles here and there. Apply a little Distress Matte Medium on top and sprinkle with glitter.


You can add even more snow to the trees, but I wanted the ombre colors to still be visible.


I really like the shapes of these Salvaged Reindeer. 


When I took these photos, we did have some snow, but it is all gone again now. 

Layers of ink - Winter Forest Ornament Tutorial by Anna-Karin Evaldsson.

You can of course use a different base and make your forest even bigger.


Thank you for visiting!

Happy crafting!

Anna-Karin

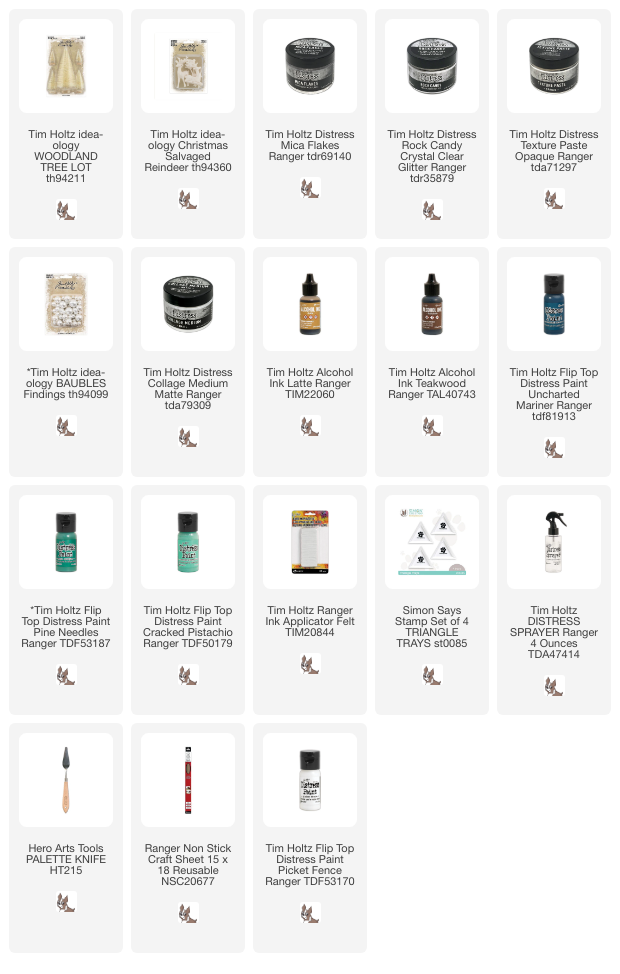
Supplies:

* Please note: the links are affiliate links, for which I receive a small percentage of sales generated by the link, at no extra cost to you.


Thursday, December 21, 2023

Sparkly Winter Forest Mixed Media Project

Hi friends! Today I am happy to have a tutorial on the Simon Says Stamp store blog. I created a magical winter wonderland.

Layers of ink - Sparkly Winter Forest Mixed Media Project by Anna-Karin Evaldsson.

Here is a sneak peek of the project. Creating snow is one of my favorite things to do and for this project, the snow is very sparkly. To see all the steps and details, you'll have to head over to the Simon Says Stamp Store Blog. 

Thank you for visiting my blog! 

Happy crafting!

Anna-Karin


Tuesday, October 24, 2023

Witch's Brew Halloween Scene

Hi friends! Every year I make new Halloween decorations and today I am sharing a little scene from a witch's backyard.

Please note: this post has affiliate links, for which I receive a small percentage of sales generated by the link, at no extra cost to you. 

Layers of ink - Witch's Brew Halloween Scene Tutorial by Anna-Karin Evaldsson.

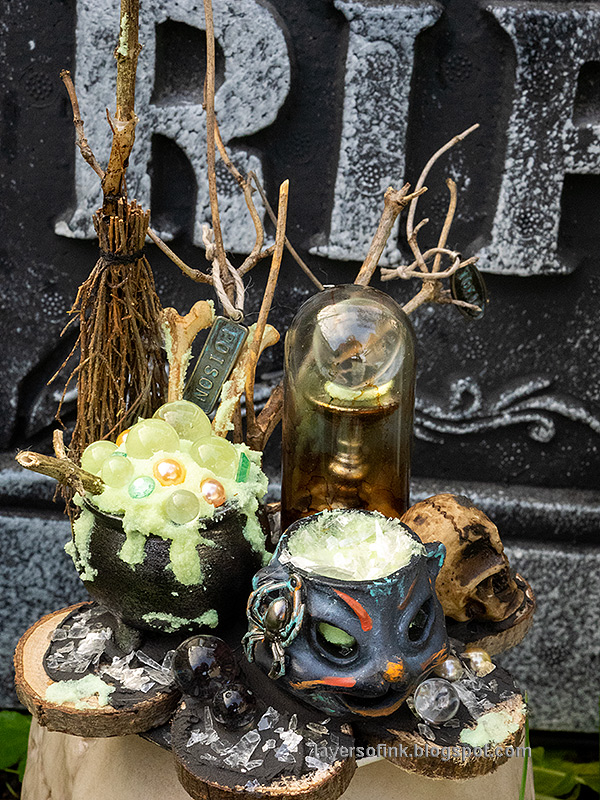
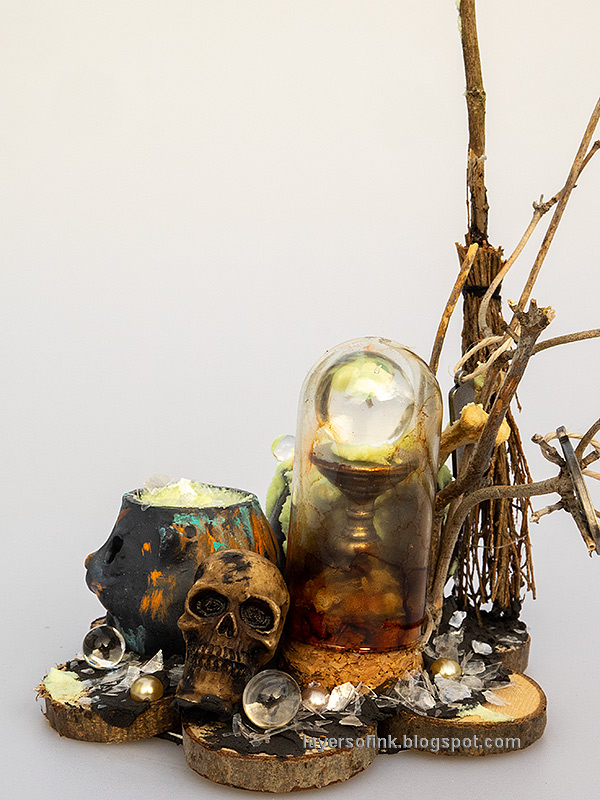
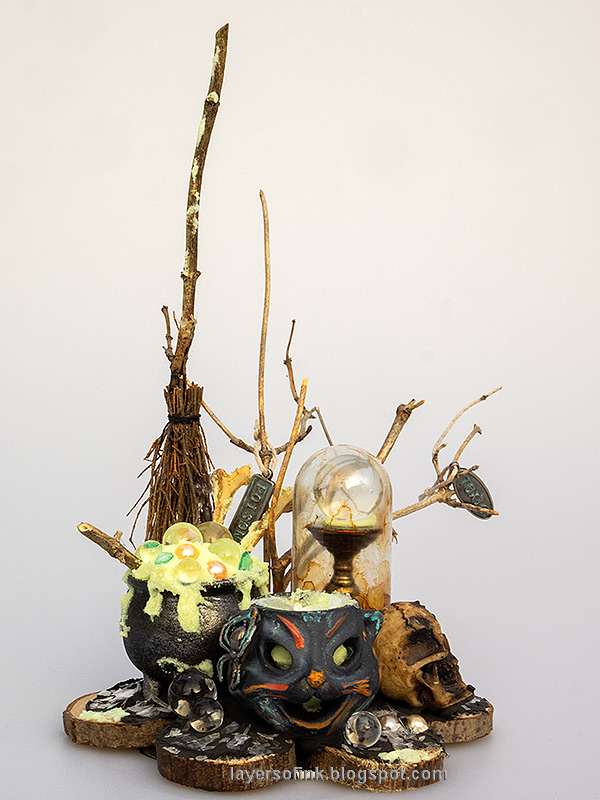
I made a little Halloween scene from a witch's yard or kitchen, using various of different items and scary bubbling brews. There is also a magic crystal ball, a skull, spooky black goo, bones and a spider. The scene glows in the dark since Ranger's Glow Grit Paste was used. The project was made with a bunch of Tim Holtz products.

Layers of ink - Witch's Brew Halloween Scene Tutorial by Anna-Karin Evaldsson.

I like round scenes, which look different if you turn them around and display them from different angles.

Layers of ink - Witch's Brew Halloween Scene Tutorial by Anna-Karin Evaldsson.

The stick from the broom had broken in transit and I replaced it with a twig from the garden.

Layers of ink - Witch's Brew Halloween Scene Tutorial by Anna-Karin Evaldsson. Make the base.

For the base, I cut a circle from Sizzix Little Sizzles Mat board and covered it with Black Opaque Texture Paste. Wood Slices were placed into the paste. Let dry.

Layers of ink - Witch's Brew Halloween Scene Tutorial by Anna-Karin Evaldsson. Paint with Distress Paint.

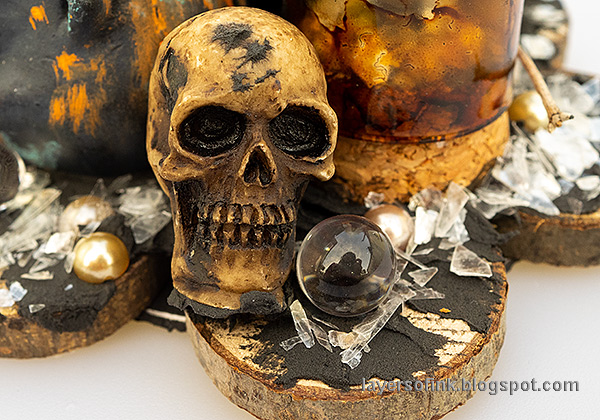
The cork base of the Display Dome was painted with Ground Espresso. I also added some paint to the skull and the bones.

Layers of ink - Witch's Brew Halloween Scene Tutorial by Anna-Karin Evaldsson. Color with alcohol ink.

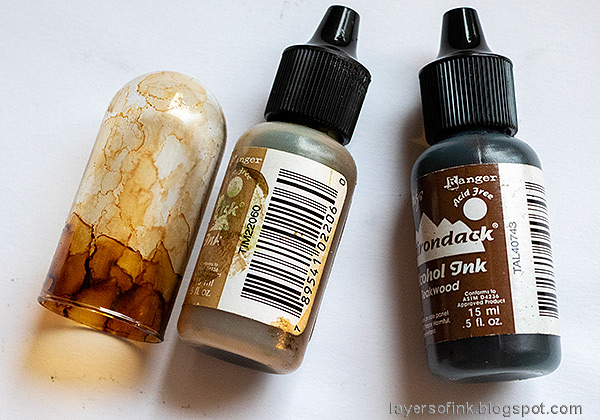
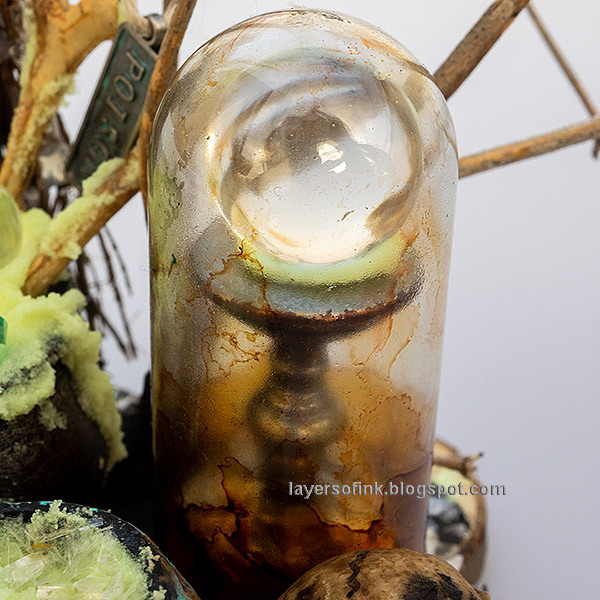
The dome was colored with alcohol ink, making it darker toward the bottom.

Layers of ink - Witch's Brew Halloween Scene Tutorial by Anna-Karin Evaldsson. Add Ranger Glow Grit Paste.

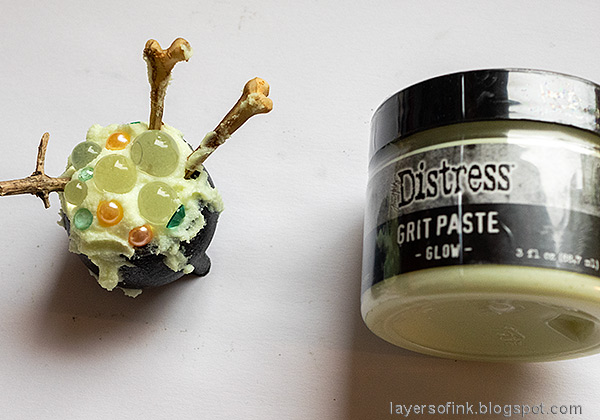
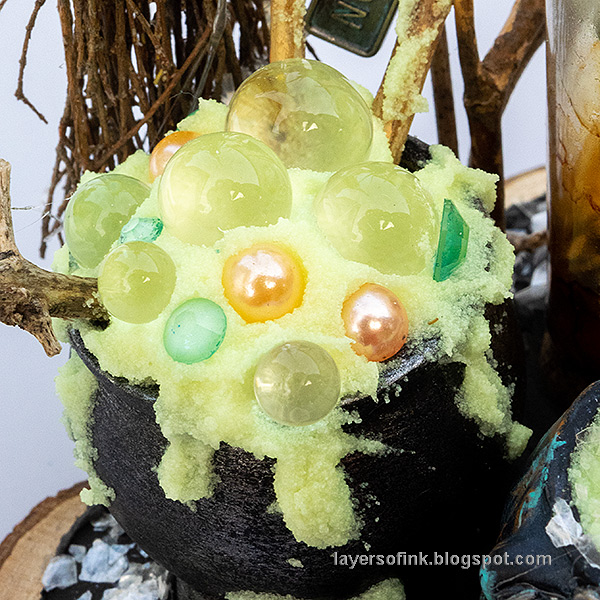
I filled the pot with Glow Grit Paste and placed Bubbles, pearls, jewels, two bones and a stick for stirring into the pot. The broom and the pot come from Tim's Graveyard set.

Layers of ink - Witch's Brew Halloween Scene Tutorial by Anna-Karin Evaldsson. Magic glass ball.

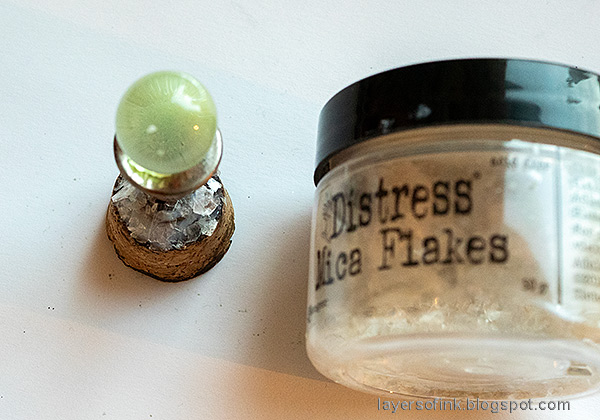
Turn a candle stick from The Manor around and you get a small table instead. To make the crystal ball, I added a little Glow Paste on top of the 'table' and placed an Idea-ology Bubble into the paste. This will keep the ball in place, while also giving a glow-in-the-dark effect through the ball. I added mica flakes to the base.

Layers of ink - Witch's Brew Halloween Scene Tutorial by Anna-Karin Evaldsson.

Place the Display Dome on top and you have a crystal ball on a small table inside the dome.

Layers of ink - Witch's Brew Halloween Scene Tutorial by Anna-Karin Evaldsson.

Add Black Opaque Paste to the base, but leave some of the wood showing. Place the items into the paste and it will function as an adhesive. I also sprinkled some mica flakes into the paste and added Bubbles and pearls.

Layers of ink - Witch's Brew Halloween Scene Tutorial by Anna-Karin Evaldsson.

The tree was made from twigs I found outdoors and pressed into one of the openings in the wood slice base. Plan the scene before placing the items down into the paste.

Layers of ink - Witch's Brew Halloween Scene Tutorial by Anna-Karin Evaldsson.

Let some of the Glow Paste flow and bubble outside of the pot for a fun effect. I used Tim Holtz Bubbles, Studio Katia Poseidon Crystals and Buttons Galore Peach pearls.

Layers of ink - Witch's Brew Halloween Scene Tutorial by Anna-Karin Evaldsson. Make a tree from twigs.

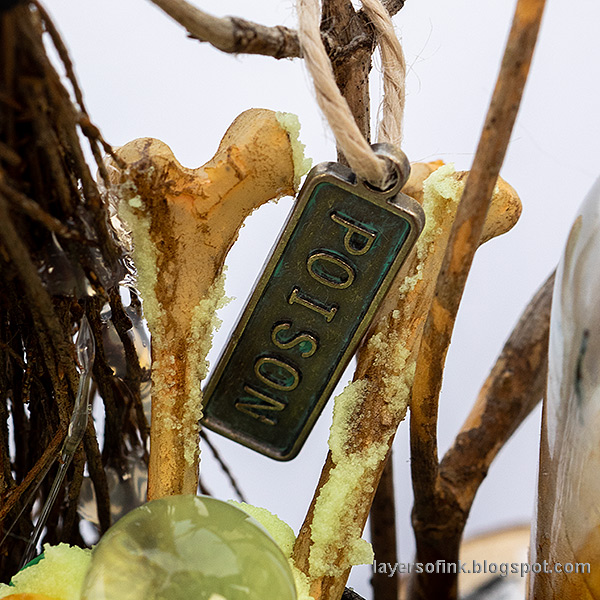
Glow Paste was added to the bones to. The metallic Word Tags hang from the branches of the tree.

Layers of ink - Witch's Brew Halloween Scene Tutorial by Anna-Karin Evaldsson. Black thirteen.

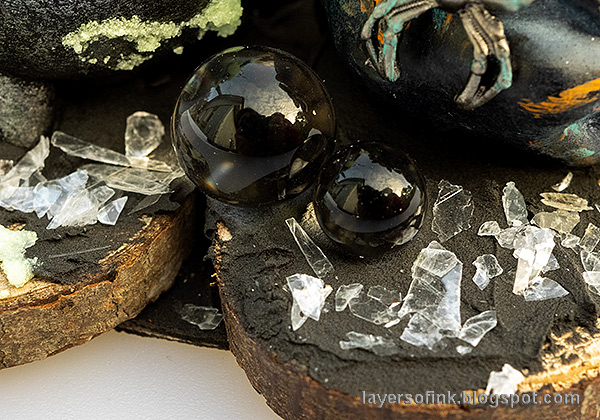
These Bubbles look black, but are clear. They pick up the dark shades from the paste and the base of the pots.

Layers of ink - Witch's Brew Halloween Scene Tutorial by Anna-Karin Evaldsson. Poison bubbling.

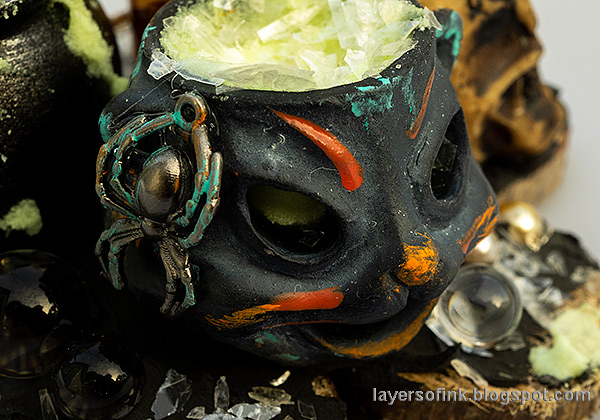
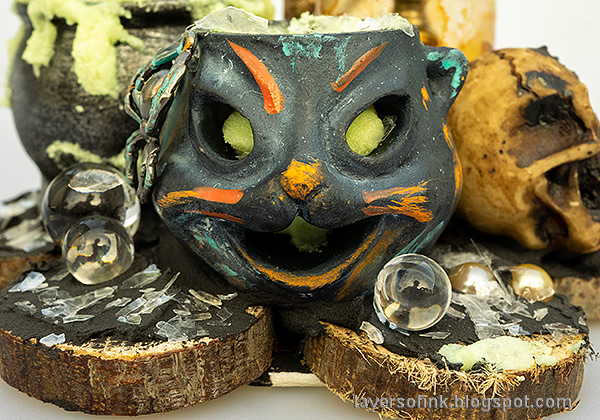
I added Glow Paste into the Jack-o-Lantern cat too and sprinkled Mica Flakes on top. A spider was glued to the cat.

Layers of ink - Witch's Brew Halloween Scene Tutorial by Anna-Karin Evaldsson. Spooky eyes.

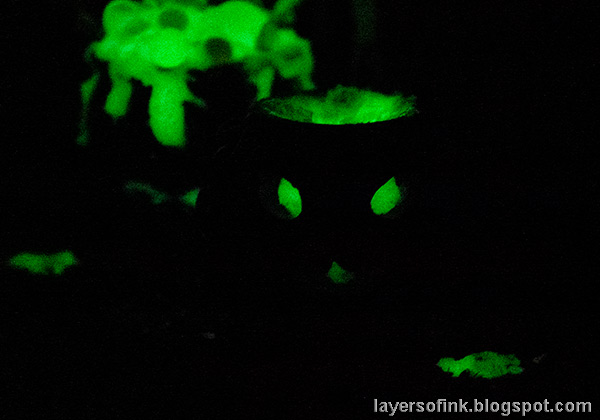
I added some Distress Paint to the cat too and the eyes and mouth glow in the dark.

Layers of ink - Witch's Brew Halloween Scene Tutorial by Anna-Karin Evaldsson. Add mica flakes.

I just love Mica Flakes.

Layers of ink - Witch's Brew Halloween Scene Tutorial by Anna-Karin Evaldsson. Ideaology skull.

You can add lots of different little items to the scene.

Layers of ink - Witch's Brew Halloween Scene Tutorial by Anna-Karin Evaldsson.

I rubbed a little paint into the words.

Layers of ink - Witch's Brew Halloween Scene Tutorial by Anna-Karin Evaldsson.

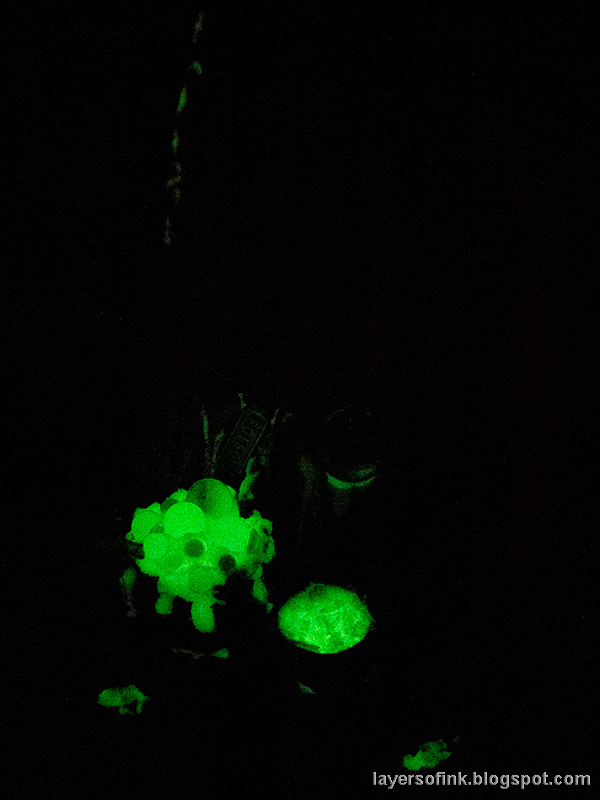
It was hard to get good photos of the glow-in-the-dark effect here. As you can see, even the broom handle glows. 

Layers of ink - Witch's Brew Halloween Scene Tutorial by Anna-Karin Evaldsson. The glow effect.

The pots, brews and crystal ball are the coolest when they glow.

Layers of ink - Witch's Brew Halloween Scene Tutorial by Anna-Karin Evaldsson.

And there is a glow from the eyes of the cat too. For more glow-in-the-dark inspiration check out my Beware Pumpkins and Glow-in-the-dark Halloween Decor tutorials.


Thank you for stopping by here today!

Happy crafting!

Anna-Karin

Supplies:

* Please note: the links are affiliate links, for which I receive a small percentage of sales generated by the link, at no extra cost to you.


Tuesday, July 25, 2023

Seaside Mixed Media Canvas

Hello and welcome to my blog! I hope you are enjoying summer, or winter, since July can be both depending on where you live.Today I have a little mixed media project to share.

Please note: this post has affiliate links, for which I receive a small percentage of sales generated by the link, at no extra cost to you.

Layers of ink - Seaside Mixed Media Canvas Tutorial by Anna-Karin Evaldsson.

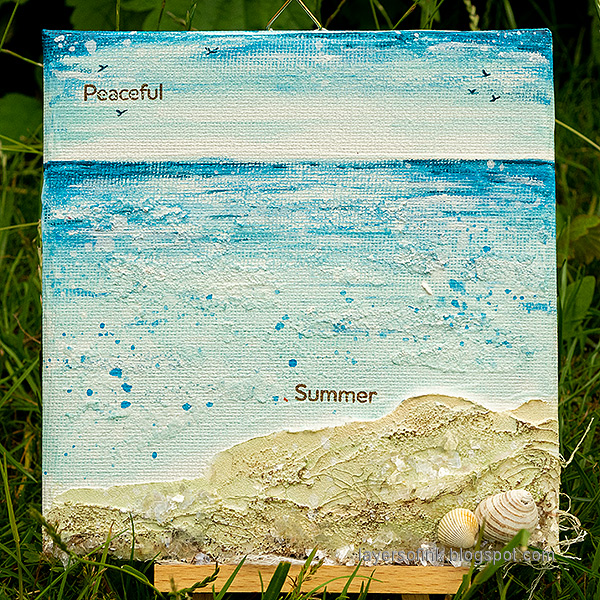
I made a 6x6 canvas board summer scene, with a lot of texture, but not so many details. I used Distress Paint, various pastes and just two small sentiment stamps. 

Layers of ink - Seaside Mixed Media Canvas Tutorial by Anna-Karin Evaldsson. Add texture paste.

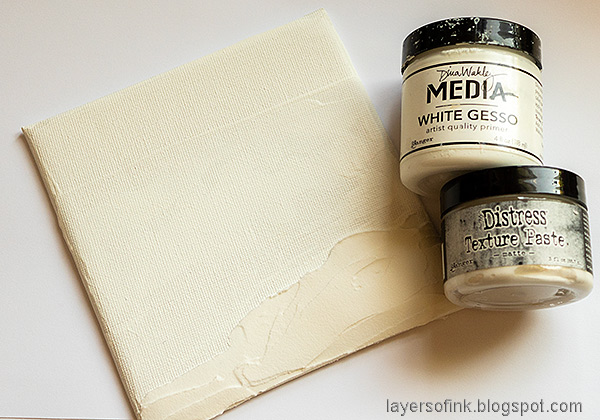
Start by applying gesso to the surface. I made a horizon line with the gesso, using a palette knife. When dry, add texture paste to the beach area, forming little hills.

Layers of ink - Seaside Mixed Media Canvas Tutorial by Anna-Karin Evaldsson. Add Ranger Grit-paste.

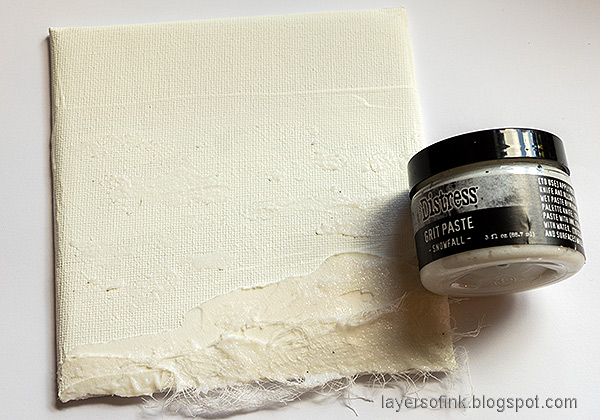
When the paste was dry, I placed a little cheese cloth onto the paste and adhere with Snowfall Grit-Paste. I also added some paste to the water. Let dry.

Layers of ink - Seaside Mixed Media Canvas Tutorial by Anna-Karin Evaldsson. Paint with Distress Paint.

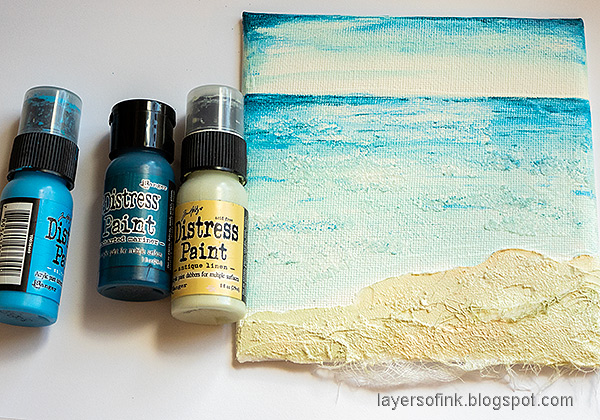
Paint the sea and sky with Distress Paint. I aimed for a light-colored look here.

Layers of ink - Seaside Mixed Media Canvas Tutorial by Anna-Karin Evaldsson.

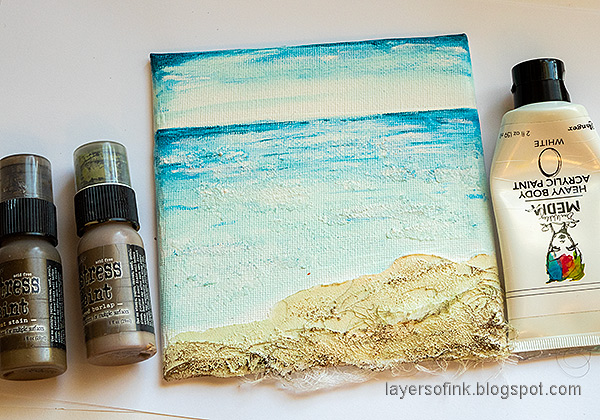
Paint the sand with Antique Linen and add darker shades to the sea and the sky.

Layers of ink - Seaside Mixed Media Canvas Tutorial by Anna-Karin Evaldsson.

Dry brush brown paint on the beach area to increase the texture. Paint some white lines and marks on the sea and sky area.

Layers of ink - Seaside Mixed Media Canvas Tutorial by Anna-Karin Evaldsson. Paint the sea with acrylic paint.

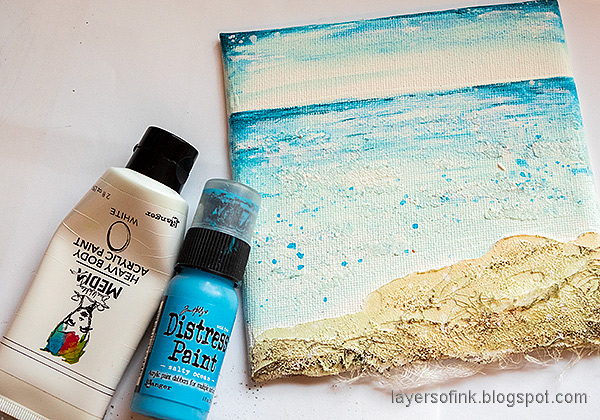
Splatter white and blue paint on the canvas. Protect the sky with scrap paper when splattering the blue paint.

Layers of ink - Seaside Mixed Media Canvas Tutorial by Anna-Karin Evaldsson. Add shells and mica flakes.

I wanted the beach to shimmer and added Ranger's Mica Flakes. I also glued two real sea shells to the board.

Layers of ink - Seaside Mixed Media Canvas Tutorial by Anna-Karin Evaldsson. Paint birds in the sky.

Sentiments from Simon Says Stamp Forest Scenery were stamped with Potting Soil ink. I also painted birds in the sky.

Layers of ink - Seaside Mixed Media Canvas Tutorial by Anna-Karin Evaldsson.

The grit paste adds an interesting foamy texture to the sea.

Layers of ink - Seaside Mixed Media Canvas Tutorial by Anna-Karin Evaldsson.

The beach has a nice texture, with the combination of texture paste, grit-paste, cheese cloth, mica flakes and paint.

Layers of ink - Seaside Mixed Media Canvas Tutorial by Anna-Karin Evaldsson.

If you want to you can of course add more details, such as a boat. You can find inspiration for how to make little boats and for how to paint the sea with a palette knife in my At The Sea tutorial.


Thank you for taking the time to visit my blog today!

Happy crafting!

Anna-Karin

Supplies:

* Please note: the links are affiliate links, for which I receive a small percentage of sales generated by the link, at no extra cost to you.