
Hello crafters and welcome to my blog! It is a new week and I hope you had a good weekend. We spent a lot of time outdoors this weekend, luckily without much rain.
Please note: this post has affiliate links, for which I receive a small percentage of sales generated by the link, at no extra cost to you.

This week we have a Spooky theme at the Simon Says Stamp Monday Challenge Blog. I hope you will join us! Don't miss our two guest designers this week: Teresa York and Gitta Roolf.

My project isn't that spooky, but feature somewhat crazy pumpkins on a textured dry embossed background. The bats and the faces of the pumpkins glow in the dark and you can see the effect towards the end of the post. I used mainly Tim Holtz dies and an embossing folder to create the card.

Start by die cutting Edison Colorize from heavystock paper.

Ink the two pieces which will go in the back with Mustard Seed and Antique Linen. By inking them with different colors, the glow paste will also get a different shade.

Add a layer of Glow Grit Paste to the base pumpkins with a palette knife.

Apply Distress Ink to a non-stick craft sheet, mist with water and press the pumpkins into the ink. Let dry and repeat until you are happy with the look. Make the pumpkin that goes in the middle of the stack darker for a shadow effect.

Repeat for the orange pumpkin. I changed my mind about the middle one and die cut it from Tim Holtz Deco sheets instead. Adhere the sheet to cardstock first.

Stamp the orange pumpkin with Simon Says Stamp Crackle Background and Potting Soil ink.

Stamp the green pumpkin with green ink. I added more crackles to the green pumpkin.

For the background, smear Distress Ink on the craft sheet, mist with water and press watercolor paper into the ink.

Ink directly on the Tim Holtz Tapestry folder with two shades of brown. Mist with water and emboss the paper. Make two of these for the background.

The clouds from Edison Colorize were done in the same way and embossed in the Reptile folder.

The clouds and the green pumpkin are adhere with Simon Says Stamp Pawsitively Perfect Foam Tape.

Die cut the bats with Tim Holtz Moonlight set and coat with Glow Grit Paste. When dry, shape them a little. The clouds were also die cut from brown cardstock, to give them a small shadow.

I colored the stems green, but didn't use the middle piece since I wanted the glow effect to show through the stems too.

A clippings sticker was added as a sentiment.

Here you can see that the shade of the Glow paste is different depending on the ink used on the paper underneath it.

Here you can see the glow effect.
I hope you will join us this week in our Spooky challenge. You have a chance to win a $25 gift voucher to do some fun shopping at Simon Says Stamp. You have until Monday 8am Ohio time. 1pm UK time, 2 pm CET to join in.

Do you use Instagram? If so please add #sssmchallenge so we can see your entries there too.


Thank you so much for stopping by here today!
Happy crafting!
Anna-Karin
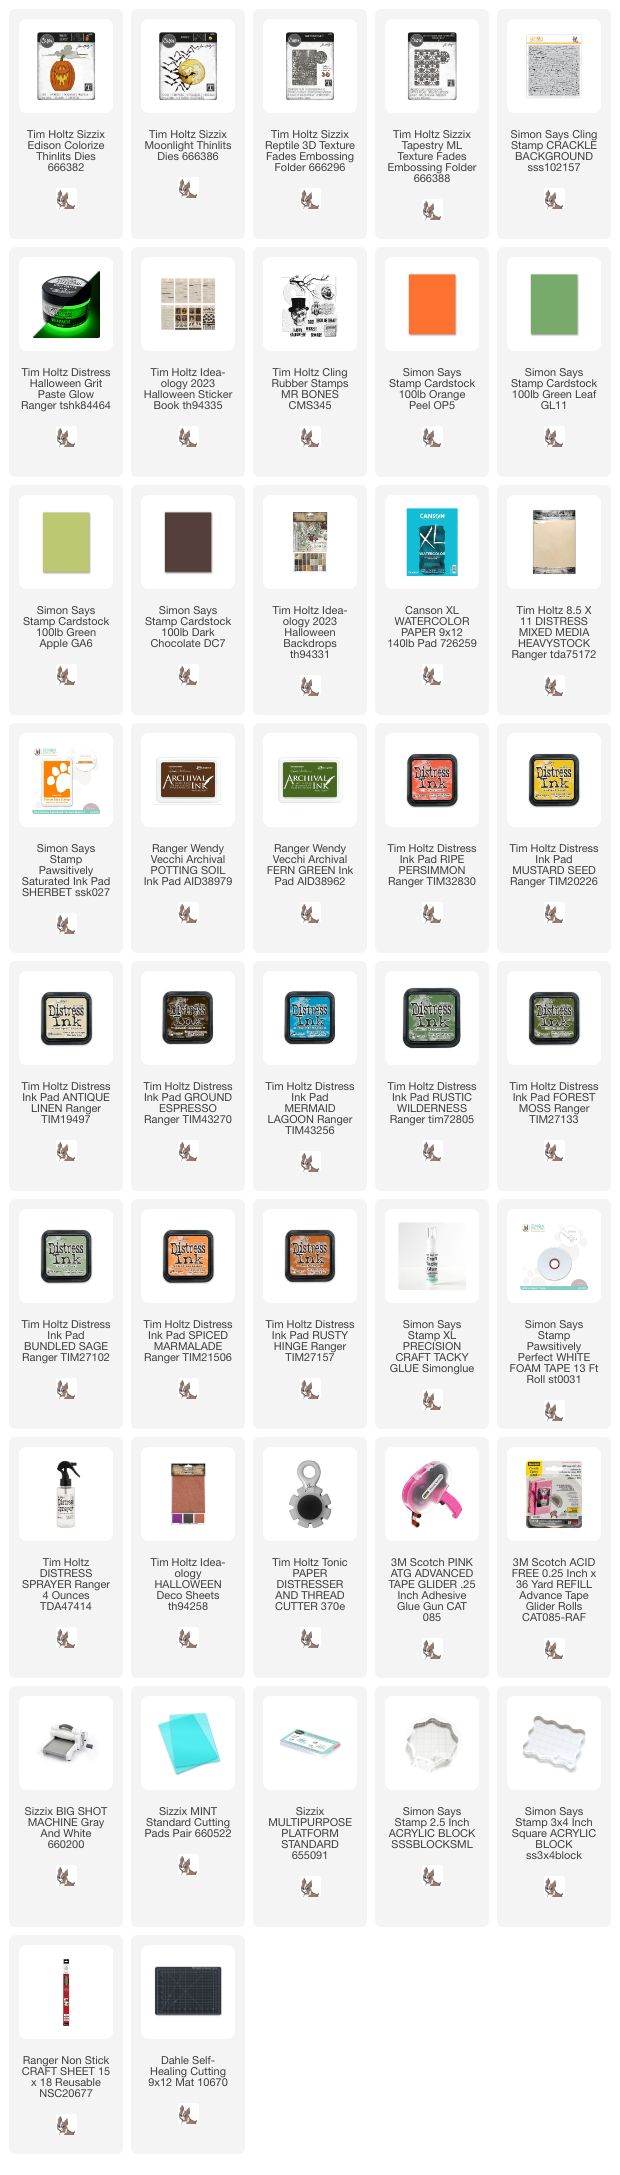
Supplies:
* Please note: the links are affiliate links, for which I receive a small percentage of sales generated by the link, at no extra cost to you.
* Please note: the links are affiliate links, for which I receive a small percentage of sales generated by the link, at no extra cost to you.
This card is so cool. I love all the details and layers you added to your card. Love it!
ReplyDelete-Christine