Hi everyone! The year is almost at an end and it is time to look back and do a little review. It's been quite a year, with both lots of fun things, everyday happenings and activities, achievements, changes and adventures, and some less fun things such as our unwanted and very sudden move.
I enjoy looking back at my projects from the year and it gives a sense of perspective. It is easy to feel that the time has flown past, but when I look at the projects I did at the beginning of the year, it still feels pretty long ago. If you start looking at details and remembering events, time seems to slow down.
I have picked some favorite projects, and they are favorites for different reasons.
A big thank you to everyone who looks at my projects, posts comments here and on my social media channels and click on affiliate links. I really appreciate it and I always look forward to hearing what you think about a project and hope that my projects inspire creativity and art making.

Let's start with a fun Recycled tag, which has some of my favorite elements: words, transparent elements, fun colors and little details.

A scrapbooking layout about one of my favorite places, the forest.

My favorite part of this Past Times wall-hanger is the photo of my grandmother and her brother-in-law. I also like the mix of yellow, brown and gold.

You can create a springtime fairy-tale scene in an altered tin. Leo loves this project and looks at it often.

This vintage stenciled wall-hanging also made it onto my list, because of the pretty roses, gold foil, crackles and vellum butterflies.

I picked these tags because of the fun Mist Resist Technique, and to remind myself to do the technique soon again.

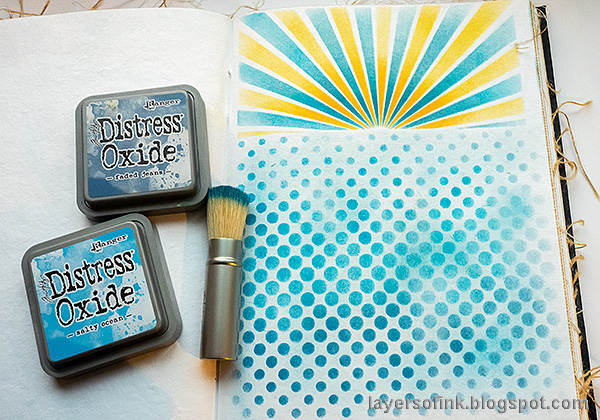
This Ocean art journal page is so peaceful and calm, and I used a fun resist effect for the water.

And a cheerful yellow tag, with fun textured flowers.

My Nautical Tag has an interesting mix of colors, textures and metals, and I had such fun when I made it.

We have had very grey and rainy weather here lately, which inspired me to pick some extra sunny summer projects for this post, such as this At the Seaside scrapbooking page.

As you know, watercolor techniques are among my favorites, and I really enjoyed doing these borderlesss watercolored florals.

My favorite patterned papers from this year were definitely Tim Holtz's Abandoned Paper Stash, which I used for this Sending Happiness art journal page. Another favorite project with the same papers were my two Heart Shaker Cards.

I have used unusually many gold elements lately and this Shimmer and Shine Tag went all out and is almost completely sparkling with gold metal and glitter.

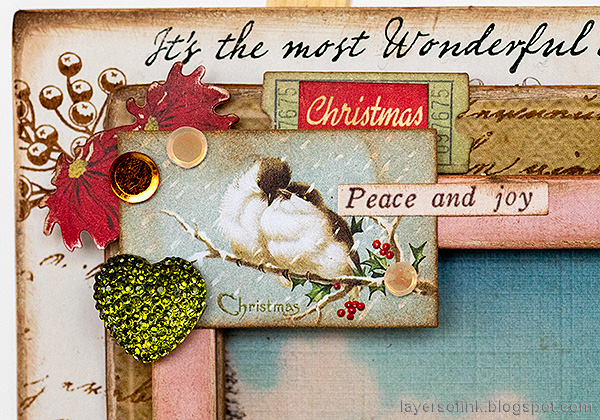
My Winter Bird Tag was such fun to make, using almost only items found in my scrap boxes.

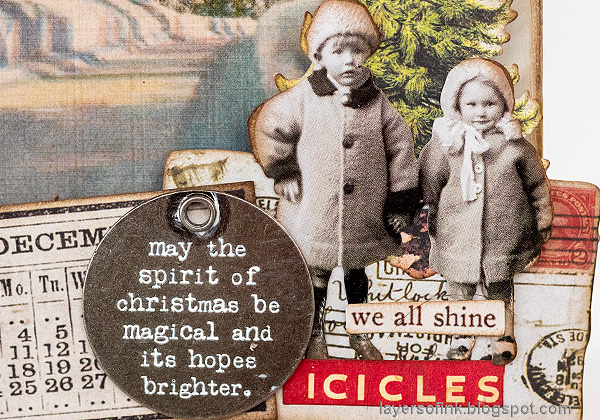
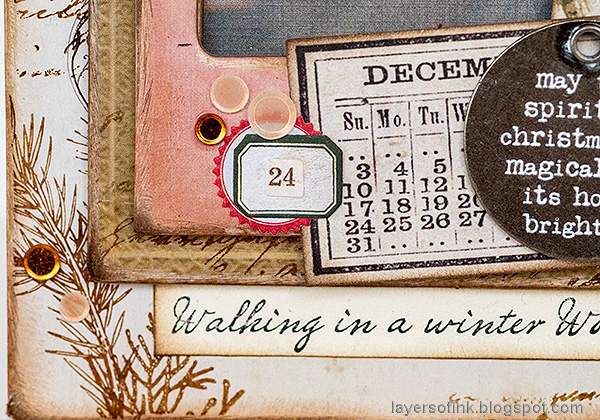
I almost always pick my December Daily journal for my favorite projects of the year post. The winter mountain journal is now filled with Christmas memories.

I like the colors, bits of gold, big Lined You and the message of this art journal page. I also used the SSS Lined You die on my New Year art journal page.

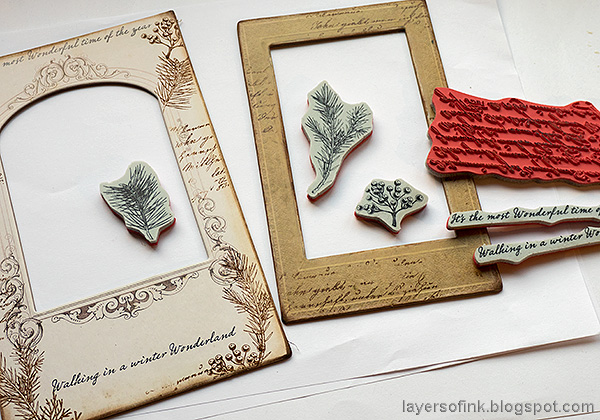
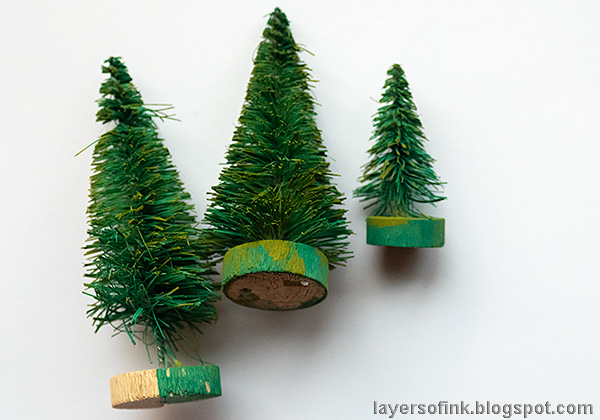
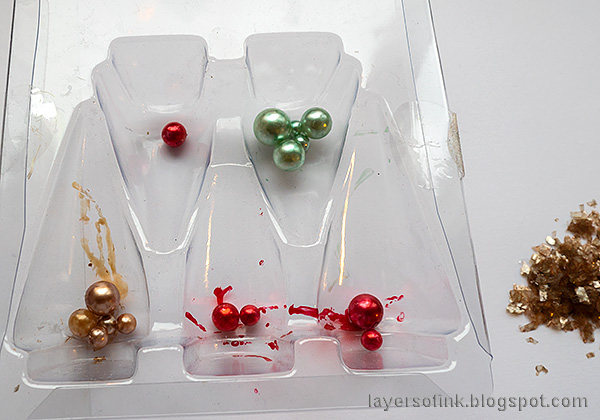
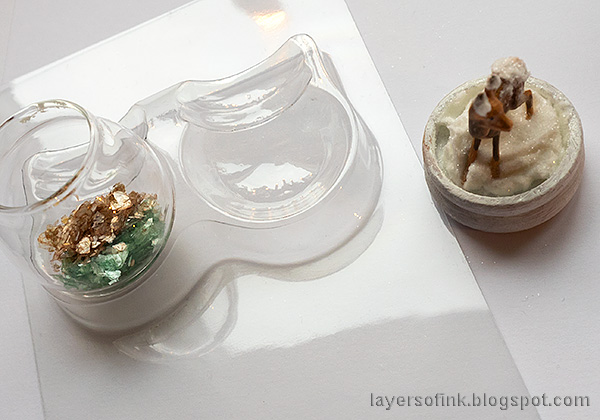
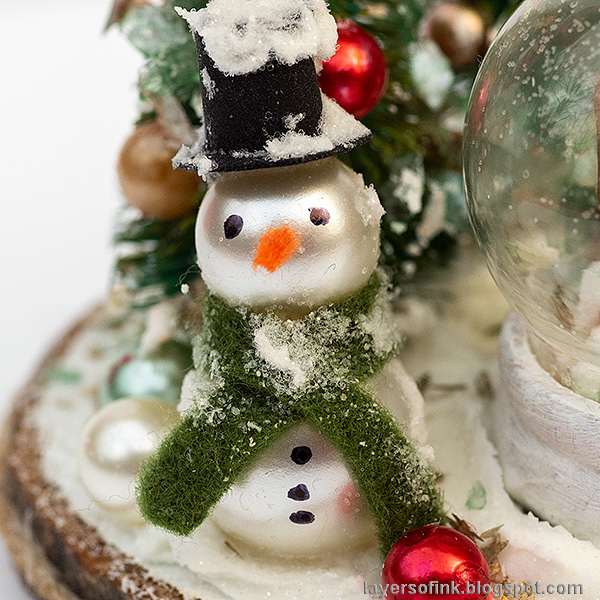
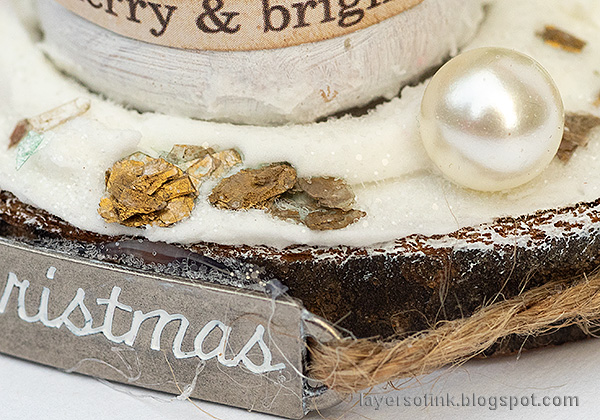
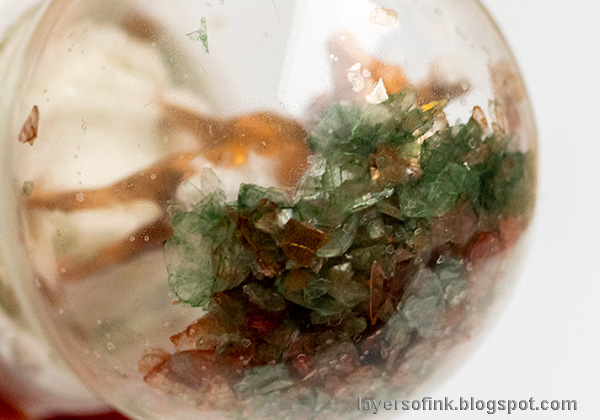
Let's finish the year with a Winter Wonderland. I like all the sparkly snow on this project and since it is winter-themed, I am planning to display it the whole winter, but hopefully we will get some real snow too.
Again, thank you so much for all your support throughout this year. I want to wish you all a Happy New Creative Year 2020!!
Anna-Karin
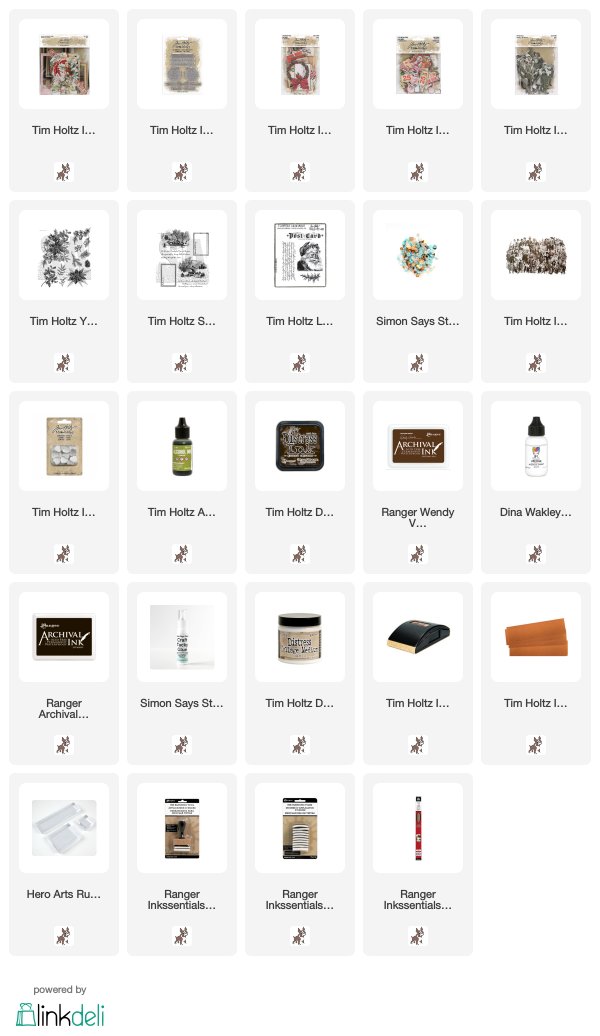
* Please note: the links are affiliate links, for which I receive a small percentage of sales generated by the link, at no extra cost to you.