

I love the vintage images in Tim's Ephemera and Layers and Baseboards packs and have, for example, used them as notebook covers, and when I saw this pretty picture of a snowy landscape, I knew I wanted it to be the focal point of a project. Any of the other postcard style pictures would work just as well, for instance, from the Layer Remnants set. I had fun layering ideaology products here.

Start by picking three frames in different sizes from the Christmas Layers and Baseboard set, sand the edges.
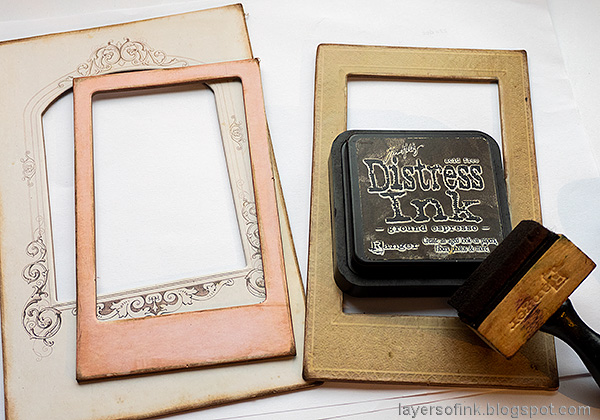
Ink the edges. The ink will stick to the sanded areas.
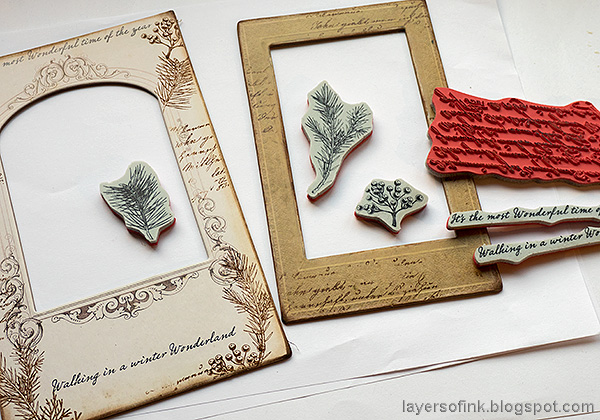
Stamp the frames with sentiments, branches and script. I used black and brown ink.

Glue the frames together, placing the image under the brown frame. Add idea-ology ephemera and words. The Gumdrop Heart was colored with a drop of alcohol ink. I also used sequins from the SSS Sunken Chest set. I just love the script used for the sentiments in Tim's Scenic Holiday stamp set.
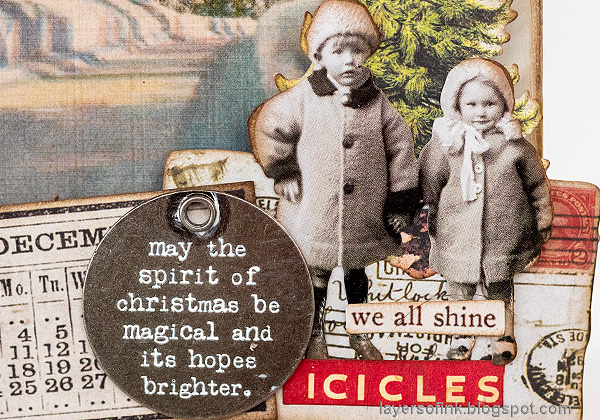
Ink the little children and layer them on top of an old postcard and a tree. I also added a calendar image, some words, and a metallic sentiment circle. Rub white paint into the words to make them stand out. My packs of paper dolls are mixed up, so I am not completely sure which pack these children came from.
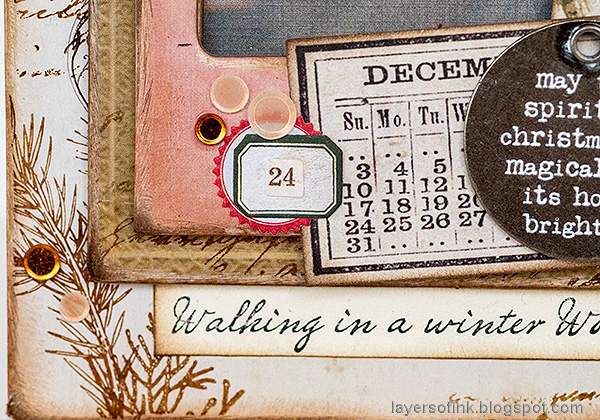
Add more ephemera and sequins. I messed up the stamping of this sentiment, and restamped it on a piece of cardstock.

Since the baseboard frames are thick and sturdy, the project has quite a bit of dimension. You can cover the frame at the back with a piece of cardstock for a finished look.

Thank you so much for taking the time to visit my blog today!
Happy Christmas crafting!
Anna-Karin
Supplies:
* Please note: the links are affiliate links, for which I receive a small percentage of sales generated by the link, at no extra cost to you.
* Please note: the links are affiliate links, for which I receive a small percentage of sales generated by the link, at no extra cost to you.
What a gorgeous project Anna-Karin, the vintage ephemera is beautiful and I love the wintery scene. A stunning project.
ReplyDeleteSo beautiful .Thank you for sharing the process .Just love it!
ReplyDelete