Friday, September 30, 2022

Halloween Mixed Media Canvas

Hi friends! It is the last day of September and I have a mixed media Halloween tutorial to share.

Please note: this post has affiliate links, for which I receive a small percentage of sales generated by the link, at no extra cost to you.

Layers of ink - Halloween Mixed Media Canvas with Stephen King Dark Tower inspiration by Anna-Karin Evaldsson.

This Halloween canvas features a large harvest moon, a painted background and stamping done both directly on the canvas and on tissue paper. The scene was inspired by Stephen King's Dark Tower IV Wizard and Glass book, and particularly by the reaptide festival in the rural area of Mejis. But it works just as well as a general Halloween canvas too. You could also turn it into a card or an art journal page.

Layers of ink - Halloween Mixed Media Canvas Tutorial by Anna-Karin Evaldsson. Apply gesso

I used a canvas board which is 7 x 9.5 in. Start by coating it with gesso and make the outline of hills with a palette knife. Let dry.

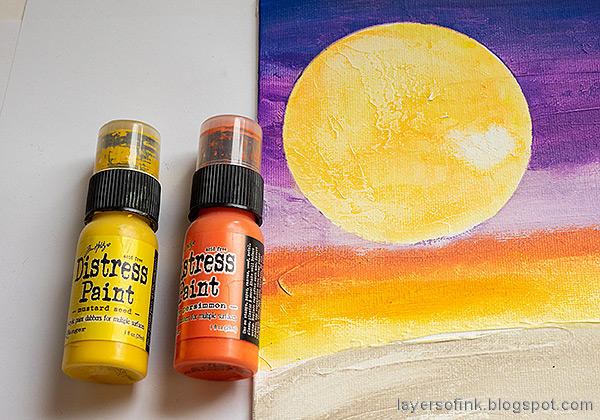
Layers of ink - Halloween Mixed Media Canvas Tutorial by Anna-Karin Evaldsson. Paint with Distress Paint.

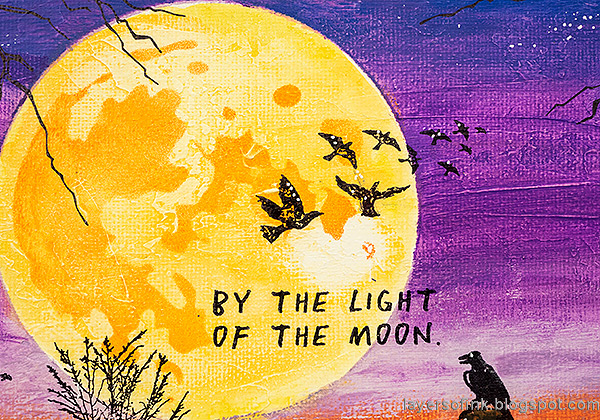
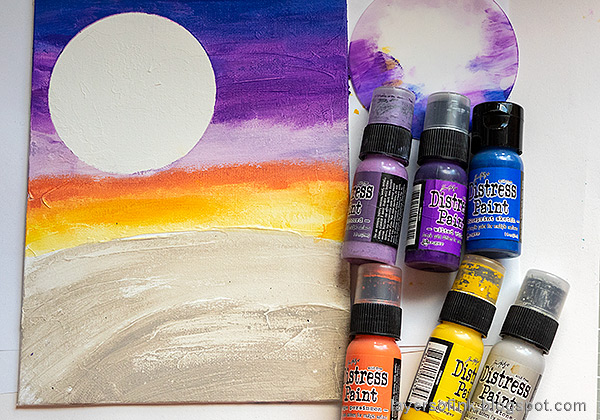
Place Tim Holtz Moon Mask on the canvas and paint the with various Distress Paints. Rub away some of the paint in the foreground before it dries completely. I used the largest Moon Mask, if you work on a smaller scale, you can pick one of the two smaller sizes.

Layers of ink - Halloween Mixed Media Canvas Tutorial by Anna-Karin Evaldsson.

Paint the harvest moon with yellow and orange paint. Before the paint dries completely, rub some of it off to increase the texture and add highlights.

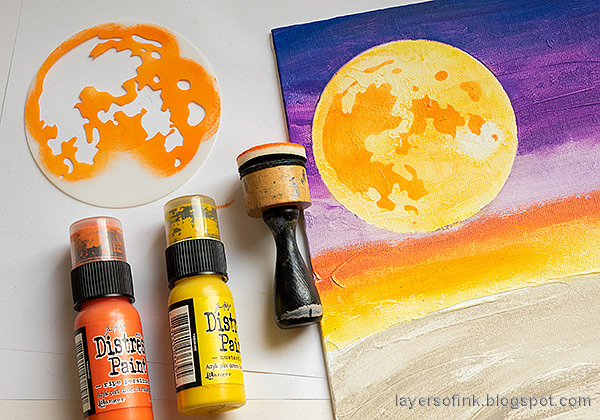
Layers of ink - Halloween Mixed Media Canvas Tutorial by Anna-Karin Evaldsson. Apply paint through Tim Holtz Moon Mask.

Place the Moon Mask on the moon and apply a mix of yellow and orange through it.

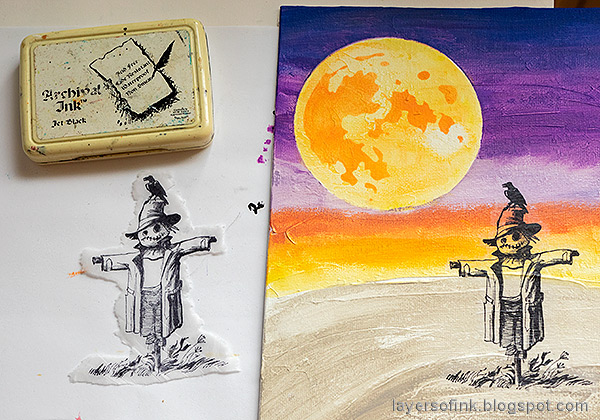
Layers of ink - Halloween Mixed Media Canvas Tutorial by Anna-Karin Evaldsson. Stamp Tim Holtz The Scarecrow.

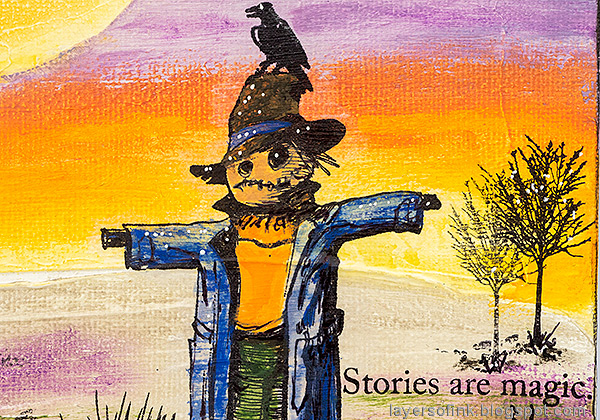
I stamped the main image on tissue paper and tore the edges. Stamp on the glossy side of the tissue paper. The stamp comes from Tim Holtz The Scarecrow. Add a thin layer of gloss multimedium on the background and carefully place the tissue paper into the medium. Add another thin layer on top. The torn edges will disappear. I stamped the rest of the images directly on the canvas, but wanted to make sure that no details was missing from this main image.

Layers of ink - Halloween Mixed Media Canvas Tutorial by Anna-Karin Evaldsson.

Add more paint to the background. Make the foreground hill darker than the hills further away to increase a sense of distance. Paint the scarecrow (or stuffy guy as they would say in Mejis). 

Layers of ink - Halloween Mixed Media Canvas Tutorial by Anna-Karin Evaldsson.

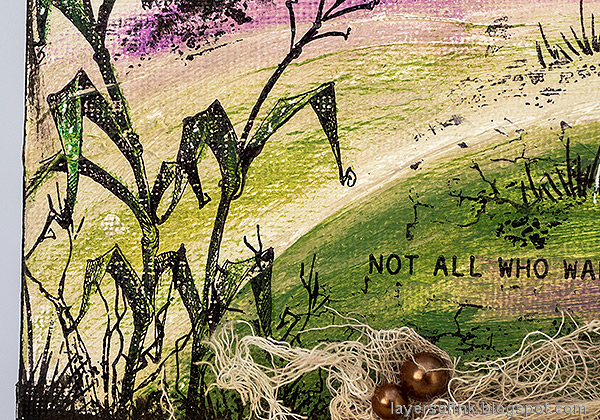
Stamp trees with Simon Says Stamp All Seasons Tree and grass from Thoughtful Flowers. Stamp corn from Tim's The Scarecrow in the foreground. The main sentiment also comes from that stamp set. The rest of the sentiments come from Tim Holtz Tiny Text Halloween, and Simon Says Stamp Mixed Labels. Color the corn leaves with colored pencils. Add details with a black pen and stamp Simon Says Stamp Crackle Background here and there in the foreground. 

Layers of ink - Halloween Mixed Media Canvas Tutorial by Anna-Karin Evaldsson.

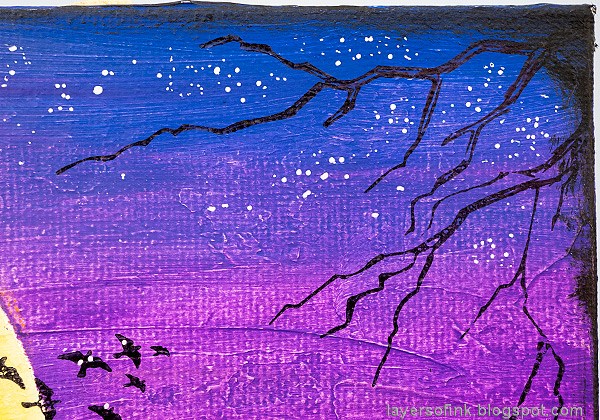
The stamped branches at the top frames the piece and comes from Tim's Sketch Manor. Add stars and highlights with white gel pens.

Layers of ink - Halloween Mixed Media Canvas Tutorial by Anna-Karin Evaldsson.

The birds come from Tim's Mini Ornates stamp set. If you want even more of a Halloween feel, use the bats from The Scarecrow instead.

Layers of ink - Halloween Mixed Media Canvas Tutorial by Anna-Karin Evaldsson.

Add black paint around the edges.

Layers of ink - Halloween Mixed Media Canvas Tutorial by Anna-Karin Evaldsson.

The Moon Mask stencils are such fun to work with and perfect for creating a large harvest moon. If you want to use colder colors, paint the moon with white and grey instead.

Layers of ink - Halloween Mixed Media Canvas Tutorial by Anna-Karin Evaldsson. Stamp with Simon Says Stamp All Seasons Tree.

Since my canvas is inspired by a story, I added some sentiments that fit that theme. You can use Halloween sentiments instead.

Layers of ink - Halloween Mixed Media Canvas Tutorial by Anna-Karin Evaldsson.

I colored the scarecrow with the same colors that were used in the background. If some of the stamped lines are dulled by the painting, add them back with a black paint. 

Layers of ink - Halloween Mixed Media Canvas Tutorial by Anna-Karin Evaldsson.

The corn plants fit so well with the harvest theme. 

Layers of ink - Halloween Mixed Media Canvas Tutorial by Anna-Karin Evaldsson.

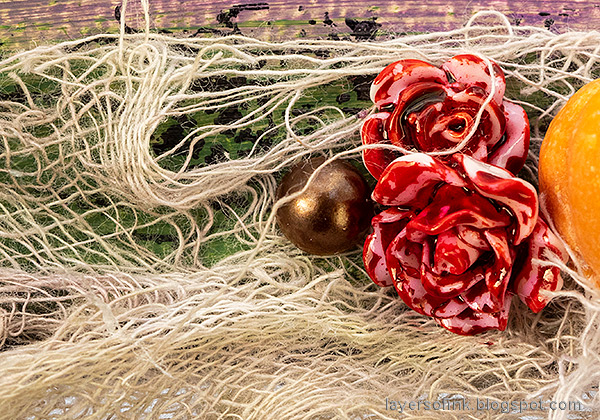
I dyed some cheese cloth with Pumice Stone ink. The Heirloom Roses were colored with alcohol ink. Roses play an important part in the story, but you can skip them, since they might be a little out of place if you make a Halloween canvas. 

Layers of ink - Halloween Mixed Media Canvas Tutorial by Anna-Karin Evaldsson.

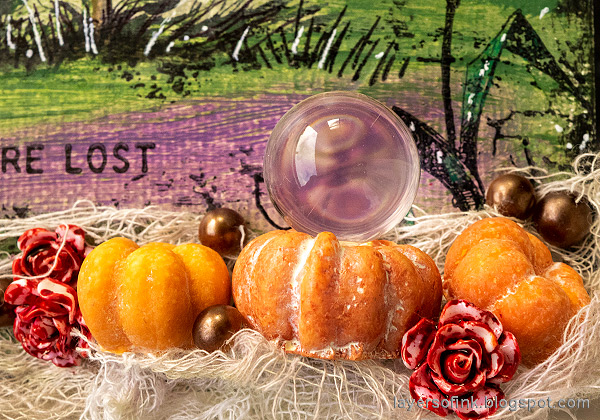
A crystal ball plays a big role in the inspiration story, which is why I added a Tim Holtz idea-ology Bubble on top one of the pumpkins. There are also some Halloween Pearl Droplets


Thank you so much for stopping by here today!

Happy stamping!

Anna-Karin


Supplies:

* Please note: the links are affiliate links, for which I receive a small percentage of sales generated by the link, at no extra cost to you.

Monday, September 26, 2022

Dry embossing and watercolor pencils

Hi friends! I hope you had a fun weekend. We had lovely autumn weather. 

Please note: this post has affiliate links, for which I receive a small percentage of sales generated by the link, at no extra cost to you.


This week at the Simon Says Stamp Monday Challenge Blog we have an Emboss It challenge. I hope you will join us! Don't miss the gorgeous project by our September guest designer Anita Rao aka Beads, Charms and Wire. 

Layers of ink - Dry embossing and watercolor pencils tutorial by Anna-Karin Evaldsson.

I used both dry and heat embossing for my card, since both of these are techniques which I really love. The background was done with a combination of dry embossing and Distress Watercolor Pencils, which gave a textured shabby chic look.

Layers of ink - Dry embossing and watercolor pencils tutorial by Anna-Karin Evaldsson. Color with Distress Watercolor Pencils.

Start by scribbling with Distress Watercolor Pencils on the embossing folder. I used mainly Tattered Rose and Kitsch Flamingo, with a little bit of Antique Linen. I used Simon Says Stamp pretty Minted Florals Embossing folder.

Layers of ink - Dry embossing and watercolor pencils tutorial by Anna-Karin Evaldsson.

Mist both the folder and a piece of watercolor paper with water and emboss. You will get a different result depending on how much water you use. I used pretty much water.

Layers of ink - Dry embossing and watercolor pencils tutorial by Anna-Karin Evaldsson. Add splatters with Distress Watercolor Pencils.

Dip a watercolor pencil in water and flick a paint brush against it to create splatters. 

Layers of ink - Dry embossing and watercolor pencils tutorial by Anna-Karin Evaldsson.

Die cut Simon Says Stamp Just Because from Ranger Heavystock paper. Ink with Saltwater Taffy Distress Oxide and emboss with several layers of clear powder. Always be very careful when using a heat gun and never touch the melted powder until it has cooled down completely.

Sprinkle a little white embossing powder into the last layer.

Layers of ink - Dry embossing and watercolor pencils tutorial by Anna-Karin Evaldsson.

The Distress Watercolor Pencils gave the background a partly random coloring.

Layers of ink - Dry embossing and watercolor pencils tutorial by Anna-Karin Evaldsson.

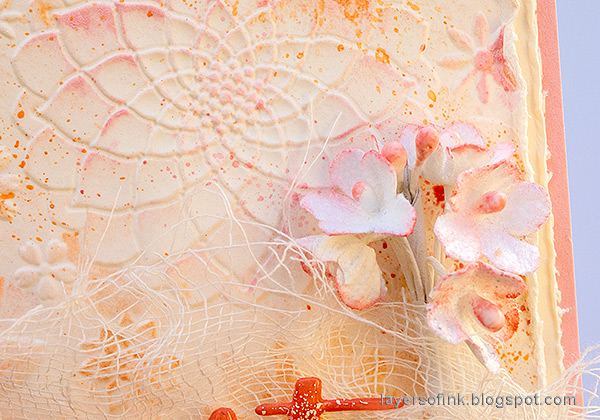
I embellished the card with a little cheese cloth and Tim Holtz Bouquet Findings. The flowers were colored with Saltwater Taffy.

Layers of ink - Dry embossing and watercolor pencils tutorial by Anna-Karin Evaldsson.

The cheese cloth makes the sentiment stand out better on the background.

Layers of ink - Dry embossing and watercolor pencils tutorial by Anna-Karin Evaldsson.

The layers of embossing makes the sentiment look almost good enough to eat. The second part of the sentiment comes from Simon Says Stamp Mixed Labels using Saltwater Taffy Distress Oxide ink and matted on the same Simon Says Stamp Cotton Candy cardstock that I used for the folded cardbase.

Layers of ink - Dry embossing and watercolor pencils tutorial by Anna-Karin Evaldsson.

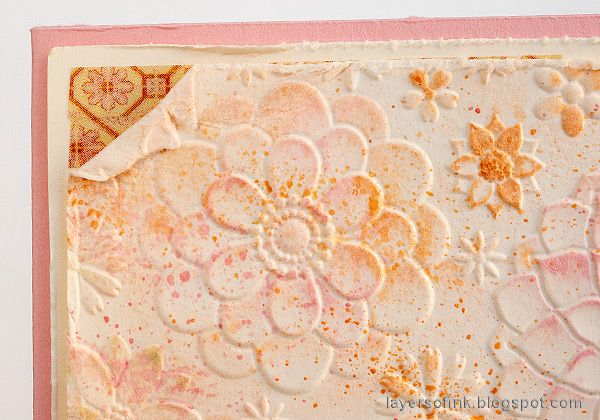
The paper tore when I distressed the edges since I didn't wait for it to dry completely. To save that, I made the tear larger and added Design Tape underneath, so that it looked as if the tear was intentional. 

I hope you will join us this week in our Emboss It challenge. You have a chance to win a $25 gift voucher to do some fun shopping at Simon Says Stamp. You have until Monday 8am Ohio time. 1pm UK time, 2 pm CET to join in.


Do you use Instagram? If so please add #sssmchallenge so we can see your entries there too.


During this month, STAMPtember® is celebrated at Simon Says Stamp - a whole month dedicated to stamps and stamping, with so much inspiration and many surprises.

Thank you so much for stopping by here today! 

Happy crafting!

Anna-Karin

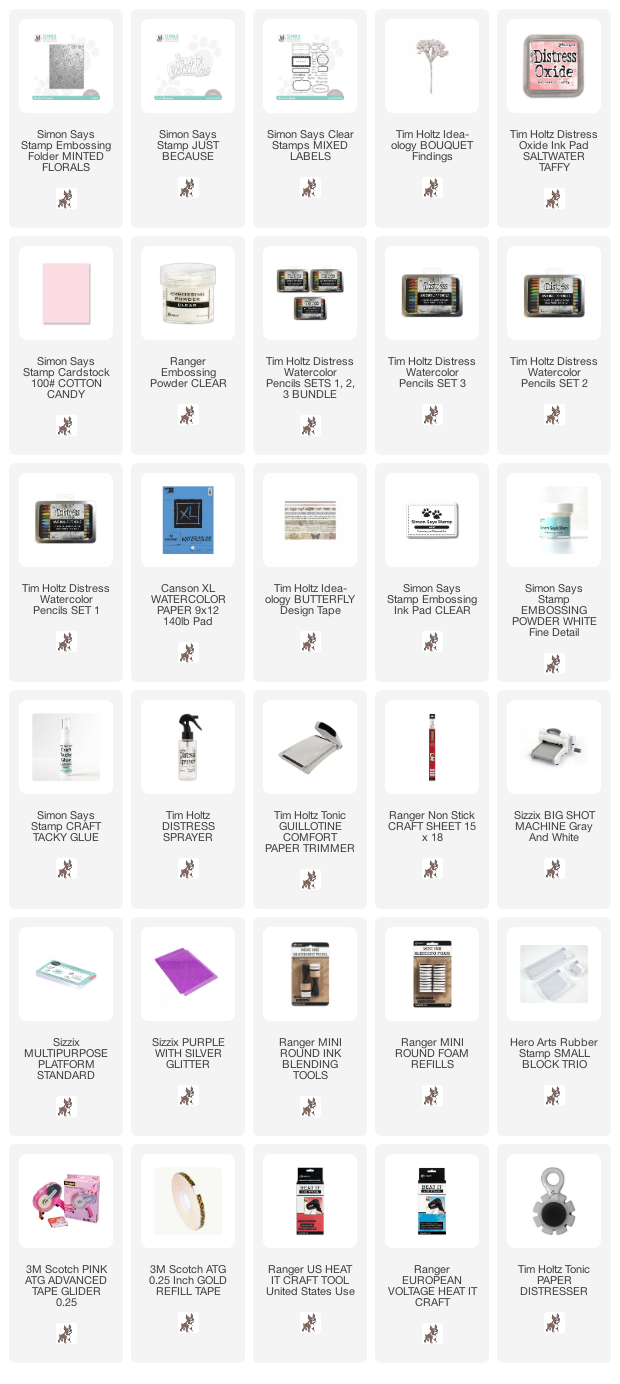
Supplies:

* Please note: the links are affiliate links, for which I receive a small percentage of sales generated by the link, at no extra cost to you.


Sunday, September 25, 2022

Blocked Background for Stamping

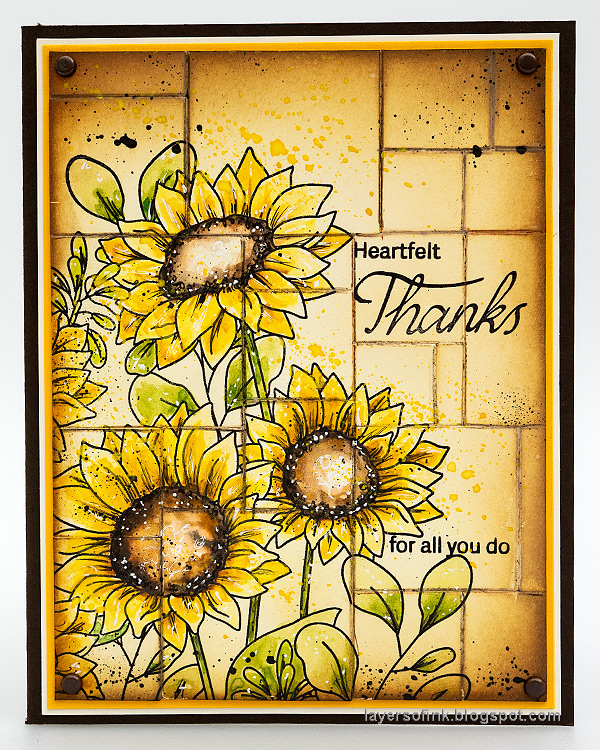
Hi friends! Today I have fun tutorial for a blocked background for stamping, which gives a great effect and is easy to do.

Please note: this post has affiliate links, for which I receive a small percentage of sales generated by the link, at no extra cost to you.
Layers of ink - Blocked Background for Stamping Tutorial by Anna-Karin Evaldsson.

We have had quite a few beautiful sunflowers in the garden and a few of the smaller ones are still flowering and were the inspiration for this card. But you can of course use other types of images on the blocked background too. I was also happy to use the new Distress Watercolor Pencils for the first time. I love pencils of any kind and am happy to now have watercolor pencils in the colors of the Distress line.

Layers of ink - Blocked Background for Stamping Tutorial by Anna-Karin Evaldsson.

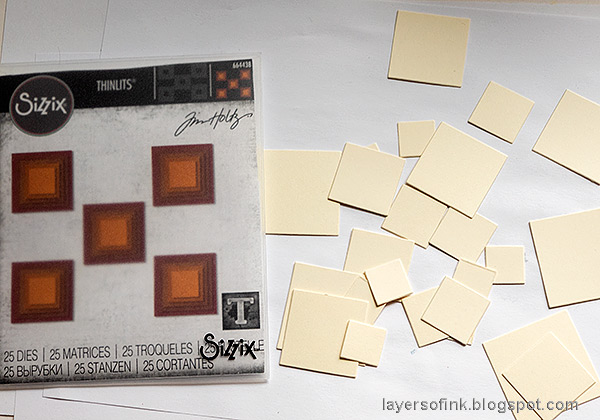
Start by die cutting Tim's Stacked Squares from heavystock paper.

Layers of ink - Blocked Background for Stamping Tutorial by Anna-Karin Evaldsson.

First place the squares out on another piece of heavystock paper, moving them around until you are happy with the look. Take a photo and then remove the squares. Use the photo to place the squares where you planned them to be. Glue them down with matte medium. I had to cut a few of the squares into smaller pieces to fill in gaps.

Layers of ink - Blocked Background for Stamping Tutorial by Anna-Karin Evaldsson.

Cut off the squares which went over the edge.

Layers of ink - Blocked Background for Stamping Tutorial by Anna-Karin Evaldsson.

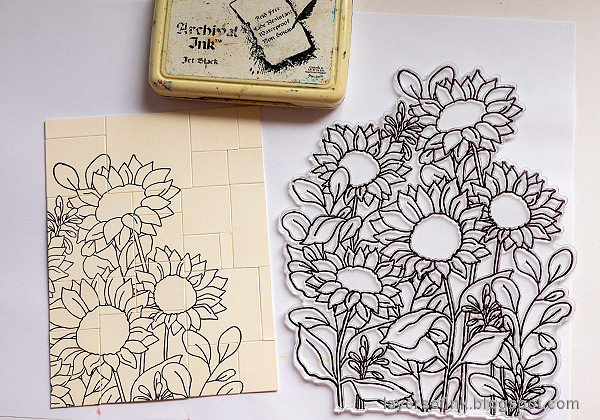
Stamp a part of the design of the large sunflower stamp from Simon Says Stamp Sunflower Garden on the card. I used a Misti for the stamping, particularly since the stamp is so large.

Layers of ink - Blocked Background for Stamping Tutorial by Anna-Karin Evaldsson.

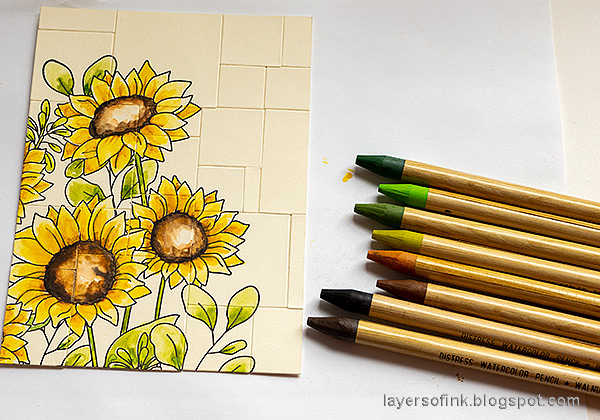
Color the fun flowers with Distress Watercolor Pencils and dissolve with water and a paint brush. Add more color until you are happy with the look.

Layers of ink - Blocked Background for Stamping Tutorial by Anna-Karin Evaldsson. Color with Distress Pencils.

Continue with the rest of the flowers. You can also pick up paint with a paint brush directly from the pencils. I did that for the detailed areas, since I have not sharpened the pencils yet.

Layers of ink - Blocked Background for Stamping Tutorial by Anna-Karin Evaldsson.

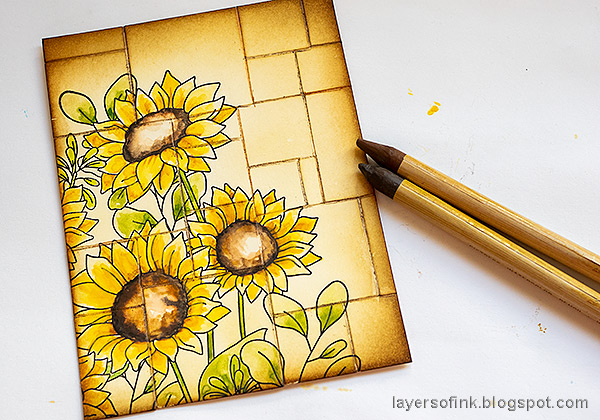
Ink the card with shades of brown Distress Inks. 

Layers of ink - Blocked Background for Stamping Tutorial by Anna-Karin Evaldsson.

Use two brown pencils to add lines to the edges between the squares, making them stand out more. Disolve with water.

Layers of ink - Blocked Background for Stamping Tutorial by Anna-Karin Evaldsson.

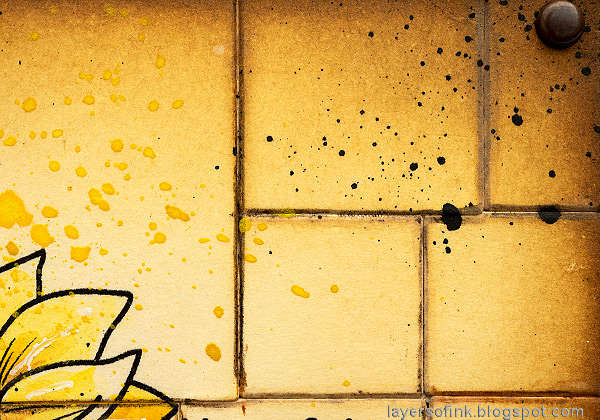
Stamp sentiments on the background. These comes from Simon Says Stamp Real Leaves. Dip the pencil in water and flick a paint brush against the tip to create splatters. Add highlights with a white gel pen and some marks with a black pen.

Layers of ink - Blocked Background for Stamping Tutorial by Anna-Karin Evaldsson.

This is a mess-free way of adding splatters and adds texture.

Layers of ink - Blocked Background for Stamping Tutorial by Anna-Karin Evaldsson.

It is easy to stamp across the lines, but I tried to keep the shorter words on the same square.

Layers of ink - Blocked Background for Stamping Tutorial by Anna-Karin Evaldsson.

Add some lines and scribbles with a black pen and dots for highlights with a white gel pen.

Layers of ink - Blocked Background for Stamping Tutorial by Anna-Karin Evaldsson.

I took a photo of the sunflowers in my garden as inspiration for the coloring.

Layers of ink - Blocked Background for Stamping Tutorial by Anna-Karin Evaldsson.

Finish the card by matting it on yellow and cream cardstock and then on folded brown cardstock. I also added brads in the corners. 


Thank you so much for stopping by here today and don't miss the STAMPtember® fun at Simon Says Stamp.


Happy stamping!

Anna-Karin


Supplies:

* Please note: the links are affiliate links, for which I receive a small percentage of sales generated by the link, at no extra cost to you.