Wednesday, July 29, 2020

Wildflowers No-Line Stamping and Coloring

Hello stampers! Today I have a no-line stamping tutorial to share using colored pencils. I made three cards, two tall ones and one square card.


It is fun to color on patterned paper, since some of the pattern will show through and if you use vintage papers like these, you get an instant vintage look to the cards. I stamped on Tim Holtz Journal Cards as my base, since they come in many designs and have gorgeous neutral vintage patterns, perfect for coloring. I used the Simon Says Stamp Thoughtful Flowers stamp set from the Send Happiness release, in combination with the SSS Stitching Panel.


Stamp the flowers and butterflies from Thoughtful Flowers on Journal Cards with either Antique Linen or Pumice Stone Distress Ink. The latter is a little darker and works better if the paper is darker or more detailed, and also gives the look of pencil lines.


I used Prismacolor pencils to color the stamps, building up layers of color and adding shading in darker colors. Sometimes it helps to have the stamp packaging in front of you or to stamp the flowers with black ink on a scrap paper, so that you can easier see the lines. A white colored pencil can be used to blend the colors.


Add more shading with a black pencil. I also added some lines and highlights with a white gel pen and some lines with a black pen. I used the black pen especially on the poppy flowers, to darken the center and bring out some of the details.


Stamp grass with some of the grass stamps from Thoughtful Flowers and green ink. This step grounds the flowers to the background.


Ink the edges with Vintage Photo.


Pick three papers from Tim Holtz gorgeous Abandoned Paper Stash and die cut them with the SSS Stitching Panel. I used the Sizzix Chrome Precision Plate when die cutting. I removed most of the the dots on two of the backgrounds, but left quite many on the design in the middle.
 

Sand the edges and mount the stitching panel on various colors of paper. Here I used cream. Stamp sentiments on the journal cards. The top one comes from the Paper Artsy The Magic And Wonder Edition set and 'grow' comes from Thoughtful Flowers.


I love Crocus flowers, but this flower stamp can be colored in many different colors and you can also turn it into a tulip.


The stitching panel gives a great texture to the background.


I also added a piece of Design Tape and some twine.


For the poppy card, I used a square Journal Card, and cut the other papers square too. Kraft paper was used both for the card base and as a mat for the focal panel. All the corners were rounded with my Corner Chomper. Both sentiments come from Thoughtful Flowers.


The original stamped lines aren't visible at all. Here you can see how the white and black pen work adds details to the flower. 


If you need too, you can easily make the stems of the flowers longer. I like the alphabet at the bottom of the patterned paper here, and the way it shows even with the stitching die cut.


The stitching panel was mounted on gold kraft paper, giving a great shine through all those little dots and a warm look to the card. 
 

Next comes the joyful buttercup card with brimstone butterflies. I like all that yellow. It was combined with a kraft cardbase and a paper from the Abandoned paper stash with the word 'flora' at the top. The sentiments come from Thoughtful Flowers


I left a lot of the little circles in place on this card, giving the stitching panel a different look. All the corners were rounded. 


The small little butterfly stamp.


The larger butterfly stamp faces the other way. Here you can see that the Pumice Stone stamping almost looks like pencil marks. Some of the pattern in the background show through.


Use yellow and orange-yellow to color the flowers, with just a little pen work.


The second flower was stamped without inking the flower to the right, giving it a different look. Mix green and yellow for the stems.


I also used two pieces of Design Tape and a piece of twine.


I hope you enjoyed this tutorial. Look at your patterned papers and test stamping and coloring on top of them. It's a lot of fun and can be varied in so many ways. For another example, check out my Vintage Strawberry Tag tutorial on the Simon Says Stamp Store blog. For two more projects using the Thoughtful Flowers set, see my Thoughtful Flowers Watercolor Garden and Distress Ink Blocks tutorials.


Thank you so much for taking the time to visit my blog today!  

Happy crafting!

Anna-Karin

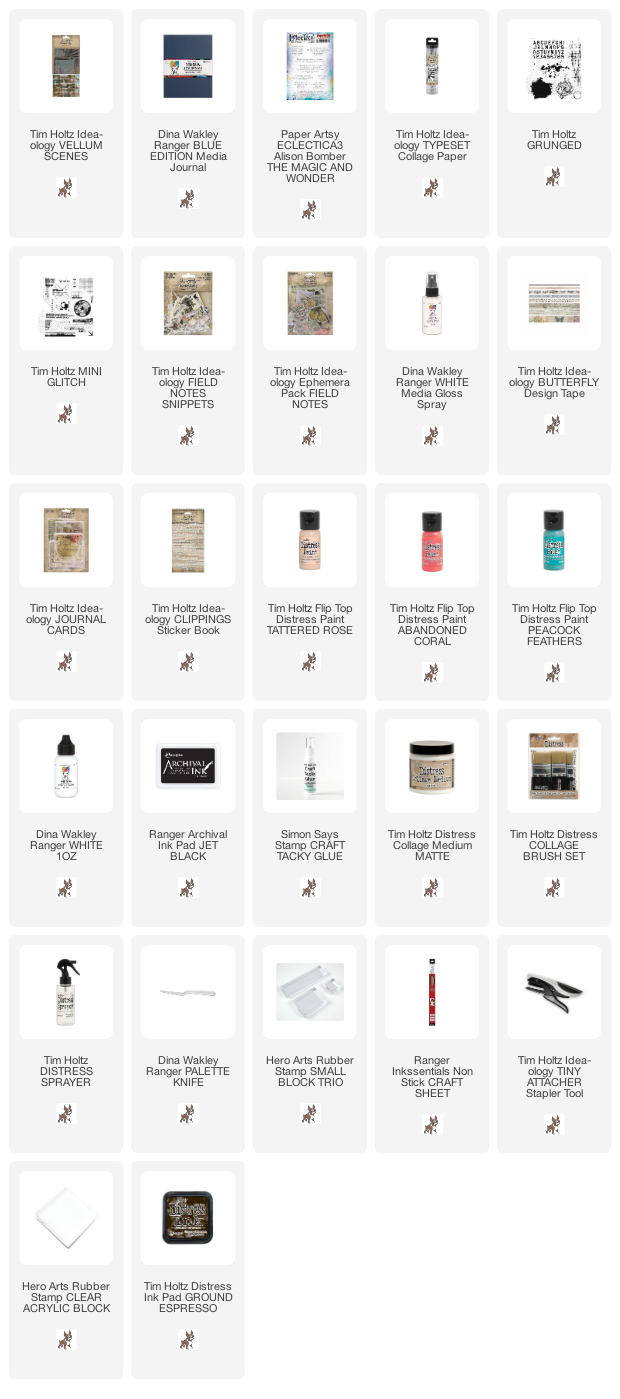
Supplies:

* Please note: the links are affiliate links, for which I receive a small percentage of sales generated by the link, at no extra cost to you.


Monday, July 27, 2020

Vellum Summer Art Journal Page

Hi crafters! Today I have a tutorial using printed vellum, collage paper, acrylic paint and stamping, to make a summery art journal page. I hope you are well and that you had a good weekend. 


We have an Art Journal theme at the Simon Says Stamp Monday Challenge Blog this week. If you have never tried art journaling, I hope you will do so. It is really fun and freeing. You can work in any size that you'd like, on lose papers, or in a journal. Don't miss the last project by our July guest designer Sheila with her blog Sheila Wy's 216 Alchemy Lane.

Layers of ink - Vellum Summer Art Journal Page Tutorial by Anna-Karin Evaldsson.

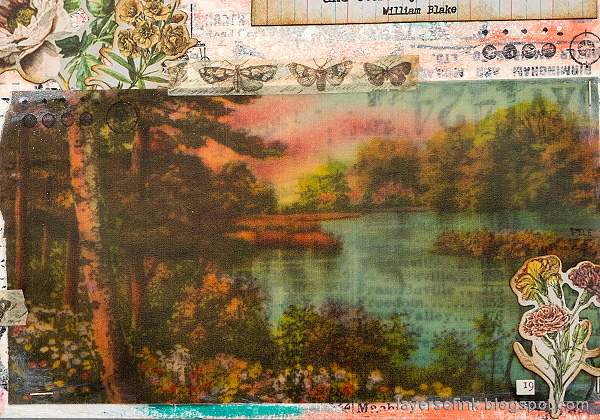
I recently got Tim Holtz Vellum Scenes and the designs are so beautiful. Here, two of summer- themed designs ended up in my art journal and were paired with a lovely quote from Paper Arty's The Magic and Wonder Edition set. You need a fairly light background for the vellum scenes, since if you place them on a dark surface, the details and colors become very dark too.

Layers of ink - Vellum Summer Art Journal Page Tutorial by Anna-Karin Evaldsson. Glue the collage paper.

Working in Dina Wakley's Blue Edition Media Journal, on a cotton-rag watercolor paper, I started out by adhering Tim's Typeset Collage Paper to the background with matte medium.

Layers of ink - Vellum Summer Art Journal Page Tutorial by Anna-Karin Evaldsson.

Paint the background with white acrylic paint, but don't cover the design completely, since we want some of the pattern to show through.

Layers of ink - Vellum Summer Art Journal Page Tutorial by Anna-Karin Evaldsson. Paint with acrylic paint.

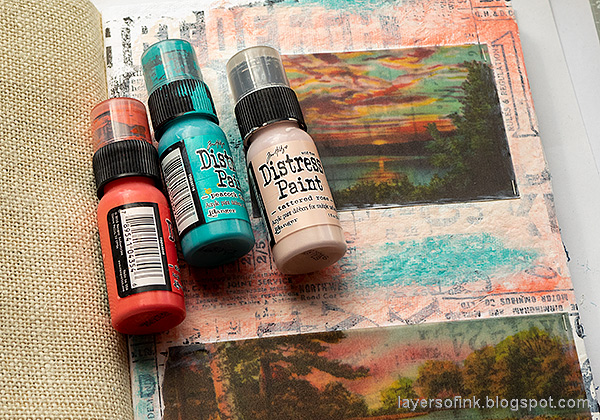
Staple the vellum scenes to the background and paint around them with Tattered Rose, Peacock Feathers and Abandoned Coral.

Layers of ink - Vellum Summer Art Journal Page Tutorial by Anna-Karin Evaldsson. Mist with acrylic spray.

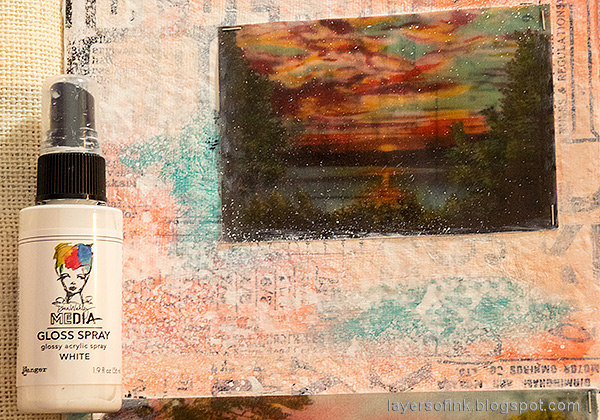
Mist the background with white gloss acrylic spray, for a white-washed look.

Layers of ink - Vellum Summer Art Journal Page Tutorial by Anna-Karin Evaldsson.

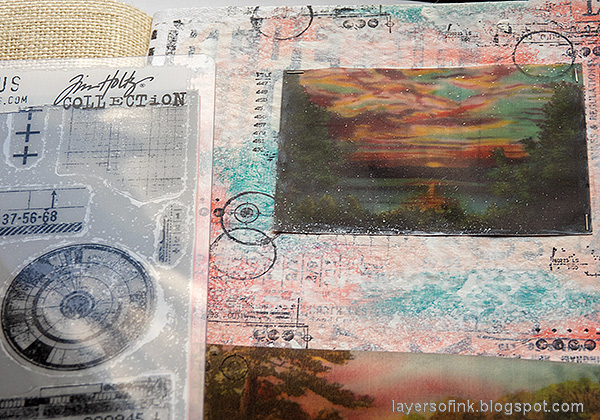
When dry, stamp the background with texture stamps from Tim's Mini Glitch and Grunged sets.

Layers of ink - Vellum Summer Art Journal Page Tutorial by Anna-Karin Evaldsson. Stamp with Paper Artsy Magic and Wonder.

This is such a beautiful quote. It comes from the Paper Artsy The Magic and Wonder Edition set by Alison Bomber. I stamped it on a left-over piece of Journal Card.

Layers of ink - Vellum Summer Art Journal Page Tutorial by Anna-Karin Evaldsson.

I like the texture from the partially visible text, paint, spray and stamping,

Layers of ink - Vellum Summer Art Journal Page Tutorial by Anna-Karin Evaldsson.

You can stamp on the vellum too, and let some of the spray splatter on the vellum, to make it look like it is a part of the background.

Layers of ink - Vellum Summer Art Journal Page Tutorial by Anna-Karin Evaldsson.

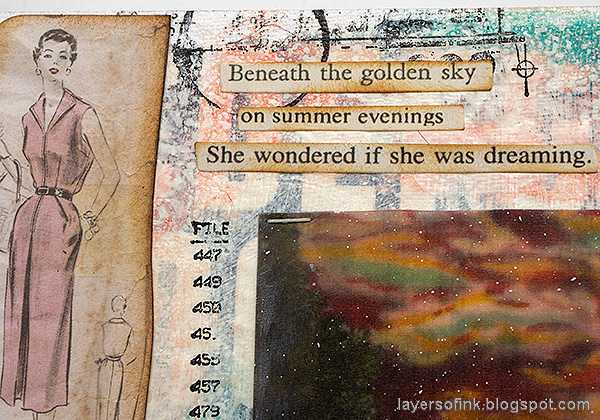
I took a walk at sunset a couple of days ago, and it was so beautiful. Summer evenings are the best. The clothing pattern also comes from a Journal Card and the sentiment from Clippings stickers.

Layers of ink - Vellum Summer Art Journal Page Tutorial by Anna-Karin Evaldsson.

I added a couple of pieces of design tape and some flowers from Tim's Field Notes and Field Notes Snippets ephemera packs.

Layers of ink - Vellum Summer Art Journal Page Tutorial by Anna-Karin Evaldsson.

Ink the edges of the flowers slightly.

I hope you will join us this week in our Art Journal challenge. You have a chance to win a $25 gift voucher to do some fun shopping at Simon Says Stamp. You have until next Monday 8am Ohio time. 1pm UK time, 2 pm CET to join in.


Don't forget to follow Simon Says Stamp on Instagram, they post great stuff daily. 


Do you use Instagram? If so please add #sssmchallenge so we can see your entries there too.


Thank you so much for taking the time to visit my blog today!  

Happy crafting!

Anna-Karin

Supplies:

* Please note: the links are affiliate links, for which I receive a small percentage of sales generated by the link, at no extra cost to you.


Monday, July 20, 2020

Watercolor Shells Tutorial

Hello friends! I hope you are well and that you are enjoying July. Today I have a summery beach themed project to share, with stamped and watercolored shells.


This week we have an A Day At The Beach theme at the Simon Says Stamp Monday Challenge Blog. I hope you can join us! And don't miss the project by our July guest designer Sheila with her blog Sheila Wy's 216 Alchemy Lane.

Layers of ink - Watercolor Shells Tutorial by Anna-Karin Evaldsson.

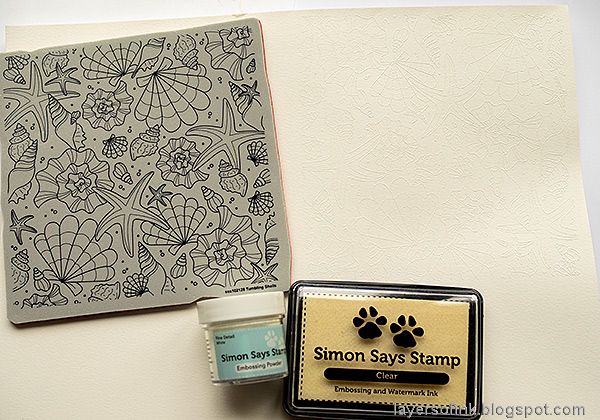
My project started out as a card, but was turned into a wall-hanger instead. It is always good to have some ready gifts at home. I used the new Tumbling Shells background stamp from the Simon Says Stamp Send Happiness release. I colored the shells with watercolors and let them be the main focus of this project.

Watercolor Shells Tutorial White emboss the Tumbling Shells.

Start by white embossing the Tumbling Shells on watercolor paper.

Layers of ink Watercolor Shells Tutorial. Paint with yellow ochre.

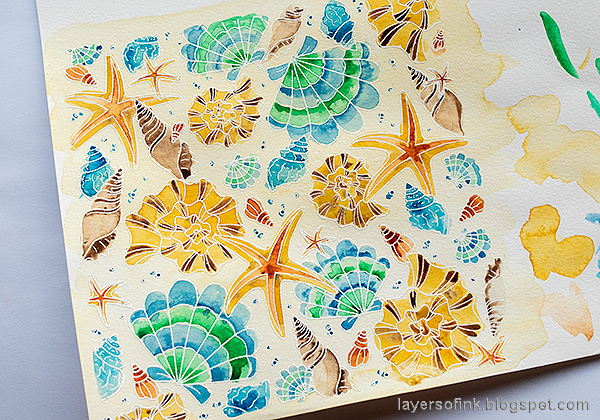
I wanted to paint on a tinted base, while also avoiding having to paint in between all the shells, to paint the sandy background. Paint over the entire background with diluted Yellow Ochre paint.

Layers of ink - Watercolor Shells Tutorial by Anna-Karin Evaldsson. Paint the shells with watercolors.

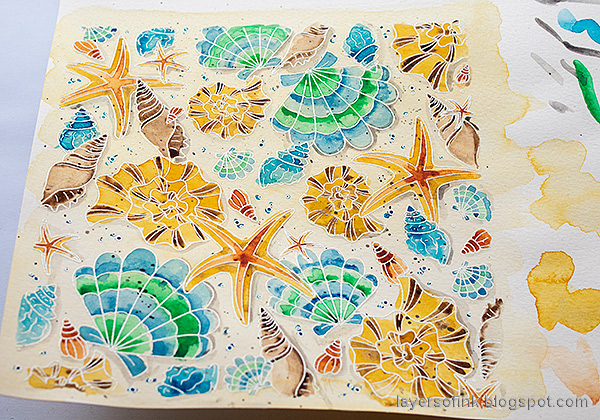
Mix up a darker Yellow Ochre, and mixes of brown, green and teal. Paint the shells. I painted the same type of shell in the same colors, but you can of course mix it up if you want to. As you can see, I use the remainder of the paper to test the colors before painting.

Layers of ink - Watercolor Shells Tutorial by Anna-Karin Evaldsson.

Add a faint shadow on one side of the shells to give the look of dimension.

Layers of ink - Watercolor Shells Tutorial by Anna-Karin Evaldsson.

Splatter the background with a brown paint.

Layers of ink - Watercolor Shells Tutorial by Anna-Karin Evaldsson. Spray with gloss spray.

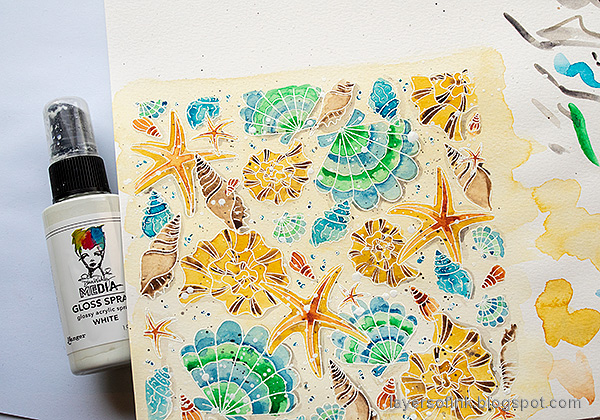
Splatter White Glass Spray on the background.

Layers of ink - Watercolor Shells Tutorial by Anna-Karin Evaldsson.

I love how easy it is to get white splatters with the gloss spray. And since it is acrylic and opaque it shows well on the background.

Layers of ink - Watercolor Shells Tutorial by Anna-Karin Evaldsson.

Drop in darker shades of color before the first layer is dry.

Layers of ink - Watercolor Shells Tutorial by Anna-Karin Evaldsson. Theories Quote Chips.

I used a Theories Quote Chip for my sentiment and layered two pieces of mummy cloth underneath it.

Layers of ink - Watercolor Shells Tutorial by Anna-Karin Evaldsson.

Distress the edges and layer on a white cardstock, also with distressed edges. Finish with a base of mat board or glue to a canvas board.

Layers of ink - Watercolor Shells Tutorial by Anna-Karin Evaldsson.

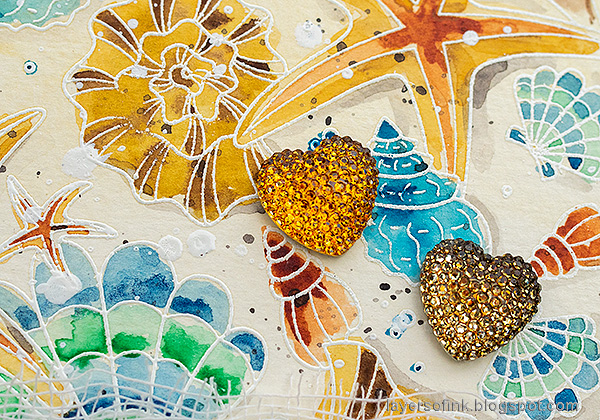
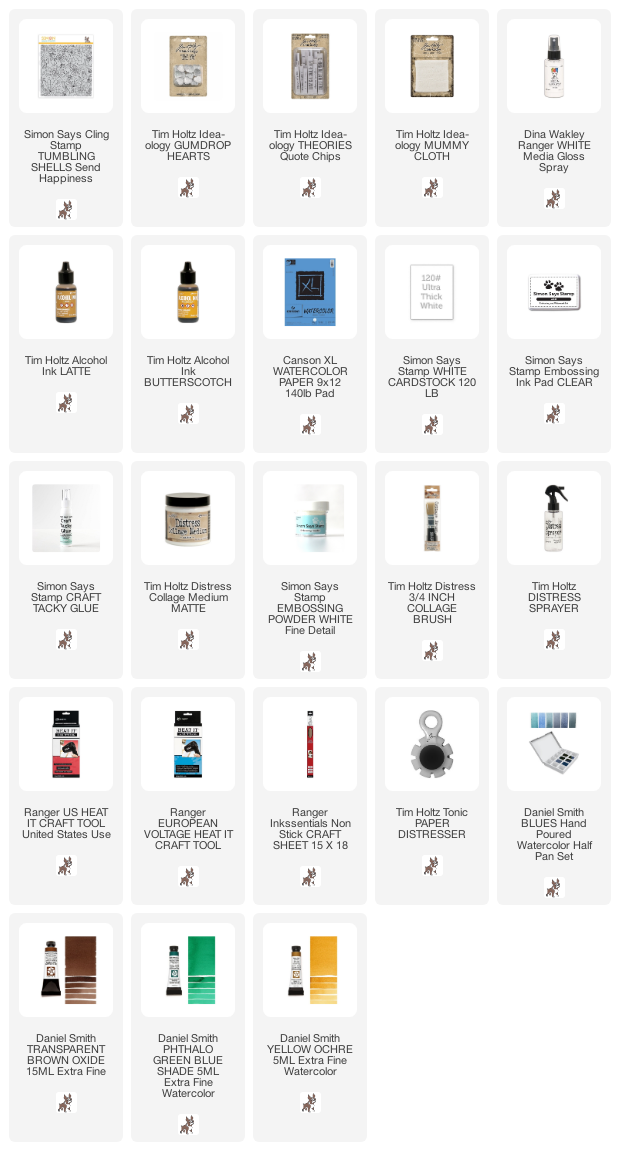
I used Butterscotch and Latte alcohol ink to color the gumdrop hearts.

I hope you will join us this week in our A Day At the Beach challenge. You have a chance to win a $25 gift voucher to do some fun shopping at Simon Says Stamp. You have until next Monday 8am Ohio time. 1pm UK time, 2 pm CET to join in.


Don't forget to follow Simon Says Stamp on Instagram, they post great stuff daily. 


Do you use Instagram? If so please add #sssmchallenge so we can see your entries there too.


Thank you so much for taking the time to visit my blog today!  

Happy crafting!

Anna-Karin

Supplies:

* Please note: the links are affiliate links, for which I receive a small percentage of sales generated by the link, at no extra cost to you.