
Hello crafters! I have a Christmas in July project to share today, a winter mitten holder made with a die by Eileen Hull, texture paste, paint and a stencil.

I wanted lots of texture on the mittens, since mittens normally are textured. The holder can be used for pens, pencils, a little gift or something similar. You could also use just the mittens and make card. The techniques work well on other types of projects too. The holder was made with the Mitten Box die. The Eileen Hull Inspiration Team is sharing projects with the Mitten Box and the Snowman Box this month.

Start by die cutting two mittens, a box part and some hearts from mat board. I ended up not using the zigzag piece.

Coat with gesso, adding extra texture to the wristlet part of the mitten.

Place a piece of Simon Says Stamp Masking Paper over the wristlet. Apply Texture Paste through the Tim Holtz Nordic stencil.

Repeat until you have covered one side of each mitten. Make sure it is the opposite sides, since we want the texture part to be outwards. I fixed the spot I had missed on one of the thumbs later.

When dry, paint with slightly watered-down Distress Paint, in an ombre fashion.

I painted the insides too. The gesso gives a cool texture on its own.

Paint the lower part of the mittens brown and dry-brush some brown around the edges of the mittens.

Ink the hearts with Distress Ink. You can paint them too, but the ink is quicker.

Cover them with Nebula and Moon Dust Stickles.

Assemble the box according to the instructions on the packaging, using a strong adhesive.

Tie some fibers around the base of the holder. Stamp sentiments from Tim Holtz Modern Christmas on white paper with Forget-Me-Not Archival Ink. Cut out.


The new Stickles jars have larger pieces of glitter inside. The Nebula jar, for example, has little stars.

I used another sentiment on the other side of the mitten.

I hope you enjoyed this post! Thank you so much for stopping by today!

Happy crafting!
Anna-Karin
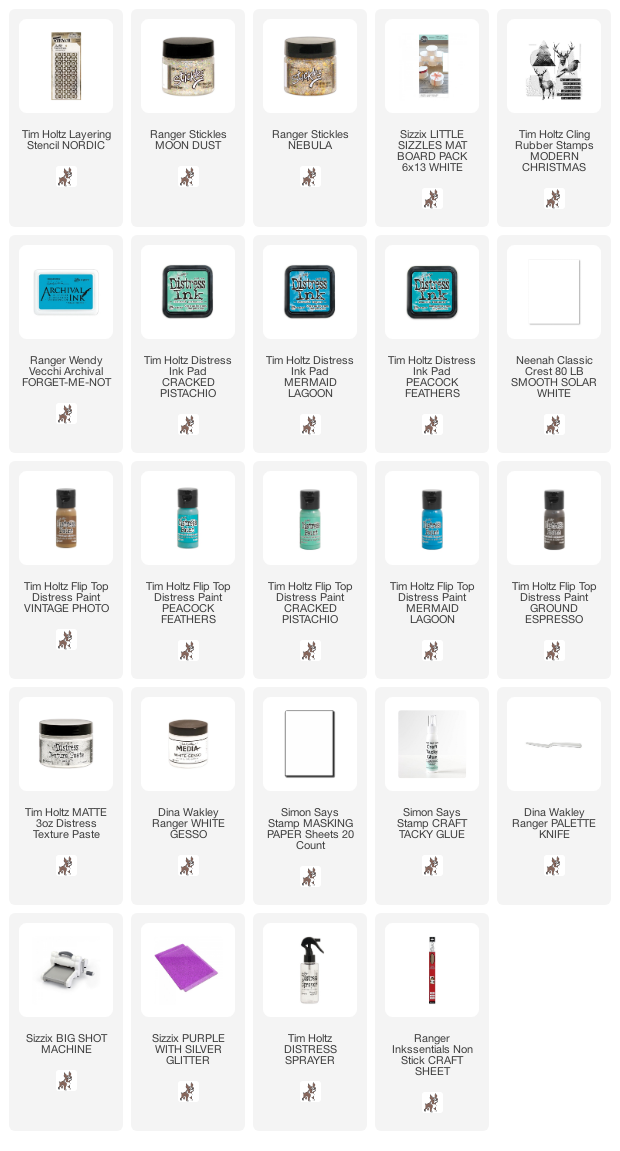
Supplies:
* Please note: the links are affiliate links, for which I receive a small percentage of sales generated by the link, at no extra cost to you.
* Please note: the links are affiliate links, for which I receive a small percentage of sales generated by the link, at no extra cost to you.
Additional supplies:
Eileen Hull Sizzix Mitten Box XL die.
I love your mixed media magic Anna-Karin!
ReplyDelete