Showing posts with label Art Journaling. Show all posts

Monday, August 24, 2026

Blackcurrant Jam art journal

Hi friends! I hope you had a fun weekend! School has started. It is starting to get chillier and darker in the evenings.

Please note: this post has affiliate links, for which I receive a small percentage of sales generated by the link, at no extra cost to you.



At the Simon Says Stamp Monday Challenge Blog we have an Lots of Layers theme this week. I love adding layers to my projects, layers in all forms. Don't miss the stunning project by our August guest designer Cassie Lynch!

Layers of ink - Blackcurrant Jam art journal tutorial by Anna-Karin Evaldsson.

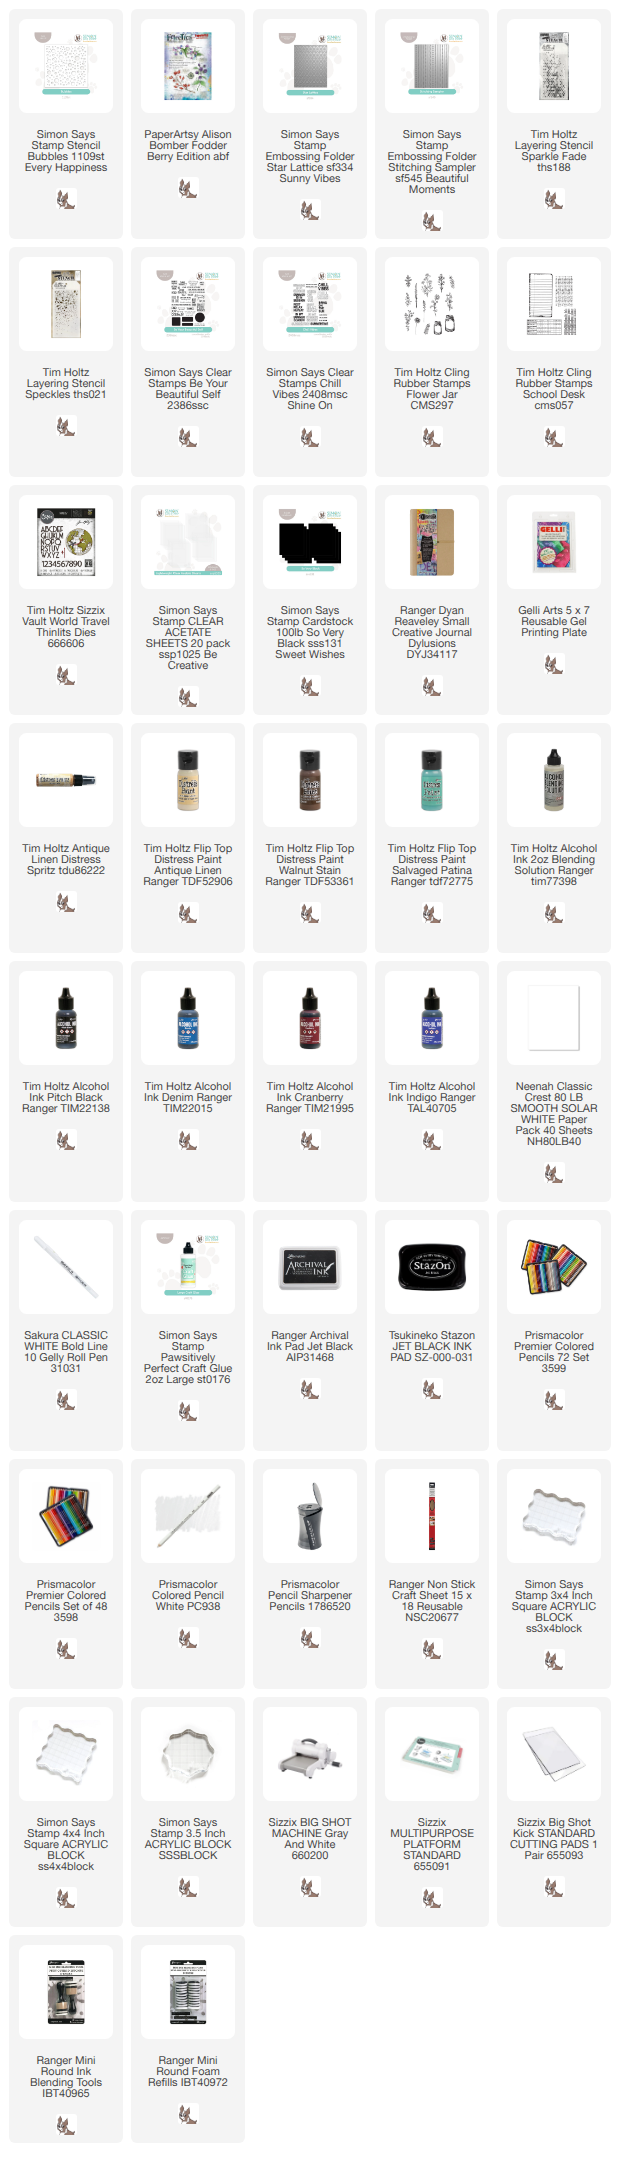
If I can get hold of blackcurrants, I always try to make blackcurrant jam and enjoy it with my breakfast cereal. It is a bit of summer that lasts into autumn and maybe even winter. This year I picked lots of blackcurrants and have more jam than most years. The page was done in my Small Creative Journal.

Gel printing with embossing folder.

The background is from my recent gel printing session. Here I used papers embossed in Simon Says Stamp Stitching Sampler and Star Lattice. I liked the warm feeling of both the patterns, the colors and the distressing and thought it fit well with the theme.

Stamp Paper Artsy Fodder Berry Edition.

Stamp the berries from Paper Artsy Fodder Berry Edition. I masked out the name of the plant when inking since these aren't really blackcurrants. They had to do as blackcurrants for this project.

Color with pencils.

Color with pencils. I used Prismacolors. 

Add highlights.

Add white highlights with a gel pen.

Sponge paint through Simon Says Stamp Bubbles stencil.

Sponge Salvaged Patina through Simon Says Stamp Bubbles stencil.

Add splatters.

Next add som marks with Walnut Stain and Tim Holtz Speckles.

Mist through Tim Holtz Sparkle Fade.

For a little shimmer, mist Distress Spritz Antique Linen through Tim Holtz Sparkle Fade.


I thought the berries were too blue and added more of a currant shade to them. 

Stramp with Tim Holtz School Desk.

Stamp Tim Holtz School Desk alphabet here and there.

Stamp with Tim Holtz Flower Jar.


Color on the back with alcohol ink. Later, I added more currant.


The colors of the berries and the way they hang from the branches aren't quite correct, but that doesn't matter. I didn't want to make them as dark as they are in real life since I wanted to use several colors and shades.


I dotted the jars with a Q-tip and blending solution to get the dotted look.

Die cut with Tim Holtz Vault World Travel.

The title was die cut from Simon Says Stamp black cardstock using Tim Holtz Vault World Travel.

Stamp with Tim Holtz Flower Jar.

I like that the jar comes in two sizes. Here you can also see the shimmer from the Distress Spritz layer.


Summer was stamped with Simon Says Stamp Chill Vibes. 


Pencils work well on background gel printed with acrylic paint.


Join us this week in our Lots of Layers challenge! You have a chance to win a $25 gift voucher to do some fun shopping at Simon Says Stamp. You have until Monday 8am Ohio time. 1pm UK time, 2 pm CET to join in.


Do you use Instagram? If so please add #sssmchallenge so we can see your entries there too.


Thank you so much for visiting today! 

Happy crafting!

Anna-Karin

Supplies:

* Please note: the links are affiliate links, for which I receive a small percentage of sales generated by the link, at no extra cost to you.


Wednesday, August 19, 2026

Cosmos Flowers in Colored Pencil

Hello crafters! Today I have a project to share with colored pencils on patterned paper.

Please note: this post has affiliate links, for which I receive a small percentage of sales generated by the link, at no extra cost to you.

Layers of ink - Cosmos Flowers in Colored Pencil tutorial by Anna-Karin Evaldsson.

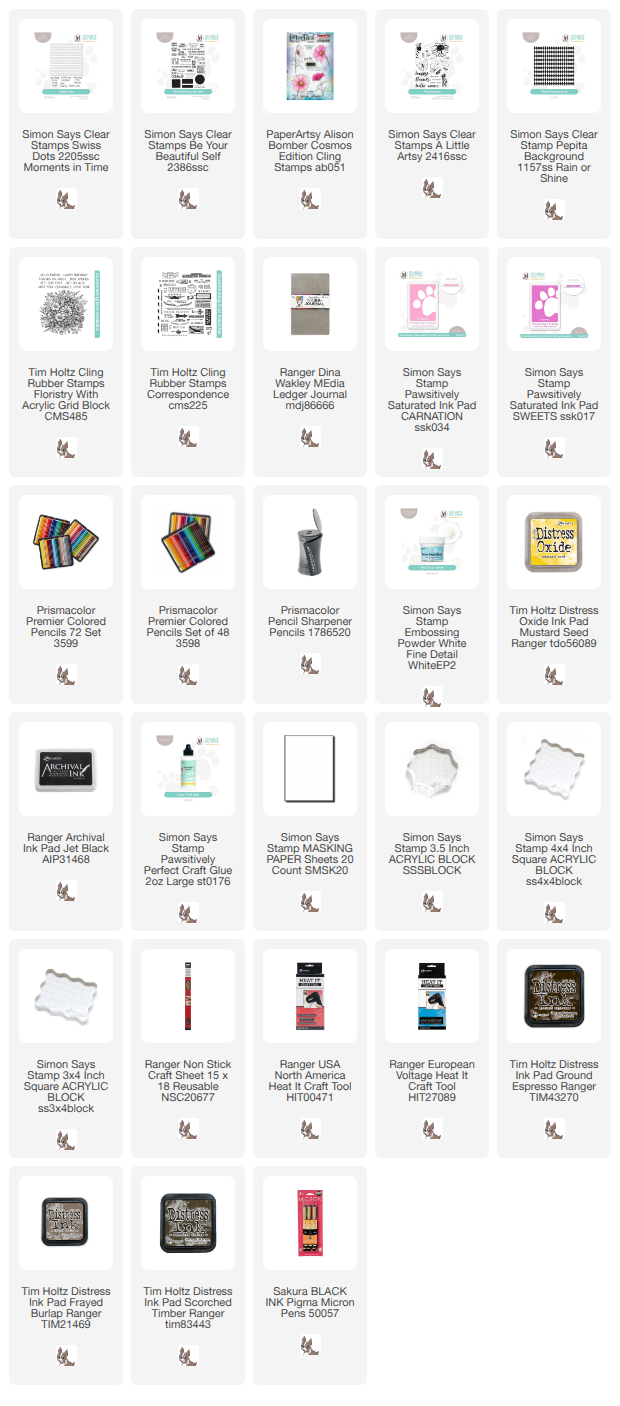
One of my favorite techniques is to stamp on patterned paper and color the images with pencils. Here I stamped in Dina Wakley's Ledger Journal on a paper with both script and lines. Both of these shine through the penciling. 

Stamp with Paper Artsy Cosmos Edition.

Start by stamping Paper Artsy Cosmos Edition by Alison Bomber. I used Simon Says Stamp Masking Paper to mask one of the flowers. Use a pen to extend the stems.

Color with Prismacolors.

I colored the flowers with pencils, using Prismacolors. For the lighter flowers I used a white pencil for blending.

Stamp sentiments.


White emboss Simon Says Stamp Pepita Pattern.

White emboss Simon Says Stamp Pepita Background here and there. I also white embossed dots from A Little Artsy in some of the flower centers.


Ink the page with Distress Ink. 

Stamp with Simon Says Stamp Swiss Dots.

Stamp Simon Says Stamp Swiss Dots with Distress Oxide Mustard Seed.


I also added some words and numbers from Tim Holtz Correspondence.


And some stars too.


I used pink inks for some of the sentiments so that there would be more pink on the page than just the flowers.


I made most of the flowers darker towards the center.


I missed blending some lines, but only saw it when I edited the photos. It doesn't really show otherwise.


I let stray embossing powder be since it adds texture.

White emboss dots.

I masked one of the flowers to make it look like the pink flower is behind the yellow one.


These sentiments are both from Tim Holtz Floristry and were stamped on very light pink watercolored paper. Both the embossing and the colored pencil will resist the ink.


Happy crafting!

Anna-Karin

Supplies:

* Please note: the links are affiliate links, for which I receive a small percentage of sales generated by the link, at no extra cost to you.


Saturday, July 18, 2026

Embossed Gel Print

Hello crafters! Today I have an art journal page to share with a fun gel printing and dry embossing technique. 

Please note: this post has affiliate links, for which I receive a small percentage of sales generated by the link, at no extra cost to you.

Layers of ink - Embossed gel printed page tutorial by Anna-Karin Evaldsson.

I made a page in my Small Creative Journal, but you can also turn the design into a card. I had a gel printing session last week, printing mainly with dry embossed papers and today I used some of those printed papers. I particularly had fun dry embossing and then coloring one of the designs. 

Make the gel print.

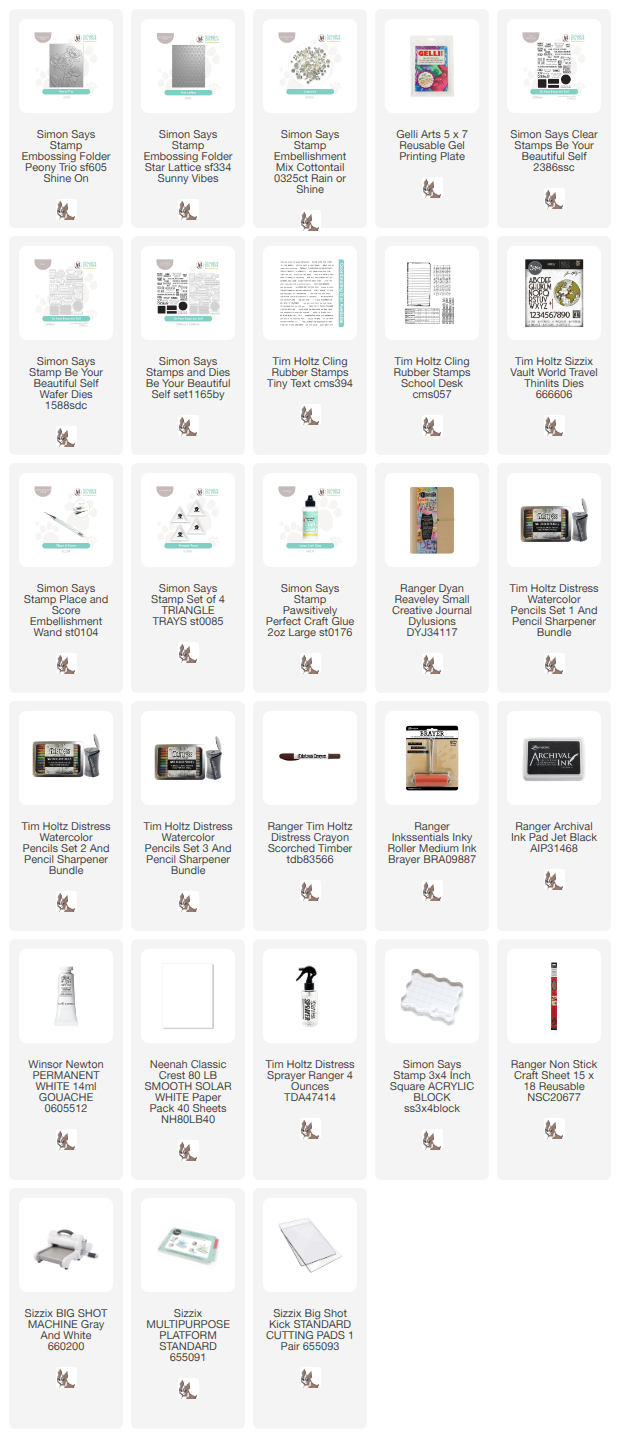
This is the paper I started with. It was gel printed on Gelli Arts 5x7 Gel Printing Plate using a paper embossed in Simon Says Stamp Peony Trio embossing folder. The folder comes from the new Shine On release. The smaller flowers were printed with a paper embossed in Simon Says Stamp Star Lattice folder.

Make print with Simon Says Stamp Peony Trio.

I made four different prints using this dry embossed paper, as well as some other embossing folders. 

Emboss in Simon Says Stamp Peony Trio.

I planned to color directly on to the print, but then I looked at the embossing folder and thought it would be fun to dry emboss the design first. Line it up in the folder and emboss. This brings the design forward and adds interest.

Color with Distress Watercolor Pencils.

I colored with flowers with Distress Watercolor Pencils, picking the color up with a paint brush from the tip of the pencils.

Splatter.

Next. I splattered with Antique Linen and Scorched Timber pencils. Dipp the pencil in water and flick a paint brush against it. 

Splatter with white gouache.

I also splattered the page with Winsor & Newton Permanent White gouache. 

Stamp with Tim Holtz School Desk.

I added just a little bit of stamping with the alphabet stamp from Tim Holtz School Desk. 


Two of the sentiments were stamped on another gel printed paper with Simon Says Stamp Be Your Beautiful Self and die cut with the coordinating dies.

Stamp with Tim Holtz Tiny Text.

The third sentiment comes from Tim Holtz Tiny Text. I also added Simon Says Stamp Cottontail sequins. 


The gel printing is to some extent unpredictable, which adds interest to the flowers.

Stamp with Simon Says Stamp Be Your Beautiful Self.

The title was die cut with Tim Holtz Sizzix Vault World Travel from another piece of gel printed paper.


Leave some of the paper showing, for highlights.


Each flower looks different because of the printing.


The top flower was the faintest and the dry embossing helped to bring it out from the background.

Layers of ink - art journal spread.

I rounded the outer corners and adhered the page into my Small Creative Journal. You can find the tutorial for the page to the right here on the Simon Says Stamp store blog.


Happy crafting!

Anna-Karin

Supplies:

* Please note: the links are affiliate links, for which I receive a small percentage of sales generated by the link, at no extra cost to you.