Sunday, July 26, 2026

Sailing Card

 Hi! Today I have a dry embossed and watercolored card to share, with a summer feeling.

Please note: this post has affiliate links, for which I receive a small percentage of sales generated by the link, at no extra cost to you.

Layers of ink - Sailing Card by Anna-Karin Evaldsson.

I made a summer card using Simon Says Stamp Sunshine Sailboat embossing folder combined with the Simon Says Stamp Frames set. The background was watercolored and I die cut clouds from velvet cardstock for an additional texture.


Start by die cutting one of the frames from Simon Says Stamp Frames, from watercolor paper. Mist with water and emboss in the Sunshine Sailboat folder. 

Paint with Daniel Smith watercolor paint.

Paint the setting sun and the sky with clean water and then immediately with watercolor paint. Let the paints flow into each other and blend. I used peach and yellow for the sun and shades of dark blue for the sky. Paint the water in the same way.

Die cut with Simon Says Stamp Heart Showers die.

I didn't like the look of the cloud on the background and wanted more clouds, so I die cut them with Simon Says Stamp Heart Showers from Pawsitively Velvet Luxury Cardstock Snow. 

Stamp with Simon Says Stamp Be Your Beautiful Self stamp set.

Sentiments were stamped with blue Archival Ink using Simon Says Stamp Be Your Beautiful Self set and die cut with the coordinating dies. Die cut the mat one more time from Soft Navy cardstock and off-set slightly.


Paint the boat with brown paint and add a shadow.


Hello was die cut with Simon Says Stamp Scripty Hello from white glitter cardstock and Soft Navy cardstock.


The edges of the focal panel was distressed. I added an outer frame and matted on Soft Navy cardstock. The cardbase was made from Simon Says Stamp Apricot cardstock.


In my first attempt, I didn't use water in the background and wasn't happy with how the colors blended. When watercolor paper has been dry embossed, much of the texture disappears and the paint dries faster giving you less time.

Layers of ink - Sailing Card by Anna-Karin Evaldsson.

I hope you enjoyed this post! See you again tomorrow for the Simon Says Stamp Monday Challenge. 


Happy crafting!

Anna-Karin

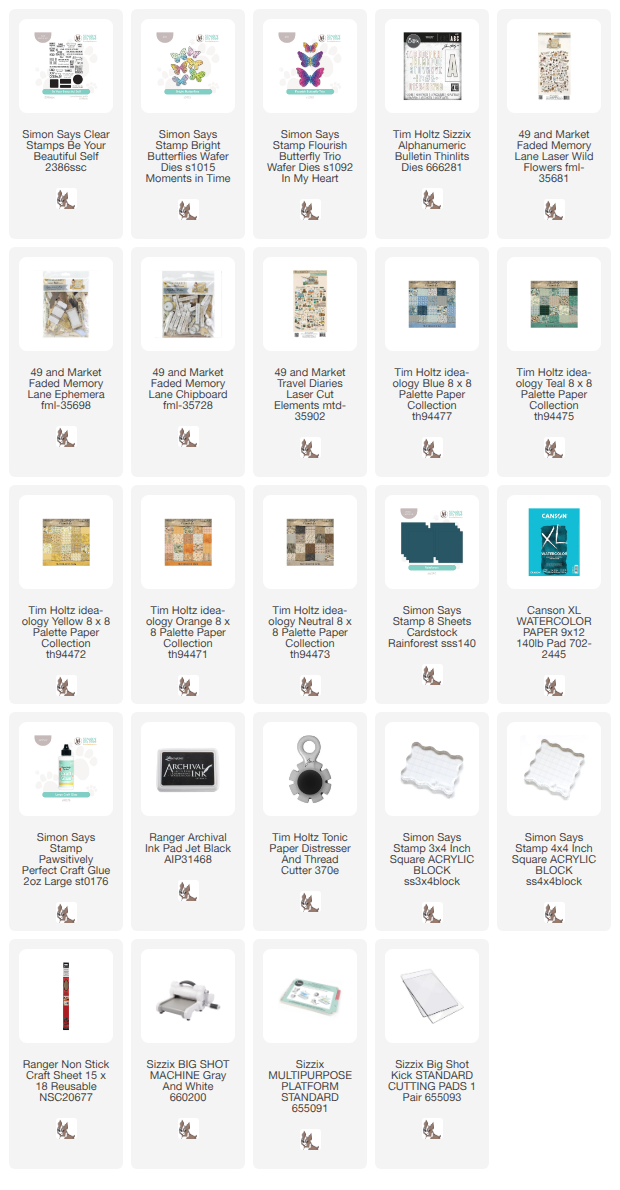
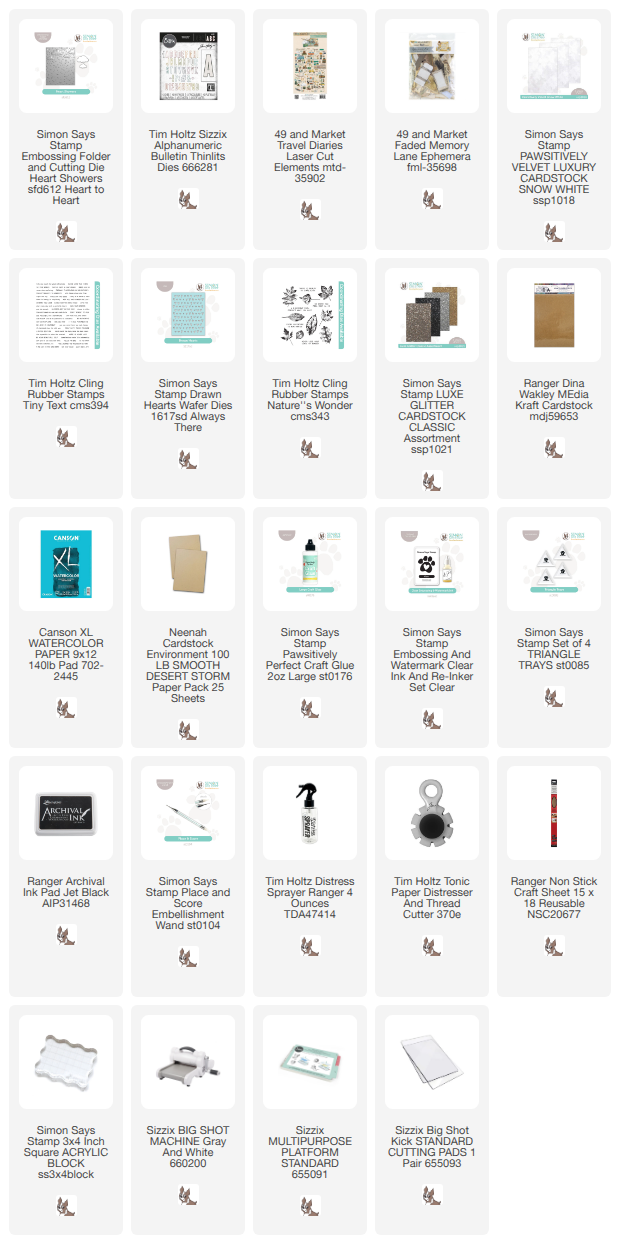
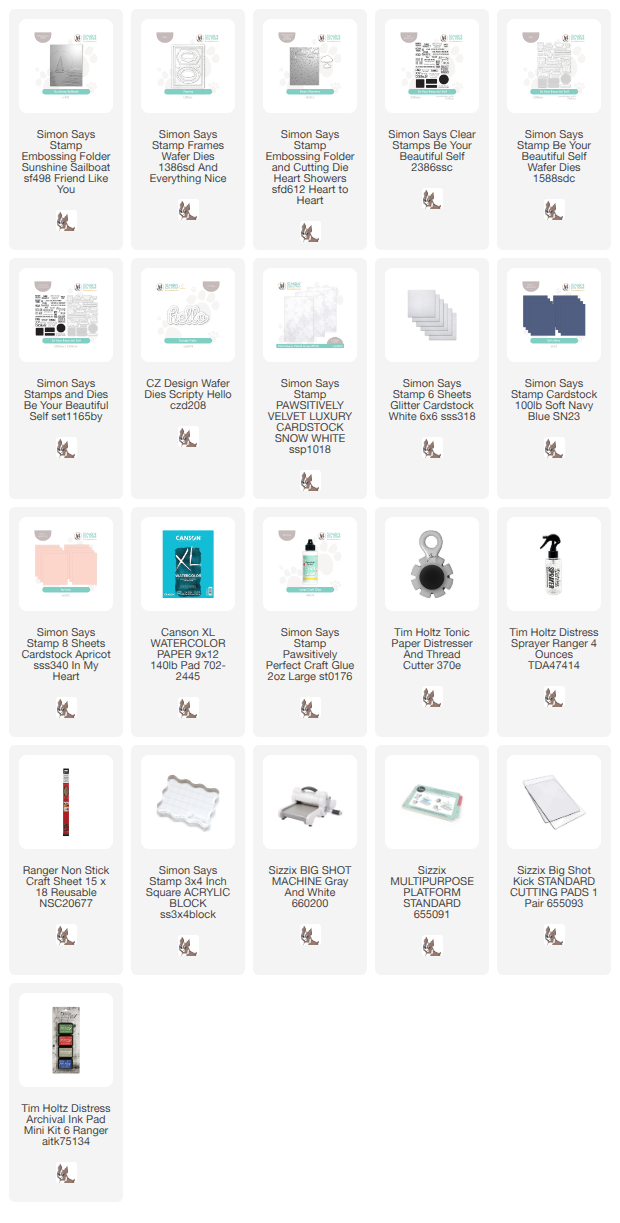
Supplies:

* Please note: the links are affiliate links, for which I receive a small percentage of sales generated by the link, at no extra cost to you.


Monday, July 20, 2026

Creative Overlay Shaker Notebook Tutorial

Hello crafters! Today, I am happy to have a notebook / sketchbook tutorial on the Simon Says Stamp Store blog. Here is a sneak peek of my project:

Layers of ink- Creative Overlay Shaker Notebook Tutorial by Anna-Karin Evaldsson.

I had fun using Simon Says Stamp Creative Overlay Transparencies, combined with a great dry embossing technique. It is a shaker too!

Have you ever had a dry embossed background what you were really happy with, but you wanted to add some stamping on top? Stamping on top of a dry embossed background only works with very few embossing folders. With Simon Says Stamp Creative Overlay Transparencies, you can easily add the look of stamped elements on top of dry embossing, while also creating a space for shaker elements. 

Head over the the Simon Says Stamp store blog to see the tutorial and all the details. 


Happy crafting!

Anna-Karin

.

Bird with text background

 Hi friends! It is Monday and it is time for a new Simon Says Stamp Monday Challenge Blog. 

Please note: this post has affiliate links, for which I receive a small percentage of sales generated by the link, at no extra cost to you.


This week our theme is Add Some Text. Adding text elements is one of my favorite things to do, not only for sentiments and titles, but also for texture, backgrounds and more. Don't miss the stunning project by our July guest designer Rox aka Red Dirt Crafter.

Layers of ink - Bird with text background tutorial by Anna-Karin Evaldsson.

I made a tag with a background made from old book paper, folding the paper to create extra texture and interest. The little bird is a Blue Tit and was colored with watercolors. I also added some die cut flowers and a die cut title. Some of the flowers were die cut from old book book and dictionary paper.

Fold old book paper.

Start with a tag and coat with gesso. Let dry. Fold and tear old book paper and glue to the background with matte medium. 

Fold around the edges.

Fold around the back of the tag and adhere there too. Brush matte medium over the entire tag.

Paint with gesso.

When dry, add some gesso, but don't cover up the text completely. 

Paint with Distress Paint.

Paint with watered-down Distress Paint and then mist with Distress Spritz Antique Linen.


When dry, dry brush a little Scorched Timber here and there.

Die cut Simon Says Stamp Sweet Songbird.

Die cut Simon Says Stamp Sweet Songbird from watercolor paper.

Paint with watercolors.

Paint with watercolor paint. I used a photo as reference.

Shape and assemble the bird.

Shape with Tim Holtz Shaping Kit and glue together.

Add white highlights with a gel pen.

Add a white dot to the eye and white highlights to the bird with a gel pen.

Die cut Simon Says Says Simple Hello.

Die cut Simon Says Stamp Simple Hello from gold kraft stock and watercolor paper. Paint the watercolor word in an ombre fashion, making it darker at the top. 


Tie the tag with a mix of ribbons, organza and fibers.

Add sentiments stamped with Tim Holtz Tiny Text.

The small flowers were die cut with Simon Says Stamp Poised Primula, from watercolor paper painted with yellow paint, old book and dictionary paper and Simon Says Stamp Shimmer Vellum. The sentiments are from Tim Holtz Tiny Text.


I also added a couple of word strips from 49 & Market Faded Memory Lane Ephemera. Here you can also see some of the shine from the Distress Spritz.


I used Simon Says Stamp Pawsitively Perfect Foam Tape to adhere the bird to the background and made a nest from cheese cloth. The cheese cloth was dyed with Distress Ink. 


The folds in the paper adds interest to the background. 


Off-set the word a little to create a gold shadow. I added Simon Says Stamp Pawsitively Dazzling Opal Gems to the flowers.


In some places, the background looks almost like wood.


I used an old book about gardening in Southern Africa, which I saved from being thrown away years ago.

Layers of ink - Bird with text background tutorial by Anna-Karin Evaldsson.

I hope you enjoyed this post and that it inspired you to use some old book paper.

Join us this week in our Add Some Text challenge! You have a chance to win a $25 gift voucher to do some fun shopping at Simon Says Stamp. You have until Monday 8am Ohio time. 1pm UK time, 2 pm CET to join in.


Do you use Instagram? If so please add #sssmchallenge so we can see your entries there too.


Thank you so much for visiting today! 

Happy crafting!

Anna-Karin

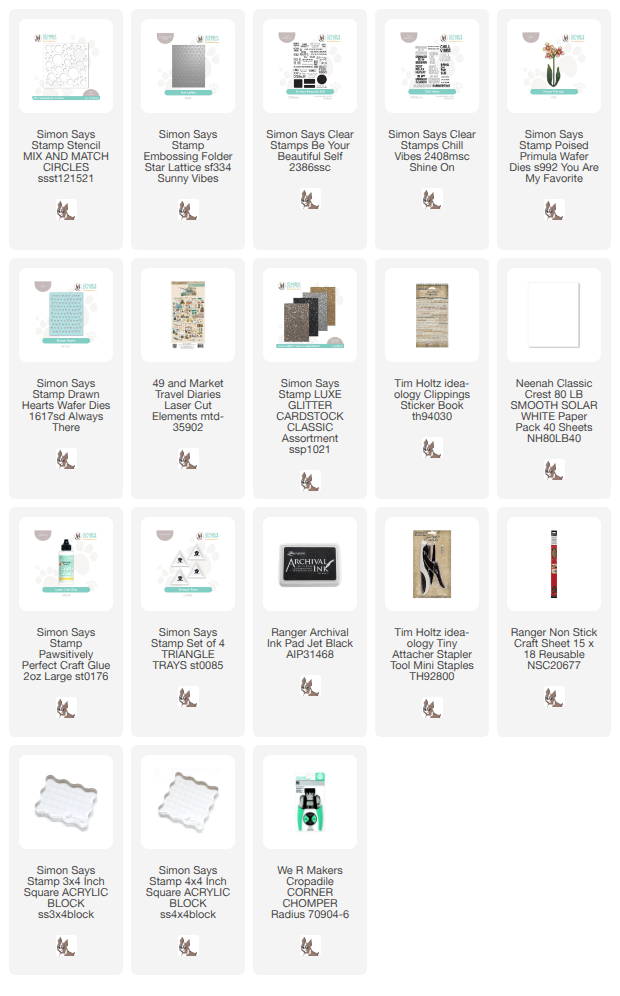
Supplies:

* Please note: the links are affiliate links, for which I receive a small percentage of sales generated by the link, at no extra cost to you.


Saturday, July 18, 2026

Embossed Gel Print

Hello crafters! Today I have an art journal page to share with a fun gel printing and dry embossing technique. 

Please note: this post has affiliate links, for which I receive a small percentage of sales generated by the link, at no extra cost to you.

Layers of ink - Embossed gel printed page tutorial by Anna-Karin Evaldsson.

I made a page in my Small Creative Journal, but you can also turn the design into a card. I had a gel printing session last week, printing mainly with dry embossed papers and today I used some of those printed papers. I particularly had fun dry embossing and then coloring one of the designs. 

Make the gel print.

This is the paper I started with. It was gel printed on Gelli Arts 5x7 Gel Printing Plate using a paper embossed in Simon Says Stamp Peony Trio embossing folder. The folder comes from the new Shine On release. The smaller flowers were printed with a paper embossed in Simon Says Stamp Star Lattice folder.

Make print with Simon Says Stamp Peony Trio.

I made four different prints using this dry embossed paper, as well as some other embossing folders. 

Emboss in Simon Says Stamp Peony Trio.

I planned to color directly on to the print, but then I looked at the embossing folder and thought it would be fun to dry emboss the design first. Line it up in the folder and emboss. This brings the design forward and adds interest.

Color with Distress Watercolor Pencils.

I colored with flowers with Distress Watercolor Pencils, picking the color up with a paint brush from the tip of the pencils.

Splatter.

Next. I splattered with Antique Linen and Scorched Timber pencils. Dipp the pencil in water and flick a paint brush against it. 

Splatter with white gouache.

I also splattered the page with Winsor & Newton Permanent White gouache. 

Stamp with Tim Holtz School Desk.

I added just a little bit of stamping with the alphabet stamp from Tim Holtz School Desk. 


Two of the sentiments were stamped on another gel printed paper with Simon Says Stamp Be Your Beautiful Self and die cut with the coordinating dies.

Stamp with Tim Holtz Tiny Text.

The third sentiment comes from Tim Holtz Tiny Text. I also added Simon Says Stamp Cottontail sequins. 


The gel printing is to some extent unpredictable, which adds interest to the flowers.

Stamp with Simon Says Stamp Be Your Beautiful Self.

The title was die cut with Tim Holtz Sizzix Vault World Travel from another piece of gel printed paper.


Leave some of the paper showing, for highlights.


Each flower looks different because of the printing.


The top flower was the faintest and the dry embossing helped to bring it out from the background.

Layers of ink - art journal spread.

I rounded the outer corners and adhered the page into my Small Creative Journal. You can find the tutorial for the page to the right here on the Simon Says Stamp store blog.


Happy crafting!

Anna-Karin

Supplies:

* Please note: the links are affiliate links, for which I receive a small percentage of sales generated by the link, at no extra cost to you.


Happy crafting!

Anna-Karin

Supplies:

* Please note: the links are affiliate links, for which I receive a small percentage of sales generated by the link, at no extra cost to you.