Hi stampers! We have had fantastic autumn weather during the weekend, with crystal clear air and all the colorful leaves. My card for today is inspired by my weekend walks.
Please note: this post has affiliate links, for which I receive a small percentage of sales generated by the link, at no extra cost to you.
Our theme this week at the Simon Says Stamp Monday Challenge Blog is 'Touchy Feely', in the sense of adding texture. Texture is one of my favorite things and I am always looking for new ways of giving texture to a project. Don't miss the last contribution by our September guest designer Susanne. She made a fantastic Halloween card for you.
I kept adding elements to the background of this card and, in particular, the golden dots was a spur of the moment idea, which turned out really well. If you use shades of blue instead, the background will look icy and be perfect for winter cards, but I wanted warm shades of autumn. I used mainly Simon Says Stamp products here.
Ink with yellow, orange and red shades of Distress Ink.
Smear Distress Oxide Ink on a non-stick craft sheet, mist with water and lightly press the paper into the ink. This will create splotches of color and adds texture. Since the background is embossed the splotches stay inside the embossed lines, although not everywhere.
Apply Sizzix Gold Luster Wax with your finger through dots from the Simon Says Stamp Mix and Match Circles stencil. I really liked this effect.
Add just a few splatters with a Scribble Stick.
The sentiment from Document It (also one of my sets) was stamped on a Tim Holtz Journal Card. Then the card was embossed in Tim's Mini Foundry 3-D folder.
The golden dots look different from different angles. They cover the ink, but not the embossing. The card was mounted on
gold kraft cardstock which was slightly sanded and an orange cardbase.
Burlap adds instant texture, even if you just see a little bit of it, like here under the sentiment panel.
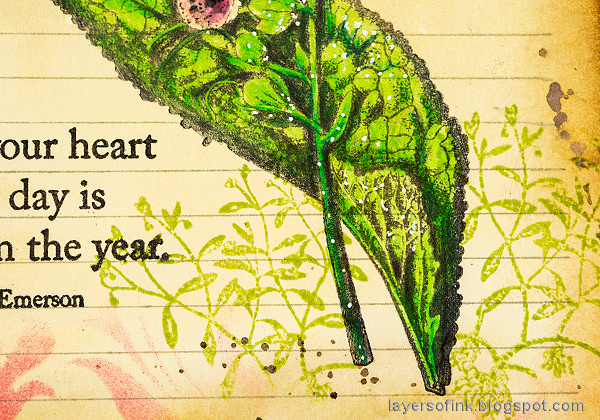
I also die cut a Simon Says Stamp Leafy Branch from gold paper and added some sequins.
Just a little bit of text stamping adds a lot of texture.
I really like this quote and used it on an art journal page yesterday too, which you can find here.
I hope you will join us this week in our Touchy Feely challenge. You have a chance to win a $25 gift voucher to do some fun shopping at Simon Says Stamp. You have until Monday 8am Ohio time. 1pm UK time, 2 pm CET to join in.
Do you use Instagram? If so please add #sssmchallenge so we can see your entries there too.
Also, don't miss all the STAMPtember® inspiration, surprises and exclusive products during the month. There has also been a huge Simon Says Stamp release for STAMPtember®, with stamps, dies, stencils, inks and paper products.
Thank you so much for taking the time to stop by here today!
Happy crafting!
Anna-Karin
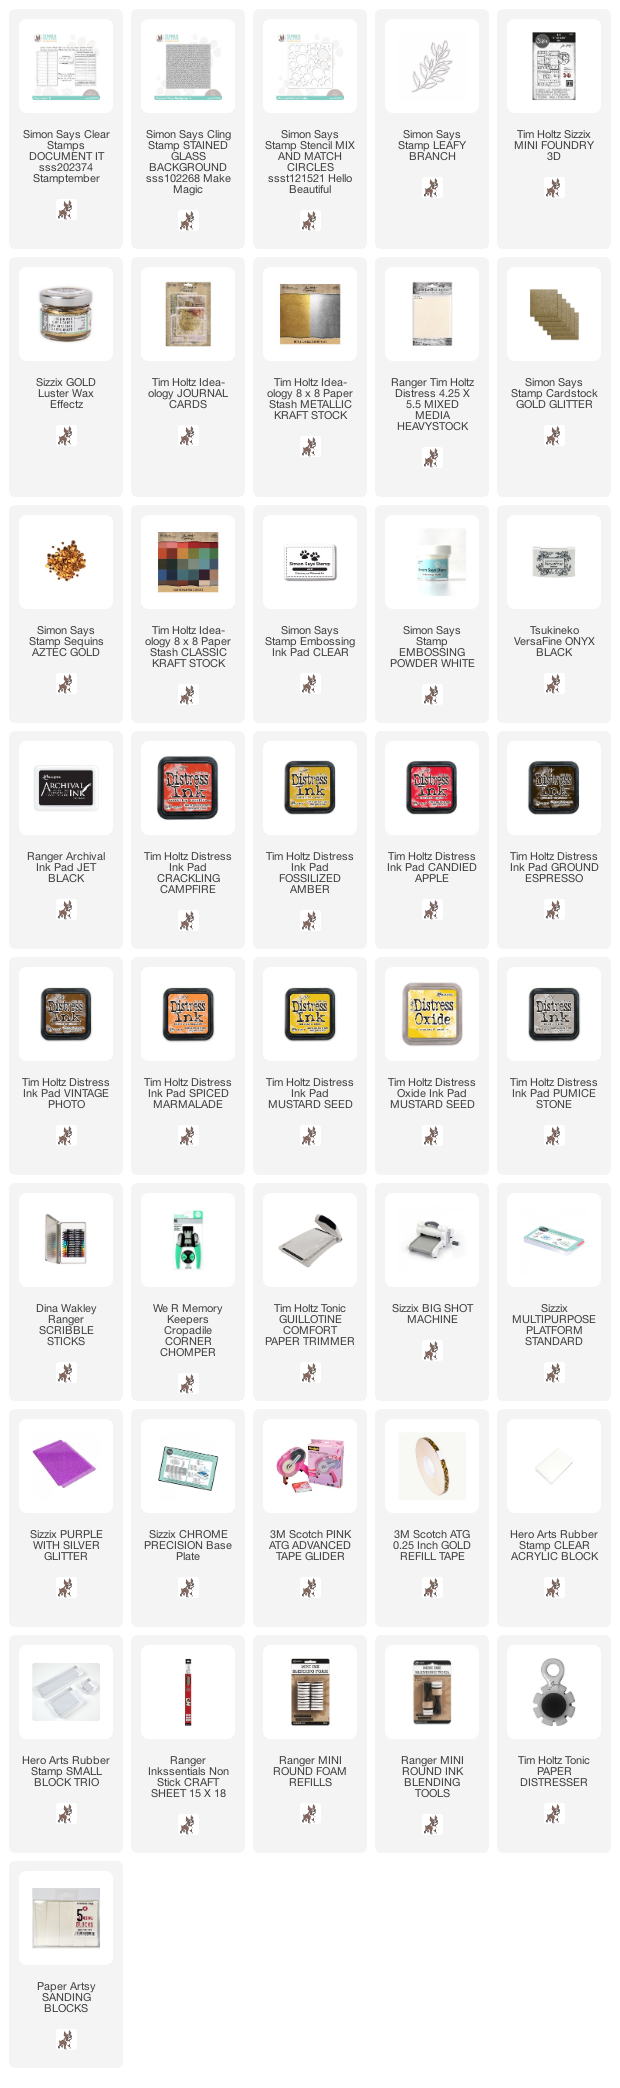
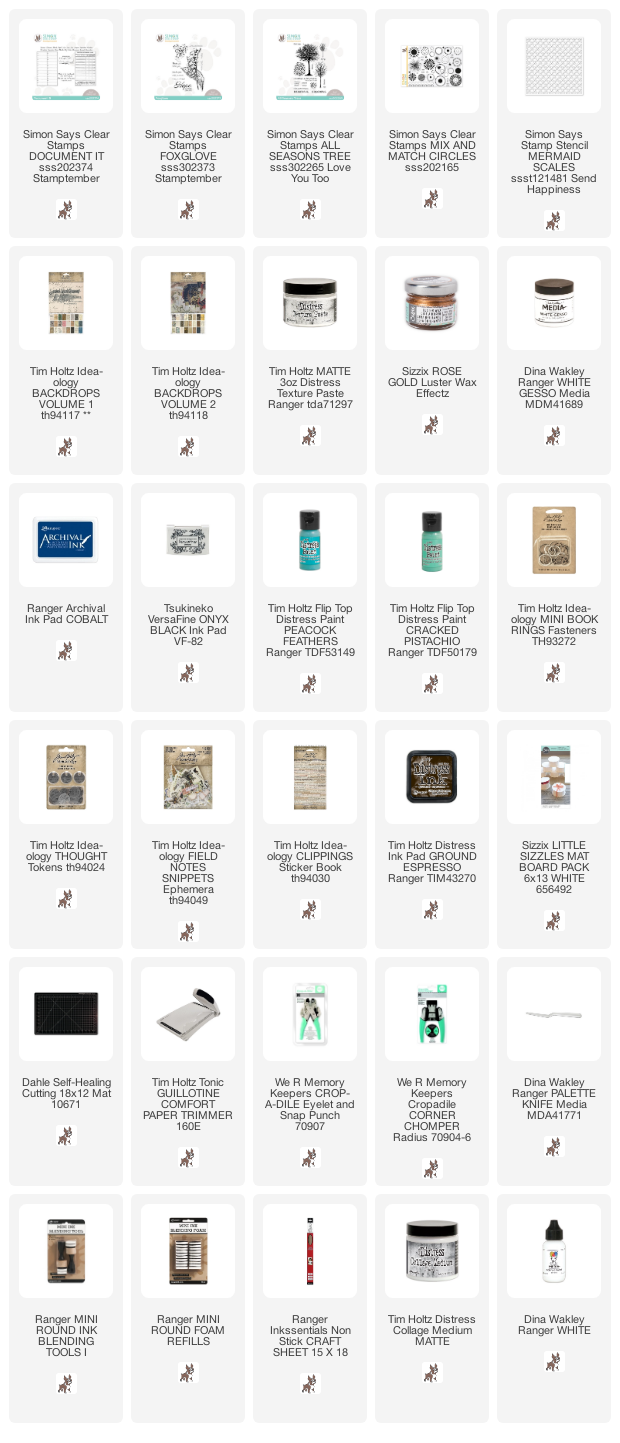
Supplies:
* Please note: the links are affiliate links, for which I receive a small percentage of sales generated by the link, at no extra cost to you.