Wednesday, September 29, 2021

Textured Notebook Tutorial

Hi friends! Today I have a notebook/sketchbook tutorial to share with you, but you could also turn the cover into a card instead, or use the techniques for art journaling.

Please note: this post has affiliate links, for which I receive a small percentage of sales generated by the link, at no extra cost to you.
Layers of ink - Textured Vintage Notebook Tutorial by Anna-Karin Evaldsson. With Simon Says Stamp Document It stamp set.

My favorite part of this notebook/sketchbook is that you can almost not see which elements are stamped and which were a part of the patterned paper. Most are stamped and I had fun using the Simon Says Stamp Document It stamp set, which is one of the  Simon Says Stamp STAMPtember® release sets that I designed. 

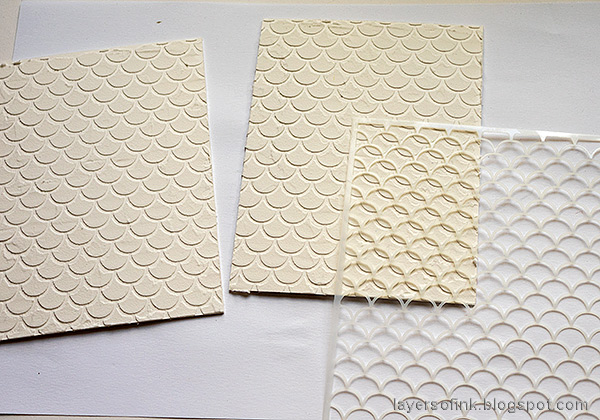
Layers of ink - Textured Vintage Notebook Tutorial by Anna-Karin Evaldsson. Apply texture paste through stencil.

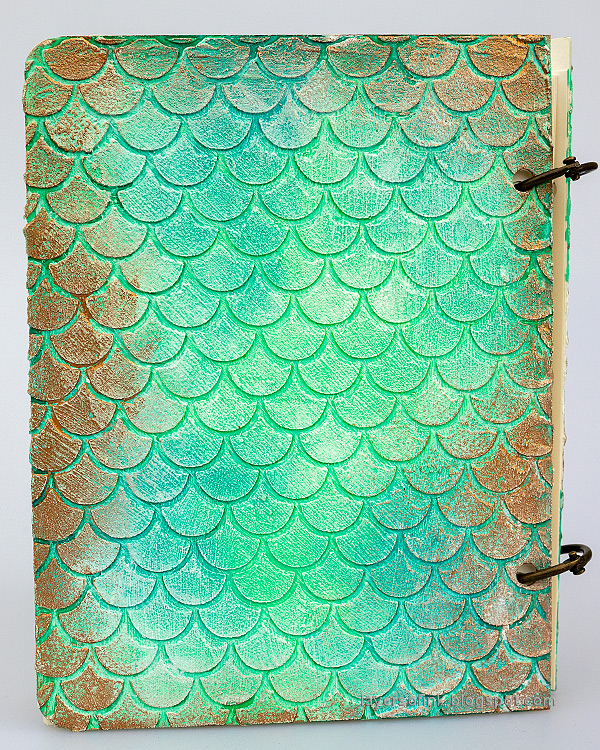
For the covers I used Sizzix Little Sizzles Mat Board and wanted texture. Texture paste was applied with a palette knife through the Simon Says Stamp Mermaid Scales stencil.

Layers of ink - Textured Vintage Notebook Tutorial by Anna-Karin Evaldsson. Paint with gesso.

When dry, paint with gesso.

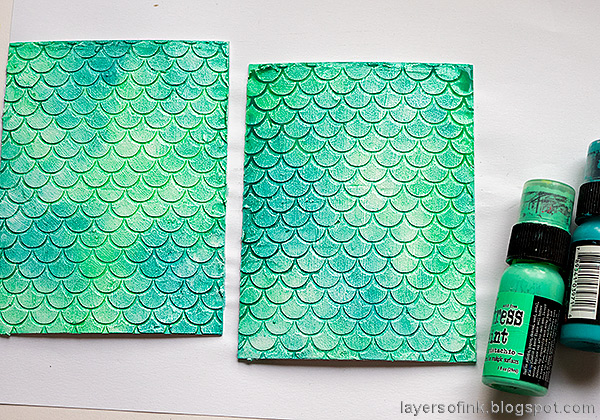
Layers of ink - Textured Vintage Notebook Tutorial by Anna-Karin Evaldsson. Paint with Distress Ink.

Paint with Distress Paint. I used Cracked Pistachio and Peacock Feathers. Mist with water. The water will make some of the gesso texture more apparent and will make the paint darker in between the scales.

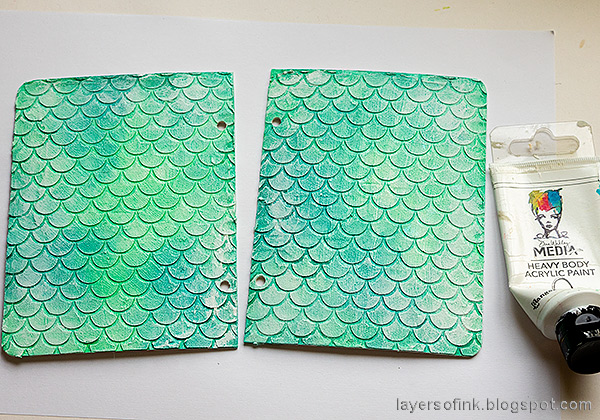
Layers of ink - Textured Vintage Notebook Tutorial by Anna-Karin Evaldsson. With Simon Says Stamp Document It stamp set.

Dry brush a little bit of white paint on the background. Round the outer corners and punch holes with a Crop-a-Dile.

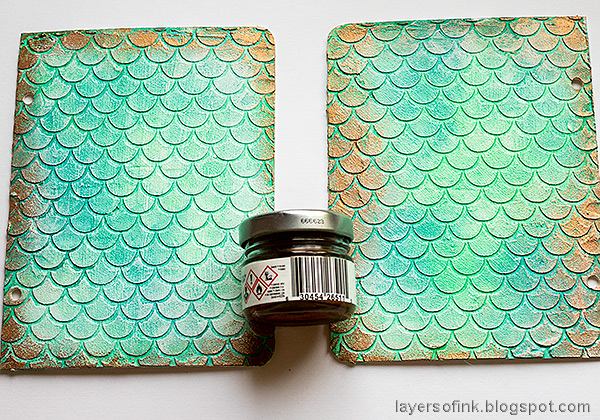
Layers of ink - Textured Vintage Notebook Tutorial by Anna-Karin Evaldsson. Apply Sizzix Luster Wax.

Apply Sizzix Rose Gold Luster Wax with your finger around the edges. 

Layers of ink - Textured Vintage Notebook Tutorial by Anna-Karin Evaldsson. With Simon Says Stamp Document It stamp set.

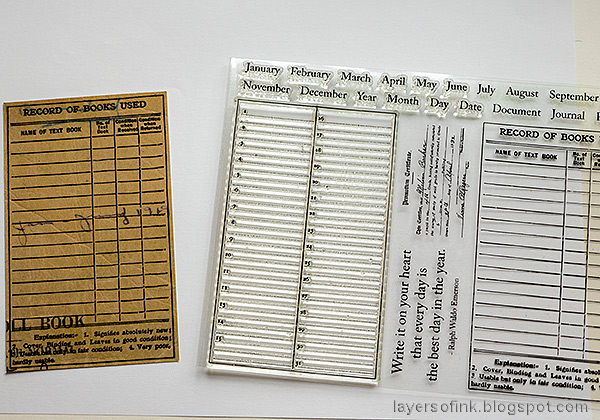
The 'Record of book used' stamp from Simon Says Stamp Document It was stamped on one of Tim Holtz Backdrops Vol 1 papers. I really like these papers. The paper I used was mainly neutral, but had some writing and the word 'book' on it already. I placed the stamp so that the words would line up with the lines on the stamp.

Layers of ink - Textured Vintage Notebook Tutorial by Anna-Karin Evaldsson. With Simon Says Stamp Document It stamp set. Stamp sentiments.

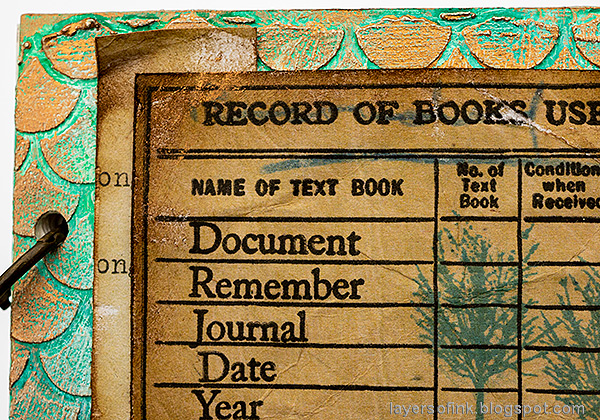
Stamp words from Document It and a sentiment from Simon Says Stamp Foxglove.

Layers of ink - Textured Vintage Notebook Tutorial by Anna-Karin Evaldsson. Stamp trees with Simon Says Stamp All Seasons Tree.

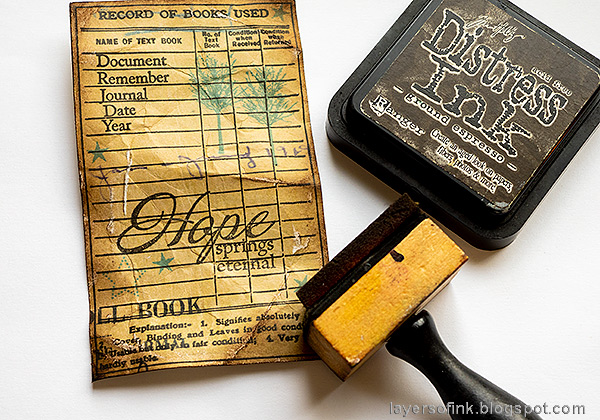
I wanted more of that old blue stamping ink look, similar to the writing on the paper. Archival Ink Cobalt was the perfect shade. Trees from Simon Says Stamp All Seasons Tree and stars from Mix and Match Circles were stamped with the blue ink. This ink pad is one of my oldest ink pads and still works perfectly.

Layers of ink - Textured Vintage Notebook Tutorial by Anna-Karin Evaldsson. With Simon Says Stamp Document It stamp set.

Fold, crumble and sand the paper lightly and then ink with brown ink.

Layers of ink - Textured Vintage Notebook Tutorial by Anna-Karin Evaldsson.

I had a scrap from another Backdrops paper on my desk and placed it underneath the main panel. 

Layers of ink - Textured Vintage Notebook Tutorial by Anna-Karin Evaldsson.

I really like the look of the stamping on that particular Backdrops paper and together with the bits of hand-writing.

Layers of ink - Textured Vintage Notebook Tutorial by Anna-Karin Evaldsson. With Simon Says Stamp Foxglvoe set.

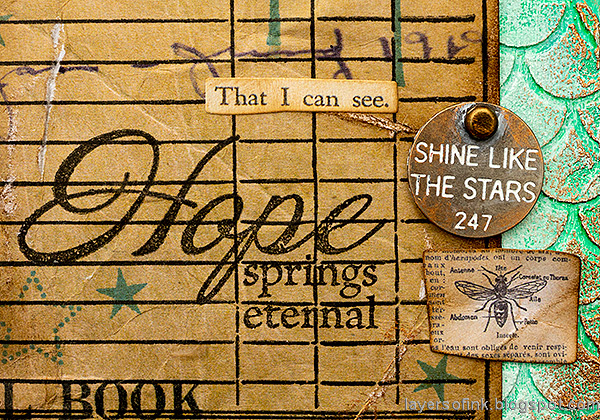
I also added a couple of Tim Holtz Clippings Stickers, a Thought Token and two Field Notes Snippets ephemera pieces.

Layers of ink - Textured Vintage Notebook Tutorial by Anna-Karin Evaldsson. Apply Sizzix Luster Wax.

The back was left plain and feels great to the touch. I used my favorite sketching paper for the inside pages.

Layers of ink - Textured Vintage Notebook Tutorial by Anna-Karin Evaldsson. Apply Sizzix Luster Wax.

The stenciled paste, gesso paint brush marks, Distress Paint and Luster Wax gives a great textured look to the cover, with just a little bit of shine.


STAMPtember® is almost over. Don't miss all inspiration, surprises and exclusive products. There has also been a huge Simon Says Stamp release for STAMPtember®, with stamps, dies, stencils, inks and paper products.


Thank you so much for taking the time to stop by here today! 

Happy crafting!

Anna-Karin

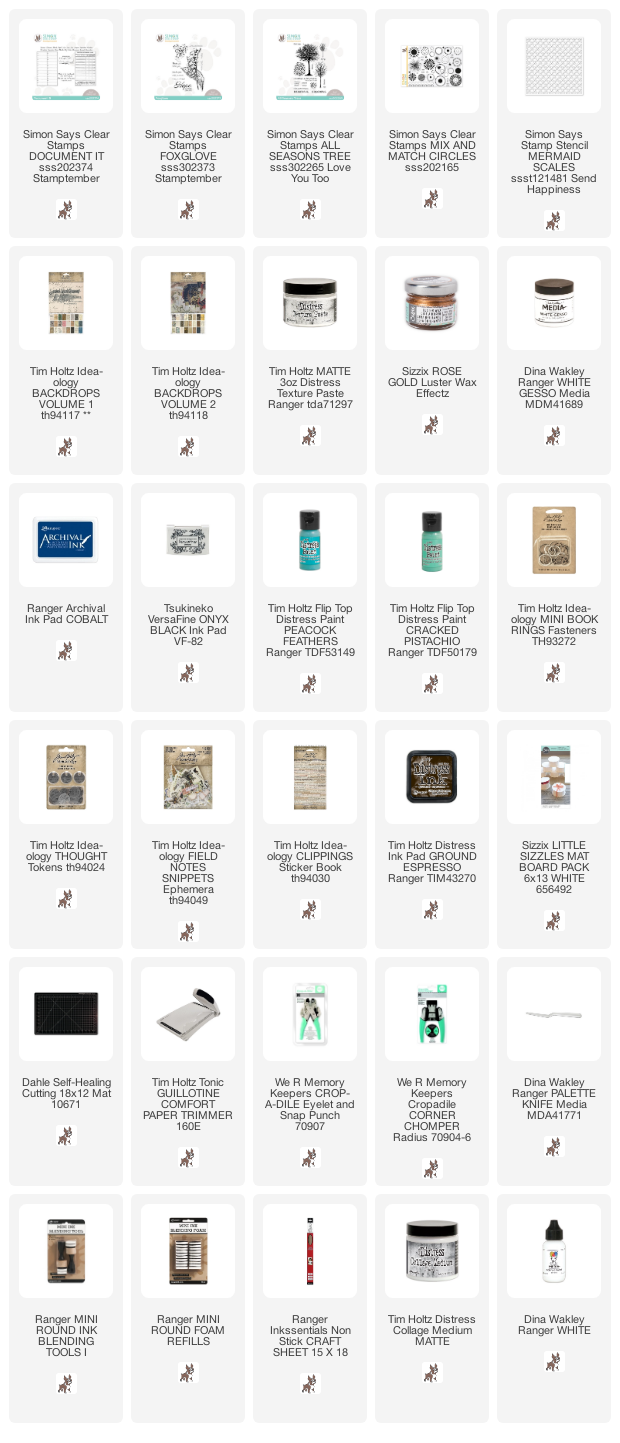
Supplies:

* Please note: the links are affiliate links, for which I receive a small percentage of sales generated by the link, at no extra cost to you.

No comments:

Post a Comment

Thank you so much for leaving a comment! Happy Crafting!