Showing posts with label Resist. Show all posts

Monday, August 3, 2026

Lily Tag Tutorial

Hello stampers! I hope you had a fun weekend! I can't believe that it is already August. At the Simon Says Stamp Monday Challenge Blog we are celebrating the 16th birthday of Simon Says Stamp. 16 years of creativity and fun!

Please note: this post has affiliate links, for which I receive a small percentage of sales generated by the link, at no extra cost to you.



This week we have a Happy Birthday theme at the Simon Says Stamp Monday Challenge Blog. Since it is the first Monday of a new month, the team is showcasing the products by a specific designer/company and this week it is Paper Artsy. You can see all Paper Artsy's wonderful stamps, stencils and other products here. You don't have to use Paper Artsy products to join, but it is fun if you do.

We also have a new guest designer and in August we are welcoming Cassie Lynch back. Don't miss her stunning project. 

Layers of ink - Lily Tag Tutorial by Anna-Karin Evaldsson.

I made a birthday tag using stamps, ink and watercolors. It was stamped with Paper Artsy Crocus Edition and Fodder Berry Edition designed by Alison Bomber. The tag was inked and watercolors with bright colors. 

Stamp Paper Artsy Crocus edition.

I cut a small tag from watercolor paper and cut the top with an Angle Chomper tool. Stamp the flower stamp from Paper Artsy Crocus Edition.

Paint with watercolors.

Paint the flowers with watercolors.


Paint the background with soft shades of brown and green.


Add darker shades of green at the bottom and splatter the tag with brown paint.

White emboss alphabet stamps.

The larger tag is Ranger Heavystock tag. White emboss the alphabet stamps from Crocus Edition here and there. I am very fond of alphabet stamps.

Ink with Distress Ink.

Ink with Distress Ink and add a last layer through Tim Holtz Deco Floral.


Distress the edges. Stamp with texture stamps from Paper Artsy Fodder Berry Edition.


I tied both tags with ribbons, fibers and organza.


I also added a few staples here and there.


I decided to turn the flowers into lilies.


The main sentiment was white embossed on vellum with Simon Says Stamp A Little Artsy. Tear the edges and attach with staples. I also added some ribbons.

Layers of ink - Lily Tag Tutorial by Anna-Karin Evaldsson.

I hope this project inspired you to create a project mainly with stamps.


Join us this week in our Happy Birthday challenge and celebrate Simon Says Stamp's 16th birthday! This week you have the chance to win a $50 gift voucher to do some fun shopping at Simon Says Stamp. You have until Monday 8am Ohio time. 1pm UK time, 2 pm CET to join in.


Do you use Instagram? If so please add #sssmchallenge so we can see your entries there too.


Thank you so much for visiting today! 

Happy crafting!

Anna-Karin

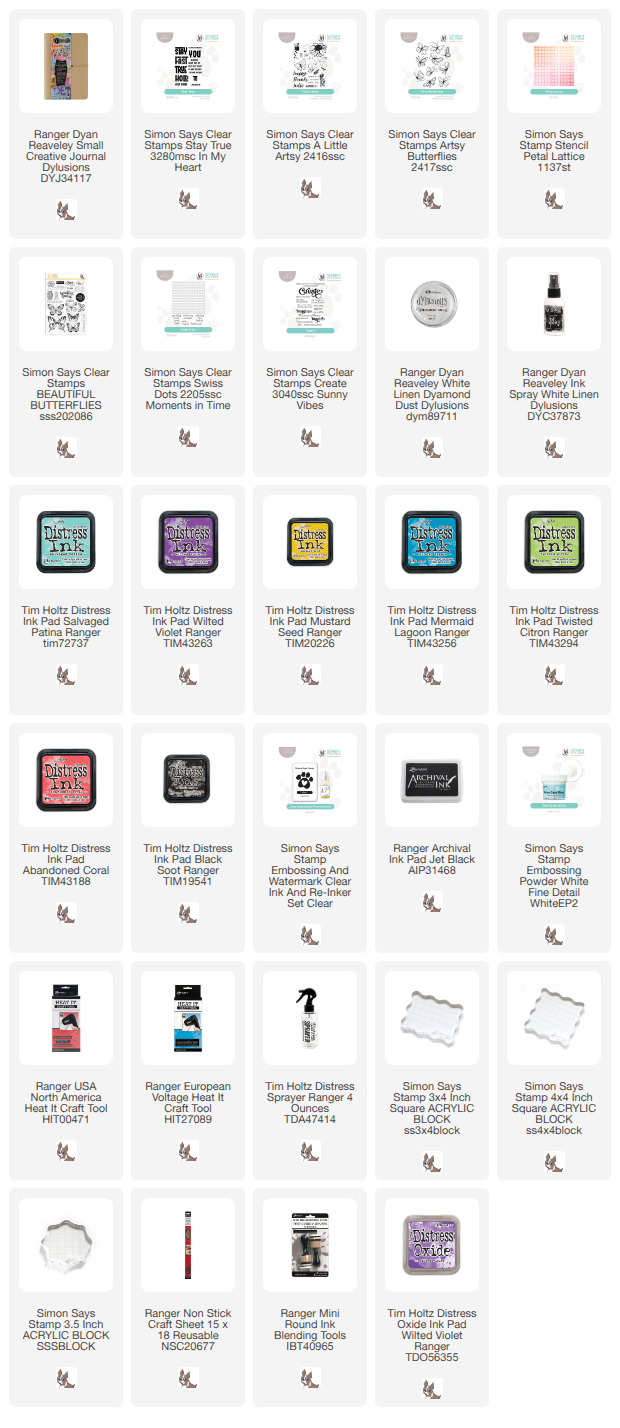
Supplies:

* Please note: the links are affiliate links, for which I receive a small percentage of sales generated by the link, at no extra cost to you.


Monday, June 29, 2026

Shimmer Star Tag Tutorial

Hi friends! I hope you had a good weekend! Here is is a little too warm for my taste. But the evenings are very nice.

Please note: this post has affiliate links, for which I receive a small percentage of sales generated by the link, at no extra cost to you.


This week we have a Stars and/or Stripes theme at the Simon Says Stamp Monday Challenge BlogDon't miss the last project by our June guest designer Ann Chuang.

Layers of ink - Shimmer Star Tag Tutorial by Anna-Karin Evaldsson.

I made a tag with a star background, a large 'star' sentiment and small sequin stars. The background shimmers, which the photos don't give justice to. I had fun adding some buttons and a bunch of stamped sentiments. 

Dry emboss Simon Says Stamp Crystal Stars.

I used the stunning Simon Says Stamp Crystal Stars embossing folder. Ink the folder with embossing ink. Emboss a watercolor tag and then sprinkle white embossing powder all over. Remove the excess and melt. Always be careful when melting embossing powder and do not touch the melted powder until it has cooled down completely.

Mist with various mists.

Mist the tag with Distress Spray Stains and Saltwater Taffy Distress Spritz. The embossing will resist the ink.

Die cut Tim Holtz Alphanumeric Bulletin.

The letters were die cut with Tim Holtz Sizzix Alphanumeric Bulletin, from Simon Says Stamp holographic cardstock and from a piece of watercolor paper that I had painted with watercolors and covered with plastic wrap.

Die cut Tim Holtz Handwritten Journey.

Die cut the second sentiment with Tim Holtz Handwritten Journey, using the same two papers.

Stitch buttons.

I stitched matching buttons to the tag with blue DMC floss.

Add Simon Says Stamp North Star embellishment.

The stars are Simon Says Stamp North Star embellishments. The sentiments is a part of a sentiment stamp from Simon Says Stamp Plaque Slides Love and Friendship. 

Assemble the letters.

Glue the letters to the tag and add the silver frames. I also stapled a ribbon to the tag, as a base for the letters. I really like these large letters.


Off set the handwritten word a little, with the holographic word at the top.


The rest of the sentiments are from Simon Says Stamp Sunburst and Stay True stamp sets, and from Tim Holtz Tiny Text.


The stars are very shimmery and since the embossing powder did not give a complete cover, there is a lovely speckled texture in the white areas. 

Layers of ink - Shimmer Star Tag Tutorial by Anna-Karin Evaldsson.


Join us this week in our Stars and/or Stripes challenge! You have a chance to win a $25 gift voucher to do some fun shopping at Simon Says Stamp. You have until Monday 8am Ohio time. 1pm UK time, 2 pm CET to join in.


Do you use Instagram? If so please add #sssmchallenge so we can see your entries there too.


Thank you so much for visiting today! 

Happy crafting!

Anna-Karin

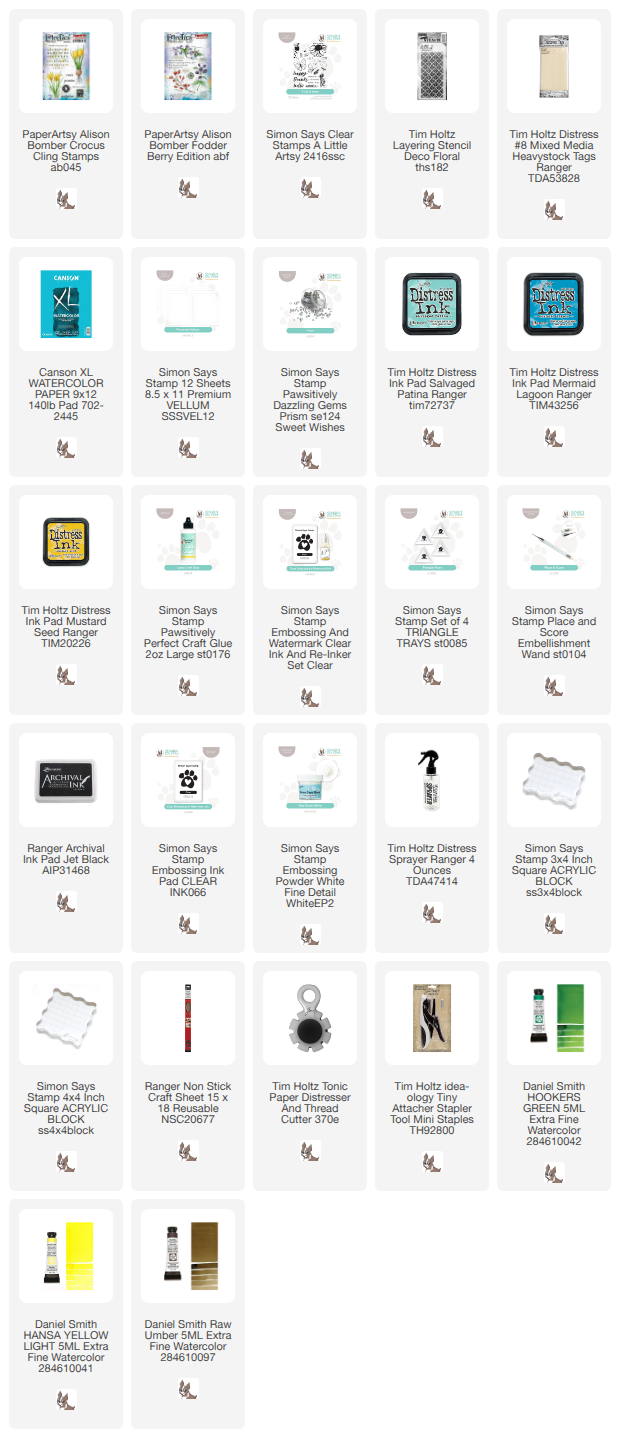
Supplies:

* Please note: the links are affiliate links, for which I receive a small percentage of sales generated by the link, at no extra cost to you.


Monday, June 1, 2026

Stay True art journal

 Hi crafters! I hope you had a good weekend! I can't believe it is June already.

Please note: this post has affiliate links, for which I receive a small percentage of sales generated by the link, at no extra cost to you.


This week our theme is 'Add a Rainbow of Color' at the Simon Says Stamp Monday Challenge Blog. Since it is the first Monday of a new month, the team is showcasing products by a specific designer. This month it is Dylusions by Dyan Reaveley. You can find all the stunning products here. You don't have to use them to join, but it is fun if you do.

We also have a new guest designer and in June, Ann Chuang will be joining us. I hope you will take the time to check out the project that she has created for the challenge.

Layers of ink - Stay True art journal page tutorial.

I made a colorful page in my Dylusions Small Creative Journal, which is my favorite and most used art journal. This is my fourth Small Creative Journal and it is almost full. I like the size of the pages and the quality of the paper is great. 

White emboss Simon Says Stamp Stay True and A Little Artsy.

I started by white embossing the sentiment from Simon Says Stamp Stay True, and a butterfly from Simon Says Stamp A Little Artsy and from Artsy Butterflies.

Ink with Distress Ink.

Ink the page with Distress ink in different colors.

Add Dylusions Dyamond Dust.

Use Simon Says Stamp embossing ink and apply it through Simon Says Stamp Petal Lattice stencil. Brush Dylusions Dyamond Dust White Linen over the page. My Distress Ink wasn't totally dry, so there is shimmer a bit all over the page, but that is also what I wanted.

Add more stamping.

Ink the words with Black Soot Distress Ink, mist with water and stamp over the words again, off-setting slightly. This creates a shadow. Stamp more sentiments and a messy thread on the page.


Stamp with blue ink and Simon Says Stamp Swiss Dots background and splatter a little Dylusions White Linen Ink spray on the background.

Add shadows.

The shadow stamping gives a 3-D look and makes the sentiment stand out better.


The butterflies are yellow, to look like lemon butterflies.


Dream, create, share comes from Simon Says Stamp Create.


I stamped a stamp with small numbers from Simon Says Stamp A Little Artsy here and there for texture.


The effect of the Dyamond Dust is hard to capture on photo. The entire page is to some extent shimmery, but the stenciled areas have an even more visible shimmer.


I also stamped dots with Wilted Violet Distress Oxide and messy rings with black ink. These are both from the A Little Artsy set.


You are enough comes from Simon Says Stamp Beautiful Butterflies and Don't ever change is from Stay True.


Join us this week in our Add a Rainbow of Color challenge! You have a chance to win a $25 gift voucher to do some fun shopping at Simon Says Stamp. You have until Monday 8am Ohio time. 1pm UK time, 2 pm CET to join in.


Do you use Instagram? If so please add #sssmchallenge so we can see your entries there too.


Thank you so much for visiting today! 

Happy crafting!

Anna-Karin

Supplies:

* Please note: the links are affiliate links, for which I receive a small percentage of sales generated by the link, at no extra cost to you.