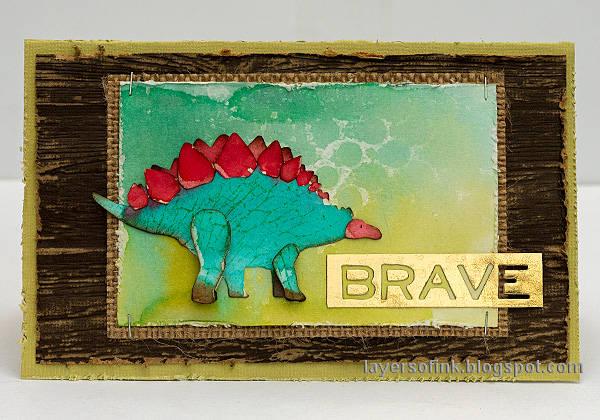
This week at the Simon Says Stamp Monday Challenge Blog we have a Bright and Cheerful theme. Lots of possibilities with this theme. Don't miss the last project by our July guest designer, Kerstin F with her wonderful blog Scrapbook Dreams.

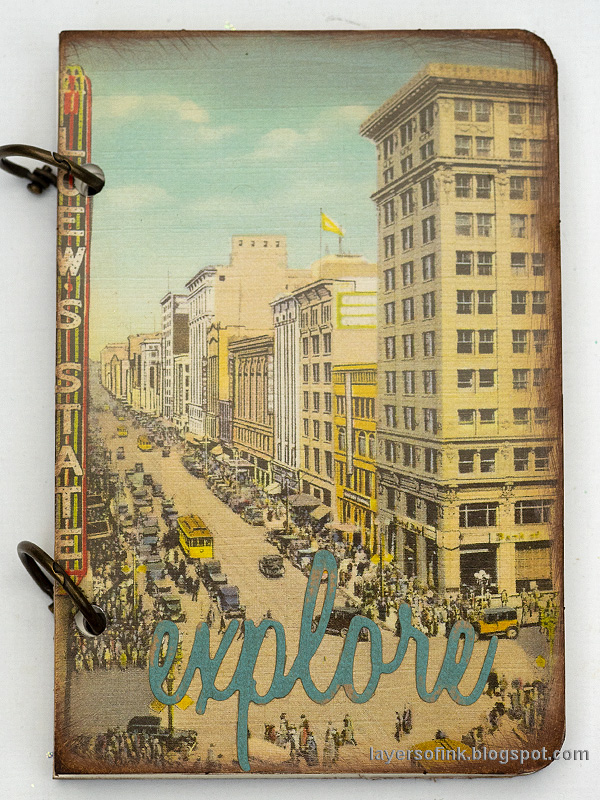
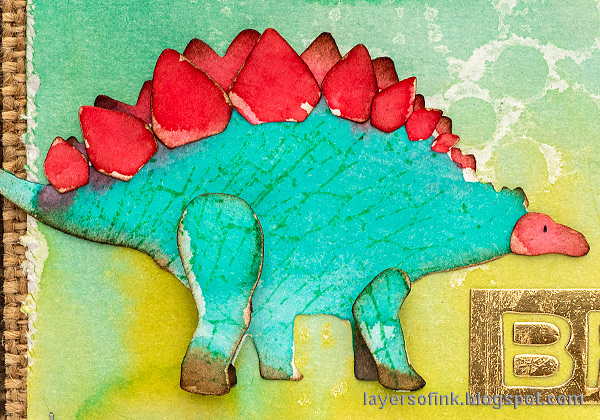
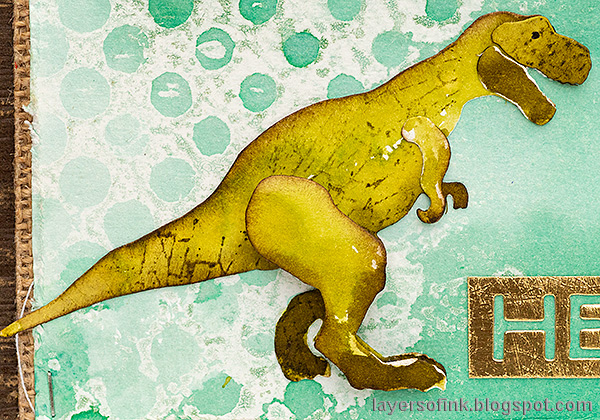
Almost all of my stash are still in boxes waiting to be unpacked, but luckily, I found my box of scraps and made a tag using only scraps, glue, a tiny attacher and a pair of scissors. By using small pieces of colorful papers you can create a fun and interesting background. Some of the pieces that I used were watercolored, some were colored with distress ink, and some had been painted with acrylic paint. The latter were left over from a color theory course and I almost threw them away when I was packing for the move.

One of the best finds in my scrap box were these flowers, also made from scrap papers, using Tim Holtz's Funky Floral 1 and Funky Floral 2. The flowers were left over from my Flower Power tag. The small words were cut from the Chatter Design Tape.

Even the sentiments came from the scrap box, since my inks are still MIA, although I have luckily located the box today and will unpack it as soon as possible. This sentiment comes from the SSS Explore Nature set. I also found a strip of silver corrugated card, which fit the tag well.

Here are more of the flowers. I was lucky to even find some leaves.

Small pieces of vellum were stapled to the background, for extra interest.

The main sentiment was also in my scrap box, stamped using Mermaid Lagoon (I think) Distress Ink and Tim's Life Quotes set.
I hope you will join us this week in our Bright and Cheerful challenge. As always, you have a chance to win a $50 gift voucher to do some fun shopping at Simon Says Stamp. You have until next Monday 8am Ohio time. 1pm UK time, 2 pm CET to join in.


Do you use Instagram? If so please add #sssmchallenge so we can see your entries there too.


Thank you so much for stopping by here today!
Happy crafting!
Anna-Karin
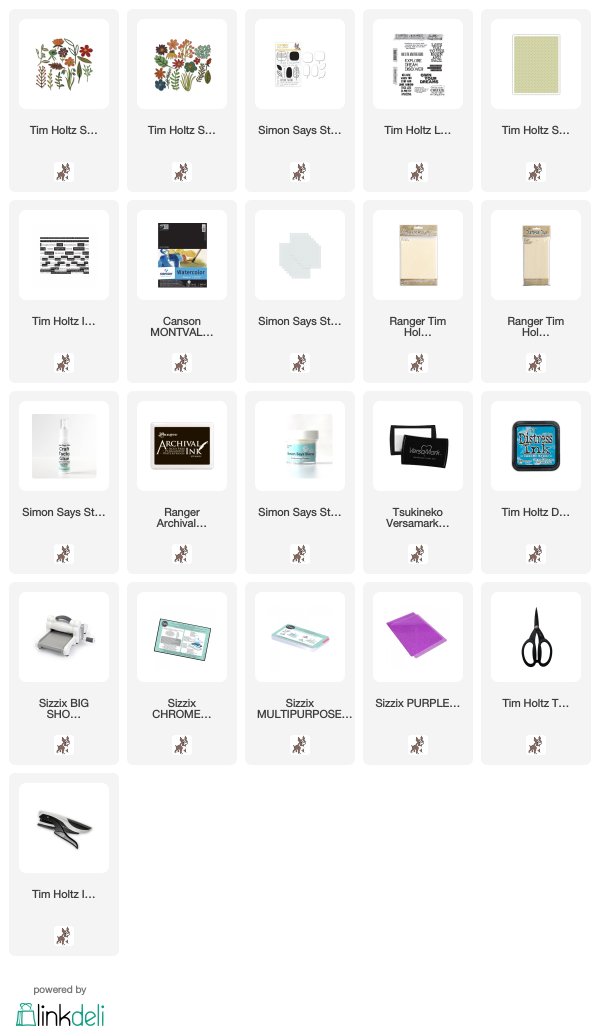
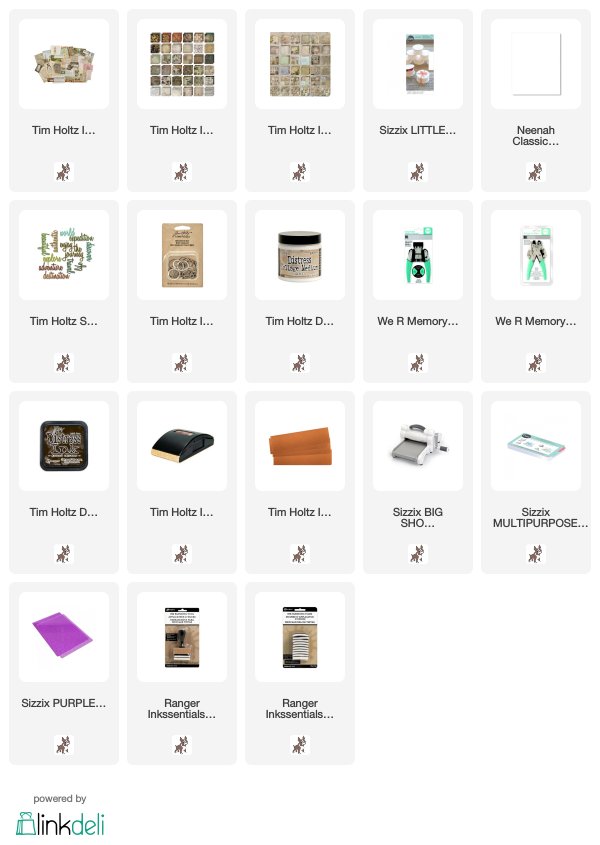
Supplies:
* Please note: the links are affiliate links, for which I receive a small percentage of sales generated by the link, at no extra cost to you.
* Please note: the links are affiliate links, for which I receive a small percentage of sales generated by the link, at no extra cost to you.