Showing posts with label winter. Show all posts

Monday, January 12, 2026

Foil Forest Tag

Hello crafters! I hope you had a good weekend! We have beautiful winter wonderland weather here at the moment, with lots of snow.

Please note: this post has affiliate links, for which I receive a small percentage of sales generated by the link, at no extra cost to you.


This week we have a Fun with Foil theme at the Simon Says Stamp Monday Challenge Blog. I hope you will join us! Don't miss the beautiful project by our January guest designer Cassie Lynch aka mk_knits.

Layers of ink - Foil Forest Tag tutorial by Anna-Karin Evaldsson.

Inspired by the snow outside my window, I made a shiny and frosty foil forest tag. I used Ranger's Frozen Shiny Foil Sheets for the foiled elements and a dry embossed silver background. Glitter and dry embossed vellum added the last frosty details to the tag.

Use Ranger foil sheets to foil the die cut trees.

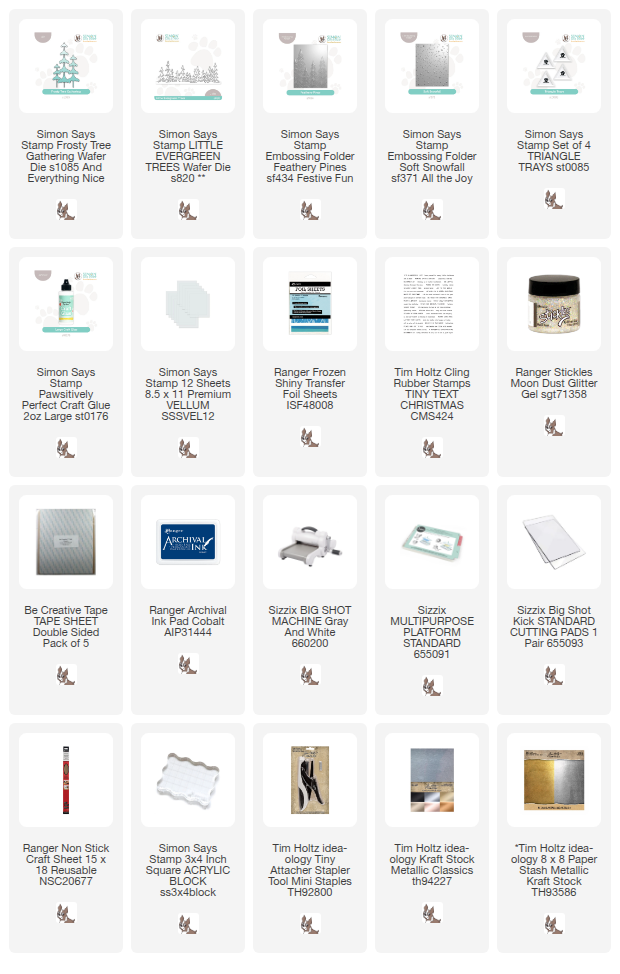
Start by covering cardstock with a double-sided adhesive sheet. I used Simon Says Stamp Frosty Tree Gathering and Little Evergreen Trees to die cut the trees. Remove the protective tape and press the die cuts to the back of the foil sheets. I cut the smaller tree line into pieces first. Press and then remove.

Dry emboss the tag.

I wanted a shiny background too and cut a tag from silver kraft cardstock and embossed in Simon Says Stamp Feathery Pines.

Add Ranger Moon Dust stickles.

For a frosty look, I added Ranger Stickles Glitter Gel Moon Dust to the background (not the trees).

Stamp sentiments with Tim Holtz Tiny Text Christmas.

The sentiments were stamped with Tim Holtz Tiny Text Christmas using Archival Cobalt ink. When the glitter is dry, it gives a frosty look to the background, contrasting nicely with the shinier silver trees and the foil trees. The snowflakes are from Tim Holtz Twig & Stump die set.


Some of the foil elements were still a little sticky and I pressed them onto other colors of foil, for a multi-color effect.


The trees get extra texture from the texture of my die cutting plates.


Varying the sizes and shapes of the trees add interest.

Dry emboss and tear vellum for snow.

One of my favorite ways to create a snowy look is to dry emboss and tear vellum and then layer it. Here I dry embossed the vellum in Simon Says Stamp Soft Snowfall folder and tore into three pieces. The trees are layered in between the vellum.

Join us this week in our Fun with Foil challenge! You have a chance to win a $25 gift voucher to do some fun shopping at Simon Says Stamp. You have until Monday 8am Ohio time. 1pm UK time, 2 pm CET to join in.


Do you use Instagram? If so please add #sssmchallenge so we can see your entries there too.


Thank you so much for visiting today! 

Happy crafting!

Anna-Karin

Supplies:

* Please note: the links are affiliate links, for which I receive a small percentage of sales generated by the link, at no extra cost to you.


Tuesday, December 30, 2025

Warm Hugs Card

Hello friends! Today I have a card to share, with shades of gold, brown and pink.

Please note: this post has affiliate links, for which I receive a small percentage of sales generated by the link, at no extra cost to you.

Layers of ink - Warm Hugs Card by Anna-Karin Evaldsson.

This card works well for many occasions during the cold part of the year. If you want to make a summer version, just use a leaf or flower die instead of the pine needles. Most of the products that I used are from the Simon Says Stamp DieCember release.

Die cut pine needles.


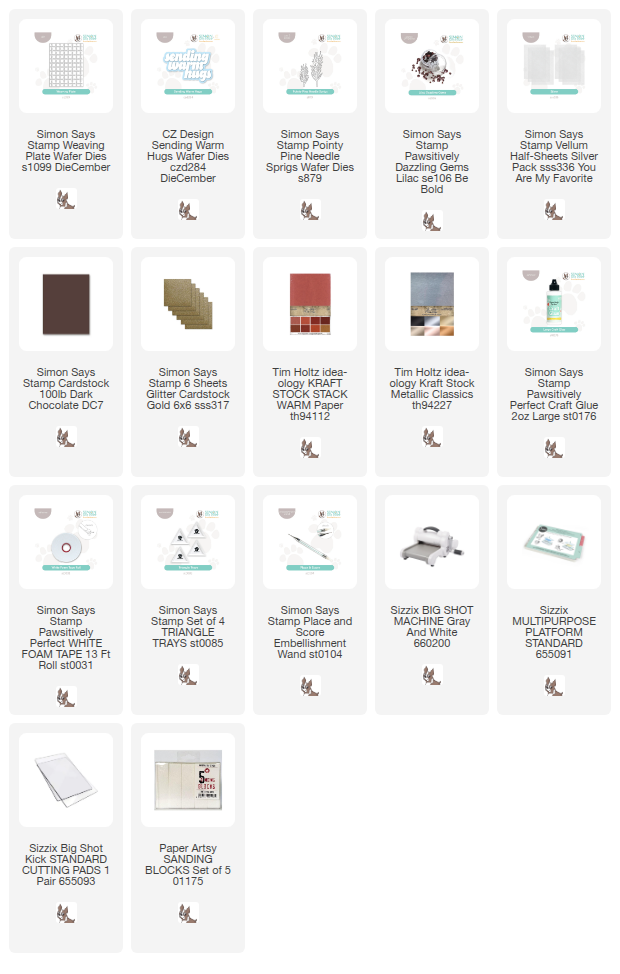
Die cut Simon Says Stamp Sending Warm Hugs.

Die cut the Simon Says Stamp Sending Warm Hugs from gold glitter cardstock, Silver Vellum, and from brown and pink kraft stock.

Die cut SImon Says Stamp Weaving Plate.

The Simon Says Stamp Weaving Plate gives such a great texture and works wonderfully with metallic papers. Die cut from Tim Holtz Gold kraft stock.


Layer the sentiment as shown and adhere with Simon Says Stamp Pawsitively Perfect Foam Tape

Add Simon Says Stamp Pawsitively Dazzling Gems.


I sanded the gold panel slightly and inked with Scorched Timber. 


Thank you so much for visiting today! 

Happy crafting!

Anna-Karin

Supplies:

* Please note: the links are affiliate links, for which I receive a small percentage of sales generated by the link, at no extra cost to you.


Friday, December 26, 2025

Frosty Snowmen Panel

Hello friends! I hope you are well! Today I am sharing a mixed media panel filled with a row of happy snowmen. 

Please note: this post has affiliate links, for which I receive a small percentage of sales generated by the link, at no extra cost to you.

Layers of ink - Frosty Snowmen Panel Tutorial by Anna-Karin Evaldsson.

There is something about snowmen that is so happy and joyful and the snowmen die cut and embossed with Simon Says Stamp Jolly Snowmen Embossing Folder and Cutting Dies are no exception. I used a couple of them on a recent winter wonderland project for the Simon Says Stamp store blog, but here I wanted a whole row of snowmen. 

Coat with gesso.

The base is a wooden panel (7x2.7 in) and coated it with gesso using a palette knife.

Die cut and emboss Simon Says Stamp Jolly Snowmen.

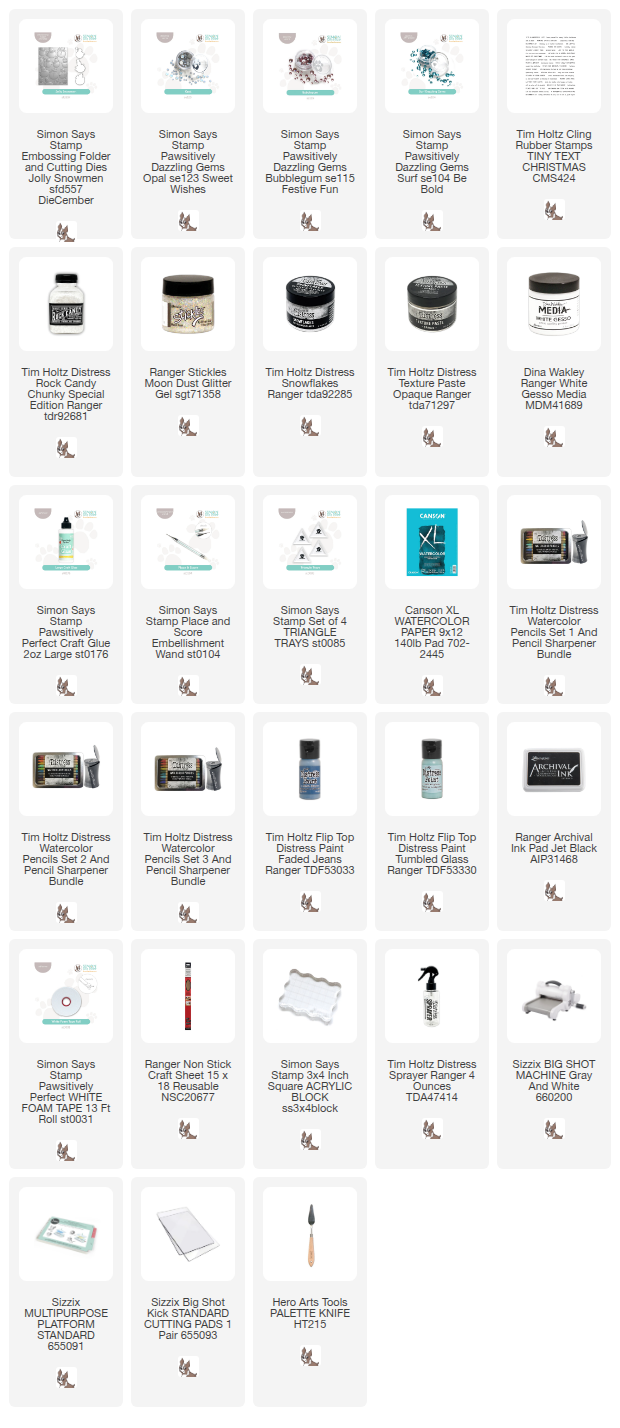
Die cut six snowmen using Simon Says Stamp Jolly Snowmen. Mist with water and emboss in the coordinating folder.

Color with Distress Watercolor Crayon.

I colored the snowmen with Tim Holtz Distress Watercolor Pencils, picking the colors up with a paint brush.

Coat with tissue paper.

Crumble up tissue paper and adhere to the panel with matte medium.

Paint with Distress Paint.

When dry, paint the sky with blue shades of watered-down Distress paint.

Add Moon Dust stickles.

Let the paint dry and then add some Moon Dust Stickles Glitter Gel to the sky.


Glue three of the snowmen and adhere three with foam tape. 

Add Chunky Glitter, Mica Flakes, and Pawsitively Saturated Gems.

Apply texture paste to the ground, overlapping the snowmen slightly. Add some Simon Says Stamp Pawstiviely Dazzling Gems to the snow (Opal, Bubblegum and Surf). Then sprinkle with Distress Snowflakes and Chunky Rock Candy.


Stamp sentiments with Tim Holtz Tiny Text Christmas and cut into strips.


These snowmen are so cute and happy. I added a white dot to each eye with a gel pen.


I also added Chunky Glitter to the hats of the snowmen too.

Stamp sentiments with Tim Holtz Tiny Text Christmas.

I just love the Simon Says Stamp Pawsitively Dazzling Gems. They are so sparkly.

The sky is also very glittery, which you can see better here. 


Thank you so much for visiting today! 

Happy crafting!

Anna-Karin

Supplies:

* Please note: the links are affiliate links, for which I receive a small percentage of sales generated by the link, at no extra cost to you.


Saturday, December 13, 2025

Winter Wonderland

Hi crafters! Today I am happy to have a tutorial on the Simon Says Stamp store blog, for a mixed media winter wonderland. 

It was nice to create a winter project, since the weather here is pretty much the opposite of this project now. Grey and rainy.

Please note: this post has affiliate links, for which I receive a small percentage of sales generated by the link, at no extra cost to you.

Layers of ink - Mixed Media Winter Wonderland tutorial by Anna-Karin Evaldsson.

I had a wooden piece at home and decided to turn it into winter / Christmas décor. You can make a card instead, or do the techniques on a canvas. My piece of wood is 3.8×8.2 in. I used dies from Simon Says Stamp And Everything Nice and DieCember® releases, combined with paint, media and glitter. 

The cute snowmen were made with Simon Says Stamp Jolly Snowmen Embossing Folder and Cutting Dies.

You can see the full project, tutorial and all the details on the Simon Says Stamp store blog. 


Thank you so much for visiting today! 

Happy crafting!

Anna-Karin


Monday, November 17, 2025

Winter Window Card

Hi friends! I hope you are well and had a fun weekend! It is starting to get chilly here and the first snow might fall this week.

Please note: this post has affiliate links, for which I receive a small percentage of sales generated by the link, at no extra cost to you.


It is time for a new Simon Says Stamp Monday Challenge Blog and this week our theme is Thank You. During November Pauline C is our guest designer. I hope you will visit her blog to see the lovely card that she made for this week.


The And Everything Nice release is filled with creative products for holiday and winter crafting.


Layers of ink - Winter Window Card Tutorial by Anna-Karin Evaldsson.

I made a thank you card with a winter theme, creating a winter window on a brick wall background. I used dies from Simon Says Stamp's new And Everything Nice release, namely Balcony Windows and Holiday Window Decor

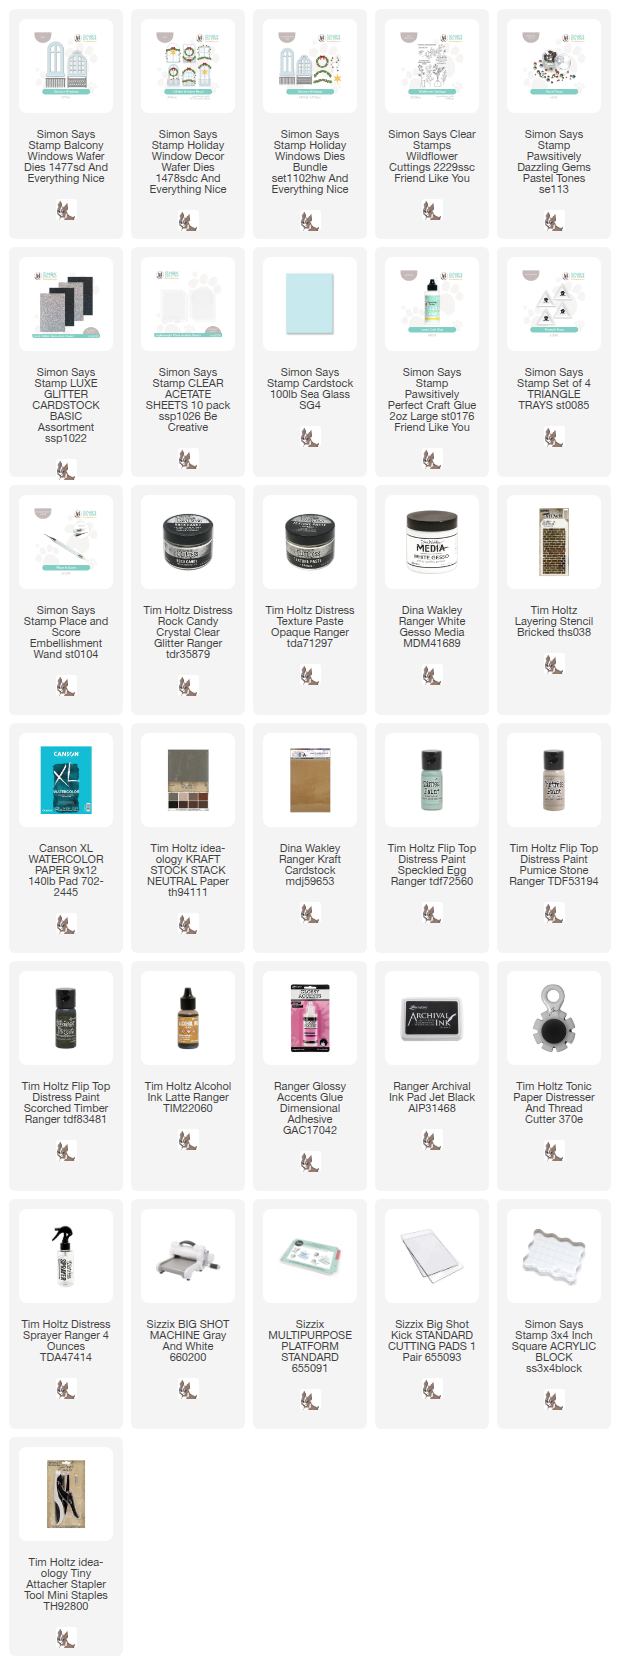
Die cut Simon Says Stamp Balcony Window.

I die cut one of the windows from Simon Says Stamp Balcony Windows from collage paper that I made for another project. You can find that post here.

Paint with Distress Paint.

Dry brush a little Speckled Egg and Pumice Stone Distress Paint to the window.

Dry brush with dark brown paint.

Add Scorched Timber around the edges.

Color with alcohol ink.

For the window, I used Simon Says Stamp Acetate and colored with Latte Alcohol ink.


Add a curtain with a piece of Tim Holtz Eclectic Elements fabric and lace.

Add Rock Candy Glitter.

Apply Ranger Matte Texture Paste along the upper edges of the window and add Glossy Accents in the corners and as icicles on the window. Sprinkle Rock Candy Glitter on top.

I added a piece of heavystock cardstock to the back of the window, so that it will look like a room. 

Add paste through Tim's Bricked stencil.

Coat watercolor paper with gesso and when dry, add texture paste through Tim Holtz Bricked stencil with a palette knife.

Paint with Pumice Stone.

Let the paste dry and then paint the background with watered-down Pumice Stone. The paint will stick better to the texture paste than to the gesso, so the 'grout' will look lighter. Later, I also dry brushed with Speckled Egg and Scorched Timber.

Die Simon Says Stamp Holiday Window Decor.

Die cut one of the ornaments from Simon Says Stamp Holiday Window Decor from kraft paper and the baubles from Simon Says Stamp Luxe Glitter Cardstock.


Distress the edges of the brick panel before matting on brown and blue papers.

Winter window.

I also die cut the bow from Simon Says Stamp Holiday Window Decor, from two shades of blue watercolored papers. Let the windows be slightly open. The window was adhered with Simon Says Stamp Pawsitively Perfect Foam Tape.


The baubles from the Simon Says Stamp Luxe Glitter are very sparkly. 


The sentiment was stamped on left-over watercolored paper with Simon Says Stamp Wildflower Cuttings.


I added a little snow and glitter to the window sill too.

Join us this week in our Thank You challenge! You have a chance to win a $25 gift voucher to do some fun shopping at Simon Says Stamp. You have until Monday 8am Ohio time. 1pm UK time, 2 pm CET to join in.


Do you use Instagram? If so please add #sssmchallenge so we can see your entries there too.


Thank you so much for visiting today! 

Happy crafting!

Anna-Karin

Supplies:

* Please note: the links are affiliate links, for which I receive a small percentage of sales generated by the link, at no extra cost to you.