Happy New Year! It is the last day of 2022. At the end of a year I often do an art journal page reflecting back and reaching forwards. I made this page first thing in the morning today and what better way to start the last day of the year than with some crafting.
Please note: this post has affiliate links, for which I receive a small percentage of sales generated by the link, at no extra cost to you.


I worked in my Dylusions Small Creative Journal and coated it with gesso.

When dry, paint with Distress paint. I mixed Abandoned Coral into white paint for a lighter shade of coral and also added some Dried Marigold. Mist with water and dabb with a paper towel to create texture.

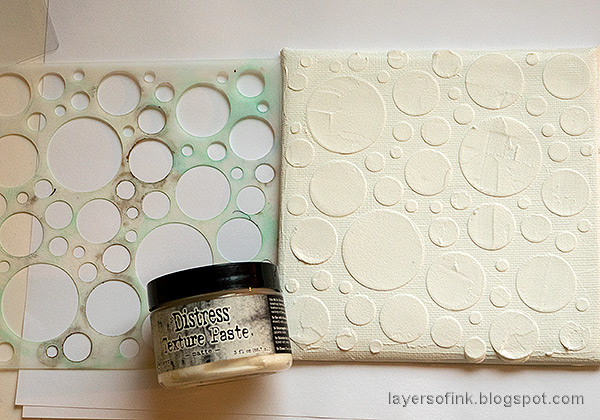
Place the Simon Says Stamp Mix and Match Circles stencil on the page and sponge white paint through it.

Off set the stencil slightly and sponge with Cracked Pistachio and then a little Salvaged Patina.

I used the Simon Says Stamp Snowfall and Banks stencil to create a sprinkle of smaller circles with Abandoned Coral.

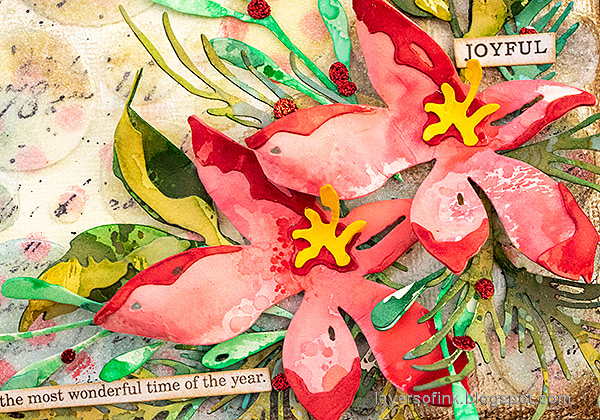
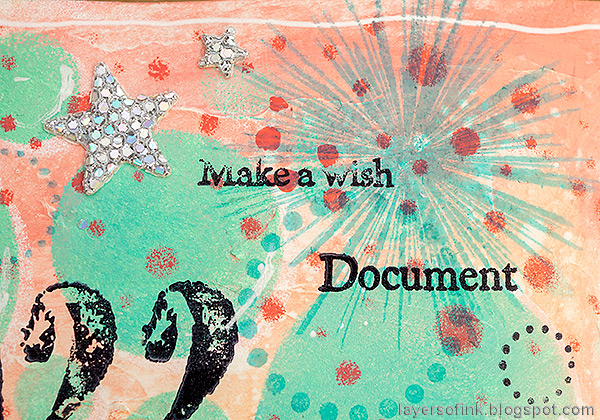
Stamp the years with Tim Holtz Worn Text and add highlights to the larger circles with a white gel pen.

Stamp various circles with Surf and Sherbet Pawsitively Saturated inks, using the Simon Says Stamp Mix and Match Circles stamp set.

Die cut the title from Simon Says Stamp Luxe Glitter cardstock and from black cardstock. It's the Simon Says Stamp Big Happy die. I wrote the rest of the title by hand.

Stamp sentiments here and there using various stamp sets. This one comes from Simon Says Stamp All Seasons Tree.

More stamped words, this time from Simon Says Stamp Forest Scenery.

I stamped two borders under the years. Tim's Worn Text stamp set is one of my favorite alphabet/numbers sets.

I have used this sentiment stamp from Simon Says Stamp Document It quite a bit this year and thought it also worked great on a new year's page.

The coral, turquoise/pistachio and orange combo is such fun and joyful.


Happy New Year! I hope it will be a year filled with creativity and crafting.
Thank you so much for stopping by here today!
Happy stamping!
Anna-Karin
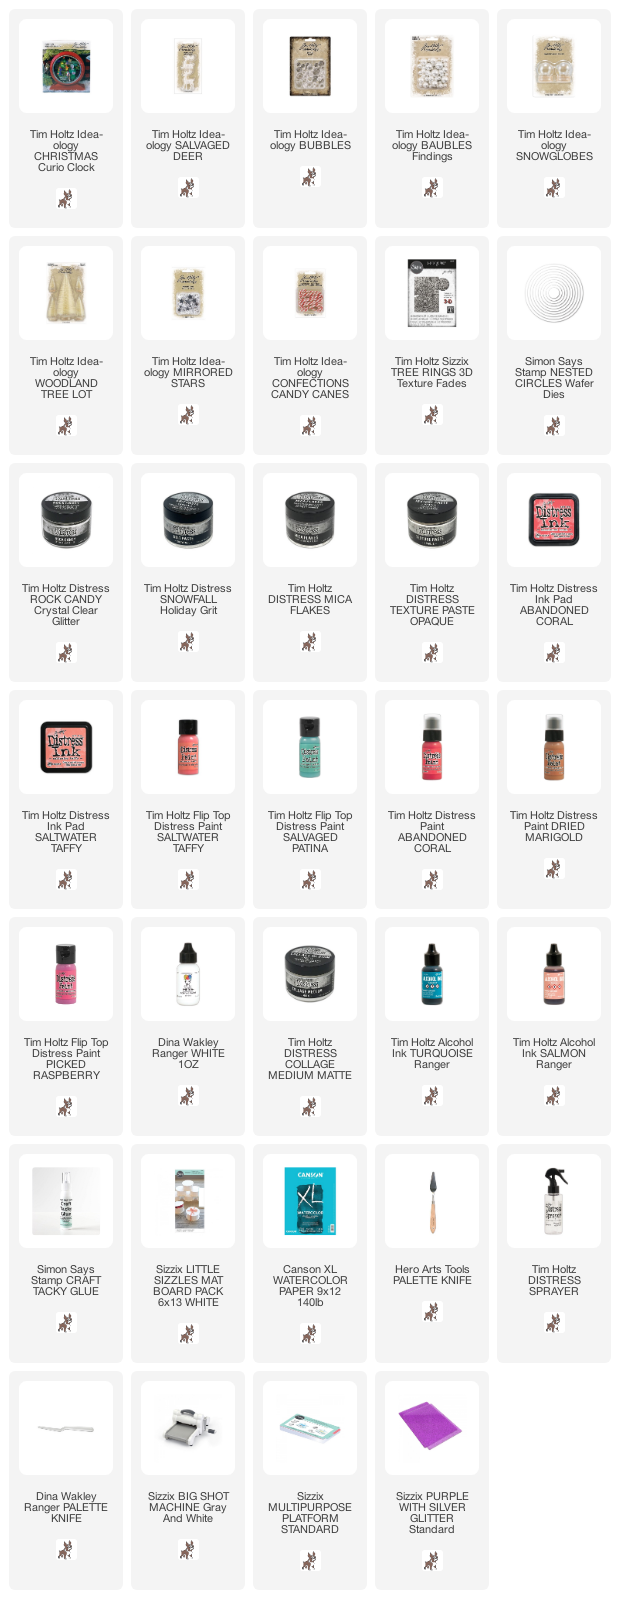
Supplies:
* Please note: the links are affiliate links, for which I receive a small percentage of sales generated by the link, at no extra cost to you.