Tuesday, November 30, 2021

December Countdown Calendar

Hello friends! Every year I make a December countdown calendar, which hangs on the wall at home.

Please note: this post has affiliate links, for which I receive a small percentage of sales generated by the link, at no extra cost to you.
Layers of ink - December Countdown Calendar Tutorial by Anna-Karin Evaldsson.

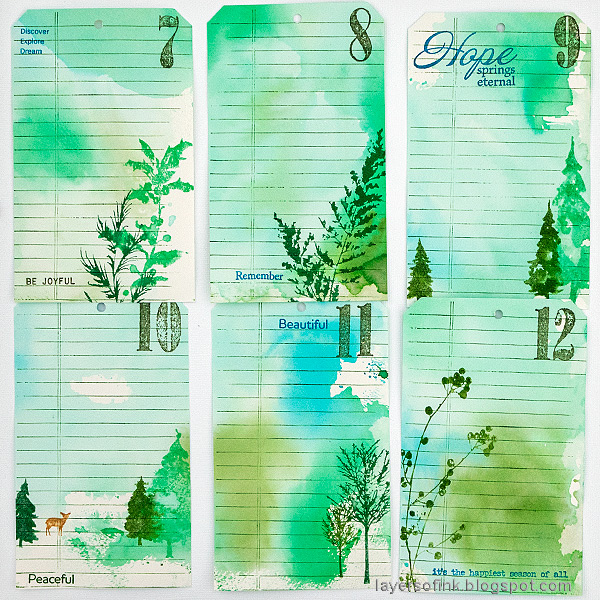
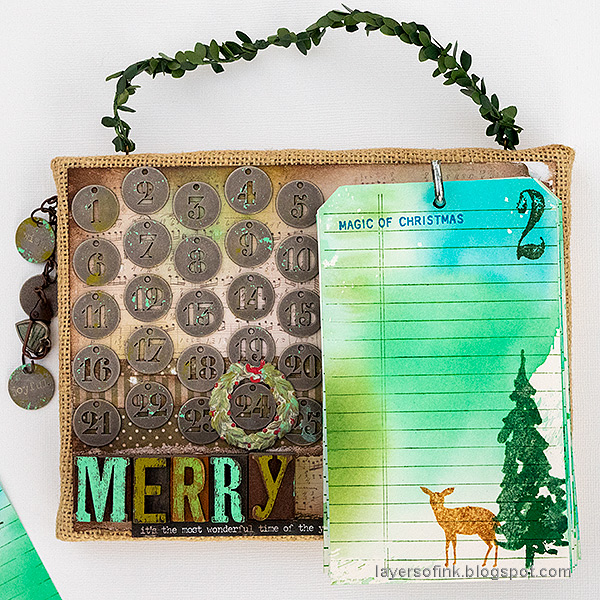
The tags become journaling tags for my December Daily journal and goes into the journal from the Countdown Calendar. The base for the calendar was made some years ago. I just make new tags, or pages, every year and reuse the base. You can make a similar base or perhaps hang the tags in your tree or on the wall.

Layers of ink - December Countdown Calendar Tutorial by Anna-Karin Evaldsson.

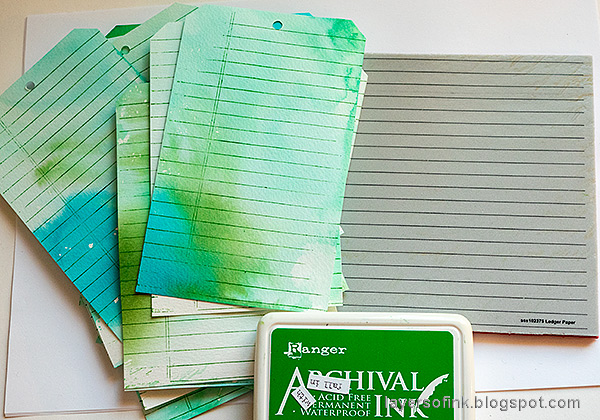
Ink watercolor paper on both sides, by smearing Distress Inks on a non-stick craft sheet, misting with water and pressing the paper into the ink. I cut rectangles and then used an Angle Corner Chomper to cut the top corners and my Crop-a-dile for the hole. You can also use a tag die.

Layers of ink - December Countdown Calendar Tutorial by Anna-Karin Evaldsson. Stamp with Simon Says Stamp Ledger Paper background.

Stamp the Simon Says Stamp Ledger Paper background on the tags with Emerald Green Archival Ink. This gives us quick lines for our journaling.

Layers of ink - December Countdown Calendar Tutorial by Anna-Karin Evaldsson.

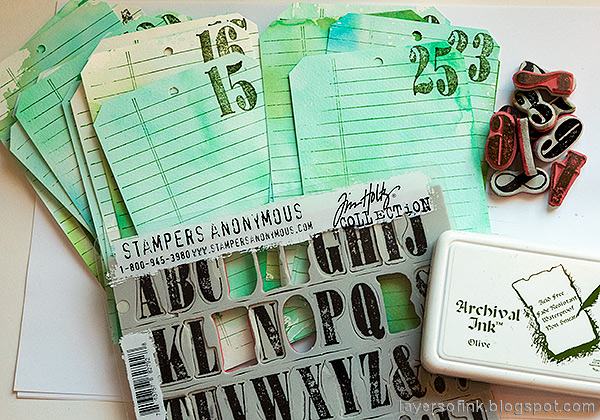
Stamp numbers with Tim Holtz Worn Text and Olive Archival Ink.

Layers of ink - December Countdown Calendar Tutorial by Anna-Karin Evaldsson.

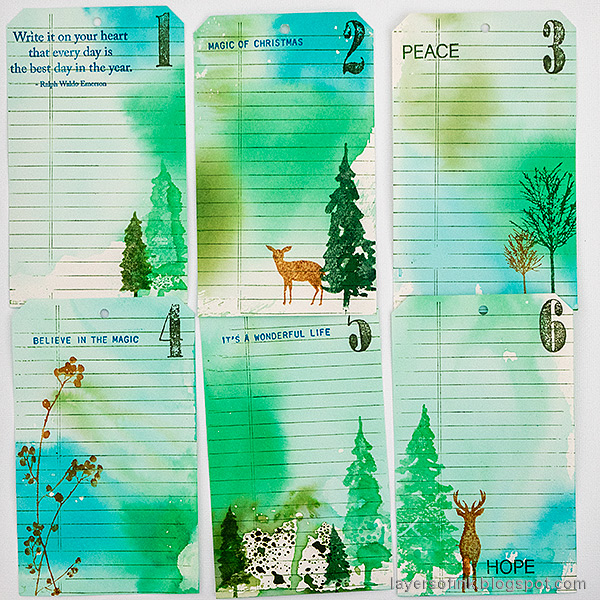
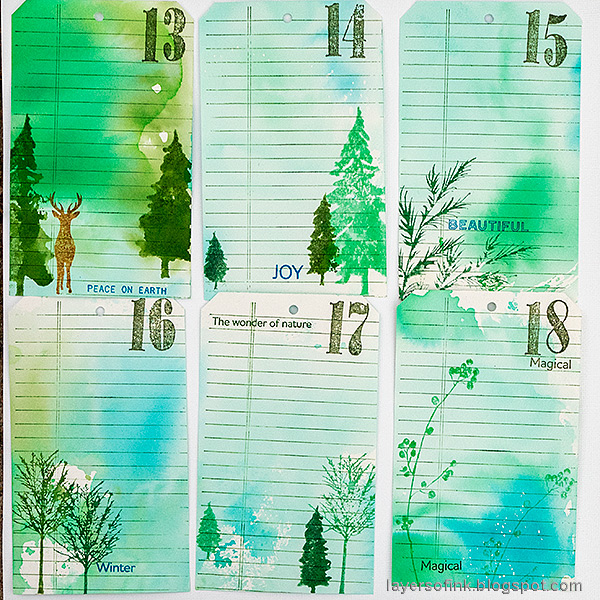
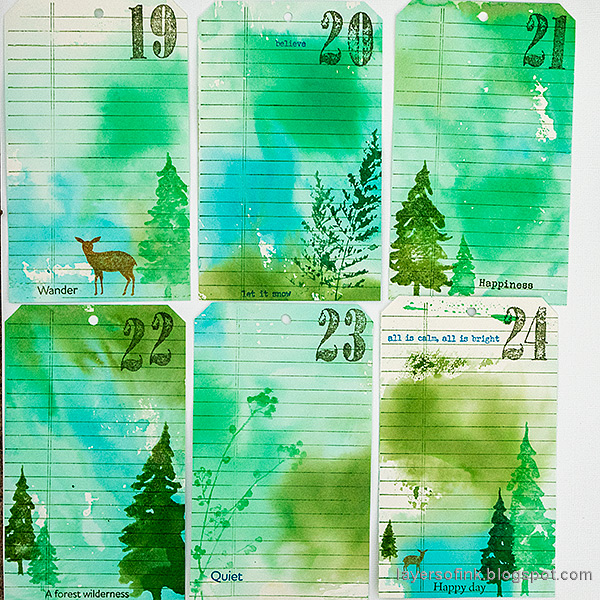
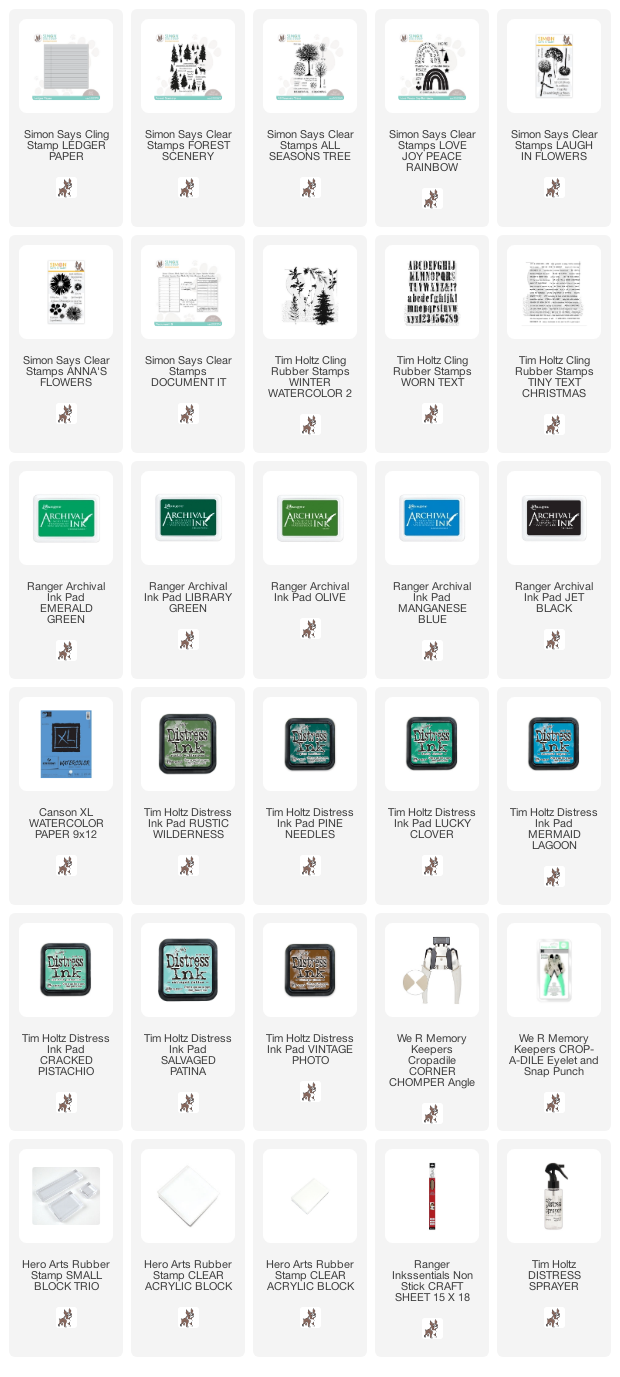
Then comes the really fun part, stamp various designs and little winter scenes one each tag. I used Distress Ink and misted the inked stamp with water before stamping. The stamps come from Simon Says Stamp Forest Scenery, All Seasons Tree and Tim Holtz Winter Watercolor 2. 

Layers of ink - December Countdown Calendar Tutorial by Anna-Karin Evaldsson.

Next, I stamped a sentiment on each tag, using blue or green Archival inks. 

Layers of ink - December Countdown Calendar Tutorial by Anna-Karin Evaldsson.

The tag all look different, but with the same color combo.

Layers of ink - December Countdown Calendar Tutorial by Anna-Karin Evaldsson. Stamp with Simon Says Stamp Forest Scenery.

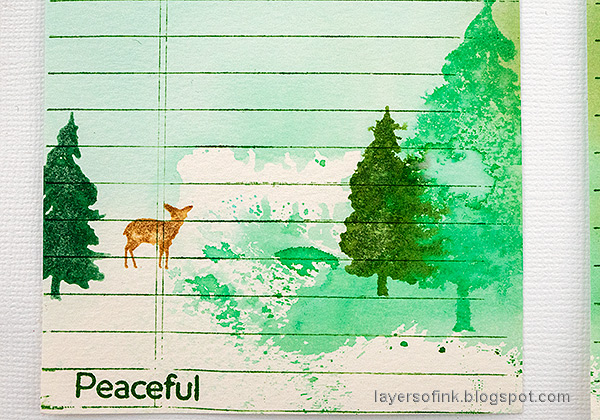
The Simon Says Stamp Forest Scenery stamp set was used for the cover of my December Daily journal and is therefore used more than the other stamps on the tags. And because I love trees and deer.

Layers of ink - December Countdown Calendar Tutorial by Anna-Karin Evaldsson.

I used only nature stamps on these tags, in difference to previous years when I used more traditional Christmas stamps such as Santas. 

Layers of ink - December Countdown Calendar Tutorial by Anna-Karin Evaldsson.

I like how the two trees to the right blend into one another.

Layers of ink - December Countdown Calendar Tutorial by Anna-Karin Evaldsson.

I normally add mainly words to my December Daily, with photos here and there. I also always add a list of Christmas gifts. 

Layers of ink - December Countdown Calendar Tutorial by Anna-Karin Evaldsson.

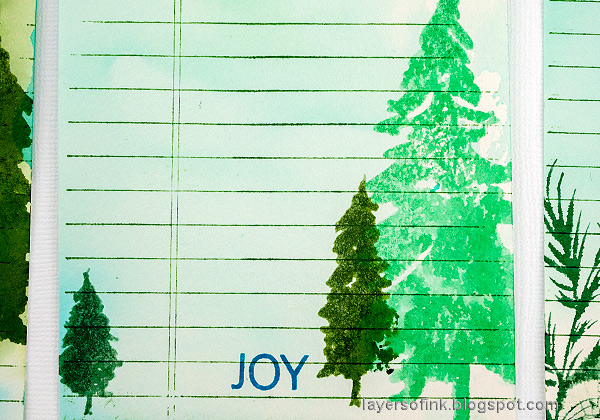
Joy comes from Simon Says Stamp Love, Joy, Peace Rainbow.

Layers of ink - December Countdown Calendar Tutorial by Anna-Karin Evaldsson.

Pine tree branches are so beautiful.

Layers of ink - December Countdown Calendar Tutorial by Anna-Karin Evaldsson.

I used three shades of green Distress Inks (Lucky Clover, Pine Needles, and Rustic Wilderness), in addition to Vintage Photo.

Layers of ink - December Countdown Calendar Tutorial by Anna-Karin Evaldsson.

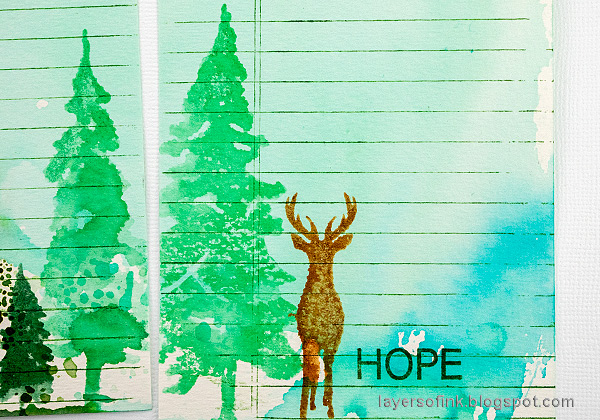
It almost looks like the deer is standing in a little lake.

Layers of ink - December Countdown Calendar Tutorial by Anna-Karin Evaldsson.

The deer stamp comes in two sizes, facing different directions.

Layers of ink - December Countdown Calendar Tutorial by Anna-Karin Evaldsson.

Since the 26th is also included in the Christmas celebrations here, that is always the last day of my journal.

Layers of ink - December Countdown Calendar Tutorial by Anna-Karin Evaldsson.

Time to hang this up on the wall for tomorrow. You can find the first countdown calendar with the base in this post from 2015


Thank you so much for taking the time to stop by here today!

Happy crafting!

Anna-Karin

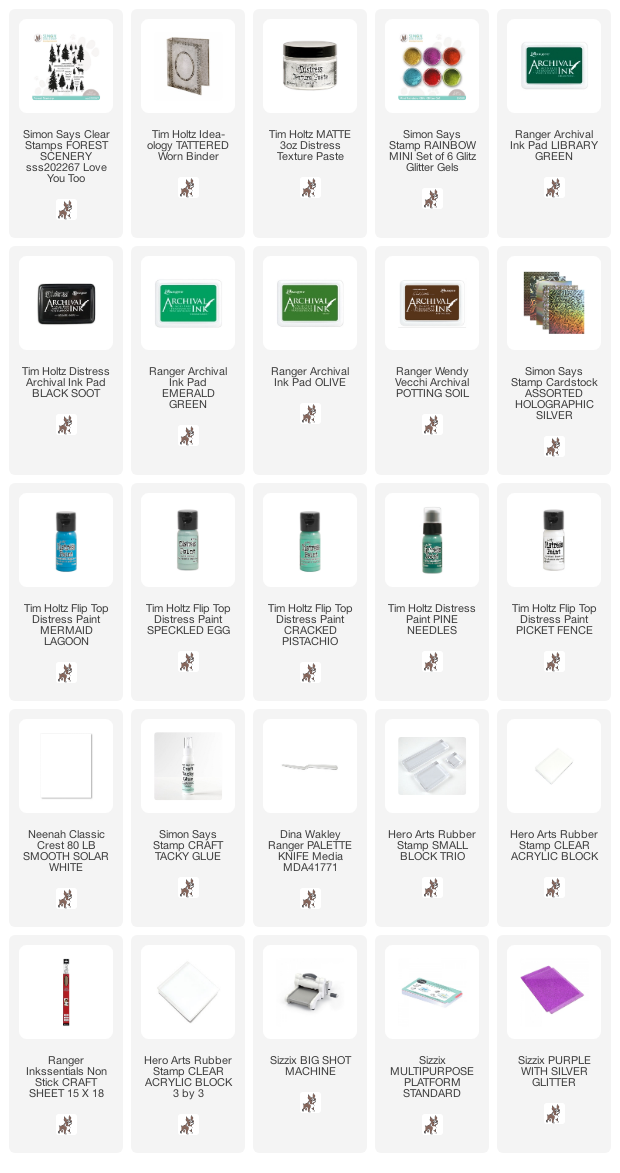
Supplies:

* Please note: the links are affiliate links, for which I receive a small percentage of sales generated by the link, at no extra cost to you.

Snowy Hills December Journal

Hi friends! I hope you are well! It is time to share one of my favorite projects each year. My December journal, inspired by Ali Edwards concept of documenting the month of December. I have been doing this since 2012, making this my tenth December daily journal. I do something of a mini version, without a lot of photos, but instead focusing on the words.

Please note: this post has affiliate links, for which I receive a small percentage of sales generated by the link, at no extra cost to you.

Layers of ink - December Daily Journal Tutorial by Anna-Karin Evaldsson. With Simon Says Stamp Forest Scenery stamp set.

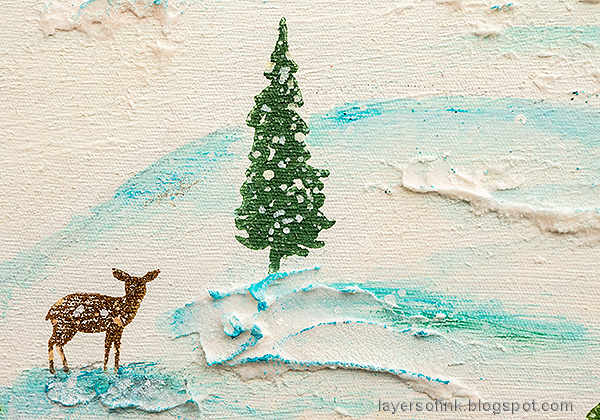
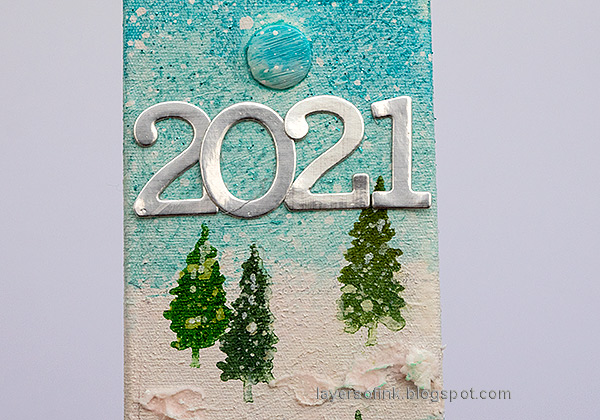
For quite a few years, I have used Tim Holtz Worn Binders as a base for my journal and I did the same this year. They look pretty nice together on a shelf. On my cover, I created a winter scene using stamps, ink, paint and paste. You can do the techniques on a card, an art journal page or a canvas too.

Layers of ink - December Daily Journal Tutorial by Anna-Karin Evaldsson.

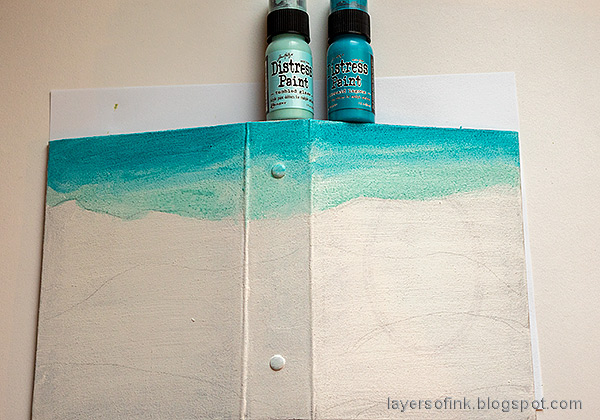
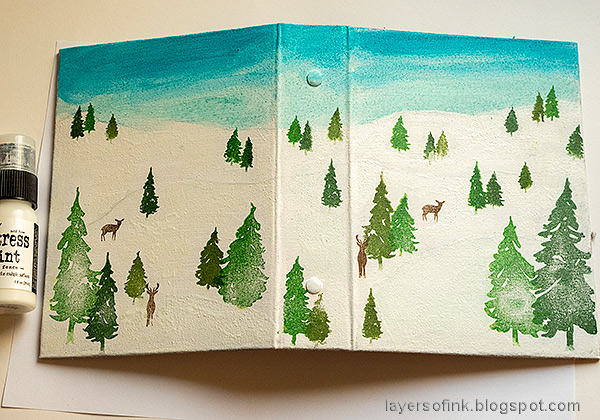
Start by coating the journal with gesso. You might need more than one coat. When dry, sketch some hills with a pencil as a guide.

Layers of ink - December Daily Journal Tutorial by Anna-Karin Evaldsson. With Simon Says Stamp Forest Scenery stamp set.  Paint with Distress Paint.

Paint the sky with Distress Paint.

Layers of ink - December Daily Journal Tutorial by Anna-Karin Evaldsson. With Simon Says Stamp Forest Scenery stamp set.

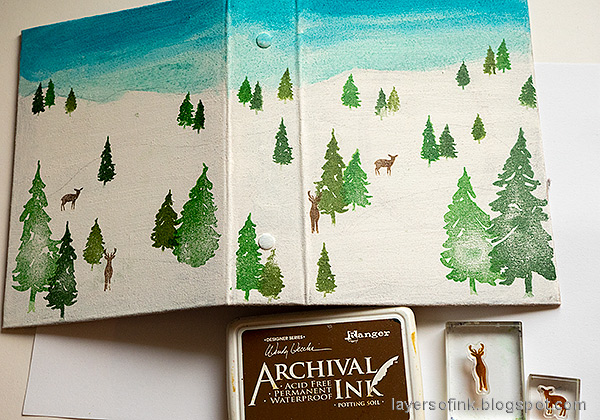
I used the Simon Says Stamp Forest Scenery stamp set to create the scene. It is one of the stamp sets that I designed and I have been looking forward to creating a winter scene with it. I stamped the trees with three shades of green Archival Ink. Use the pencil marks as guides when you place out the trees. The stamp set is designed with many different pine trees in different sizes, so you can create both variation and a sense of distance.

Wipe the base of the tree off before stamping to make it look like they are standing in snow.

Layers of ink - December Daily Journal Tutorial by Anna-Karin Evaldsson. With Simon Says Stamp Forest Scenery stamp set.

Stamp deer with brown ink.

Layers of ink - December Daily Journal Tutorial by Anna-Karin Evaldsson. With Simon Says Stamp Forest Scenery stamp set.

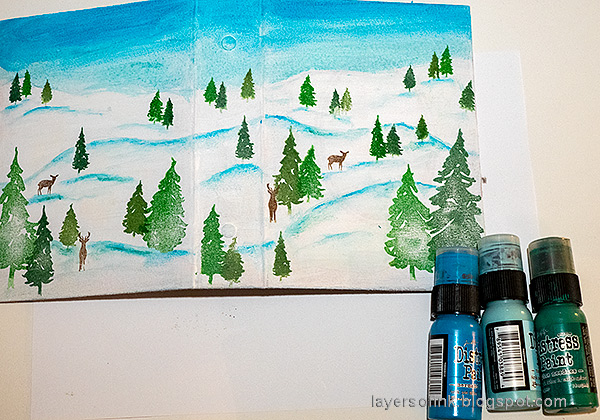
Add white paint on the hills.

Layers of ink - December Daily Journal Tutorial by Anna-Karin Evaldsson. With Simon Says Stamp Forest Scenery stamp set.

Continue with shades of blue, using your pencil marks as guides. 

Layers of ink - December Daily Journal Tutorial by Anna-Karin Evaldsson. With Simon Says Stamp Forest Scenery stamp set.

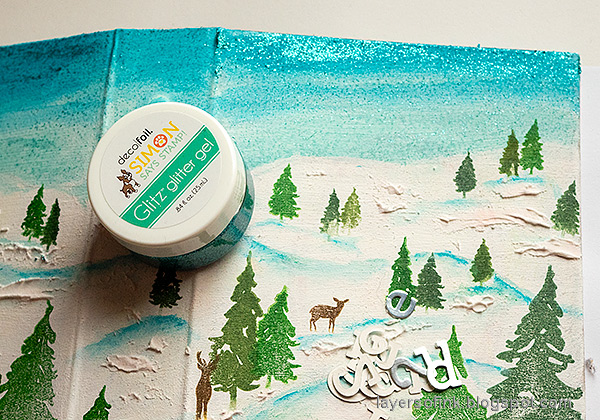
Next, mix a little white paint into texture paste and apply thick paste along the base of the journal and here and there on the cover. Let dry.

Layers of ink - December Daily Journal Tutorial by Anna-Karin Evaldsson. With Simon Says Stamp Forest Scenery stamp set.

For some shine, I used Simon Says Stamp Glitz Glitter gel, mainly in the sky. 

Layers of ink - December Daily Journal Tutorial by Anna-Karin Evaldsson. With Simon Says Stamp Forest Scenery stamp set.

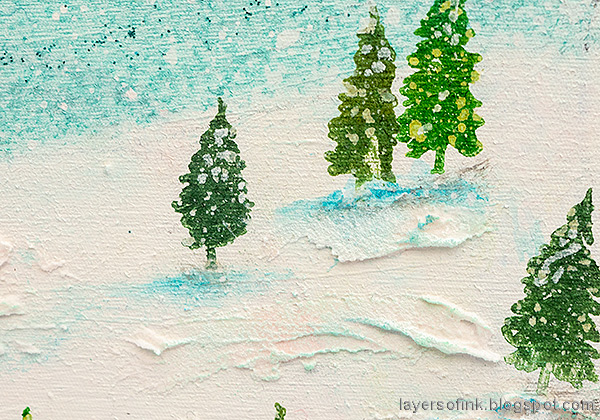
Splatter white paint all over the scene. The paint might pick up some of the green ink from the trees, but don't worry about it.

Layers of ink - December Daily Journal Tutorial by Anna-Karin Evaldsson. With Simon Says Stamp Forest Scenery stamp set.

I die cut the title and year from holographic paper using the Simon Says Stamp Archie Solid Jr set. It might be out of stock, but you can use any alphabet die set instead. 

Layers of ink - December Daily Journal Tutorial by Anna-Karin Evaldsson. With Simon Says Stamp Forest Scenery stamp set.

Here you can see the glitter from the gel. 

Layers of ink - December Daily Journal Tutorial by Anna-Karin Evaldsson. With Simon Says Stamp Forest Scenery stamp set.

The paste adds texture to the background. You can shape it to look like hills or piles of snow.

Layers of ink - December Daily Journal Tutorial by Anna-Karin Evaldsson. With Simon Says Stamp Forest Scenery stamp set.

Sentiments from Forest Scenery were stamped on white paper and cut into strips.

Layers of ink - December Daily Journal Tutorial by Anna-Karin Evaldsson. With Simon Says Stamp Forest Scenery stamp set.

Try to stamp the deer so that they don't look too big or too small in relation to the trees.

Layers of ink - December Daily Journal Tutorial by Anna-Karin Evaldsson. With Simon Says Stamp Forest Scenery stamp set.

Here you can see the shine from the holographic letters a little better.

Layers of ink - December Daily Journal Tutorial by Anna-Karin Evaldsson. With Simon Says Stamp Forest Scenery stamp set.

The year is on the cover, as well as a stamped word.

Layers of ink - December Daily Journal Tutorial by Anna-Karin Evaldsson. With Simon Says Stamp Forest Scenery stamp set.

Overlap the numbers if there isn't quite space.

Layers of ink - December Daily Journal Tutorial by Anna-Karin Evaldsson. With Simon Says Stamp Forest Scenery stamp set.

Folded out the finish cover looks like this. I often add darker shadows, but for this cover I wanted to keep things light. 

Layers of ink - December Daily Journal Tutorial by Anna-Karin Evaldsson. With Simon Says Stamp Forest Scenery stamp set.

Which is your favorite, the back or the front cover?

Layers of ink - December Daily Journal Tutorial by Anna-Karin Evaldsson. With Simon Says Stamp Forest Scenery stamp set.

Here you can see that the white splattered paint picked up some of the green from the ink. It adds texture to the trees. 

Layers of ink - December Daily Journal Tutorial by Anna-Karin Evaldsson. With Simon Says Stamp Forest Scenery stamp set.

We haven't had a big snowfall yet, but it might be on the way.

Layers of ink - December Daily Journal Tutorial by Anna-Karin Evaldsson. With Simon Says Stamp Forest Scenery stamp set.

Dry brush blue paint on the dry paste to add texture.


Thank you so much for taking the time to stop by here today!

Happy crafting!

Anna-Karin

Supplies:

* Please note: the links are affiliate links, for which I receive a small percentage of sales generated by the link, at no extra cost to you.

Monday, November 29, 2021

Sparkly Magic Christmas Card Tutorial

Hi friends!! I hope your weekend was good! We had a nice Christmas-themed weekend, with a Christmas movie and a full day at a traditional Christmas market. 

Please note: this post has affiliate links, for which I receive a small percentage of sales generated by the link, at no extra cost to you.


This week we have a Sparkle Mode theme at the Simon Says Stamp Monday Challenge Blog. Stampendous is celebrating 40 years and we are celebrating with them. Stampendous has a gorgeous range of stamps, embossing powders, glitter and other products. You don't have to use their products to join in the challenge, but it is always fun if you do.
Don't miss the last project by our wonderful November guest designer Laura Cassina.


Layers of ink - Sparkly Magic Christmas Card Tutorial by Anna-Karin Evaldsson.

I made a sparkly Christmas card using Stampendous Shaved Ice to create snow. This card really sparkles! Santa is taking off with his reindeer to go and spread joy.

Layers of ink - Sparkly Magic Christmas Card Tutorial by Anna-Karin Evaldsson.

I started with a leftover watercolor background which I found in my scrap box. The watercolor was painted wet-in-wet to create that dreamy effect. I thought it looked like a snowy lake with distant trees.

Layers of ink - Sparkly Magic Christmas Card Tutorial by Anna-Karin Evaldsson.

Emboss Santa and the reindeer from the Simon Says Stamp Night Before Christmas stamp

Layers of ink - Sparkly Magic Christmas Card Tutorial by Anna-Karin Evaldsson.

Ink Simon Says Stamp Halftone Background, mist with water and stamp here and there.

Layers of ink - Sparkly Magic Christmas Card Tutorial by Anna-Karin Evaldsson.

Since the paper is textured, the embossed images picks up some of that texture. 

Layers of ink - Sparkly Magic Christmas Card Tutorial by Anna-Karin Evaldsson.

The Stampendous Shaved Ice is super sparkly.

I hope you will join us this week in our Sparkle Mode challenge. You have a chance to win a $25 gift voucher to do some fun shopping at Simon Says Stamp. You have until Monday 8am Ohio time. 1pm UK time, 2 pm CET to join in.


Do you use Instagram? If so please add #sssmchallenge so we can see your entries there too.


Thank you so much for visiting my blog today! 

Happy crafting!

Anna-Karin

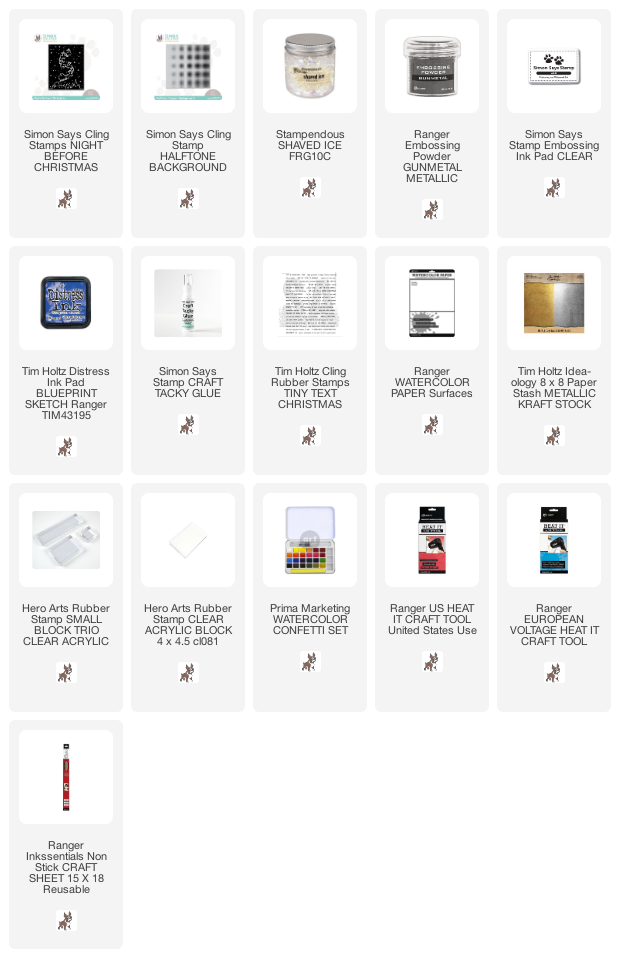
Supplies:

* Please note: the links are affiliate links, for which I receive a small percentage of sales generated by the link, at no extra cost to you.