Hello crafters! Here comes one of my favorite projects of the year, my December Daily journal. This December is going to be different from any other year, making it even more important to try to document the month. I really like Ali Edwards's concept of a December Daily and have been doing it since 2012. I do something of a mini version, without a lot of photos, but instead focusing on the words.
Today I am sharing a tutorial for the cover. I will do the inside pages next week. If you don't want to do a journal, you can use the techniques for cardmaking, art journaling or perhaps on a canvas to give as a gift to someone.
Since 2013 I have used Tim Holtz worn binders as a base for my December journal and it did that this year too, since the covers are very versatile, sturdy and since they all look nice together on a shelf. This is the eight one and this year's version features another peaceful winter scene. It was made with dies by Tim Holtz and Simon Says Stamp in combination with pastes and paint. I usually try to avoid bulky objects on journal covers and this one has a lot of dimension and texture, without being bulky.
Start by coating the worn binder with gesso. You will need to add more than one layer, since the covers soak up the gesso.
When dry, paint the top with Speckled Egg and Faded Jeans - I placed Stormy Sky in the photo by mistake, but it is a similar shade of blue, so if you don't have Faded Jeans, you can use Stormy Sky instead. Many of my December Daily journals have a teal tint (since I love teal), so I decided to make this one different, with paler blue colors.
Stamp the sky with the
SSS Old Letter Background stamp. Having some of my designs being turned into stamps by SSS was one of the highlights of my year, and I wanted to include one of them in the cover.
Layer and glue them together with matte medium.
Coat the snowscape and the deer with gesso.
Paint the snowscape with Speckled Egg, Faded Jeans and Pine Needles. Don't worry about perfection since we are aiming for a textured look.
Glue to the background with matte medium and extended the river so that it flows off the cover to the right.
I only used three of the deer and picked three that looks most like the deer who come to visit in our garden. Apply
Grit-Paste to the white area of the cover, creating snowy hills. I added a thicker layer to the front and a thinner layer to the spine and back. Later, I added some more to the spine, so that it formed a natural hill together with the die cut.
Here you can see the added grit-paste to the spine. Let the paste dry and then dry brush with the blues and green here and there.
Add a little more grit-paste into the snowscape scene and as snow on the deer.
I wanted to take a photo of the cover against a snow-covered background, but we only had a dusting of snow so far.
I like the look of the snowy hills and the two-toned trees in the snowscape.
I really like the stream that is part of the die cut. It can also be a path. Extending it to flow off the cover looked nice and it would have looked weird if the grit-paste snow would have stopped the river.
The
SSS glittery paper is very sparkly, but without shedding any glitter at all, perfect for a journal cover.
Stamping with two colors ink give a great effect on bold words like this one.
I love deer and these are so cute. There are three deer who come to our garden during the cold months of the year and I see them often.
The deer all got an eye with a black pen. Adding eyes adds life to the animals.
The back is kept simple, with just a die cut word and two snowflakes.
The
grit-paste in combination with the paint and the glitter gives a great textured snowy look. For another example, check out my snowman from earlier this week.
Folded open, the cover creates one continuous snowy scene.
My journal posing together with the light Santa/gnome in the garden. The leg you see behind it belongs to an elk. I am taking out more Christmas decor and lights this weekend. It will give some warmth to a bleak November month.
You can find my previous Christmas Daily journals here:
2018 -
Birch Forest December Daily2017 -
Narnia December Daily2016 -
Winter Village December Daily video2015 -
Believe December Daily2014 -
December Daily2013 -
Christmas Daily2012 -
December Mini-book
Thank you so much for stopping by here today!
Happy Christmas crafting!
Anna-Karin
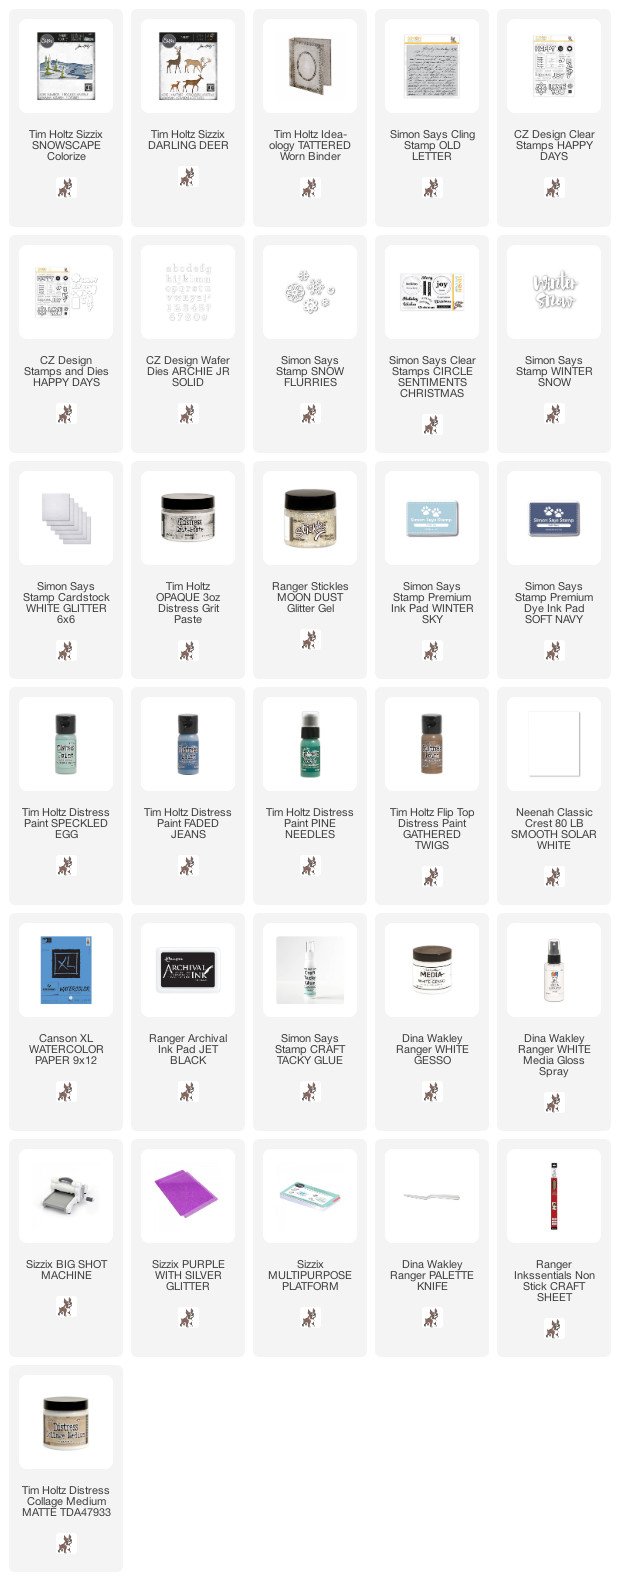
Supplies:
* Please note: the links are affiliate links, for which I receive a small percentage of sales generated by the link, at no extra cost to you.


No comments:
Post a Comment
Thank you so much for leaving a comment! Happy Crafting!