Showing posts with label Distress Spritz. Show all posts

Monday, August 24, 2026

Blackcurrant Jam art journal

Hi friends! I hope you had a fun weekend! School has started. It is starting to get chillier and darker in the evenings.

Please note: this post has affiliate links, for which I receive a small percentage of sales generated by the link, at no extra cost to you.



At the Simon Says Stamp Monday Challenge Blog we have an Lots of Layers theme this week. I love adding layers to my projects, layers in all forms. Don't miss the stunning project by our August guest designer Cassie Lynch!

Layers of ink - Blackcurrant Jam art journal tutorial by Anna-Karin Evaldsson.

If I can get hold of blackcurrants, I always try to make blackcurrant jam and enjoy it with my breakfast cereal. It is a bit of summer that lasts into autumn and maybe even winter. This year I picked lots of blackcurrants and have more jam than most years. The page was done in my Small Creative Journal.

Gel printing with embossing folder.

The background is from my recent gel printing session. Here I used papers embossed in Simon Says Stamp Stitching Sampler and Star Lattice. I liked the warm feeling of both the patterns, the colors and the distressing and thought it fit well with the theme.

Stamp Paper Artsy Fodder Berry Edition.

Stamp the berries from Paper Artsy Fodder Berry Edition. I masked out the name of the plant when inking since these aren't really blackcurrants. They had to do as blackcurrants for this project.

Color with pencils.

Color with pencils. I used Prismacolors. 

Add highlights.

Add white highlights with a gel pen.

Sponge paint through Simon Says Stamp Bubbles stencil.

Sponge Salvaged Patina through Simon Says Stamp Bubbles stencil.

Add splatters.

Next add som marks with Walnut Stain and Tim Holtz Speckles.

Mist through Tim Holtz Sparkle Fade.

For a little shimmer, mist Distress Spritz Antique Linen through Tim Holtz Sparkle Fade.


I thought the berries were too blue and added more of a currant shade to them. 

Stramp with Tim Holtz School Desk.

Stamp Tim Holtz School Desk alphabet here and there.

Stamp with Tim Holtz Flower Jar.


Color on the back with alcohol ink. Later, I added more currant.


The colors of the berries and the way they hang from the branches aren't quite correct, but that doesn't matter. I didn't want to make them as dark as they are in real life since I wanted to use several colors and shades.


I dotted the jars with a Q-tip and blending solution to get the dotted look.

Die cut with Tim Holtz Vault World Travel.

The title was die cut from Simon Says Stamp black cardstock using Tim Holtz Vault World Travel.

Stamp with Tim Holtz Flower Jar.

I like that the jar comes in two sizes. Here you can also see the shimmer from the Distress Spritz layer.


Summer was stamped with Simon Says Stamp Chill Vibes. 


Pencils work well on background gel printed with acrylic paint.


Join us this week in our Lots of Layers challenge! You have a chance to win a $25 gift voucher to do some fun shopping at Simon Says Stamp. You have until Monday 8am Ohio time. 1pm UK time, 2 pm CET to join in.


Do you use Instagram? If so please add #sssmchallenge so we can see your entries there too.


Thank you so much for visiting today! 

Happy crafting!

Anna-Karin

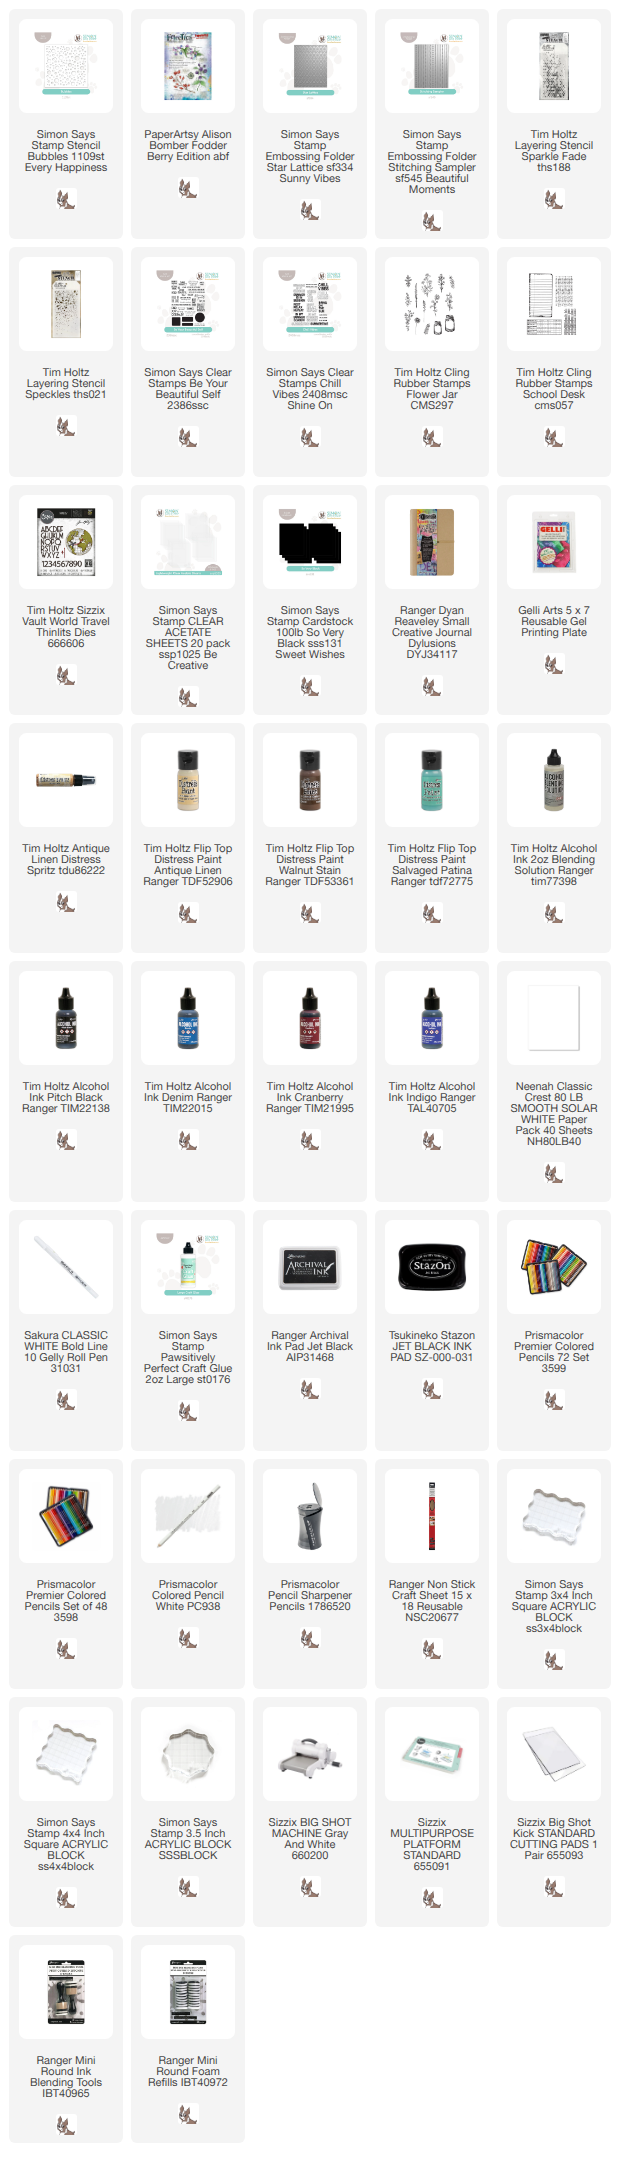
Supplies:

* Please note: the links are affiliate links, for which I receive a small percentage of sales generated by the link, at no extra cost to you.


Monday, July 20, 2026

Bird with text background

 Hi friends! It is Monday and it is time for a new Simon Says Stamp Monday Challenge Blog. 

Please note: this post has affiliate links, for which I receive a small percentage of sales generated by the link, at no extra cost to you.


This week our theme is Add Some Text. Adding text elements is one of my favorite things to do, not only for sentiments and titles, but also for texture, backgrounds and more. Don't miss the stunning project by our July guest designer Rox aka Red Dirt Crafter.

Layers of ink - Bird with text background tutorial by Anna-Karin Evaldsson.

I made a tag with a background made from old book paper, folding the paper to create extra texture and interest. The little bird is a Blue Tit and was colored with watercolors. I also added some die cut flowers and a die cut title. Some of the flowers were die cut from old book book and dictionary paper.

Fold old book paper.

Start with a tag and coat with gesso. Let dry. Fold and tear old book paper and glue to the background with matte medium. 

Fold around the edges.

Fold around the back of the tag and adhere there too. Brush matte medium over the entire tag.

Paint with gesso.

When dry, add some gesso, but don't cover up the text completely. 

Paint with Distress Paint.

Paint with watered-down Distress Paint and then mist with Distress Spritz Antique Linen.


When dry, dry brush a little Scorched Timber here and there.

Die cut Simon Says Stamp Sweet Songbird.

Die cut Simon Says Stamp Sweet Songbird from watercolor paper.

Paint with watercolors.

Paint with watercolor paint. I used a photo as reference.

Shape and assemble the bird.

Shape with Tim Holtz Shaping Kit and glue together.

Add white highlights with a gel pen.

Add a white dot to the eye and white highlights to the bird with a gel pen.

Die cut Simon Says Says Simple Hello.

Die cut Simon Says Stamp Simple Hello from gold kraft stock and watercolor paper. Paint the watercolor word in an ombre fashion, making it darker at the top. 


Tie the tag with a mix of ribbons, organza and fibers.

Add sentiments stamped with Tim Holtz Tiny Text.

The small flowers were die cut with Simon Says Stamp Poised Primula, from watercolor paper painted with yellow paint, old book and dictionary paper and Simon Says Stamp Shimmer Vellum. The sentiments are from Tim Holtz Tiny Text.


I also added a couple of word strips from 49 & Market Faded Memory Lane Ephemera. Here you can also see some of the shine from the Distress Spritz.


I used Simon Says Stamp Pawsitively Perfect Foam Tape to adhere the bird to the background and made a nest from cheese cloth. The cheese cloth was dyed with Distress Ink. 


The folds in the paper adds interest to the background. 


Off-set the word a little to create a gold shadow. I added Simon Says Stamp Pawsitively Dazzling Opal Gems to the flowers.


In some places, the background looks almost like wood.


I used an old book about gardening in Southern Africa, which I saved from being thrown away years ago.

Layers of ink - Bird with text background tutorial by Anna-Karin Evaldsson.

I hope you enjoyed this post and that it inspired you to use some old book paper.

Join us this week in our Add Some Text challenge! You have a chance to win a $25 gift voucher to do some fun shopping at Simon Says Stamp. You have until Monday 8am Ohio time. 1pm UK time, 2 pm CET to join in.


Do you use Instagram? If so please add #sssmchallenge so we can see your entries there too.


Thank you so much for visiting today! 

Happy crafting!

Anna-Karin

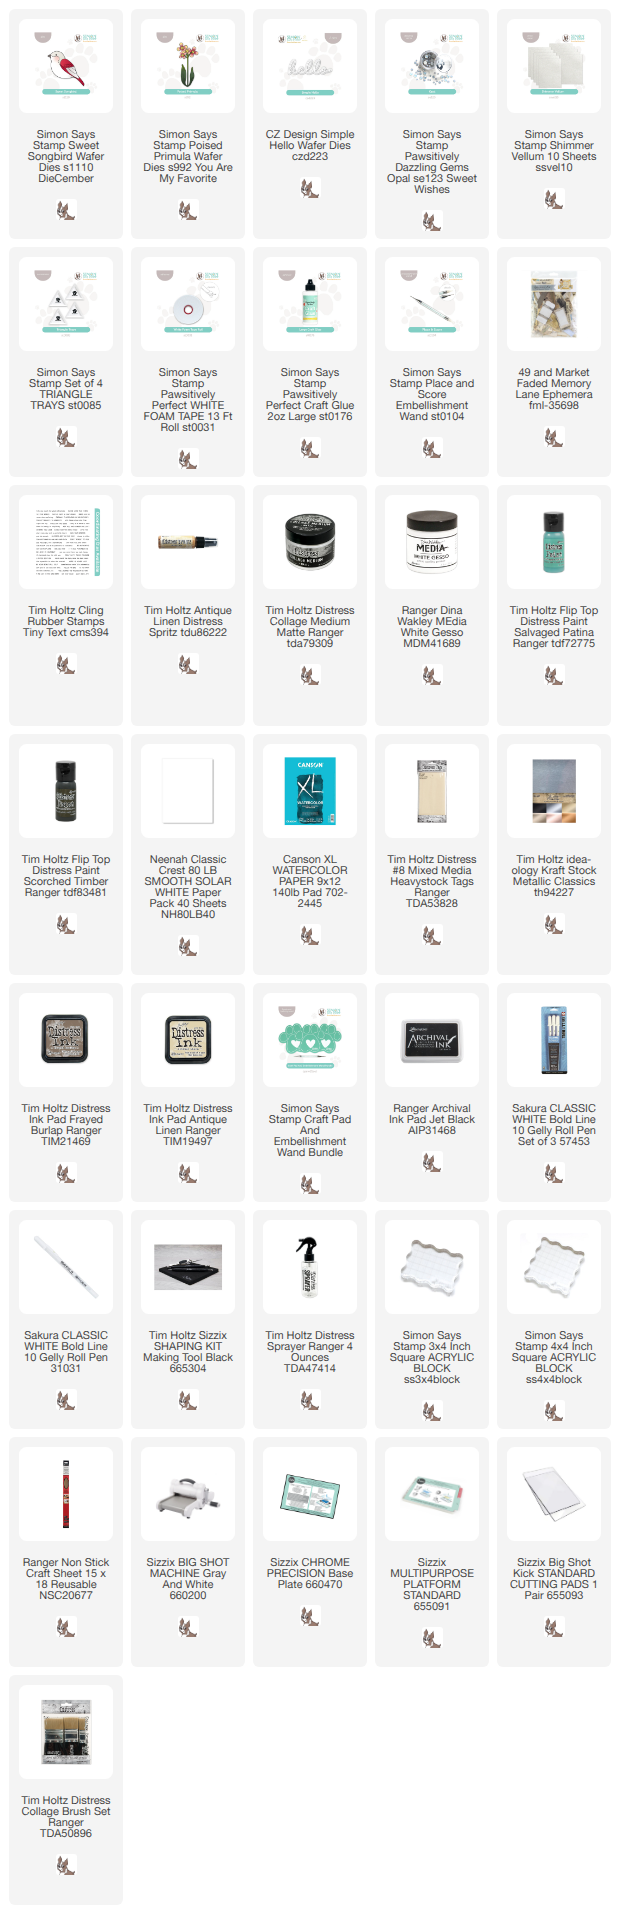
Supplies:

* Please note: the links are affiliate links, for which I receive a small percentage of sales generated by the link, at no extra cost to you.