Showing posts with label Canvas. Show all posts

Monday, June 22, 2026

At the Beach Mini Canvas

Hello friends! I hope you had a great weekend! In Sweden we had Midsummer celebrations this weekend. 

Please note: this post has affiliate links, for which I receive a small percentage of sales generated by the link, at no extra cost to you.


We have a At the Beach theme this week at the Simon Says Stamp Monday Challenge blog. I hope you will join us and celebrate summer. Don't miss the project by our June guest designer Ann Chuang.

Layers of ink - At the Beach Mixed Media Mini Canvas tutorial by Anna-Karin Evaldsson.

I felt like a mini project this week since it is fun to work on different sizes. This little canvas is only 2.5 x 3.5 inches, the same size as an Artist Trading Card. I made a mixed media beach scene with a simple sentiment. You can also work on watercolor paper.

Coat with gesso.

Start by coating the canvas with gesso. I formed the beach and added some texture to the sky and sea.

Add cheese cloth.

Glue cheese cloth to the beach with matte medium. I later added a little more.

Paint with Distress Paint.

Paint the canvas with Distress Paints. 

Coat with gesso.

Apply gesso to watercolor paper and add texture with the palette knife.

Die cut and emboss Simon Says Stamp clouds.

When dry, die cut clouds with Simon Says Stamp Heart Showers Embossing Folder and Cutting Die and emboss in the coordinating folder.

Paint with Distress Paint.

Add some paint to the clouds.

Add Stickles.

When dry, I added Stickles Star Dust to the clouds. The little hearts were die cut with Simon Says Stamp Drawn Hearts, from a Simon Says Stamp Champagne Luxe Glitter sheet.

Stamp with Simon Says Stamp Be Your Beautiful Self.

The sentiment comes from Simon Says Stamp Be Your Beautiful Self stamp set with Hickory Smoke Archival Ink. There are coordinating dies, but I decided to cut the sentiment into strips instead, so that the background would show through in between the strips.

Add shells, mica flakes and Rock Candy glitter.

I glued shells and a small piece of sea glass to the beach and sprinkled with Ranger Mica Flakes and Rock Candy glitter.


I also added more luxe glitter hearts and splattered a little white paint.

Layers of ink - At the Beach Mixed Media Mini Canvas tutorial by Anna-Karin Evaldsson.

The little canvas has quite a lot of dimension. 

Layers of ink - At the Beach Mixed Media Mini Canvas tutorial by Anna-Karin Evaldsson.

The smaller cloud was adhered with Simon Says Stamp Pawsitively Perfect Foam Tape. 

Join us this week in our At the Beach challenge! You have a chance to win a $25 gift voucher to do some fun shopping at Simon Says Stamp. You have until Monday 8am Ohio time. 1pm UK time, 2 pm CET to join in.


Do you use Instagram? If so please add #sssmchallenge so we can see your entries there too.


Thank you so much for visiting today! 

Happy crafting!

Anna-Karin

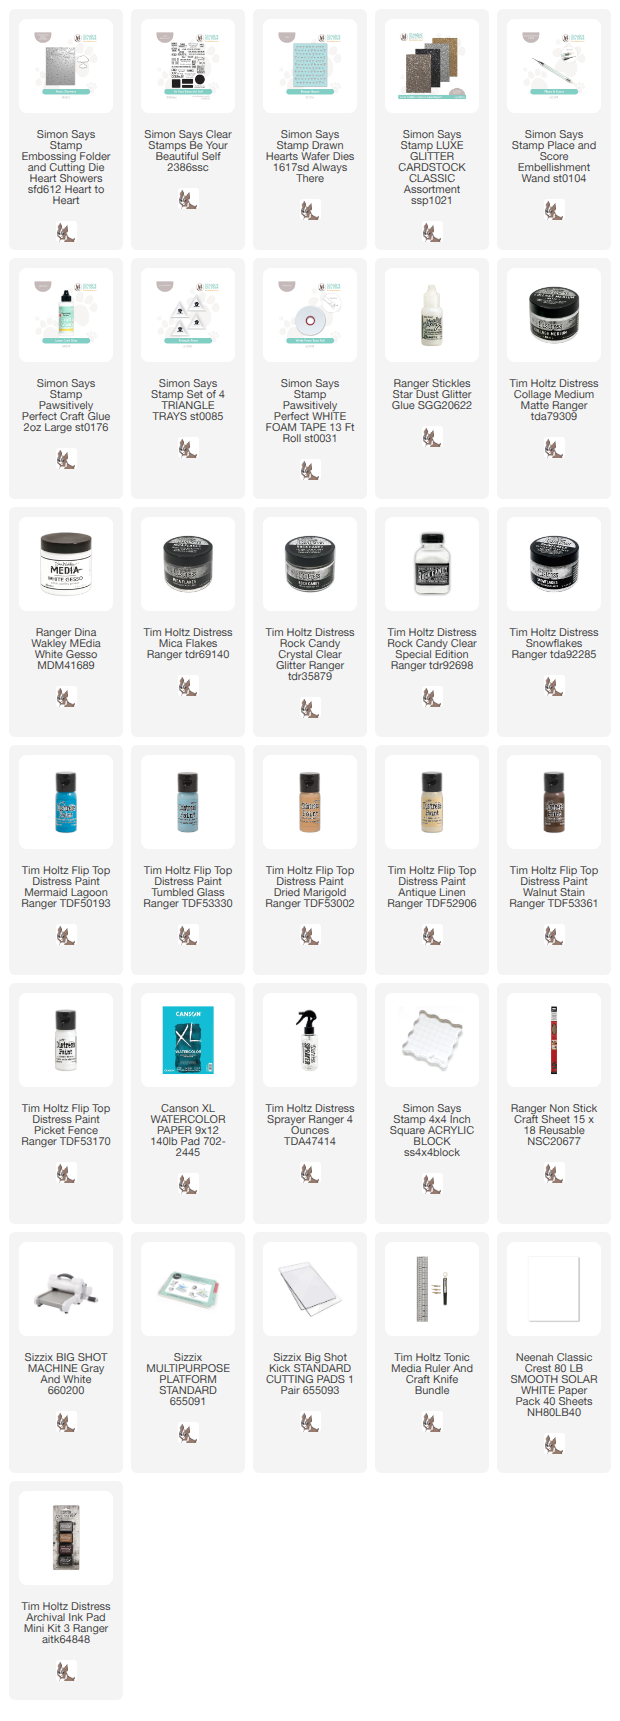
Supplies:

* Please note: the links are affiliate links, for which I receive a small percentage of sales generated by the link, at no extra cost to you.


Monday, April 17, 2023

Canvas Art Journal Page Tutorial

Hi friends! I hope you had a nice weekend. We had lovely spring weather and soon the trees are going to start turning green.

Please note: this post has affiliate links, for which I receive a small percentage of sales generated by the link, at no extra cost to you.


This week we have a Rainbow theme at the Simon Says Stamp Monday Challenge Blog. I hope you will join us and don't miss the beautiful card by our April guest designer Ann Chuang.

Layers of ink - Canvas Art Journal Page Tutorial by Anna-Karin Evaldsson.

I was in the mood of using a photo for this project and picked one of my older double rainbow photos taken in South Africa. It was printed on canvas so that the photo is a part of the background. This started out as an art journal page, but might go into one of my scrapbooking albums instead, since it is a bit of both and since I wanted to stitch all around the page.

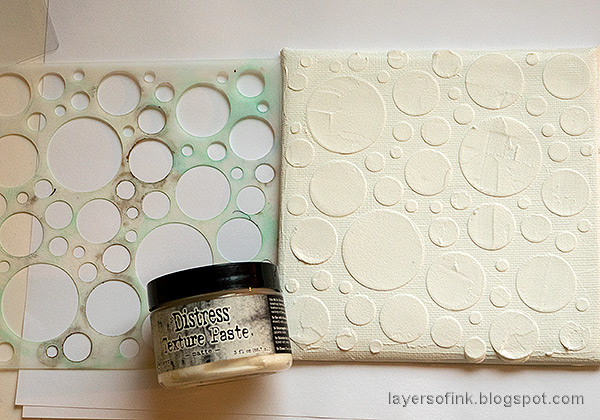
Layers of ink - Canvas Art Journal Page Tutorial by Anna-Karin Evaldsson. Apply paste through Simon Says Stamp Mix and Match Circles stencil.

After printing the photo on canvas paper I coated the rest of the paper with gesso, letting some of the gesso overlap the photo. Next, I applied texture paste through Simon Says Stamp Mix and Match Circles stencil and added strips of old book paper.

Layers of ink - Canvas Art Journal Page Tutorial by Anna-Karin Evaldsson. Paint with Distress Paint.

Paint the background with Distress Paint, misting with water to blend.

Layers of ink - Canvas Art Journal Page Tutorial by Anna-Karin Evaldsson.

Sponge Lost Shadow paint through Tim's Bubble stencil.

Layers of ink - Canvas Art Journal Page Tutorial by Anna-Karin Evaldsson. Die cut with Tim Holtz Emporium Alphanumeric.

The title was die cut with Tim Holtz Aphanumeric Emporium die set, using a piece of watercolor paper which had been colored with Distress Inks.

Layers of ink - Canvas Art Journal Page Tutorial by Anna-Karin Evaldsson. Stamp with sentiment stamps.

Stamp sentiments on the background. Most of my sentiments come from Tim Holtz Tiny Text, but I also used his Nature's Wonder and Simon Says Stamp Forest Scenery and Anna's Flowers. The circles come from Simon Says Stamp Mix and Match Circles stamp set and the birds are from Tim's Mini Ornates.

Layers of ink - Canvas Art Journal Page Tutorial by Anna-Karin Evaldsson. Stamp with Simon Says Stamp Crackle Background.

Add more texture with Simon Says Stamp Crackle Background and Tim Holtz School Desk alphabet stamp.

Layers of ink - Canvas Art Journal Page Tutorial by Anna-Karin Evaldsson.

The old book paper that I used come from a South African botanical book. I let some of the words show through and in some cases stamped circles around them to make them stand out more. 

Layers of ink - Canvas Art Journal Page Tutorial by Anna-Karin Evaldsson. Stamp with Tim Holtz Tiny Text.

Here you can see 'Mother Earth' peek through from the background paper. 

Layers of ink - Canvas Art Journal Page Tutorial by Anna-Karin Evaldsson.

I frayed the edges of the canvas paper and adhered to a piece of watercolor paper. I stitched around the canvas with my sewing machine.

Layers of ink - Canvas Art Journal Page Tutorial by Anna-Karin Evaldsson.

By painting with gesso and paint over the edge of the printed photo, the photo blends into the background. I also stamped on the photo here and there.

Layers of ink - Canvas Art Journal Page Tutorial by Anna-Karin Evaldsson.

I really like these Emporium letters and used them on last week's Lucky Canvas project too.

Layers of ink - Canvas Art Journal Page Tutorial by Anna-Karin Evaldsson.

These birds are one of my all time favorite stamps. The blue ink is Archival Ink Cornflower Blue.

Layers of ink - Canvas Art Journal Page Tutorial by Anna-Karin Evaldsson.

The paste circles add texture and interest without overpowering the photo.

I hope you will join us this week in our Rainbow challenge. You have a chance to win a $25 gift voucher to do some fun shopping at Simon Says Stamp. You have until Monday 8am Ohio time. 1pm UK time, 2 pm CET to join in.

Are you going to the Simon Says Stamp CREATE event? Even if you haven't got a ticket, there will be lots of create and takes, being hosted by lots of fabulous companies AND there will be a Simon Says Stamp pop up shop!! CLICK HERE for more details!


Do you use Instagram? If so please add #sssmchallenge so we can see your entries there too.


Thank you so much for stopping by here today! 

Happy crafting!

Anna-Karin

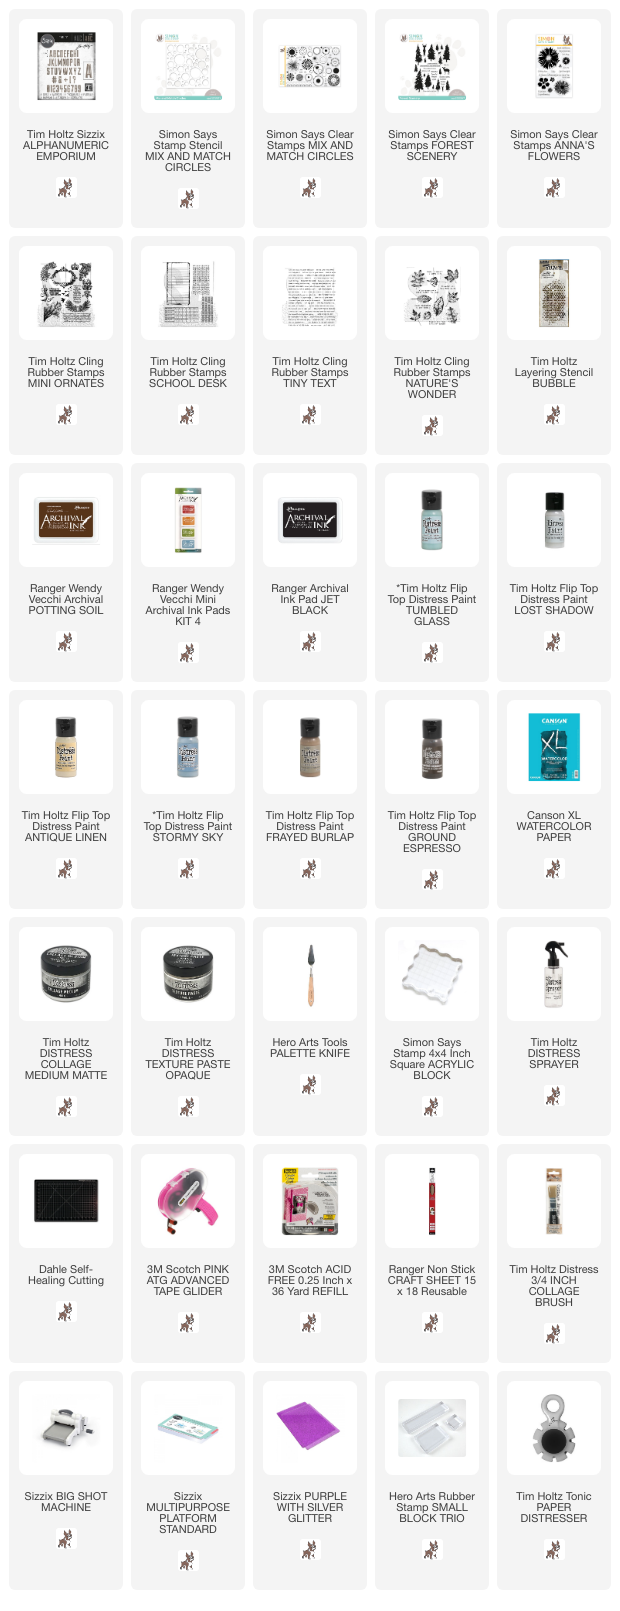
Supplies:

* Please note: the links are affiliate links, for which I receive a small percentage of sales generated by the link, at no extra cost to you.

Friday, December 23, 2022

Christmas Flower Mixed Media Canvas

Merry Christmas to everyone! I am sharing my last Christmas project of the year, a mixed media canvas with dimensional flowers.

Please note: this post has affiliate links, for which I receive a small percentage of sales generated by the link, at no extra cost to you.

Layers of ink - Christmas Flower Mixed Media Canvas tutorial by Anna-Karin Evaldsson.

My canvas board is 6x6 in, but you can also do the project in other sizes or do the techniques on a card or in an art journal page. The background was done with Distress Paint, stencils, texture paste, grit paste and Rock Candy glitter and has a fun festive shimmer. It doesn't have to be a Christmas project, just change the sentiments. 

Layers of ink - Christmas Flower Mixed Media Canvas tutorial by Anna-Karin Evaldsson. Apply paste through Simon Says Stamp Mix and Match Circles stencil.

Coat the canvas with gesso and when dry add Texture Paste through the Simon Says Stamp Mix and Match Circles stencil with a palette knife.

Layers of ink - Christmas Flower Mixed Media Canvas tutorial by Anna-Karin Evaldsson. Paint with Distress Paint.

When dry, paint with watered down Distress Paint and mist with more water to blend even more.

Layers of ink - Christmas Flower Mixed Media Canvas tutorial by Anna-Karin Evaldsson.

When dry, sponge paint through the Simon Says Stamp Medium Dots stencil. I mixed Abandoned Coral with a little white paint.

Layers of ink - Christmas Flower Mixed Media Canvas tutorial by Anna-Karin Evaldsson. Stamp with Simon Says Stamp Old Letter.


Layers of ink - Christmas Flower Mixed Media Canvas tutorial by Anna-Karin Evaldsson.

Dry brush brown paint around the edges.

Layers of ink - Christmas Flower Mixed Media Canvas tutorial by Anna-Karin Evaldsson.

Place the stencil back on the design and apply Snowfall Grit Paste with a palette knife. Sprinkle Rock Candy Glitter into the paste.

Layers of ink - Christmas Flower Mixed Media Canvas tutorial by Anna-Karin Evaldsson.

Die cut the Tim Holtz Holiday Brushstrokes 3 from heavystock paper and Simon Says Stamp red glitter paper. I die cut more than one of all the pieces.

Layers of ink - Christmas Flower Mixed Media Canvas tutorial by Anna-Karin Evaldsson. Color the flower with Distress Ink.

Smear Distress Ink on a non-stick craft sheet and mist with water. Press the papers into the ink. Let dry and repeat until you are happy with the look.

Layers of ink - Christmas Flower Mixed Media Canvas tutorial by Anna-Karin Evaldsson.

Repeat the process with Distress Oxide ink, using only a little ink.

Layers of ink - Christmas Flower Mixed Media Canvas tutorial by Anna-Karin Evaldsson.

Glue the flowers and leaves together and then shape with Tim Holtz Shaping Tools.

Layers of ink - Christmas Flower Mixed Media Canvas tutorial by Anna-Karin Evaldsson.

I stamped a sentiment from Simple Sayings on Christmas Backdrops paper and also added a Quote Flair.

Layers of ink - Christmas Flower Mixed Media Canvas tutorial by Anna-Karin Evaldsson.

Glue the flowers to the canvas and layer the leaves around them. 

Layers of ink - Christmas Flower Mixed Media Canvas tutorial by Anna-Karin Evaldsson.

The background has many layers: paint, texture paste circles, smaller circles, stamping, grit paste and glitter. 

Layers of ink - Christmas Flower Mixed Media Canvas tutorial by Anna-Karin Evaldsson.

The Snowfall Grit Paste and Rock Candy glitter add a great shimmering look to the circles, while also letting the paint, pink dots and stamping show through. I used the same products to create snow on my Christmas Clock posted a couple of days ago.

Layers of ink - Christmas Flower Mixed Media Canvas tutorial by Anna-Karin Evaldsson.

I also added a few Clippings Stickers.

Layers of ink - Christmas Flower Mixed Media Canvas tutorial by Anna-Karin Evaldsson.

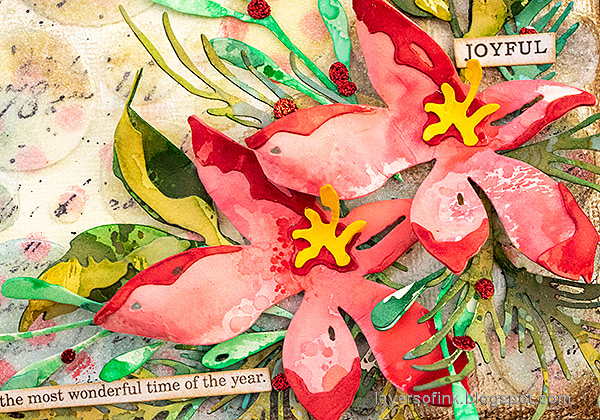
The flowers have quite a bit of dimension and life. 


Merry Christmas!! I hope you will have a wonderful time!

Thank you so much for stopping by here today!

Happy stamping!

Anna-Karin


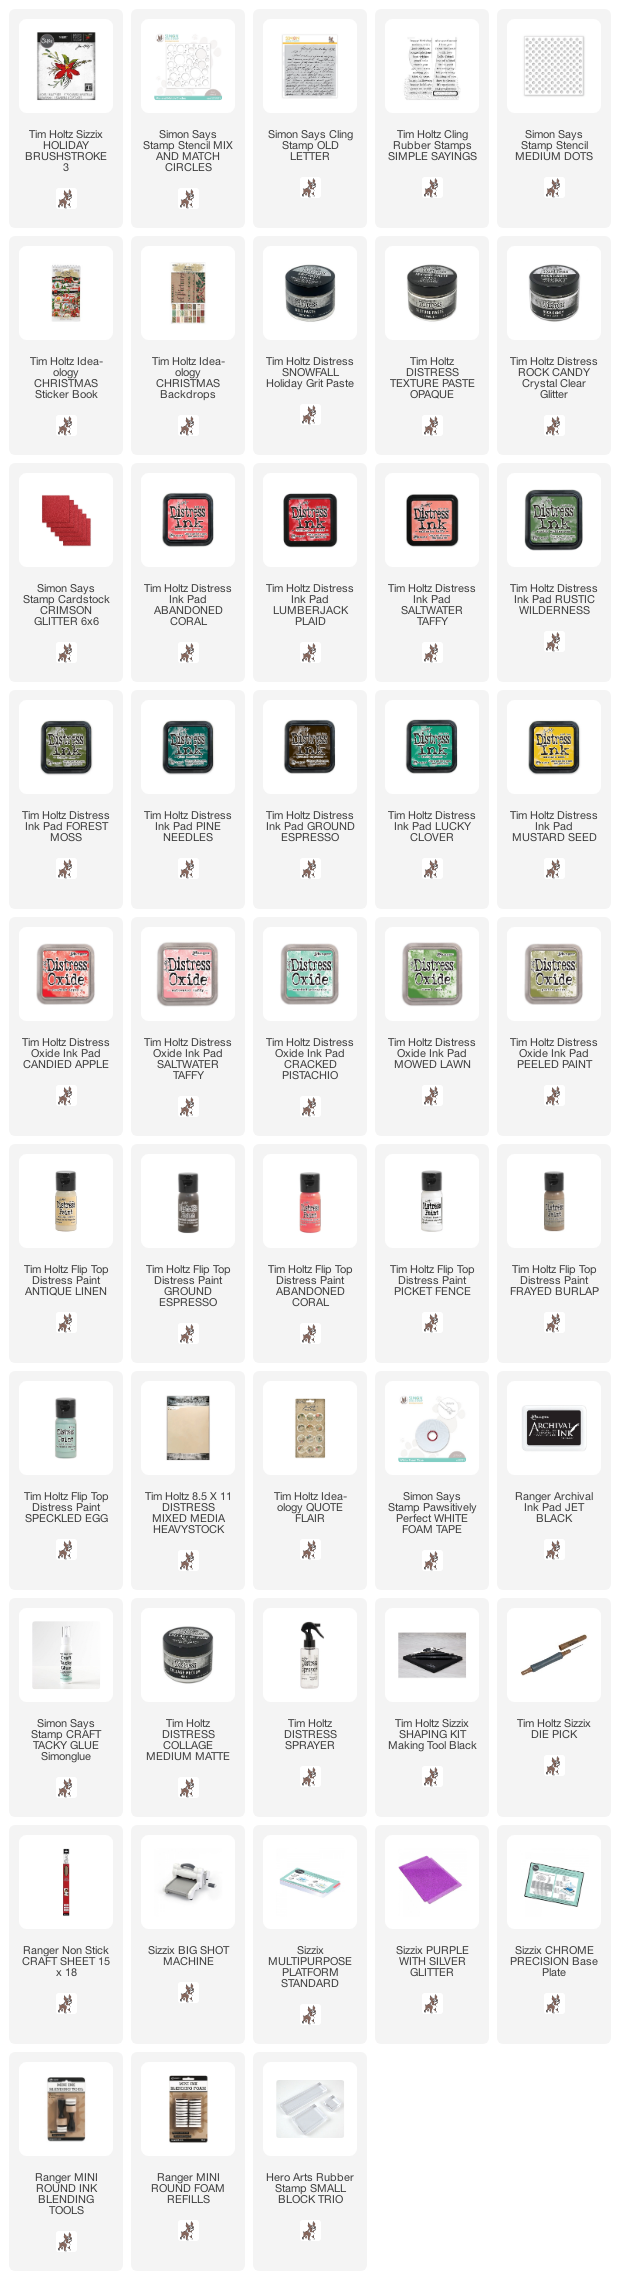
Supplies:

* Please note: the links are affiliate links, for which I receive a small percentage of sales generated by the link, at no extra cost to you.