Tuesday, January 30, 2024

Colorful Birds Art Journal Tutorial

Hi stampers! Today I have a colorful and joyful art journal page to share, with a whole lot of birds.

Please note: this post has affiliate links, for which I receive a small percentage of sales generated by the link, at no extra cost to you.

Layers of ink - Colorful Birds Art Journal Tutorial by Anna-Karin Evaldsson.

I thought it would be fun to make an art journal page filled with birds in different colors, flying across the page. I worked in my new Dylusions Multi Print Square Ledger Journal. I am very fond of old ledger papers and here you can see the ledger pattern in the background. The journal is 8 x 8 in.

Layers of ink - Colorful Birds Art Journal Tutorial by Anna-Karin Evaldsson. Die cut Simon Says Stamp Soaring Whirl Bird from colorful papers.

Start by die cutting many Simon Says Stamp Soaring Whirl Birds from scrap papers. I used a mix of Distress Ink, watercolor and Paper Artsy Infusions colored stains scraps. After die cutting, I smeared various Distress Inks on a non-stick craft sheet, misted with water and pressed some of the birds into the ink, to add more texture.

Layers of ink - Colorful Birds Art Journal Tutorial by Anna-Karin Evaldsson. Assemble the birds.

Glue the wings to the bodies. I use Simon Says Stamp Precision Craft Tacky Glue.

Layers of ink - Colorful Birds Art Journal Tutorial by Anna-Karin Evaldsson. Apply gesso to Dylusions journal.

Apply gesso to the art journal page, but don't cover the entire background.

Layers of ink - Colorful Birds Art Journal Tutorial by Anna-Karin Evaldsson. Color with Distress Paint.

Paint with watered down Distress Paint. Add some marks with a palette knife.

Layers of ink - Colorful Birds Art Journal Tutorial by Anna-Karin Evaldsson. Stamp with sentiment and texture stamps.

Stamp sentiment stamps on the page after planning where the birds will be. As you can see I stamped 'best day ever' twice, since the first one ended up too far down. Stamp the alphabet stamp from Tim Holtz School Desk here and there, as well as Simon Says Stamp Crackle Background.

Layers of ink - Colorful Birds Art Journal Tutorial by Anna-Karin Evaldsson. Splatter with Scribble Sticks.

Splatter the page with Scribble Sticks. Dip a stick in water and flick a paint brush against it.

Layers of ink - Colorful Birds Art Journal Tutorial by Anna-Karin Evaldsson.

Draw a border around the page with a black pen.

Layers of ink - Colorful Birds Art Journal Tutorial by Anna-Karin Evaldsson.

Glue the birds to the page. Use the black pen for the eyes, and add a dot with a white gel pen.

Layers of ink - Colorful Birds Art Journal Tutorial by Anna-Karin Evaldsson. Add hearts.

I had three hearts on my desk left-over from yesterdays Many Hearts Tag and glued them to the page.

Layers of ink - Colorful Birds Art Journal Tutorial by Anna-Karin Evaldsson.

Using scrap papers in this way is a favorite technique and it is fun to combine a left-overs from many projects. 

Layers of ink - Colorful Birds Art Journal Tutorial by Anna-Karin Evaldsson.

This sentiment comes from the Impression Obsession Easter Joy Pooh set.

Layers of ink - Colorful Birds Art Journal Tutorial by Anna-Karin Evaldsson.

The main sentiment comes from Simon Says Stamp Printmaking Birds. As you can see here, the grid pattern is visible in the background.

Layers of ink - Colorful Birds Art Journal Tutorial by Anna-Karin Evaldsson.

The birds are all different from each other.

Layers of ink - Colorful Birds Art Journal Tutorial by Anna-Karin Evaldsson.

I drew a border around the hearts as a shadow.

Layers of ink - Colorful Birds Art Journal Tutorial by Anna-Karin Evaldsson.

I like how this heart frames all those colorful splatters.


Thank you so much for stopping by here today! 


Anna-Karin

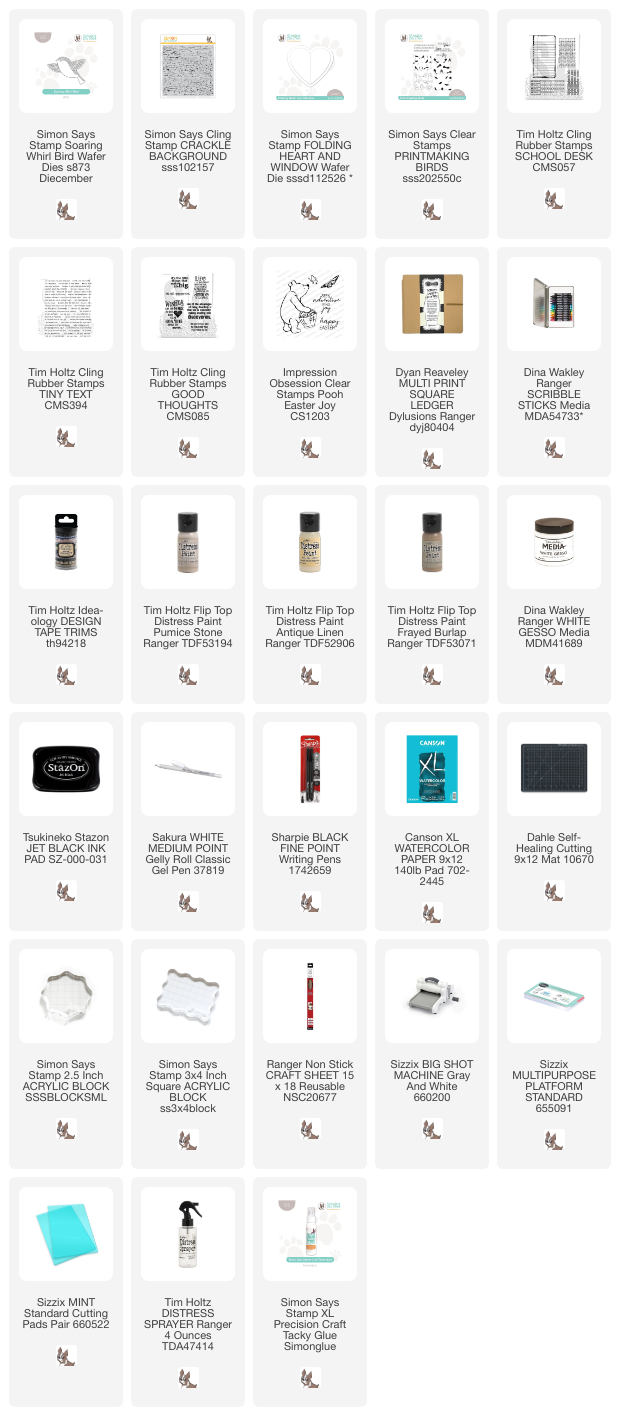
Supplies:

* Please note: the links are affiliate links, for which I receive a small percentage of sales generated by the link, at no extra cost to you.


Monday, January 29, 2024

Many Hearts Tag Tutorial

Hello friends! I hope you are well and that you had a good weekend. On Saturday the sun was shining and I went for a long walk along a lake. Yesterday we had a fun outing to town.

Please note: this post has affiliate links, for which I receive a small percentage of sales generated by the link, at no extra cost to you.


This week our theme at the Simon Says Stamp Monday Challenge Blog is Hearts. I hope you will join us! And don't miss the last project by our January guest designer Rox.

Layers of ink - Many Hearts Tag Tutorial by Anna-Karin Evaldsson.

I made a tag with many hearts: crackle paste hearts in the background and dimensional hearts fluttering across the tag, almost like butterflies. I also found some very old heart beads on my desk, which I added to the tag. If you don't want to make a tag, the techniques work just as well for cardmaking. If you make the hearts less dimensional, they will also fit into an art journal or on a scrapbooking page.

Layers of ink - Many Hearts Tag Tutorial by Anna-Karin Evaldsson. Add crackle paste through Hearts stencil.

Start by applying gesso to a tag. When dry, apply Opaque Crackle Paste through Tim Holtz Hearts stencil with a palette knife. Let dry and crackles will appear.

Layers of ink - Many Hearts Tag Tutorial by Anna-Karin Evaldsson. Paint with distress paint.

Paint the tag with Dried Marigold, Abandoned Coral and a tiny bit of Candied Apple. Mist heavily with water to blend and let dry.

Layers of ink - Many Hearts Tag Tutorial by Anna-Karin Evaldsson. Add white Distress Crayon.

Apply white Distress Crayon to the hearts and rub into the hearts with your finger. For a more distressed look, use a brown or gray crayon instead.

Layers of ink - Many Hearts Tag Tutorial by Anna-Karin Evaldsson. Die cut heart from clearly for art modeling film.

Die cut three hearts from Clearly For Art Modeling Film. You might need to use a pair of scissors to cut all the way through the hearts, since the film is quite thick. I used Simon Says Stamp Exclusive Folding Heart and Window.

Layers of ink - Many Hearts Tag Tutorial by Anna-Karin Evaldsson. Die cut heart from collage paper.

I had a piece of already prepared text paper from another project. Glue old book paper to watercolor paper. Add a layer of matte medium on top of the paper too and let dry. Cover partly with gesso. These papers make for great background elements, with just enough texture. Die cut three hearts.

Layers of ink - Many Hearts Tag Tutorial by Anna-Karin Evaldsson. Color with alcohol ink.

Color the Modeling Film hearts on the back with Distress Ink. Pounce with alcohol ink blending solution to add texture.

Layers of ink - Many Hearts Tag Tutorial by Anna-Karin Evaldsson. Stamp with Simon Says Stamp Not Quite a Dot.

Stamp the front of the hearts with Simon Says Stamp Not Quite a Dot.

Layers of ink - Many Hearts Tag Tutorial by Anna-Karin Evaldsson.

Shape the paper hearts. Gently apply heat to the Modeling Film hearts and shape them. The film will keep its shape perfectly. Be careful so that you don't burn yourself.

Layers of ink - Many Hearts Tag Tutorial by Anna-Karin Evaldsson. Ink with Pawsitively Saturated Inks.

I die cut the You Matter word from Simon Says Stamp White Glossy Cardstock and inked it with Melon and Cantaloupe Pawsitively Saturated inks. The mat was die cut from the text collage paper.

Layers of ink - Many Hearts Tag Tutorial by Anna-Karin Evaldsson.

Staple the hearts to the background. 

Layers of ink - Many Hearts Tag Tutorial by Anna-Karin Evaldsson.

As you can see, the hearts are quite dimensional.

Layers of ink - Many Hearts Tag Tutorial by Anna-Karin Evaldsson. Layered hearts.

The text show through without taking over.

Layers of ink - Many Hearts Tag Tutorial by Anna-Karin Evaldsson. You matter sentiment.

I added ribbons and lace trim under the sentiment and adhered it with Simon Says Stamp Pawsitively Perfect Foam Tape.

Layers of ink - Many Hearts Tag Tutorial by Anna-Karin Evaldsson.

The white crayon adds texture to the crackle hearts. I glued some sequins to the tag to, using Simon Says Stamp Place and Score Wand.

Layers of ink - Many Hearts Tag Tutorial by Anna-Karin Evaldsson.

You can do the same Modeling Film technique with other dies or stamped images too: butterflies, flowers, birds and more.

Layers of ink - Many Hearts Tag Tutorial by Anna-Karin Evaldsson.


I hope you will join us this week in our Hearts challenge. You have a chance to win a $25 gift voucher to do some fun shopping at Simon Says Stamp. You have until Monday 8am Ohio time. 1pm UK time, 2 pm CET to join in.


Do you use Instagram? If so please add #sssmchallenge so we can see your entries there too.


Thank you so much for stopping by here today! 

Happy crafting!

Anna-Karin

Supplies:

* Please note: the links are affiliate links, for which I receive a small percentage of sales generated by the link, at no extra cost to you.


Sunday, January 28, 2024

Fringed Flowers from Bottle Brush Trees

Hello stampers! Today I am happy to have a tutorial on the Simon Says Stamp store blog. I am always looking for new ways to use my dies and stamps and for this project I turned Bottle Brush trees into fringed flowers. 

Please note: this post has affiliate links, for which I receive a small percentage of sales generated by the link, at no extra cost to you.

Layers of ink - Fringed Flowers from Bottle Brush Trees Tutorial by Anna-Karin Evaldsson.

Here is a sneak peek. When I first saw the Simon Says Stamp Exclusive Large Bottle Brush Trees and Small Bottle Brush Trees, I thought they were great shapes which could also be used for other things than trees. Fringed flowers are dimensional and lots of fun to make and even more so if you don’t have to hand-cut all the fringes.

The tag has a mixed media background which works great for many types of projects and isn't hard to do.

You can find the full project and the tutorial over at the Simon Says Stamp Store blog.


Thank you so much for stopping by here today! See you again tomorrow!


Anna-Karin


Saturday, January 27, 2024

Rosette Tag Tutorial

Hello crafters! Today I have a rosette tag to share, using the newest shade of Distress Ink and some fun techniques.

Please note: this post has affiliate links, for which I receive a small percentage of sales generated by the link, at no extra cost to you.


Layers of ink - Rosette Tag Tutorial by Anna-Karin Evaldsson.

I made a tag, but you can of course make a card instead. It was fun to make a rosette since it has been a while and also to use the newest member of the Distress family, Scorched Timber. Such a great shade of brown! I also added some gold details and a little bit of turquoise.

Layers of ink - Rosette Tag Tutorial by Anna-Karin Evaldsson. Ink with Distress Ink.

Start by inking a tag with brown shades of Distress Ink, in an ombre manner.

Layers of ink - Rosette Tag Tutorial by Anna-Karin Evaldsson. Stamp with Simon Says Stamp Old Letter.

Stamp here and there with Simon Says Stamp Old Letter and black ink.

Layers of ink - Rosette Tag Tutorial by Anna-Karin Evaldsson. Dry emboss.


Layers of ink - Rosette Tag Tutorial by Anna-Karin Evaldsson. Ink with Distress Ink Scorched Timber.

Add more Scorched Timber to the tag, especially at the bottom, but also around the edges. It will accentuate the texture.

Layers of ink - Rosette Tag Tutorial by Anna-Karin Evaldsson. Die cut with Tim Holtz Rosette.

Die cut the rosette from Tim Holtz Vault Rosette three times from Tim's Backdrops vol. 4 paper.

Layers of ink - Rosette Tag Tutorial by Anna-Karin Evaldsson.

Stamp with Simon Says Stamp Not Quite a Dot and turquoise ink.

Layers of ink - Rosette Tag Tutorial by Anna-Karin Evaldsson.

Ink the edges with Salvaged Patina and Mermaid Lagoon.

Layers of ink - Rosette Tag Tutorial by Anna-Karin Evaldsson. Assemble the rosette.

Glue the flaps together to form a strip. Ink with Scorched Timber.

Layers of ink - Rosette Tag Tutorial by Anna-Karin Evaldsson.

Fold into an accordion. Use a bone folder for a crisp edge.

Layers of ink - Rosette Tag Tutorial by Anna-Karin Evaldsson. Assemble the rosette.

Glue the last flap to form a circle.

Layers of ink - Rosette Tag Tutorial by Anna-Karin Evaldsson.

Press in the center.

Layers of ink - Rosette Tag Tutorial by Anna-Karin Evaldsson.

Die cut two of the deckle-edged circles from Vault Rosette. Ink one of them with Scorched Timber. Glue one to the bottom and one to the top of the rosette.

Layers of ink - Rosette Tag Tutorial by Anna-Karin Evaldsson. Add a gold star.

Die cut the star from gold kraft stock paper. Fold and sand the edges. Ink with Scorched Timber.

Layers of ink - Rosette Tag Tutorial by Anna-Karin Evaldsson. Glue the star to the rosette.

Glue the star to the rosette. Ink the folded edges of the rosette.

Layers of ink - Rosette Tag Tutorial by Anna-Karin Evaldsson. Add Sizzix Gold Luster Wax.

Apply Sizzix Gold Luster Wax around the edges and on the folded edges.

Layers of ink - Rosette Tag Tutorial by Anna-Karin Evaldsson.

Die May Arts Wrinkled Faux Silk ribbon with Distress Ink.

Layers of ink - Rosette Tag Tutorial by Anna-Karin Evaldsson.

This star design is great and I really like the size of the star.

Layers of ink - Rosette Tag Tutorial by Anna-Karin Evaldsson.

The gold wax adds a nice touch to the tag.

Layers of ink - Rosette Tag Tutorial by Anna-Karin Evaldsson.

I also applied wax around the edges of the tag. Die cut Simon Says Stamp Scripty Hello from Tim's Gold Metallic Kraft Stock and from heavystock paper. Ink the latter with Scorched Timber.

Layers of ink - Rosette Tag Tutorial by Anna-Karin Evaldsson. Add sequins.

I also added some sequins to the tag, for a little extra turquoise.
Layers of ink - Rosette Tag Tutorial by Anna-Karin Evaldsson.

The smaller sentiments comes from Tim's Clippings Stickers.

Layers of ink - Rosette Tag Tutorial by Anna-Karin Evaldsson.

Both the rosette and the sentiment are adhered with Simon Says Stamp Pawsitively Perfect White Foam tape.


Thank you so much for stopping by here today! 


Anna-Karin

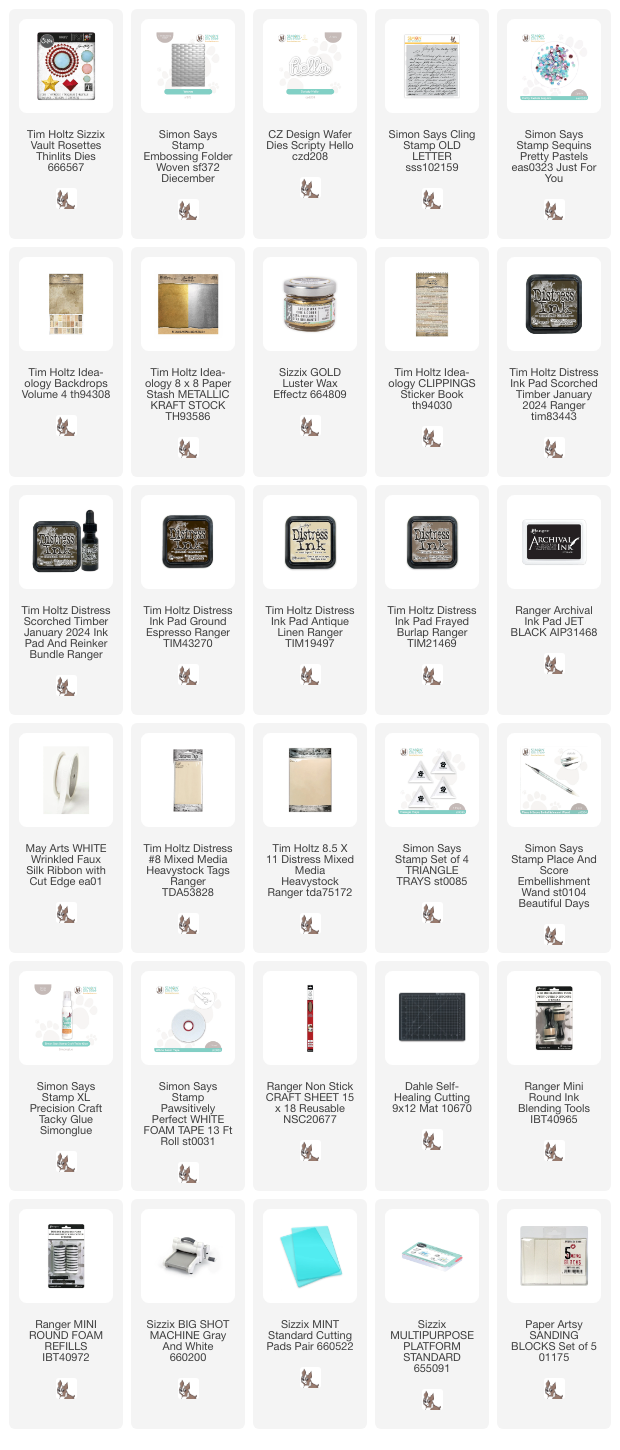
Supplies:

* Please note: the links are affiliate links, for which I receive a small percentage of sales generated by the link, at no extra cost to you.