Showing posts with label Foil. Show all posts

Monday, January 12, 2026

Foil Forest Tag

Hello crafters! I hope you had a good weekend! We have beautiful winter wonderland weather here at the moment, with lots of snow.

Please note: this post has affiliate links, for which I receive a small percentage of sales generated by the link, at no extra cost to you.


This week we have a Fun with Foil theme at the Simon Says Stamp Monday Challenge Blog. I hope you will join us! Don't miss the beautiful project by our January guest designer Cassie Lynch aka mk_knits.

Layers of ink - Foil Forest Tag tutorial by Anna-Karin Evaldsson.

Inspired by the snow outside my window, I made a shiny and frosty foil forest tag. I used Ranger's Frozen Shiny Foil Sheets for the foiled elements and a dry embossed silver background. Glitter and dry embossed vellum added the last frosty details to the tag.

Use Ranger foil sheets to foil the die cut trees.

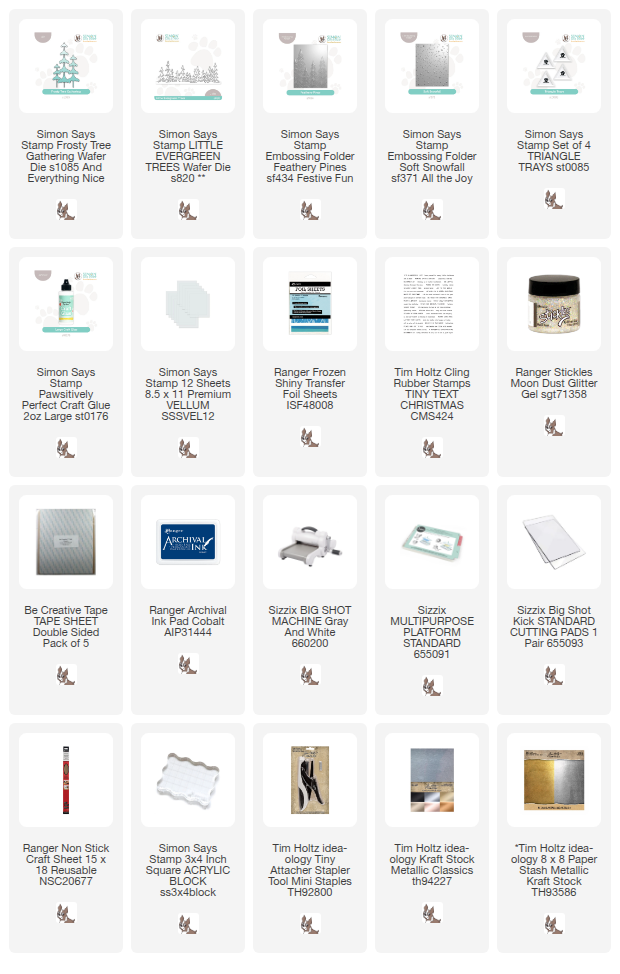
Start by covering cardstock with a double-sided adhesive sheet. I used Simon Says Stamp Frosty Tree Gathering and Little Evergreen Trees to die cut the trees. Remove the protective tape and press the die cuts to the back of the foil sheets. I cut the smaller tree line into pieces first. Press and then remove.

Dry emboss the tag.

I wanted a shiny background too and cut a tag from silver kraft cardstock and embossed in Simon Says Stamp Feathery Pines.

Add Ranger Moon Dust stickles.

For a frosty look, I added Ranger Stickles Glitter Gel Moon Dust to the background (not the trees).

Stamp sentiments with Tim Holtz Tiny Text Christmas.

The sentiments were stamped with Tim Holtz Tiny Text Christmas using Archival Cobalt ink. When the glitter is dry, it gives a frosty look to the background, contrasting nicely with the shinier silver trees and the foil trees. The snowflakes are from Tim Holtz Twig & Stump die set.


Some of the foil elements were still a little sticky and I pressed them onto other colors of foil, for a multi-color effect.


The trees get extra texture from the texture of my die cutting plates.


Varying the sizes and shapes of the trees add interest.

Dry emboss and tear vellum for snow.

One of my favorite ways to create a snowy look is to dry emboss and tear vellum and then layer it. Here I dry embossed the vellum in Simon Says Stamp Soft Snowfall folder and tore into three pieces. The trees are layered in between the vellum.

Join us this week in our Fun with Foil challenge! You have a chance to win a $25 gift voucher to do some fun shopping at Simon Says Stamp. You have until Monday 8am Ohio time. 1pm UK time, 2 pm CET to join in.


Do you use Instagram? If so please add #sssmchallenge so we can see your entries there too.


Thank you so much for visiting today! 

Happy crafting!

Anna-Karin

Supplies:

* Please note: the links are affiliate links, for which I receive a small percentage of sales generated by the link, at no extra cost to you.


Monday, January 20, 2025

Foil Valentine's Tag

Hello stampers! I hope you had a good weekend and got some (or a lot!) of crafty time. 

Please note: this post has affiliate links, for which I receive a small percentage of sales generated by the link, at no extra cost to you.


This week we have a Fun with Foil theme at the Simon Says Stamp Monday challenge blog. I hope you will join us! Our January guest, Pauline C has made another gorgeous project with a great technique, don't miss it. 

Layers of ink - Foil Valentine's Tag Tutorial by Anna-Karin Evaldsson.

I made a Valentine's tag this week using products from Simon Says Stamp new To Be Loved release. I used foil around the edges of the tag and for the sentiment and leaf die cuts.

Apply texture paste through stencil.

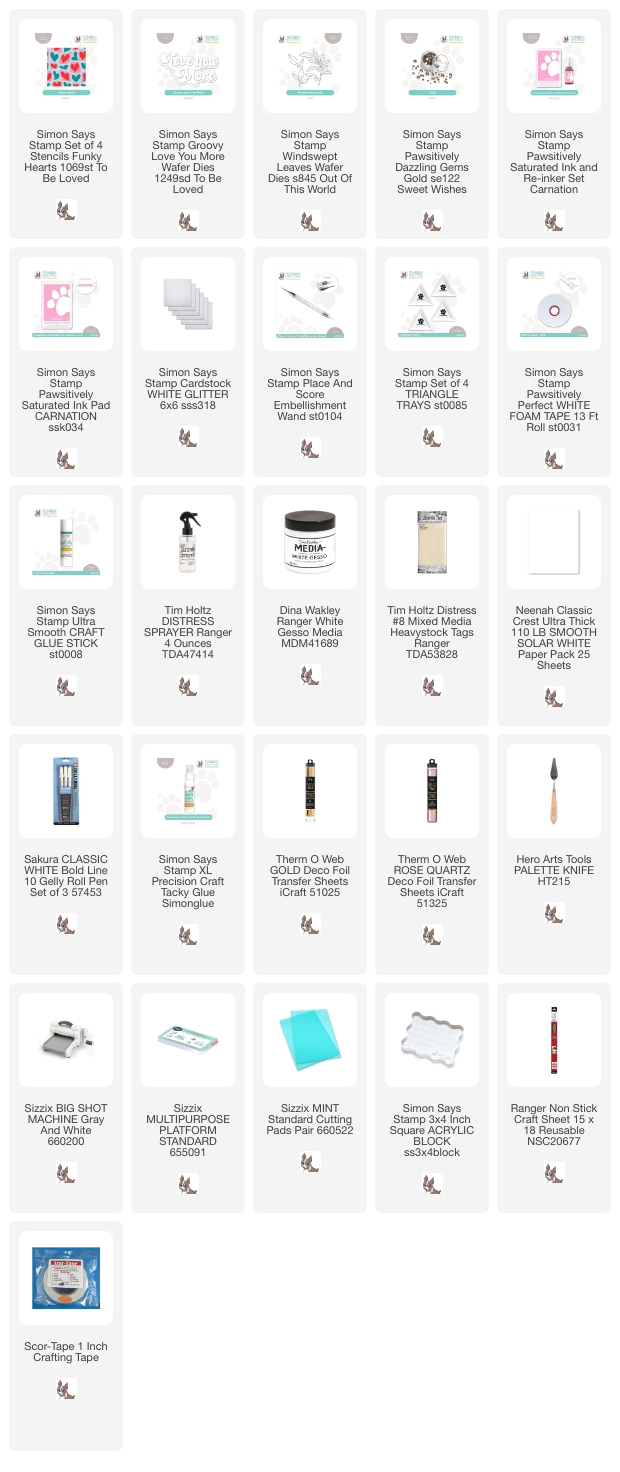
Start with a tag coated with gesso. When the gesso is dry, apply texture paste through one of the four stencils of the Simon Says Stamp Funky Hearts stencil set. The set comes with four stencils.


Let dry and then do the same through the second heart stencil on the set. Repeat to complete the two hearts at the bottom of the tag.

Paint with Distress Paint.

Use one of the two wonky rectangles and apply pink paint through the stencil with a sponge.

Apply paint through Simon Says Stamp Funky Hearts.

When dry, repeat with the second wonky rectangle stencil. I really like these rectangles, with the thin border in between them. 


Paint the hearts white. 

Paint the Funky Hearts with Distress Paint.

Paint the hearts with the same colors that you used on the background.


When the paint is dry, draw a border around the hearts with a white gel pen. I almost didn't want to cover this background up.

Apply gold foil around the tag.

Apply glue with a glue stick around the edges. Wait a short while and then place the foil sheet on top. Rub and remove. I used Therm O Web Gold Deco Foil.

Die cut Simon Says Stamp Love You More.

Apply tape to cardstock and then place the foil on top. Die cut with the Simon Says Stamp Groovy Love You More die. Die cut once more from white glitter cardstock


Place the foil words into the glitter die cut. Die cut one more time from white cardstock and glue behind the glitter die cut, off-setting slightly. Repeat for Simon Says Stamp Windswept Leaves, but this time with Rose Quartz foil.

Tie the tag with ribbons.

Tie with different organza ribbons and twine.


The sentiment comes from Simon Says Stamp Pixie Dust and was stamped with Pawsitively Saturated Carnation ink.

Add Simon Says Stamp Pawsitively Dazzling Gold Gems.


Layers of ink - Foil Valentine's Tag Tutorial by Anna-Karin Evaldsson.


Join us this week in our Fun with Foil challenge! You have a chance to win a $25 gift voucher to do some fun shopping at Simon Says Stamp. You have until Monday 8am Ohio time. 1pm UK time, 2 pm CET to join in.


Do you use Instagram? If so please add #sssmchallenge so we can see your entries there too.


Thank you so much for visiting today! 

Happy crafting!

Anna-Karin

Supplies:

* Please note: the links are affiliate links, for which I receive a small percentage of sales generated by the link, at no extra cost to you.


Monday, November 21, 2022

Foil Snowflake Tag Tutorial

Hi everyone! The first snow of the year started to fall here on Saturday and today we have a winter wonderland outside the window. We haven't had this much snow for several years.

Please note: this post has affiliate links, for which I receive a small percentage of sales generated by the link, at no extra cost to you.


Our theme at the Simon Says Stamp Monday Challenge Blog this week is Fun With Foil. I hope you will join us and don't miss the lovely card by our November guest designer Joanne Travis.


Layers of ink - Foil Snowflake Tag Tutorial by Anna-Karin Evaldsson.

I wanted to to photograph my tag in the snow and was lucky to capture a moment when the snow wasn't falling. I used Therm O Web Deco Foil on the snowflakes and also here and there around the edges of the background. The background was done with Snowfall Grit Paste giving it an interesting texture and shine.

Layers of ink - Foil Snowflake Tag Tutorial by Anna-Karin Evaldsson. Apply grit paste through Tim Holtz Focus stencil.

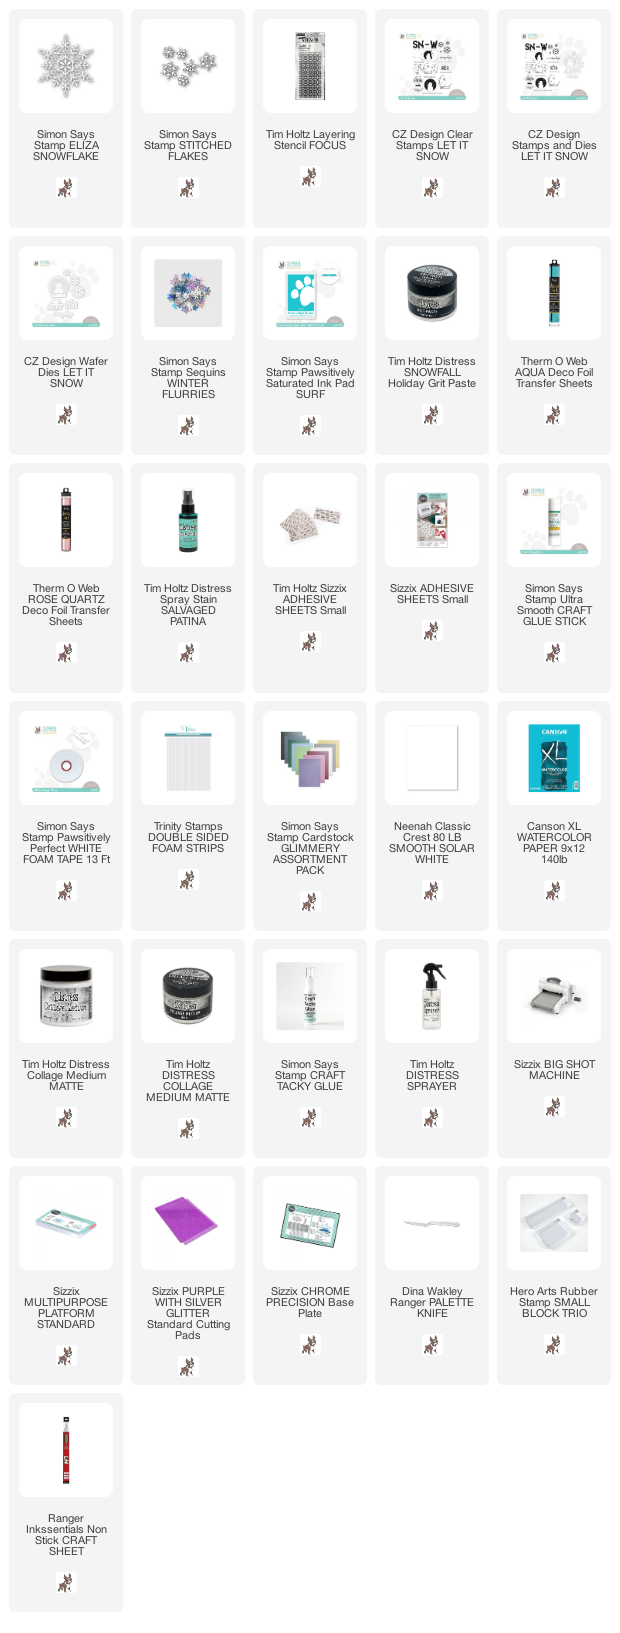
Start by applying Snowfall Grit Paste through Tim Holtz Focus stencil. My tag was cut from watercolor paper, but you can use heavystock too.

Layers of ink - Foil Snowflake Tag Tutorial by Anna-Karin Evaldsson. Add Therm o web deco foil.

When dry, mist the tag with Salvaged Patina Distress Spray Stain. The color will be darker in between the Grit Paste. Apply glue here and there around the edges. Wait until nearly dry and then rub a piece of a Therm O Web Rose Quartz deco foil on the areas, with the colored side facing up.

Layers of ink - Foil Snowflake Tag Tutorial by Anna-Karin Evaldsson. Die cut Simon Says Stamp snowflakes and add foil.

Adhere an adhesive sheet to cardstock and die cut snowflakes. I used Simon Says Stamp Eliza Snowflake and Stitched Flakes. Remove the protective liner, place foil on the adhesive and rub. I used Thermo O Web Aqua and Rose Quartz deco foil.

Layers of ink - Foil Snowflake Tag Tutorial by Anna-Karin Evaldsson.

I die cut a snowflake from Simon Says Stamp White Glimmer cardstock too and stacked the three snowflakes together. Add cheesecloth at the bottom.

Layers of ink - Foil Snowflake Tag Tutorial by Anna-Karin Evaldsson.

The sentiments come from Simon Says Stamp Let It Snow and were stamped with Surf Pawsitively Saturated Ink. Die cut with the coordinating dies and adhere with foam tape.

Layers of ink - Foil Snowflake Tag Tutorial by Anna-Karin Evaldsson.

I also added sequin Simon Says Stamp Winter Flurries snowflakes in white, silver and blue. 

Layers of ink - Foil Snowflake Tag Tutorial by Anna-Karin Evaldsson.

The foil snowflakes are very shiny.

Layers of ink - Foil Snowflake Tag Tutorial by Anna-Karin Evaldsson.

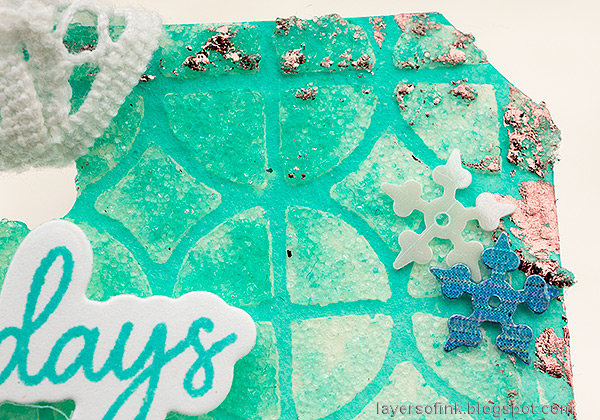
The Snowfall Grit Paste has an interesting texture, looking almost like ice. 

Layers of ink - Foil Snowflake Tag Tutorial by Anna-Karin Evaldsson.

This is an easy way to get an interesting looking background. The darker areas in between the stenciled Grit Paste are my favorite part of this project. 

Layers of ink - Foil Snowflake Tag Tutorial by Anna-Karin Evaldsson.

I hope you enjoyed this tutorial! Now I need to go outdoors and shovel some snow. 

I hope you will join us this week in our Art Journal challenge. You have a chance to win a $25 gift voucher to do some fun shopping at Simon Says Stamp. You have until Monday 8am Ohio time. 1pm UK time, 2 pm CET to join in.


Do you use Instagram? If so please add #sssmchallenge so we can see your entries there too.


Thank you so much for stopping by here today! 

Happy crafting!

Anna-Karin

Supplies:

* Please note: the links are affiliate links, for which I receive a small percentage of sales generated by the link, at no extra cost to you.