
Hello crafters! I hope you had a good weekend! We have beautiful winter wonderland weather here at the moment, with lots of snow.
Please note: this post has affiliate links, for which I receive a small percentage of sales generated by the link, at no extra cost to you.

This week we have a Fun with Foil theme at the Simon Says Stamp Monday Challenge Blog. I hope you will join us! Don't miss the beautiful project by our January guest designer Cassie Lynch aka mk_knits.

Inspired by the snow outside my window, I made a shiny and frosty foil forest tag. I used Ranger's Frozen Shiny Foil Sheets for the foiled elements and a dry embossed silver background. Glitter and dry embossed vellum added the last frosty details to the tag.

Start by covering cardstock with a double-sided adhesive sheet. I used Simon Says Stamp Frosty Tree Gathering and Little Evergreen Trees to die cut the trees. Remove the protective tape and press the die cuts to the back of the foil sheets. I cut the smaller tree line into pieces first. Press and then remove.

I wanted a shiny background too and cut a tag from silver kraft cardstock and embossed in Simon Says Stamp Feathery Pines.

For a frosty look, I added Ranger Stickles Glitter Gel Moon Dust to the background (not the trees).

The sentiments were stamped with Tim Holtz Tiny Text Christmas using Archival Cobalt ink. When the glitter is dry, it gives a frosty look to the background, contrasting nicely with the shinier silver trees and the foil trees. The snowflakes are from Tim Holtz Twig & Stump die set.

Some of the foil elements were still a little sticky and I pressed them onto other colors of foil, for a multi-color effect.

The trees get extra texture from the texture of my die cutting plates.

Varying the sizes and shapes of the trees add interest.


Join us this week in our Fun with Foil challenge! You have a chance to win a $25 gift voucher to do some fun shopping at Simon Says Stamp. You have until Monday 8am Ohio time. 1pm UK time, 2 pm CET to join in.
%20(1).jpg)
Do you use Instagram? If so please add #sssmchallenge so we can see your entries there too.


Thank you so much for visiting today!
Happy crafting!
Anna-Karin
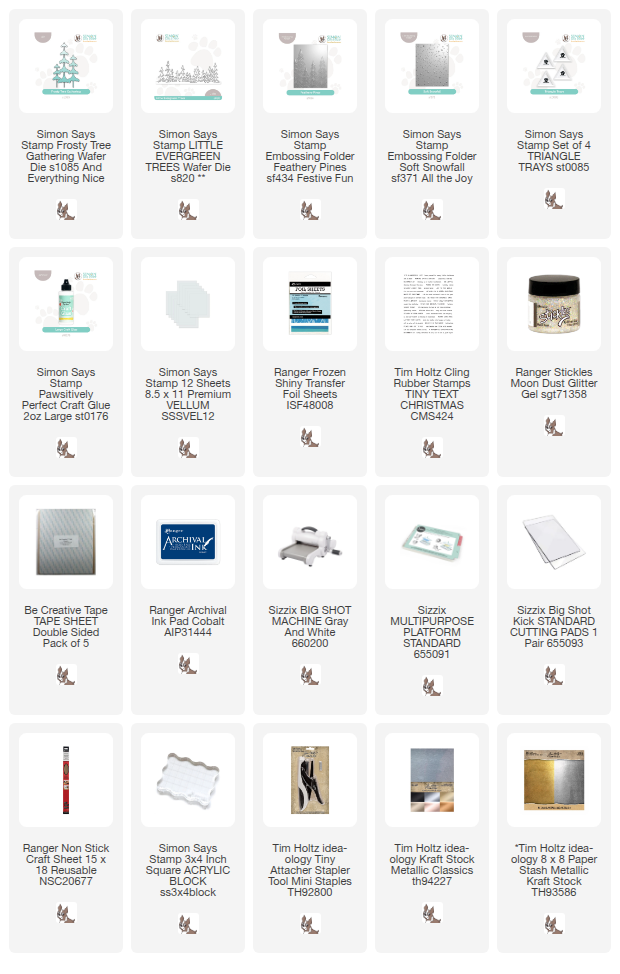
Supplies:
* Please note: the links are affiliate links, for which I receive a small percentage of sales generated by the link, at no extra cost to you.
* Please note: the links are affiliate links, for which I receive a small percentage of sales generated by the link, at no extra cost to you.
No comments:
Post a Comment
Thank you so much for leaving a comment! Happy Crafting!