Hi friends! It is the last day of 2021 and I have a tag to share with wishes for a wonderful 2022 filled with joy and creativity.
Please note: this post has affiliate links, for which I receive a small percentage of sales generated by the link, at no extra cost to you.


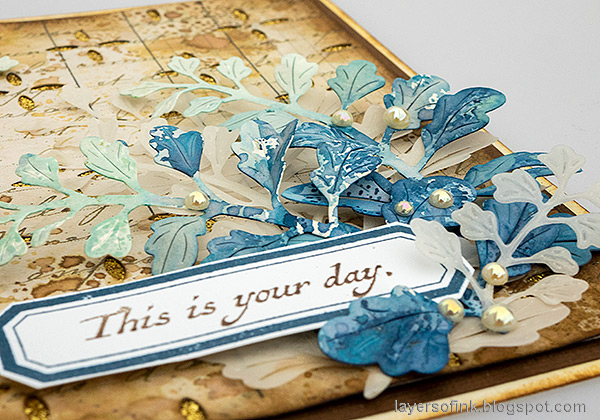
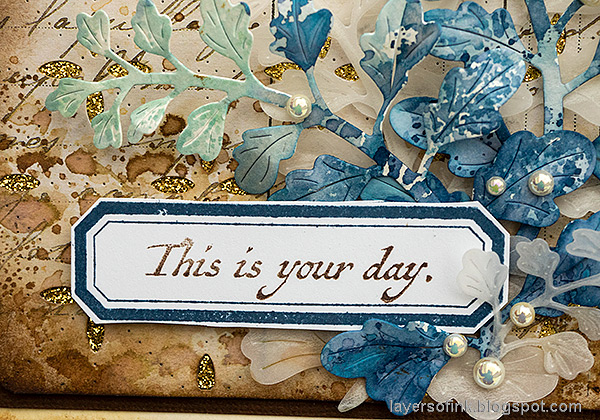
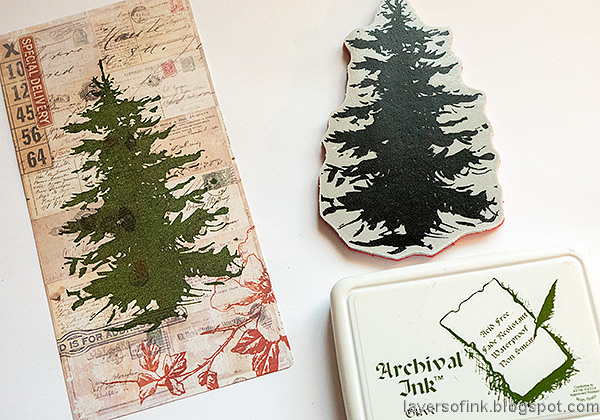
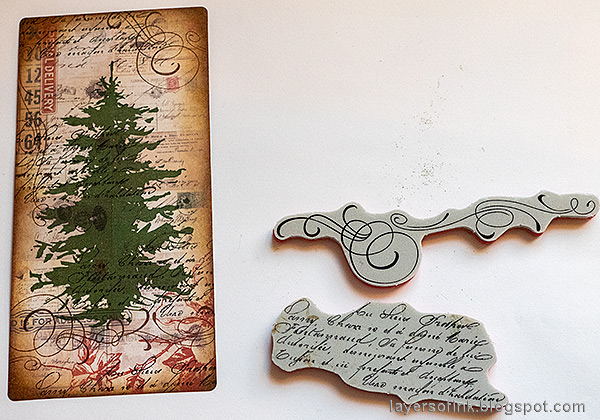
Start by white embossing a sentiment stamp from Good Thoughts on a tag or a card.

Ink with Distress Inks, using an ink-blending tool.
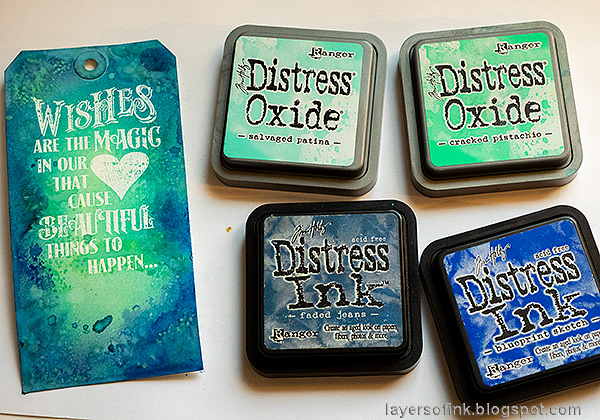
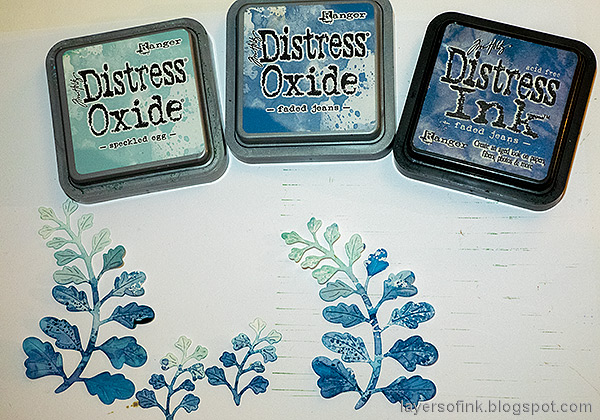
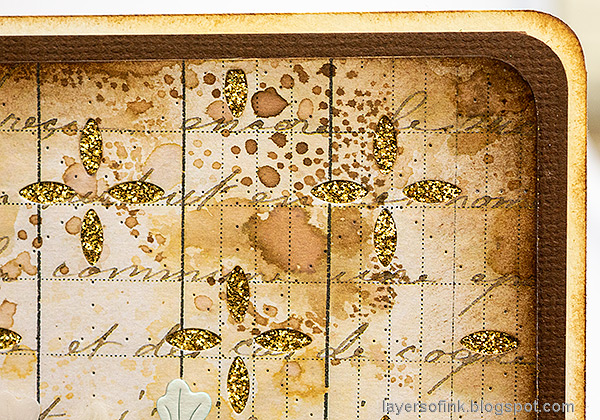
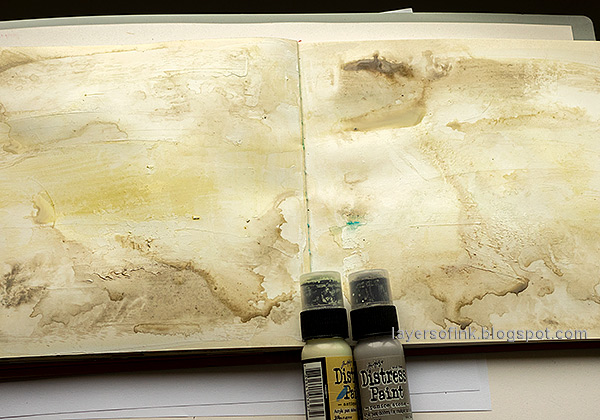
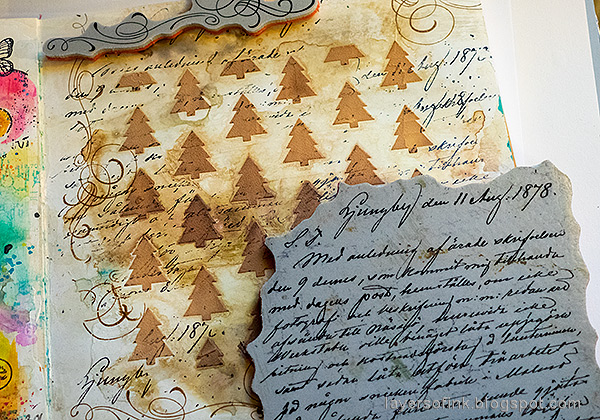
Smear Distress Inks and Distress Oxide ink on a non-stick craft sheet, mist lightly with water and dab the tag into the ink. Let dry in between layers. I aimed for the look of a night-time sky, but avoided too much texture where the sentiment is.

Add stars or snowfall with a white gel pen. Make the dots in different sizes.

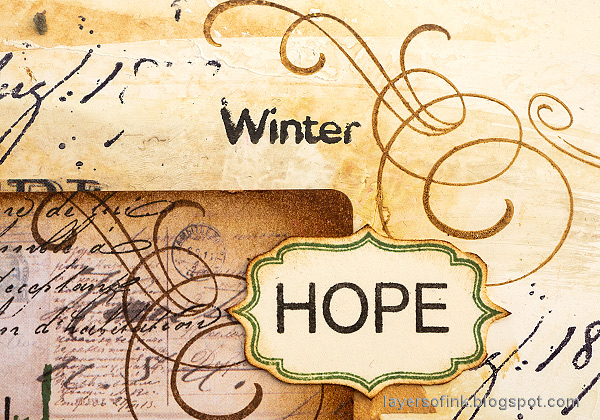
Stamp the year with Tim's Worn Text stamps and Deep Sea ink.
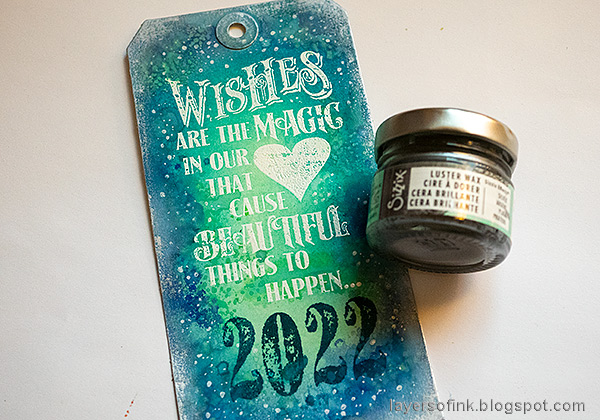
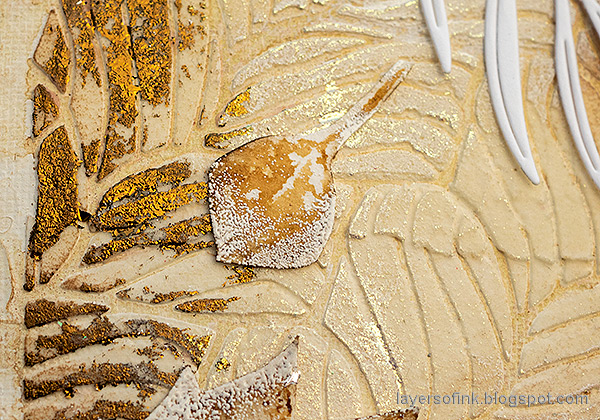
For some shine, apply Sizzix Silver Luster Wax around the edges with your finger.

Do the same with just a little Simon Says Stamp Glitz Glitter Gel.
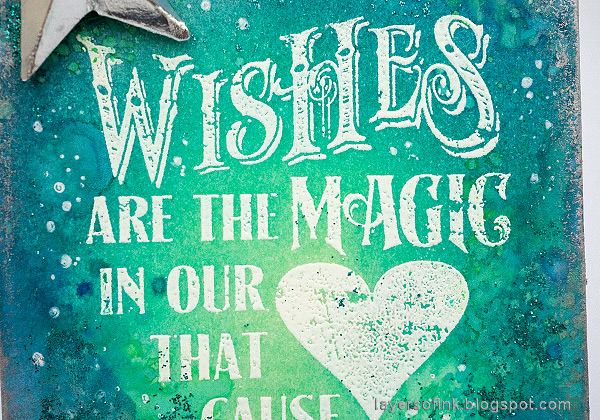
I never tire of the look of white embossing together with colorful dye inks.
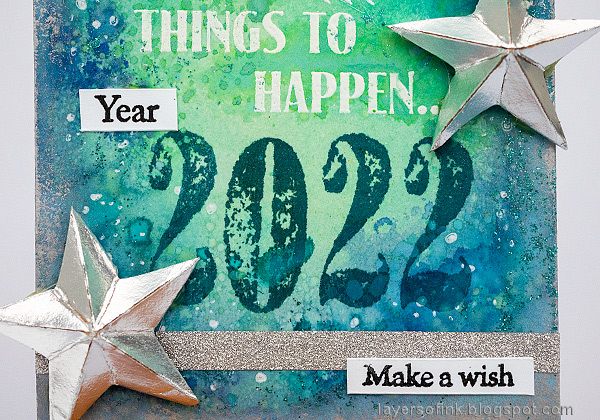
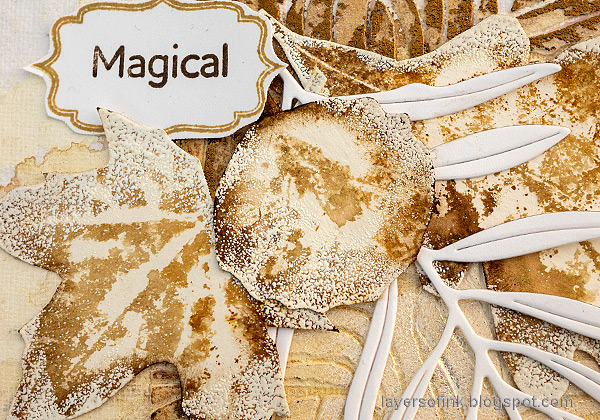
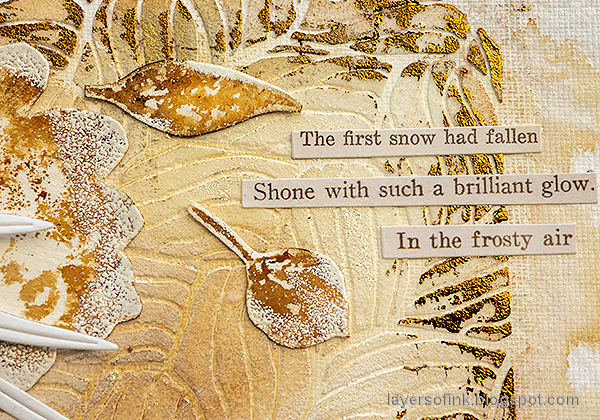
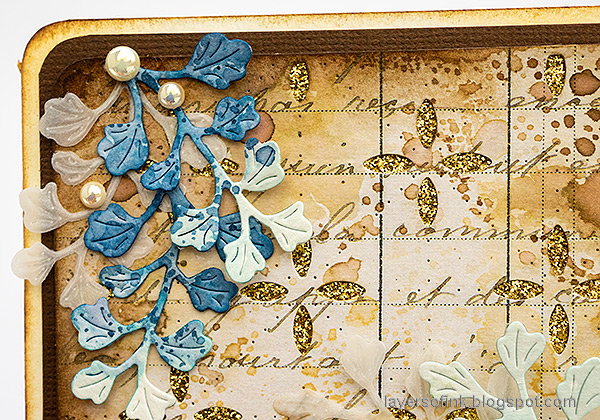
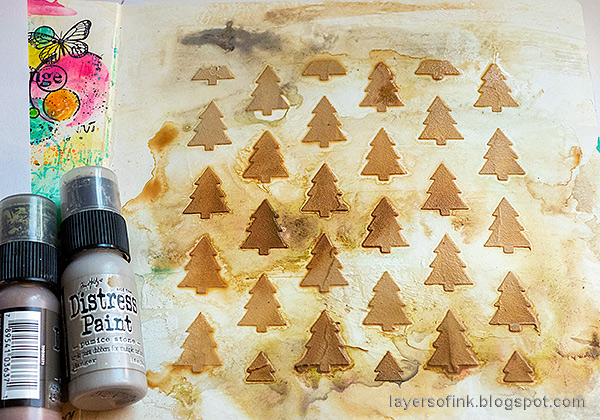
The stars were die cut with Tim's Christmas Vault Series 2021 from silver kraft core paper. I also stamped three sentiments on white paper. The come from Simon Says Stamp Laugh In Flowers and Document It.

The silver shine didn't photograph well, as it was starting to get dark. It is a metallic silver look in real life.

I like the dimensional look of these stars.

Just a little bit of glitter adds interest to the tag.

Thank you so much for visiting my blog and for all the support through the year. I am so looking forward to a new creative year 2022.

Thank you so much for taking the time to stop by here today!
Happy crafting!
Anna-Karin
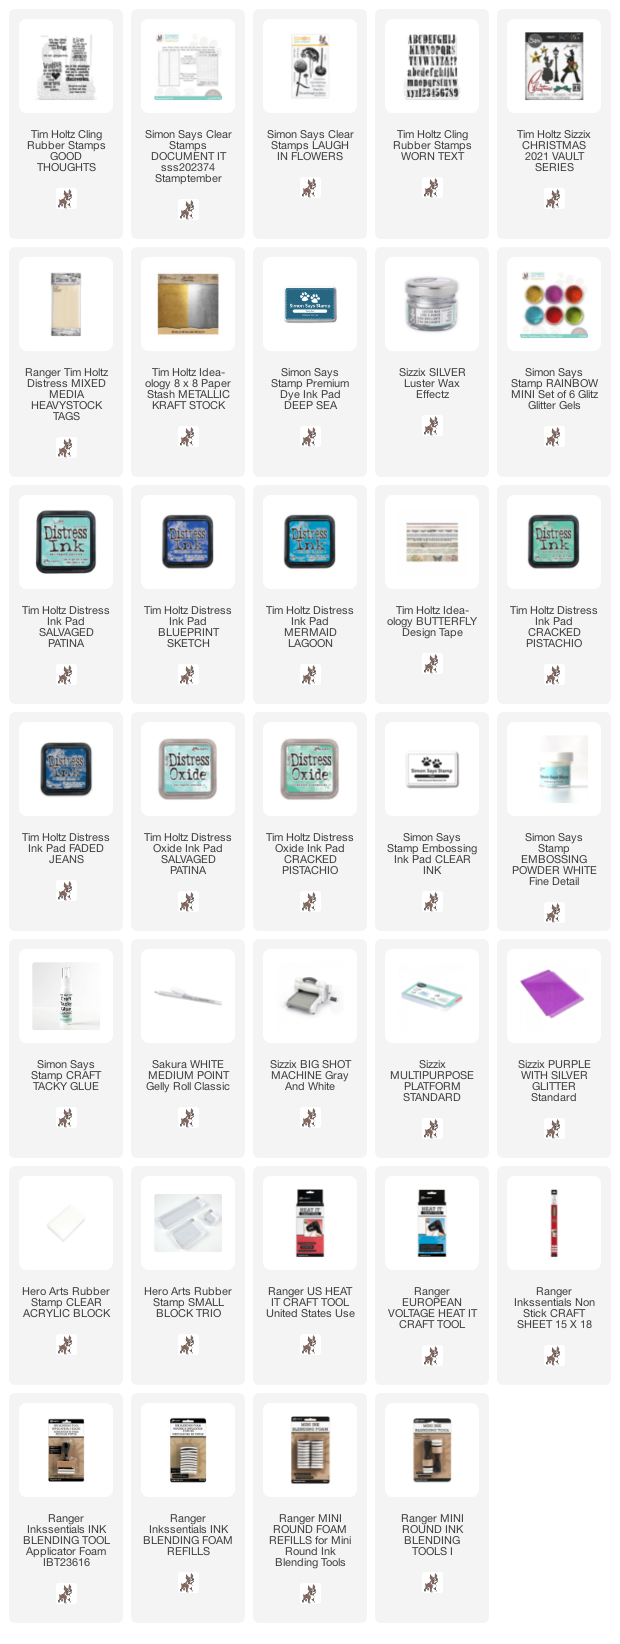
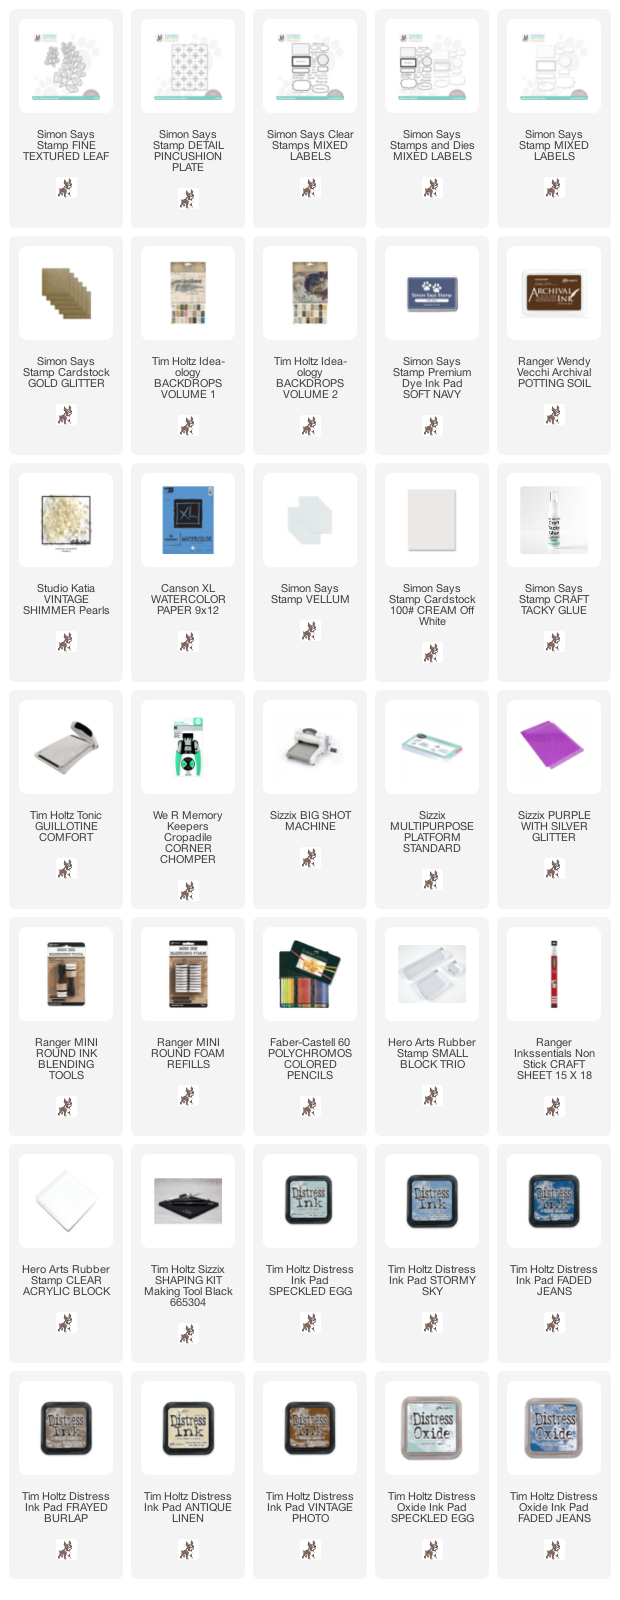
Supplies:
* Please note: the links are affiliate links, for which I receive a small percentage of sales generated by the link, at no extra cost to you.
* Please note: the links are affiliate links, for which I receive a small percentage of sales generated by the link, at no extra cost to you.