
Hello friends! I hope you had a lovely Christmas! We have had beautiful winter weather and a wonderful time with family.
Please note: this post has affiliate links, for which I receive a small percentage of sales generated by the link, at no extra cost to you.

I have a card to share today, with a die cut background and beautiful die cut branches. The branches were die cut with the Simon Says Stamp Fine Textured Leaf die and a mix of watercolor paper and vellum.

Start by die cutting the two sizes of Fine Textured Leaf from vellum and watercolor paper.

Smear blue shades of Distress Ink on a non-stick craft sheet and mist with water. Press the leaves into the ink, making them lighter at the top. When dry, add more color in the same way until you are happy with the look.
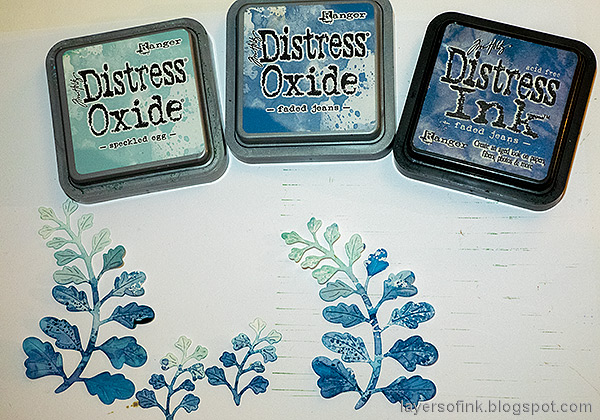
Apply Distress Oxide Inks on the non-stick craft sheet, mist with water and lightly press the leaves into the ink.

Draw lines on the back of the vellum leaves with a white pencil.

Die cut the Detail Pincushion Plate from Tim Holtz Backdrops paper.

Smear Distress Ink on a non-stick craft sheet and mist with water. Press the paper into the ink.
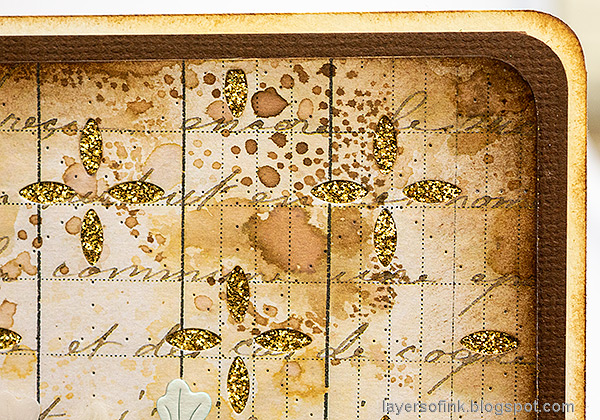
Place Simon Says Stamp gold glitter paper under the die cut so that the gold shines through the die cut flowers.
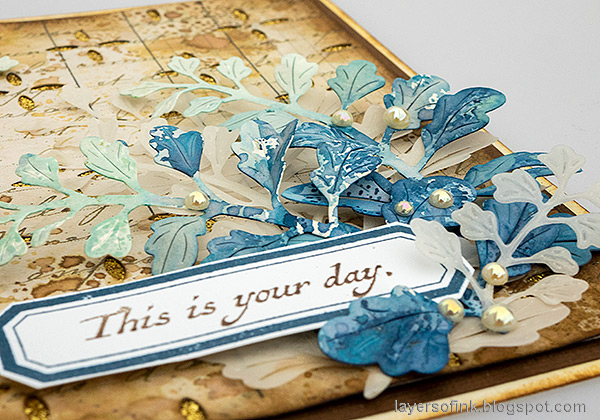
Shape the leaves with Tim Holtz Shaping Kit and glue them onto the background.
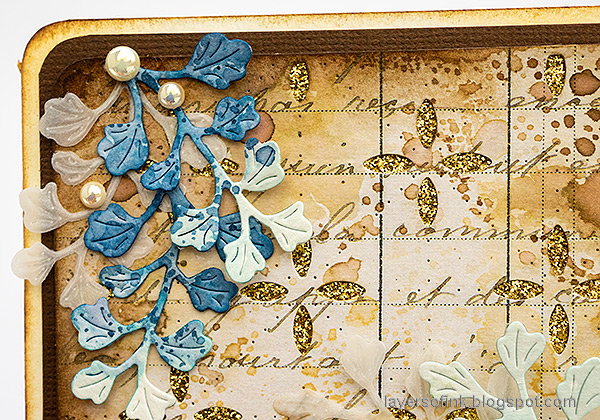
Add some beads to the leaves.

I placed the larger vellum leaves in the background.
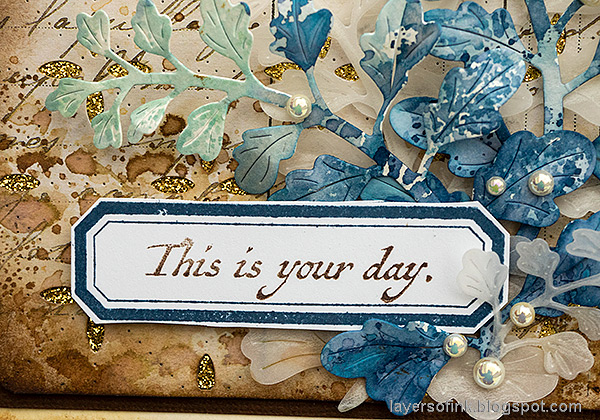
Stamp a label from Simon Says Stamp Mix and Match labels with blue ink and cut out. There are also coordinating dies. Stamp a sentiment from the same set with brown ink.

Thank you so much for taking the time to stop by here today!
Happy crafting!
Anna-Karin
Supplies:
* Please note: the links are affiliate links, for which I receive a small percentage of sales generated by the link, at no extra cost to you.
* Please note: the links are affiliate links, for which I receive a small percentage of sales generated by the link, at no extra cost to you.
Soooo Gorgeous!!!!!
ReplyDelete