Hi all! Today I have a Sizzix tutorial which I can finally share with you. It was a birthday gift to my sister, so I had to wait for her birthday before sharing it.
![Layers of ink - Blue Textured Wrapped Journal Tutorial by Anna-Karin Evaldsson Layers of ink - Blue Textured Wrapped Journal Tutorial by Anna-Karin Evaldsson made with Eileen Hull Sizzix wrapped journal die.](https://blogger.googleusercontent.com/img/b/R29vZ2xl/AVvXsEh9Nh2ihWf767elikYVlxzXq4N4Ex2iOFFe_mxNf-cCbAQCis3T-bbQvVxiYQ2OL9nREJZYpoTs1YxMijEl9z3OsHTbElVJe80I6mXqPuDMuK4KGfRROXXA2XsNxHfRjAPTVkJ1sIqAbGeC/s1600/wrapped_journal_tutorial-Layers-of-ink.jpg)
I made a wrapped journal with lots of texture and some pretty flowers, using Eileen Hull's Book Club Chapter 2 collection. The journal can easily be customized to fit any theme. The wrapped journal is a nice and chunky size (4.7 x 5.1 in folded), and perfect as a gift.
![Layers of ink - Blue Textured Wrapped Journal Tutorial by Anna-Karin Evaldsson](https://blogger.googleusercontent.com/img/b/R29vZ2xl/AVvXsEjMQkt0zqpaWKRNw5HVpdf59mAUjd6wS7pJoRAPihk3T5BZyXxsQC4_wJ7DDPj3JJ9JSDECra_dREQ51OtdPZ5cYfv0DQQ41IBYkyoSY657ni5Tf8Q9Qdvb7MY3nJYFksnWXyZWFIbPXVnj/s1600/wrapped_journal1.jpg)
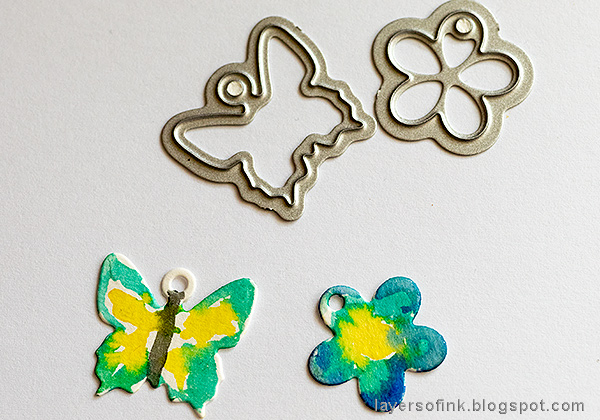
Start by die cutting the Wrapped Journal from mat board, placing the Floral Cutouts to the far right on the Wrapped Journal die, where there is a very useful space for Movers & Shapers dies. This step cuts a pretty flower border, in just one go. Use this sandwich: Extended Cutting Pad, die facing up, mat board, second Extended Cutting Pad. This is an XL die, but fits perfectly in the ordinary Big Shot or Vagabond.
![Layers of ink - Blue Textured Wrapped Journal Tutorial by Anna-Karin Evaldsson with Eileen Hull Sizzix Book Club Chapter 2](https://blogger.googleusercontent.com/img/b/R29vZ2xl/AVvXsEi_8DdZXvK1scA4isGtuZ-6j40lnmfkx4xt_mbcNiO002JBqSQRlPWe32sem0rWGjRk9reT73idgupt_rI2jEN1NDi1IW0-U7W9b81Cs07EABYxKxbggcV0WQsCrm5DWsDarI2Um3QGdVhn/s1600/wrapped_journal2.jpg)
The Scoreboards dies cut and score the mat board. Carefully, fold slightly along the score lines, to prepare the mat board.
![Layers of ink - Blue Textured Wrapped Journal Tutorial by Anna-Karin Evaldsson](https://blogger.googleusercontent.com/img/b/R29vZ2xl/AVvXsEh8LKXA1i9MbFN_cz60sJSBQJ3ZYeBOvW2rcX8YyArDod6zUYX63kPnwHIcV1m1ih_Jo8lPerfMWhD0CfOp0SB_IilJPg88FbD2whXXmX88r6YGU8zfdXpQomPKXEURC9bQSoXOA2EunYI3/s1600/wrapped_journal3.jpg)
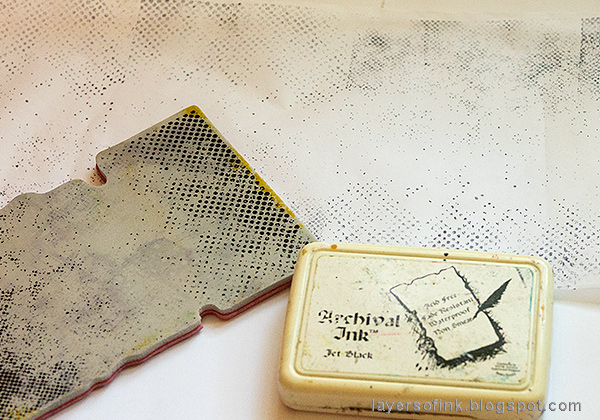
I wanted to create almost the look of leather and decided to use tissue paper. Stamp a piece of Tim Holtz Plain Collage Paper with his Halftone stamp. Make the paper slightly longer than the journal.
![Layers of ink - Blue Textured Wrapped Journal Tutorial by Anna-Karin Evaldsson](https://blogger.googleusercontent.com/img/b/R29vZ2xl/AVvXsEgdeMHSSzJe2VJY7-CEEc-q4Y8TqpQaXlehDAPtpJfabvR_uJMS406vroUp3yasH48xMX_39wyVt_X5eTw0dzdqqeBwGMVdKlPK5kIiikCTez3RFdubhzWam5PFGnyqaR_en3kpxMlwxzPs/s1600/wrapped_journal4.jpg)
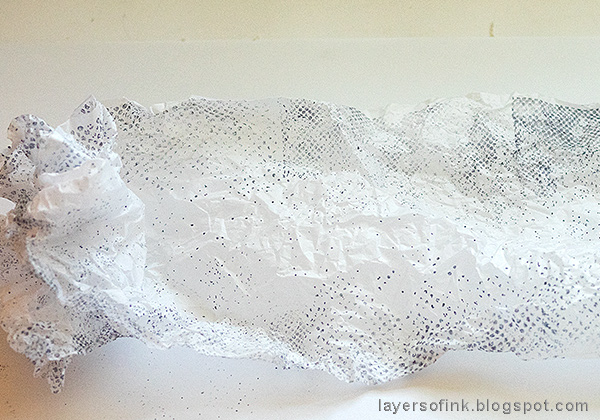
Crumble the tissue paper up.
![Layers of ink - Blue Textured Wrapped Journal Tutorial by Anna-Karin Evaldsson](https://blogger.googleusercontent.com/img/b/R29vZ2xl/AVvXsEhosHlrtLuOZ7CrbT-E0fV9NoJmXk09SL29rRIIfBTupDCoa_R0ngYLTePYgcMdg4xGPpR45KP68XGFBtAmIFw4Uq7ckgNlFiQTbOckcukhiQmrdEXVdI2V46jSv-9nD3c1vwOxSgFrx_wt/s1600/wrapped_journal5.jpg)
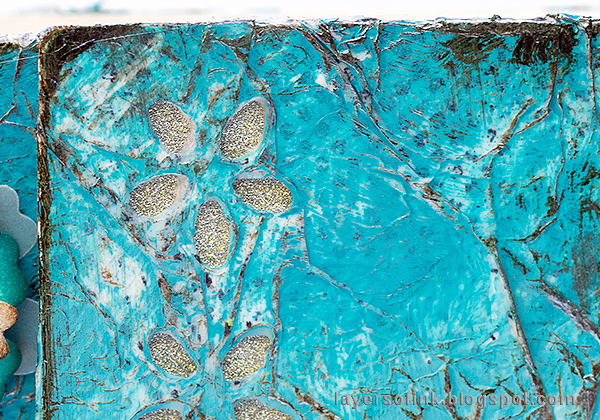
Adhere to the mat board with Matte Medium - one layer below and one above. Make sure to add crinkles to the tissue paper. If you want less texture, adhere it flat instead. Use a needle tool to remove the tissue from the flowers and holes.
![Layers of ink - Blue Textured Wrapped Journal Tutorial by Anna-Karin Evaldsson](https://blogger.googleusercontent.com/img/b/R29vZ2xl/AVvXsEi521m9yadHlzl7eaLswSlr1k8U6bvFYFvGQNSy-6w6OP_7N2-AW_nMtCCuaia4T9cLN5D7irRZo2z3Dn1QlZrcI8dZ35o2eocAOlx5B4mnS9Nsb2AFo4bff-BXXDR8OU_swjS49VZwWjaw/s1600/wrapped_journal6.jpg)
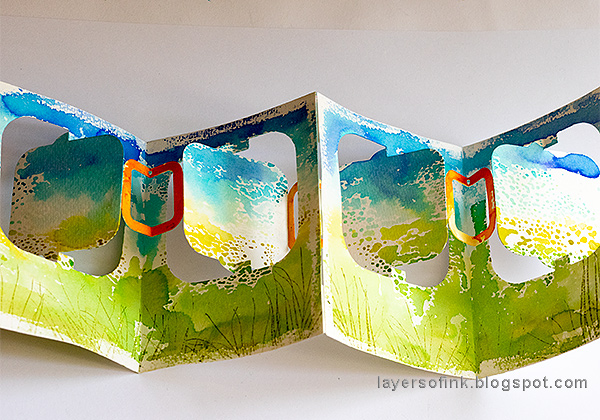
Paint with Distress Paint. I used three shades of blue/turqouise.
![Layers of ink - Blue Textured Wrapped Journal Tutorial by Anna-Karin Evaldsson](https://blogger.googleusercontent.com/img/b/R29vZ2xl/AVvXsEh7bU_Eq_QJ83eghszWKzsdKhTFCzy4x9rR4bU0r_AeJeo8QWgLSNdCu0OrkNs4xXfN8e2ZJVzoOcs2hWwoqkObHyzfmyewXW-hb21A6a50rhLMMmNGoH386AscTcbco0WYhbjqrrh1Kxt-/s1600/wrapped_journal7.jpg)
When the paint is dry, dry brush a little Ground Espresso on the cover, to increase the texture and give it a worn look.
![Layers of ink - Blue Textured Wrapped Journal Tutorial by Anna-Karin Evaldsson](https://blogger.googleusercontent.com/img/b/R29vZ2xl/AVvXsEiGl4Za-bgiP9LVp9LGO7QFWTvFoFMW-atpcm21OS8n5jsvv0SiA5DdIDOEbcnhp8fGoBDk0V1WWBN4RvlArMWTuxw05lJaqj2-G6J0zCg3wgwcMJCS0rB4EQkLC8g72C6t7AGu4ibrcx1t/s1600/wrapped_journal8.jpg)
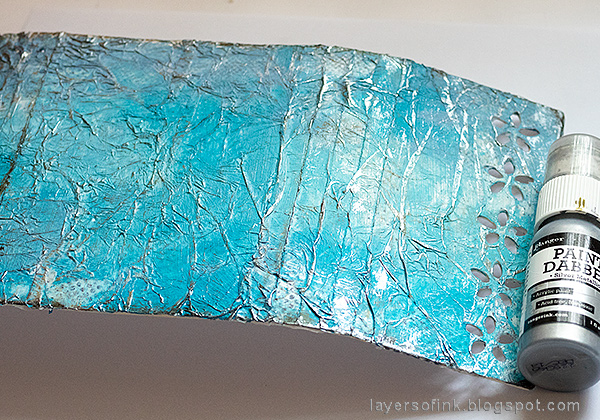
Dry brush silver paint, to make the cover shine.
![Layers of ink - Blue Textured Wrapped Journal Tutorial by Anna-Karin Evaldsson](https://blogger.googleusercontent.com/img/b/R29vZ2xl/AVvXsEhvjqn1hRp-XWNlziBk2ZTT6Ge1bvu37EhLTDgxKhDLl96MjeoWuivfK2v4NHh6ITFcbq_NIn6c2kZWQ8dhdBox5PnrKlCsmM0jIi3t_C-u_Q9cykjNNl1tTMd7j7HLFL_o5KcUqOC2MsoA/s1600/wrapped_journal9.jpg)
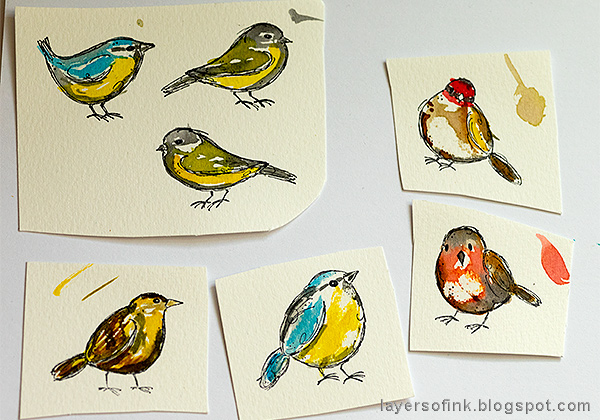
The Flowers & Leaves Journaling Cards die set die is so versatile and gives you many gorgeous flower and leaves in just one go. I only used the flower one. I die cut a whole bunch, from: vellum, cream paper, sticky-back canvas and silver Deco Sheet. Adhere the latter two to paper before die cutting.
![Layers of ink - Blue Textured Wrapped Journal Tutorial by Anna-Karin Evaldsson](https://blogger.googleusercontent.com/img/b/R29vZ2xl/AVvXsEih3hdQji8n6IJuRjOFF-YjeK0qe1U5bcfLHx-QgJQV0PLiS8gg9lX32_JZ5SiEhYiTNVJr38g5vwluamw6VIhBPdbsEc7krCsvJzlJQcOl8G2LGxZmVD7ho-bDIYzMz4-0CoaYzg1RodyM/s1600/wrapped_journal10.jpg)
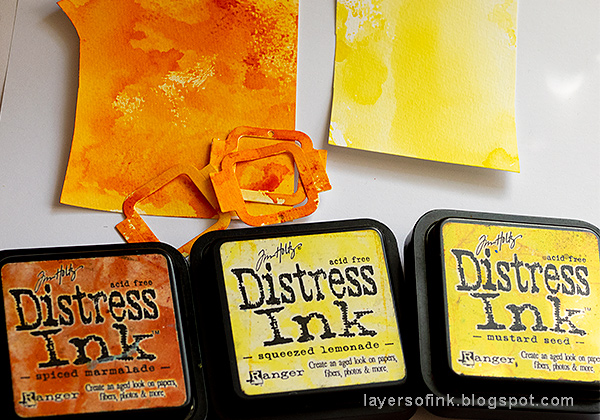
Ink the flowers with Distress Inks.
![Layers of ink - Blue Textured Wrapped Journal Tutorial by Anna-Karin Evaldsson](https://blogger.googleusercontent.com/img/b/R29vZ2xl/AVvXsEhPevUbeuvsiBEbaMbzSc2cSQUwfJFAY5ZVGEAQPyock-RGkEQ8CA-wyimGcYEDqlxhfx_GogQ0p-A9bPsckayC2VC74ad13o4j__ur0KqiocuYfSF1ALlzvCdrntv9Q0l3J_Zt-pitJWxW/s1600/wrapped_journal11.jpg)
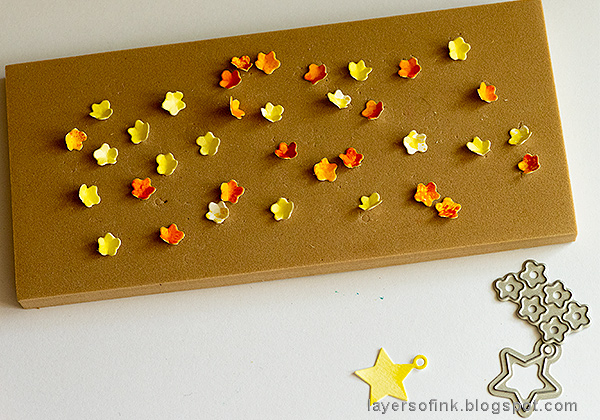
Mist them with Wendy Vecchi Pearl Mica Spray for gorgeous shine.
![Layers of ink - Blue Textured Wrapped Journal Tutorial by Anna-Karin Evaldsson](https://blogger.googleusercontent.com/img/b/R29vZ2xl/AVvXsEjlp0FTX4s0Am80xvsr4hDCS5U_u5FaAdV3VHNkislaUzf10W6RKUnYRUUIK0cPwmqxn_9x-tvpqNZ168tYQB8Wv0w6jULZKCRo92Cfjj5UxIJVbHssddY2MHX7q-wL21zutVhMgk-MQS-D/s1600/wrapped_journal12.jpg)
Use the Sizzix Paper Sculpting kit to shape the flowers. This gives them life.
![Layers of ink - Blue Textured Wrapped Journal Tutorial by Anna-Karin Evaldsson](https://blogger.googleusercontent.com/img/b/R29vZ2xl/AVvXsEgdoGp8zy1lydn96tuff2i235tsbFDo4AUyBz650B900UARI7xtiwXb55Gc3NaKqIz3MdvgNVsQRV-2eNp11viNU-F-sCUwuHgN85a37wKjE35slcSyRQ3Rtg-s_eS-9N_UBcsEwzbIrahe/s1600/wrapped_journal17.jpg)
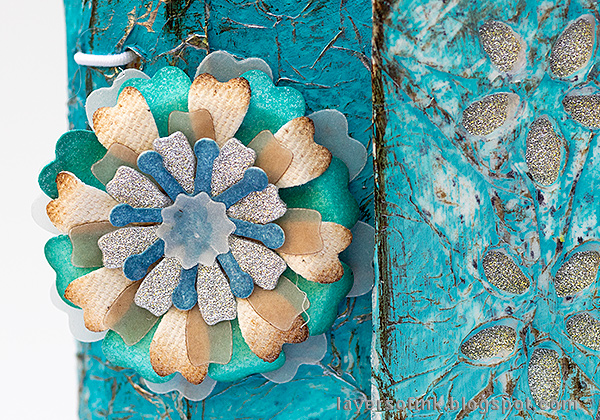
Layer the flowers and glue them together, or use a brad. I have leftover flowers for future projects too.
![Layers of ink - Blue Textured Wrapped Journal Tutorial by Anna-Karin Evaldsson](https://blogger.googleusercontent.com/img/b/R29vZ2xl/AVvXsEguY5e8KfT6aFllHVN5k8nbZM1gb_avA7gaCXzhTt0AAdDpT8uF_6o1wQKosmdeE2R1Is-dGQkpIFCWQUpJBuVjrlb7lU0-q09Py0p7CTH-cExyFyyZE5eW3mCsHo_VloEhs7e-W-eT45r2/s1600/wrapped_journal13.jpg)
The wrapped journal can be bound in different ways. I used an elastic string.
![Layers of ink - Blue Textured Wrapped Journal Tutorial by Anna-Karin Evaldsson](https://blogger.googleusercontent.com/img/b/R29vZ2xl/AVvXsEggCUKMBGjjpVtRW7ZQtiGlC84v4AXf532cnMiR2Kq6xMX2GejO9gKbaWmCUtwYcsNHzO1Tr1_kFXYHFOS2dseEY4DVS0vuTYolqELvwa-R_nTMhNKE61ltbnjtQ_nYcH87Cw4fb0slGnAv/s1600/wrapped_journal14.jpg)
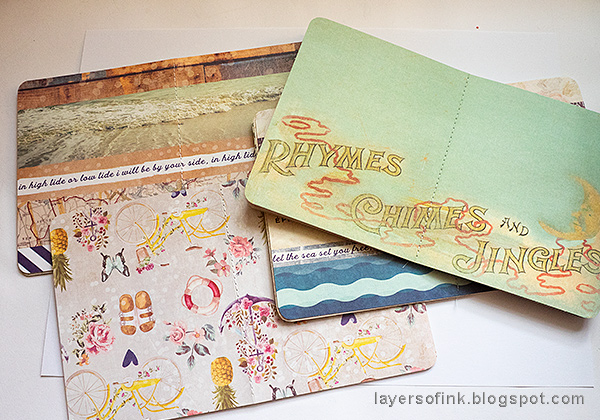
For the inside pages, I used a whole bunch of patterned papers, mainly by Prima, mixing neutral and more patterend papers. Cut papers for the inserts about 7.7 x 4.7 in (19.5 x 12 cm) and fold in half. Arrange into four signatures. The amount of papers in each signature depends on the thickness of your paper. I used five sheets and stitched down the centers. You can also leave them lose or use stapels.
![Layers of ink - Blue Textured Wrapped Journal Tutorial by Anna-Karin Evaldsson](https://blogger.googleusercontent.com/img/b/R29vZ2xl/AVvXsEj824LC_QumHrcT4PYdpAJCzKW51ufqRAi70jbhjzAT5soPkWU3qlEPuf0mp9I2QwOc3wAWY_iAi6qlpHZ-DcyjDAe_QeR1TmaSc1btKl2fWmyYFijCOW5Sfz9h58vQOqf5F0n6OJAUqy1B/s1600/wrapped_journal25.jpg)
Tuck the signatures under the elastic cords. It is easy to remove and change the order of the signatures for the recipient.
![Layers of ink - Blue Textured Wrapped Journal Tutorial by Anna-Karin Evaldsson](https://blogger.googleusercontent.com/img/b/R29vZ2xl/AVvXsEjpFIVF9AG8b76uuMyjduS8t3CGMH3WkqwZ3RVm0U-9DFZqeIfJzd-tC96Gw9wP6iAZl1QQTRA-3TX3SGA9ZhkIHA6Csfh1kx_rvAhyphenhyphenRZ_Qz_KWvFG9rb2POhQ8h-uK5O9Z0bqGRF5oGt3T/s1600/wrapped_journal15.jpg)
I tied a piece of lace around the journal as a closure and glued it to the spine. I also tied two blue beads to the elastic cords.
![Layers of ink - Blue Textured Wrapped Journal Tutorial by Anna-Karin Evaldsson](https://blogger.googleusercontent.com/img/b/R29vZ2xl/AVvXsEjb90Wq-z5UCHE0y3vAZxyMZP66YDVCcvSHYOTvX7aPJLzQp6vxVPmI4CMOqceRvrLxVbaULpoyJBSbGSPD1FvDk8jr3gOgptd_kbLsJ81429bT6ryISVr-6coKUHCUUQQy_WNu5fpcACjc/s1600/wrapped_journal16.jpg)
I added a piece of silver Deco Sheet under the flowers.
![Layers of ink - Blue Textured Wrapped Journal Tutorial by Anna-Karin Evaldsson](https://blogger.googleusercontent.com/img/b/R29vZ2xl/AVvXsEj4LLzFLBsvXB3FDTZbuDNi2vB4NpazcTI7DsHr9SgdKXrtx8ecE_V1Z7A75cj21tzhWL4QFForan9H9IN7WvzOPQ3RyEDLMn8Nxq331WDyAN3kmm7O0bHcvJdOJRgZ3LOKvA6A2y9kN0MK/s1600/wrapped_journal18.jpg)
Glue the dimensional flowers to the cover. I like the mix of materials in the flowers.
![Layers of ink - Blue Textured Wrapped Journal Tutorial by Anna-Karin Evaldsson](https://blogger.googleusercontent.com/img/b/R29vZ2xl/AVvXsEhS8yU448yM3Nb-VZ0h1fV_498iE2KhGIOVoapnsYgR_nSQtNCo_6tgKOIMhDEtFtWVcS-IkSdnUfb2BAjcevLfbWQOwZgXuzw4bVBQX3u0-HqBlTcHqrC0tbLAgOyWeWJWtEqwgFw94DO7/s1600/wrapped_journal19.jpg)
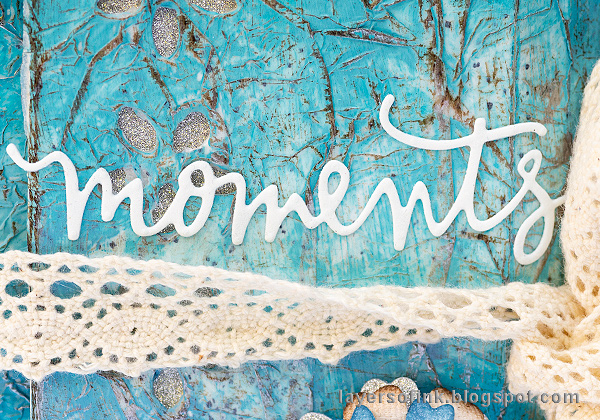
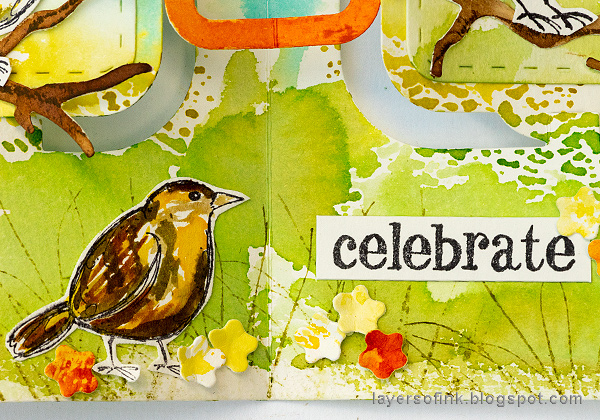
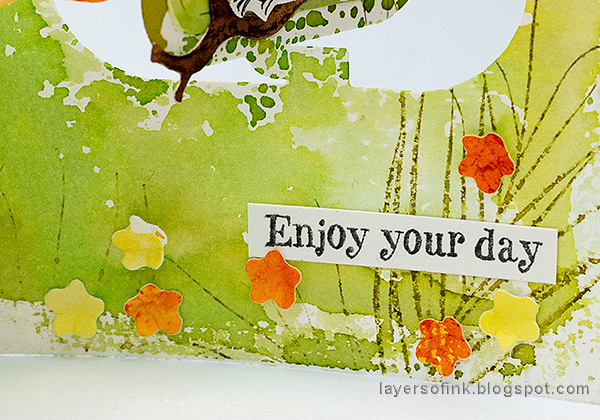
I used a die cut word from Eileen's Floral Arch and Words set, as a title for the journal.
![Layers of ink - Blue Textured Wrapped Journal Tutorial by Anna-Karin Evaldsson](https://blogger.googleusercontent.com/img/b/R29vZ2xl/AVvXsEhUeESO_7hLn3zSdu3pS5VlpsSvxejf3UvLuKqi6XWRMqYxi6-hDv-ALfln7Zxlqi9OgtlqoL1p_G9pbaKpH7w_THXTRydq1ESUgMllx7mMmU-7LUT-Lz9YV0x0nh_dqTh4K2ralOst22VC/s1600/wrapped_journal20.jpg)
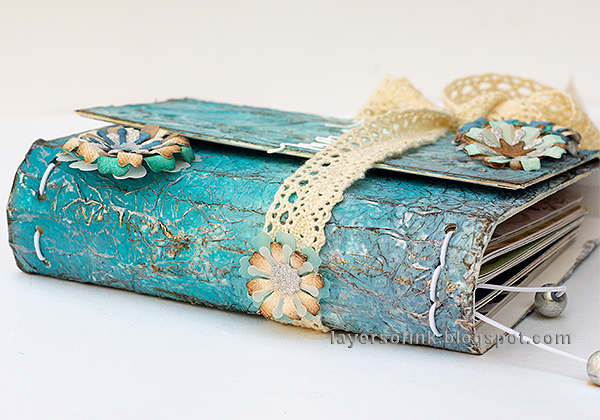
The Wrapped Journal is very chunky and feels nice to the touch. You can fold the top flaps both ways, but since I wanted the die cut flower border to show, this was the best way for this journal. If you have a look at my first wrapped journal, you'll see that I folded the cover the other way around there.
![Layers of ink - Blue Textured Wrapped Journal Tutorial by Anna-Karin Evaldsson](https://blogger.googleusercontent.com/img/b/R29vZ2xl/AVvXsEjeltANXWk-zwIgxTry-VywGSnkZUFvfliWDjXL7xoTubElvrenXlDq6Cwail0kDWUBij-b6AM5UhaFOrP9V_67u45L7J3qG3h-sE_cowh32ThdbqfPY8KgrJCgtWOp4hpfdD4l3Rkk7e8S/s1600/wrapped_journal21.jpg)
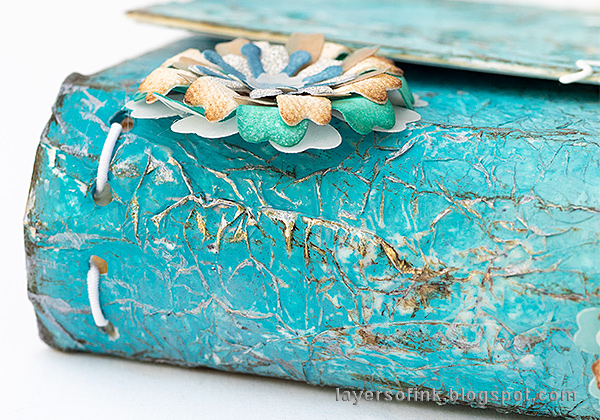
The brown and silver dry brushing adds a nice texture to the cover.
![Layers of ink - Blue Textured Wrapped Journal Tutorial by Anna-Karin Evaldsson](https://blogger.googleusercontent.com/img/b/R29vZ2xl/AVvXsEjVIOBNg_YhkegRVKvax1xH2fXoG4MYiU_lPmXnn4sOZw8mcE7XqldHr_RHSxZX3zX1S7jLetPI7ft_tkKGPWif-YriX6_y6s5EnV3tH9eKLqSmTKvMDZYxO1iTpSMR420bW_tUwTKFezni/s1600/wrapped_journal22.jpg)
You can also embellish the back, but I decided to keep it plain.
![Layers of ink - Blue Textured Wrapped Journal Tutorial by Anna-Karin Evaldsson](https://blogger.googleusercontent.com/img/b/R29vZ2xl/AVvXsEg801iPre6PBGNNgQZO3IuFghgGZgIV6eIj6BGjLHWOZlaIP4uya7LQ6uRRFT7KNItNbHBsQiGtS3nTpSlojfjZbZICRfe0lpizctoEPmhDxBiNXmrnY5vPpTvG-3cVpcK63lfC-ISK4P0d/s1600/wrapped_journal23.jpg)
In my first wrapped journal, I used only cream papers, but this one was meant for both photos, ephemera and notes, and I thought patterned papers would be fun.
![Layers of ink - Blue Textured Wrapped Journal Tutorial by Anna-Karin Evaldsson](https://blogger.googleusercontent.com/img/b/R29vZ2xl/AVvXsEgbHq3Rx2BQYo3CjtjKqmToVbQ0f22CoBetSMw51GgRH5x7drzu6eRTdSd4CPJIhCIUeqXWIIyK-HPKWRjnBjnggJRgb9cOfHq3j7AUp991ABVzUhhJjwJ8ahn4ID1KFZmg4BgyU321n5Q9/s1600/wrapped_journal24.jpg)
Here's a look at the journal from the top.
![Layers of ink - Blue Textured Wrapped Journal Tutorial by Anna-Karin Evaldsson](https://blogger.googleusercontent.com/img/b/R29vZ2xl/AVvXsEir9NEq0ym0QPg8MZRVRYD4MuXqriwVOyxDyZdG2eoK1L7OAEW7LD3yfZBNxvZ1gIRXO2i4EkBiJCCICZ_onEni-Osv6nXIzzubPLUvvpAKIbHlbEfaICyDCU9nP9LbVgxq4BMZgQmmw4Rc/s1600/wrapped_journal27.jpg)
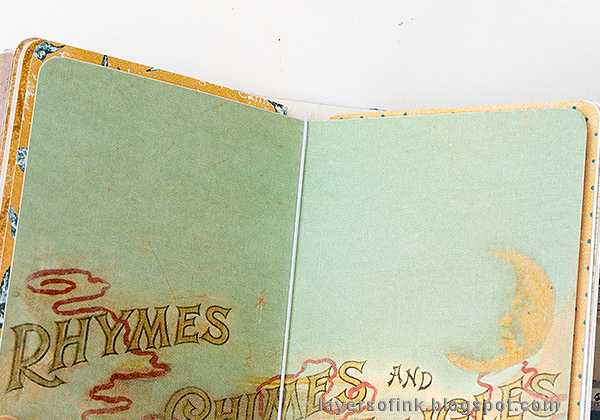
I used a mix of papers, including some baby themed papers, since I was planning that my sister would use the journal to collect photos and memories for her baby.
Thank you so much for looking at this post and I hope it inspired you to make some journals.
Happy crafting!
Anna-Karin
Supplies:
* Please note: the links are affiliate links, for which I receive a small percentage of sales generated by the link, at no extra cost to you.
![](https://linkdeli.s3.amazonaws.com/public/placeholders/7fe793f3-abc8-4aef-b981-7441940cee3f.jpg)