Hi all! Today I have a Sizzix tutorial which I can finally share with you. It was a birthday gift to my sister, so I had to wait for her birthday before sharing it.
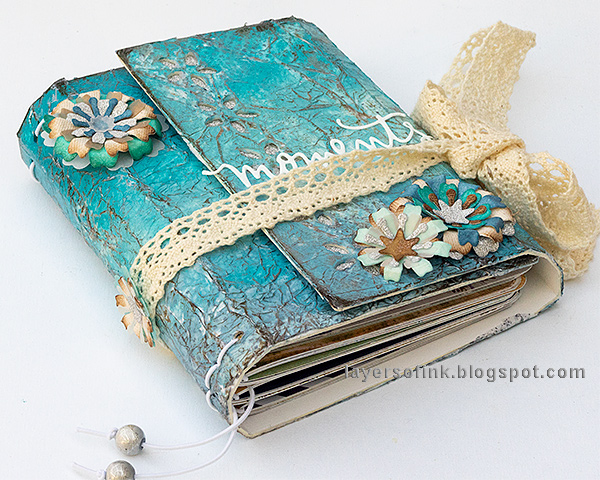
I made a wrapped journal with lots of texture and some pretty flowers, using Eileen Hull's Book Club Chapter 2 collection. The journal can easily be customized to fit any theme. The wrapped journal is a nice and chunky size (4.7 x 5.1 in folded), and perfect as a gift.

Start by die cutting the Wrapped Journal from mat board, placing the Floral Cutouts to the far right on the Wrapped Journal die, where there is a very useful space for Movers & Shapers dies. This step cuts a pretty flower border, in just one go. Use this sandwich: Extended Cutting Pad, die facing up, mat board, second Extended Cutting Pad. This is an XL die, but fits perfectly in the ordinary Big Shot or Vagabond.

The Scoreboards dies cut and score the mat board. Carefully, fold slightly along the score lines, to prepare the mat board.
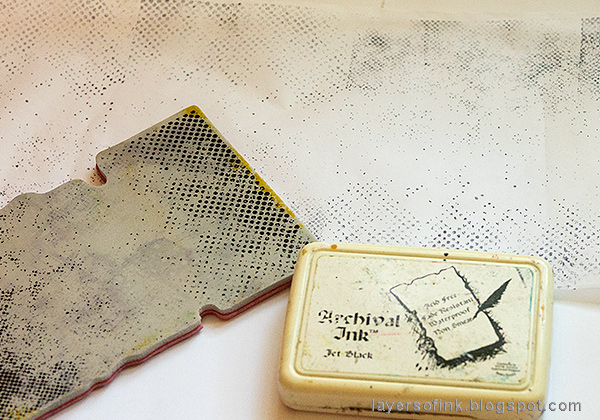
I wanted to create almost the look of leather and decided to use tissue paper. Stamp a piece of Tim Holtz Plain Collage Paper with his Halftone stamp. Make the paper slightly longer than the journal.
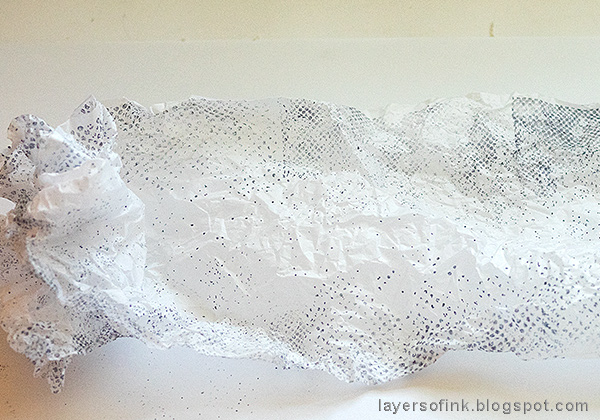
Crumble the tissue paper up.

Adhere to the mat board with Matte Medium - one layer below and one above. Make sure to add crinkles to the tissue paper. If you want less texture, adhere it flat instead. Use a needle tool to remove the tissue from the flowers and holes.

Paint with Distress Paint. I used three shades of blue/turqouise.

When the paint is dry, dry brush a little Ground Espresso on the cover, to increase the texture and give it a worn look.
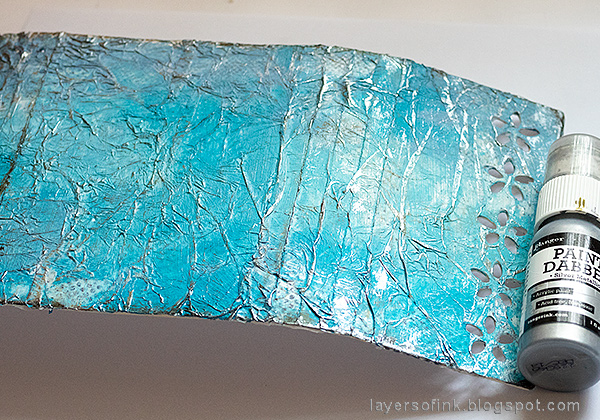
Dry brush silver paint, to make the cover shine.

The Flowers & Leaves Journaling Cards die set die is so versatile and gives you many gorgeous flower and leaves in just one go. I only used the flower one. I die cut a whole bunch, from: vellum, cream paper, sticky-back canvas and silver Deco Sheet. Adhere the latter two to paper before die cutting.

Ink the flowers with Distress Inks.

Mist them with Wendy Vecchi Pearl Mica Spray for gorgeous shine.

Use the Sizzix Paper Sculpting kit to shape the flowers. This gives them life.
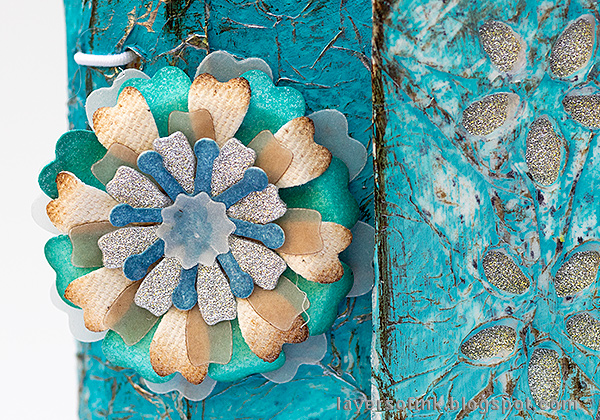
Layer the flowers and glue them together, or use a brad. I have leftover flowers for future projects too.

The wrapped journal can be bound in different ways. I used an elastic string.
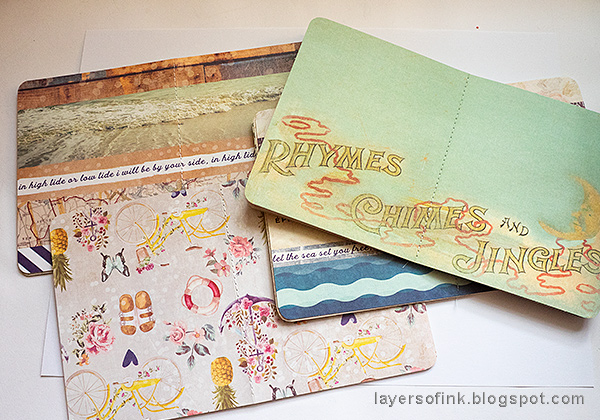
For the inside pages, I used a whole bunch of patterned papers, mainly by Prima, mixing neutral and more patterend papers. Cut papers for the inserts about 7.7 x 4.7 in (19.5 x 12 cm) and fold in half. Arrange into four signatures. The amount of papers in each signature depends on the thickness of your paper. I used five sheets and stitched down the centers. You can also leave them lose or use stapels.

Tuck the signatures under the elastic cords. It is easy to remove and change the order of the signatures for the recipient.

I tied a piece of lace around the journal as a closure and glued it to the spine. I also tied two blue beads to the elastic cords.
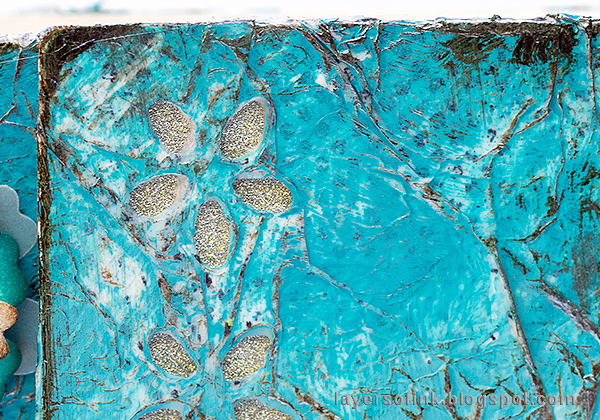
I added a piece of silver Deco Sheet under the flowers.
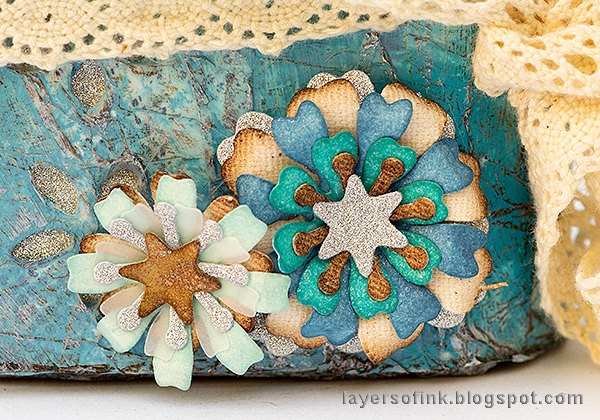
Glue the dimensional flowers to the cover. I like the mix of materials in the flowers.
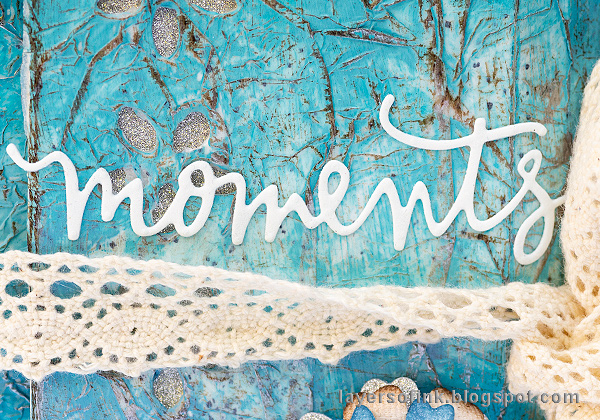
I used a die cut word from Eileen's Floral Arch and Words set, as a title for the journal.
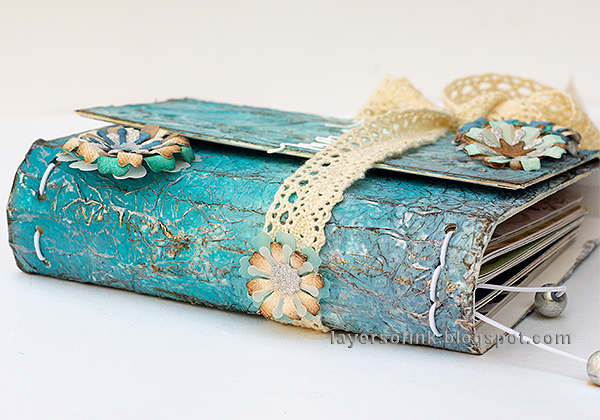
The Wrapped Journal is very chunky and feels nice to the touch. You can fold the top flaps both ways, but since I wanted the die cut flower border to show, this was the best way for this journal. If you have a look at my first wrapped journal, you'll see that I folded the cover the other way around there.
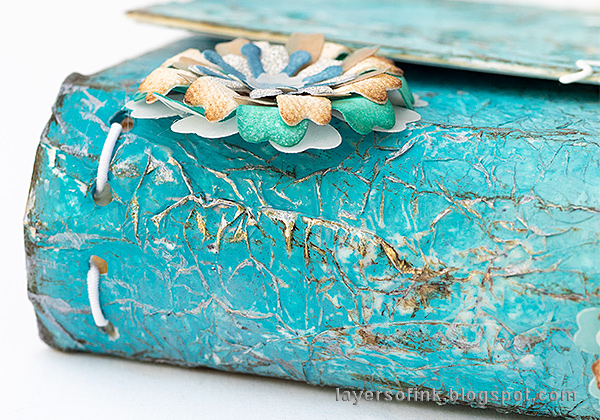
The brown and silver dry brushing adds a nice texture to the cover.

You can also embellish the back, but I decided to keep it plain.

In my first wrapped journal, I used only cream papers, but this one was meant for both photos, ephemera and notes, and I thought patterned papers would be fun.

Here's a look at the journal from the top.
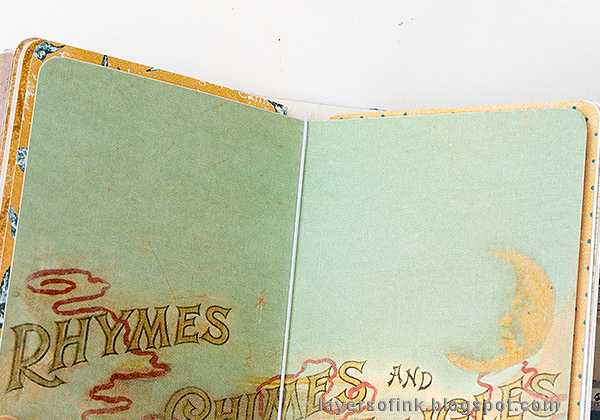
I used a mix of papers, including some baby themed papers, since I was planning that my sister would use the journal to collect photos and memories for her baby.
Thank you so much for looking at this post and I hope it inspired you to make some journals.
Happy crafting!
Anna-Karin
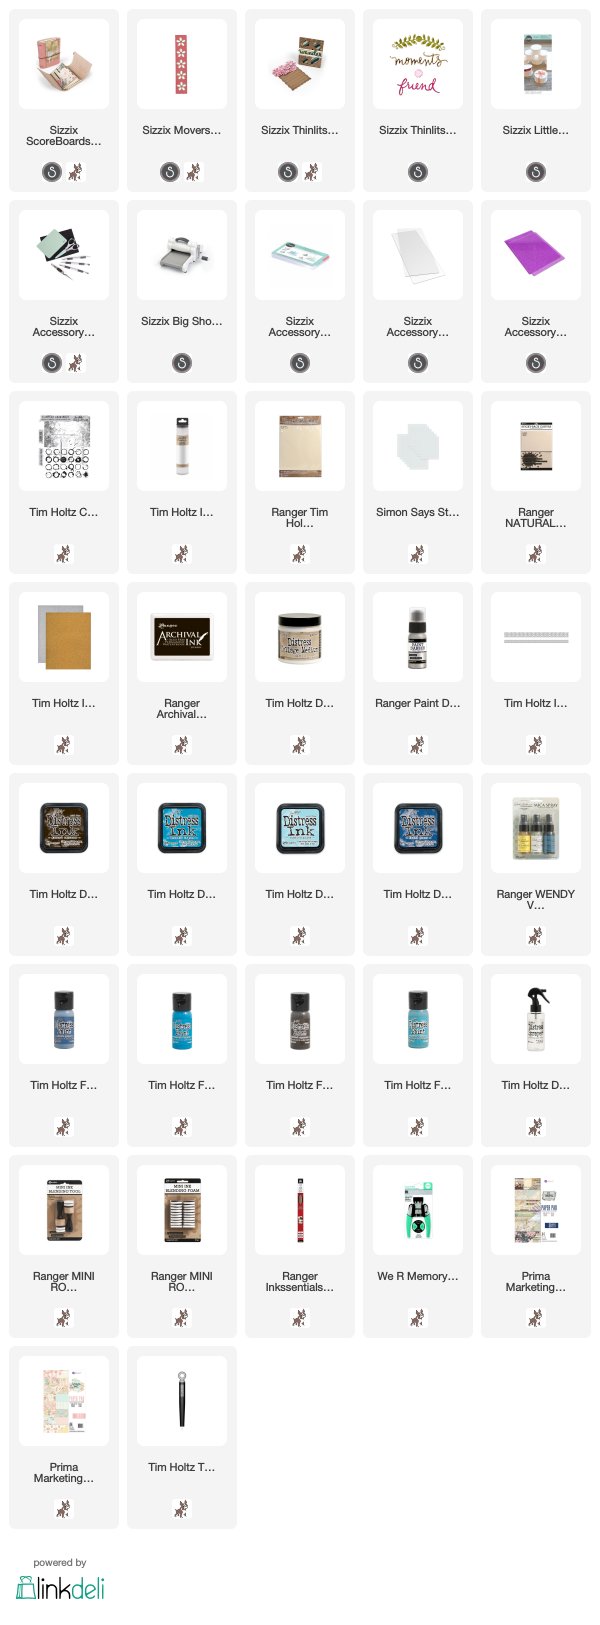
Supplies:
* Please note: the links are affiliate links, for which I receive a small percentage of sales generated by the link, at no extra cost to you.

Anna-Karin, this is such a lovely gift for your Sister! The cover really does have a look of wonderfully worn leather. The flowers are beautiful and I love that the signatures have been made with patterned paper. Your Sister is a very lucky lady! Hugs, Anne xx
ReplyDeleteThis is a gorgeous gift I love those blues and what a fantastically useful die so glad you shared this You work so hard, all the ideas and inspiration really are appreciated x Amanda
ReplyDeleteOh my goodness, this is GORGEOUS!!! I am sure your sister LOVED this!!! I am going to HAVE to get me this die ASAP!!! LOVE it :-)
ReplyDeleteluv
Lols x x x