Showing posts with label Layout. Show all posts

Tuesday, July 28, 2026

Smile Layout

Hello friends! Today I have a scrapbooking layout to share, with stitching and patterned paper.

Please note: this post has affiliate links, for which I receive a small percentage of sales generated by the link, at no extra cost to you.

Layers of ink - Smile Layout by Anna-Karin Evaldsson.

I wanted to use a mix of Tim Holtz Palette paper, and in particular the collage papers with all the small details. All I added was some ephemera, die cut butterflies, a title and some stamped sentiments. I used an old childhood photo.

Use Tim Holtz Palette paper.

I started by cutting out pieces from the collage papers in various Palette Paper 8x8 in sets, picking designs that I liked, or that fit the theme.


Arrange them on a background paper, distress the edges and then stitch around the design with both straight and zigzag stitches.

Stitch around the paper.

The background is kraft paper and I added more Palette paper, distressed the edges and stitched another frame.

Die cut Tim Holtz Alphanumeric Bulletin.

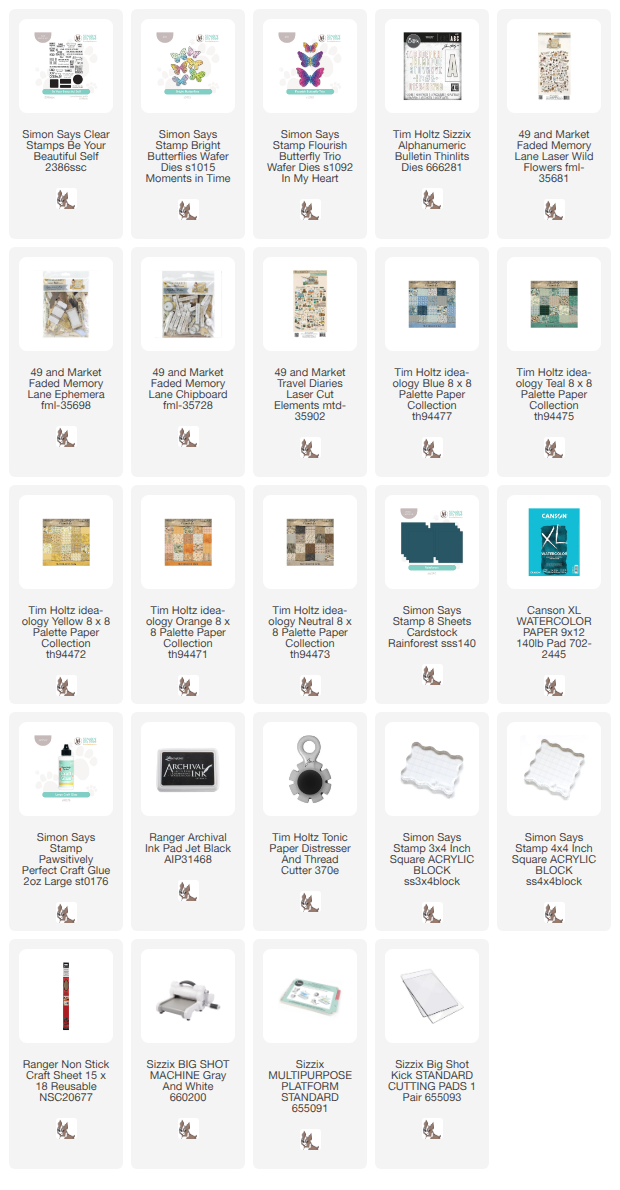
I really like Tim Holtz Sizzix Alphanumeric Bulletin letters and die cut the title from another pieces of palette paper and from Simon Says Stamp Rainforest cardstock.


Butterflies were die cut from more patterned paper with Simon Says Stamp Bright Butterflies. The bodies come from Simon Says Stamp Flourish Butterfly Trio.


I used ephemera from 49 and Market Faded Memory Lane ephemera and chipboard sets and sanded the edges slightly.


Glue the title and add lace trim underneath as a border.


This sentiment also comes from Simon Says Stamp Be Your Beautiful Self. 


A few more flowers and a butterfly. 


Happy crafting!

Anna-Karin

Supplies:

* Please note: the links are affiliate links, for which I receive a small percentage of sales generated by the link, at no extra cost to you.


Happy crafting!

Anna-Karin

Supplies:

* Please note: the links are affiliate links, for which I receive a small percentage of sales generated by the link, at no extra cost to you.


Monday, July 6, 2026

Read Layout

Hi crafters! I hope your weekend was good and with some crafty time. 

Please note: this post has affiliate links, for which I receive a small percentage of sales generated by the link, at no extra cost to you.


This week we have a Back to School theme at the Simon Says Stamp Monday Challenge Blog. I hope you will join us and don't miss the project by our July guest designer Rox aka Red Dirt Crafter.

Since it is the first Monday of a new month, the team is showcasing products by a specific designer / company and this week it is 49 and Market. You can find all their stunning paper products here. You don't have to use 49 and Market products to join, but it is fun if you do.

Layers of ink - Read Layout by Anna-Karin Evaldsson.

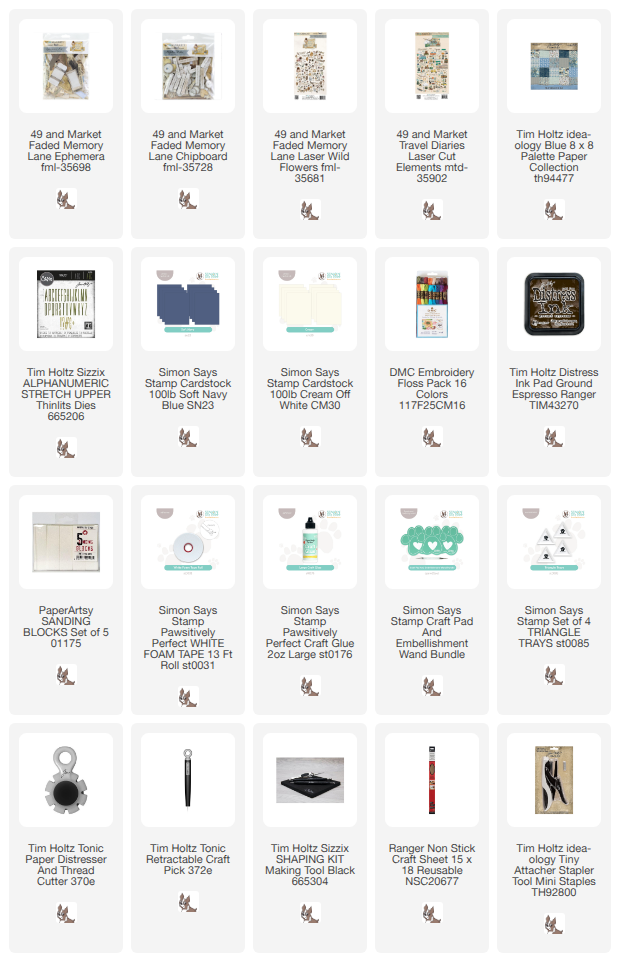
I made a scrapbooking layout this week, using an old school photo. I had fun playing around with pretty papers and ephemera and used 49 and Market: Faded Memory Lane Ephemera, Faded Memory Lane Chipboard, Faded Memory Lane Laser Wild Flowers and Travel Diaries Laser Cut Elements. All I added was a die cut title, buttons and lots of stitching.

Stitch the 49 and Market items.

I started by arranging various papers from 49 and Market Faded Memory Lane Ephemera on Simon Says Stamp Soft Navy Blue cardstock. The edges were distressed and inked. I stitched them to the background with my sewing machine, using a mix of straight and zig-zag stitching. The ephemera kit has 118 pieces, both larger and smaller, and lots of great sentiments.


I also used Faded Memory Lane Chipboard, such as this sentiment. The edges were sanded and some of them were inked.


The butterfly comes from Faded Memories Laser Cut Wild Flowers, fold up the wings.


More chipboard pieces. The vintage buttons were stitched to the background with DMC floss.


This faded coneflower print is so pretty! 

Add 49 and Market Travel Diaries Laser Cut Elements.

For the learning and reading theme, I for example added this pile of books and a globe from Travel Diaries Laser Cut elements. The edges were sanded. I also stitched two charms to the background. A key because reading opens doors and a plant, to fit with the floral theme. Isn't 'paper dreams' the perfect sentiments. Already from a very young age, I loved paper products.

Add 49 and Market Travel Diaries.

I added Simon Says Stamp Pawsitively Perfect Foam Tape behind one end of the banner, to give it dimension. Foam tape was also placed under the stack of books. The butterfly comes from Faded Memory Lane Laser Wild Flowers.

Die cut letters with Tim Holtz Alphanumeric Stretch Upper.

The title was die cut with Tim Holtz Alphanumeric Stretch Upper from Blue Palette Paper 8x8 in. I also added a map, folded, inked and shaped with foam tape, an open book and more chipboard elements, all from Faded Memory Lane. 

Add 49 and Market Faded Memory Lane.

Fold the book ephemera and shape. Add foam tape behind the covers and glue only along the spine.


I always liked ruler elements. 

Join us this week in our Back to School challenge! You have a chance to win a $25 gift voucher to do some fun shopping at Simon Says Stamp. You have until Monday 8am Ohio time. 1pm UK time, 2 pm CET to join in.


Do you use Instagram? If so please add #sssmchallenge so we can see your entries there too.


Thank you so much for visiting today! 

Happy crafting!

Anna-Karin

Supplies:

* Please note: the links are affiliate links, for which I receive a small percentage of sales generated by the link, at no extra cost to you.


Friday, November 29, 2024

Paint sampler layout

Hi friends! Today I have a scrapbooking page to share, but with techniques that can be used for cards or tags too. 

Please note: this post has affiliate links, for which I receive a small percentage of sales generated by the link, at no extra cost to you.

Layers of ink - Colorful Layout Tutorial by Anna-Karin Evaldsson.

Seasonal products can often be used for other themes too, and most of the products that I used here are from Christmas sets. When I saw the pretty paint sample page among Tim Holtz Christmas Backdrops and knew I wanted to use the full sheet on something. A scrapbooking page was perfect for that. I picked a photo of my grandmother, my mom and a on or her friends. 

Emboss through the stencil.

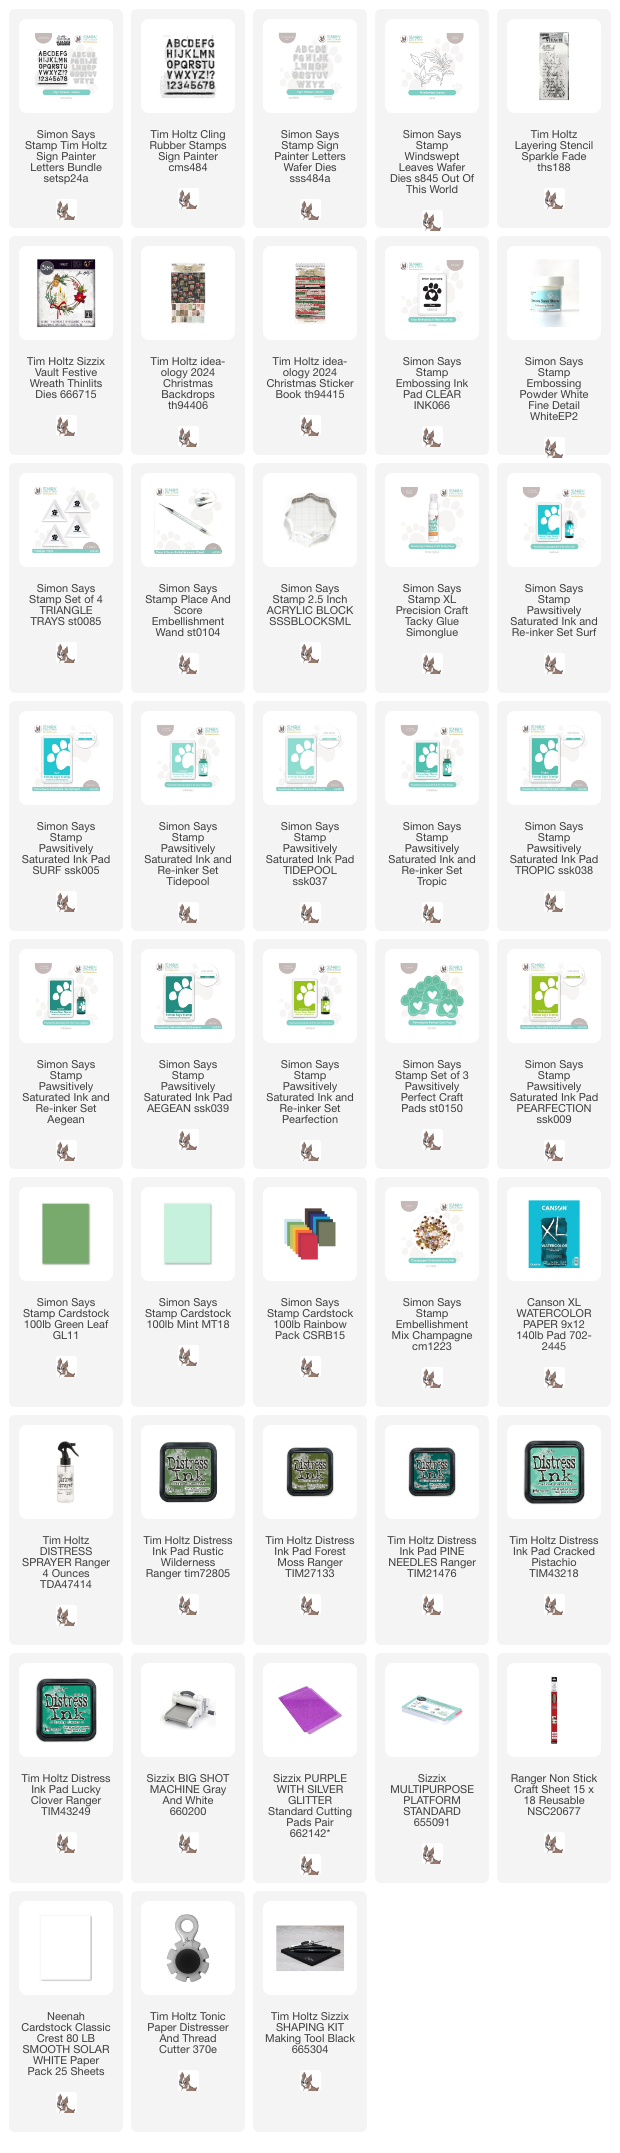
Start by applying embossing ink through Tim's Sparkle Fade stencil. Sprinkle with white embossing powder and emboss. I used watercolor paper as my base.

Ink with Distress Inks.

Smear Distress Inks on a non-stick craft sheet and mist with water. Press the paper into the ink. Let dry and repeat. The embossing resists the ink.

Stamp the title and die cut.

Stamp the title letters with Tim's Sign Painter set on a ledger piece of Backdrops paper. I used various green and turquoise Simon Says Stamp Pawsitively Saturated inks. I forgot to include Surf in the photo. Die cut with Simon Says Stamp Sign Painter coordinating dies.

Die cut foliage with Simon Says Stamp Windswept Leaves and Tim Holtz Vault Festive Wreath.

Die cut the poinsettia from Tim's Vault Festive Wreath set from shades of pink left-over inky or watercolored papers. Die cut some foliage from various scrap paper. The Simon Says Stamp Windswept Leaves were die cut from Mint cardstock.

Assemble the flowers.

Shape the flowers just a little and then glue in clusters to the layout. Tuck foliage in here and there.


The Sparkle Fade is such a pretty stencil and worked well with the distressed look of the embossing. I used stickers from Tim's Christmas Sticker Book.


Distress the edges of all the papers to add dimension.

Pink paper flowers.

The largest cluster is under the photo, to help draw the eye to the photo.


I am very fond of alphabet stamps and being able to stamp and die cut my own words. Having coordinating dies makes it even easier. There is a strip of Christmas Backdrops paper under the title.


Thank you for visiting!

Happy Christmas crafting!

Anna-Karin

Supplies:

* Please note: the links are affiliate links, for which I receive a small percentage of sales generated by the link, at no extra cost to you.


Monday, October 10, 2022

Autumn Scrapbooking Layout

Hello friends! I hope you had a good weekend. We had lovely sunny autumn weather and did an outing to a favorite place. 

Please note: this post has affiliate links, for which I receive a small percentage of sales generated by the link, at no extra cost to you.


This week we have a fall inspiration mood board as our theme at the Simon Says Stamp Monday Challenge Blog. I hope you will create something inspired by this gorgeous mood board. Don't miss the beautiful project by our October guest Lori E Kennedy aka cr8tive_lori.


I was inspired to do a scrapbooking page this week.


Layers of ink - Autumn Scrapbooking Layout Tutorial by Anna-Karin Evaldsson.

Last week, we had this misty weather one morning and I just had to go for a walk in the forest and also took a bunch of photos. It was so beautiful and when I saw the mood board it inspired me to scrap some of those photos. I embellished the layout with lots of stamping, birds and mushrooms. You can use the techniques for cardmaking too.

Layers of ink - Autumn Scrapbooking Layout Tutorial by Anna-Karin Evaldsson. Color with Distress Ink.

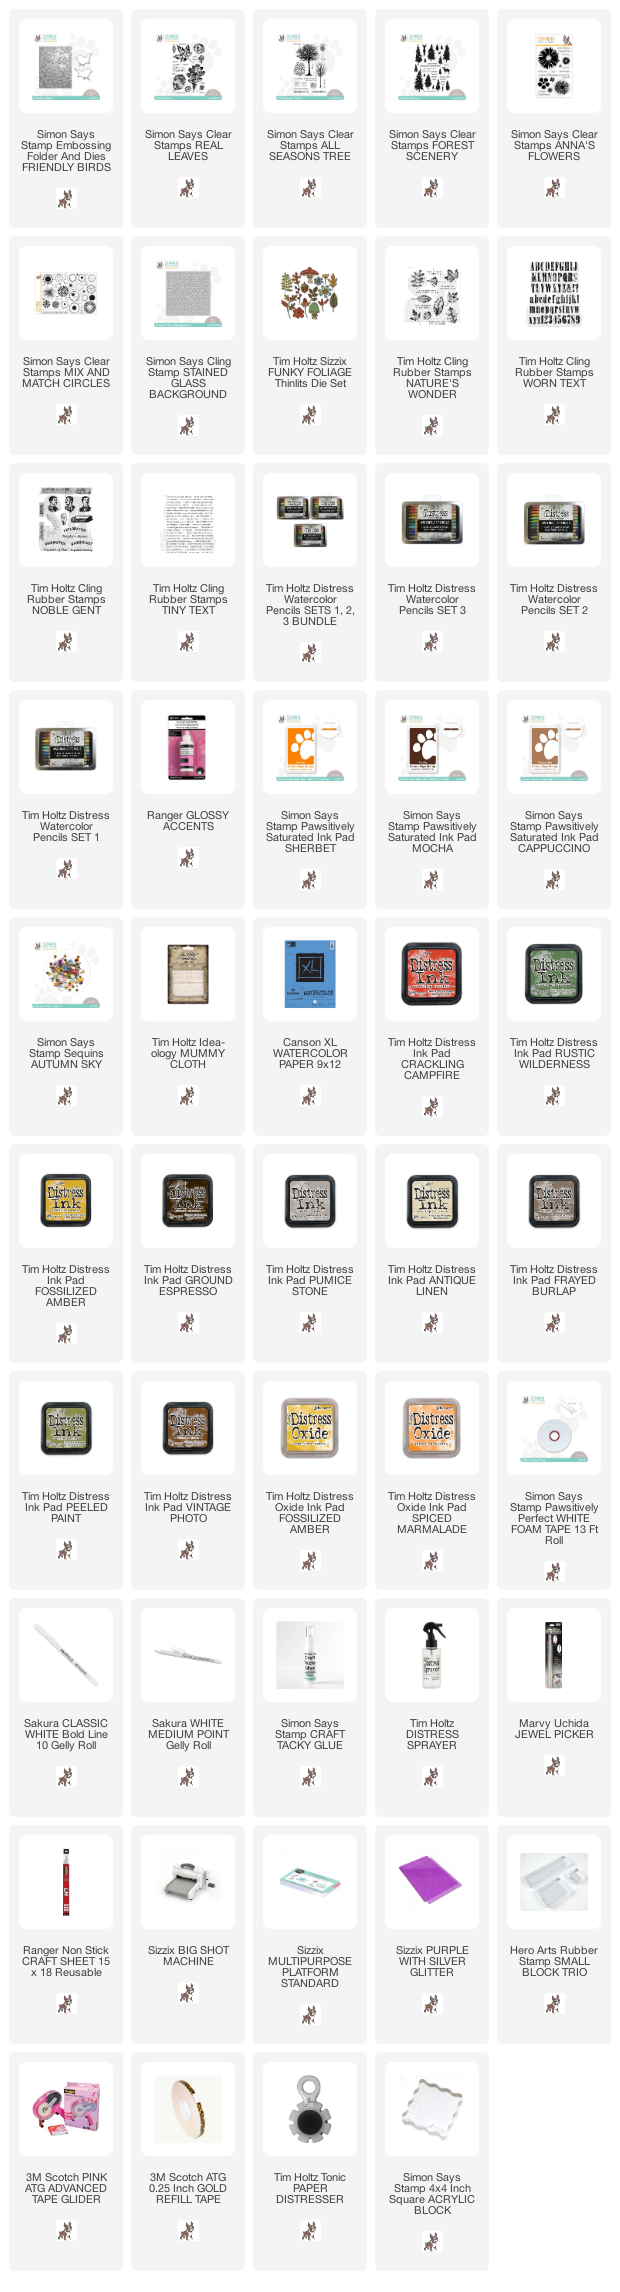
I started with watercolor paper. Smear Distress Ink on a non-stick craft sheet, mist the water and press the paper into the ink. The grey background was inspired by the moodboard.

Layers of ink - Autumn Scrapbooking Layout Tutorial by Anna-Karin Evaldsson. Stamp with Simon Says Stamp All Seasons Tree and Real Leaves.

When dry, plan where the photos will go and stamp sentiments and images around them. I stamped with both Distress Ink and Simon Says Stamp Pawsitively inks. The Simon Says Stamp Real Leaves were inked with Distress ink and misted with water before stamping.

Layers of ink - Autumn Scrapbooking Layout Tutorial by Anna-Karin Evaldsson. Stamp with Simon Says Stamp Stained Glass.

For texture, stamp here and there with Simon Says Stamp Stained Glass Background and Sherbet Pawsitively Saturated ink.

Layers of ink - Autumn Scrapbooking Layout Tutorial by Anna-Karin Evaldsson. Splatter with Distress Watercolor Pencils.

Dip the tip of Distress Watercolor Pencils in water and flick a paint brush against it to create splatters.

Layers of ink - Autumn Scrapbooking Layout Tutorial by Anna-Karin Evaldsson.

I die cut mushrooms from Sizzix Tim Holtz Funky Foliage from watercolor paper. The birds were die cut and then embossed with Simon Says Stamp Friendly Birds embossing and die combo from the newest Cozy Hugs release. Color by picking up pigment with a paint brush from the tip of Distress Watercolor Pencils.

Layers of ink - Autumn Scrapbooking Layout Tutorial by Anna-Karin Evaldsson. Simon Says Stamp Friendly Birds.

Last week, I stamped and colored a robin for my project. This week we are seeing robins again, but die cut and embossed. I really like the emboss and die cut combos of Simon Says Stamp. Highlights were added with a white gel pen.

Layers of ink - Autumn Scrapbooking Layout Tutorial by Anna-Karin Evaldsson.

For more Friendly Birds, check out my blue tits autumn tag and bullfinch art journal page from the Simon Says Stamp Cozy Hugs blog hop. You will also see all the steps for how to create the birds there.

Layers of ink - Autumn Scrapbooking Layout Tutorial by Anna-Karin Evaldsson.

The Tim Holtz sentiments were stamped with Simon Says Stamp Cappuccino and Sherbet Pawsitively Saturated inks.

Layers of ink - Autumn Scrapbooking Layout Tutorial by Anna-Karin Evaldsson. Stamp with Simon Says Stamp Real Leaves.

I placed the Simon Says Stamp Real Leaves in empty areas of the background. Add Simon Says Stamp Autumn Sky sequins here and there.

Layers of ink - Autumn Scrapbooking Layout Tutorial by Anna-Karin Evaldsson. Stamp with Simon Says Stamp All Seasons Tree.

To stamp the tree with Simon Says Stamp All Seasons Tree, first stamp the crown with Distress Ink and Distress Oxide inks (I stamped it twice). Ink the trunk and a few branches brown on the tree stamp, mist with water and stamp. The deer comes from Simon Says Stamp Forest Scenery. I also painted ground with the Distress Watercolor Crayons.

Layers of ink - Autumn Scrapbooking Layout Tutorial by Anna-Karin Evaldsson.

After coloring and assembling the mushrooms, I added Glossy Accents to the tops.

Layers of ink - Autumn Scrapbooking Layout Tutorial by Anna-Karin Evaldsson.

The sentiment was stamped with Sherbet ink using Tim Holtz Worn Text and the line of dots come from Simon Says Stamp Mix and Match Circles.

Layers of ink - Autumn Scrapbooking Layout Tutorial by Anna-Karin Evaldsson.

The splatters add to the sense of falling leaves.

I hope you will join us this week in our Fall Moodboard challenge. You have a chance to win a $25 gift voucher to do some fun shopping at Simon Says Stamp. You have until Monday 8am Ohio time. 1pm UK time, 2 pm CET to join in.


Do you use Instagram? If so please add #sssmchallenge so we can see your entries there too.


Thank you so much for stopping by here today! 

Happy crafting!

Anna-Karin

Supplies:

* Please note: the links are affiliate links, for which I receive a small percentage of sales generated by the link, at no extra cost to you.