Showing posts with label Distress Spray Stain. Show all posts

Monday, August 31, 2026

Petal Tipped Card

Hello friends! A couple of days ago, the weather changed and I can now feel autumn in the air. I hope you had a good weekend. Lots of much needed rain fell here. It is the last day of August, which also means that STAMPtember® starts tomorrow at Simon Says Stamp. The best stamping month of the year.

Please note: this post has affiliate links, for which I receive a small percentage of sales generated by the link, at no extra cost to you.


It is Monday again and this week we have a Get in Shape theme at the Simon Says Stamp Monday Challenge Blog. Use any shape but squares. Fun! Don't miss the last project by our August guest designer Cassie Lynch.

Layers of ink - Petal Tipped Card Tutorial by Anna-Karin Evaldsson.

I made a petal tipped card for this week, with fun textures and shimmer. Shaped cards are fun to make! The cardbase and front were die cut with the Simon Says Stamp Petal-Tipped Labels set. I used an embossing folder to great the pattern with the small flowers.

Dry emboss Simon Says Stamp Flower Puff.

Apply embossing ink to Simon Says Stamp Flower Puff embossing folder. Emboss watercolor paper. Sprinkle white embossing powder on top and return the excess to the jar. Emboss.

Ink and mist the background.

Smear Wilted Violet and Salty Ocean on a non-stick craft sheet and mist with water. Press the paper into the ink. Then mist Salty Ocean Distress Spray Stain in a few places and Picked Raspberry Distress Spritz for shine.

Die cut with Simon Says Stamp Petal Tipped Labels.

Die cut with Simon Says Stamp Petal-Tipped Labels. Fold the cardbase and place the edge of the die just outside the folded edge. 


The second panel was die cut from left-over watercolor paper and misted slightly using the same inks.

Die cut butterflies.

Die cut Simon Says Stamp Bright Butterflies from inky or watercolored paper. Die cut the bodies from the Flourish Butterfly Trio from purple glitter cardstock.

The cardbase.

The open card looks like this. I will stamp or write a sentiment when I have a recipient for this card. The base is die cut from Simon Says Stamp Mint cardstock.

Glue butterflies to background.

Fold the wings of the butterflies and glue to the background.


I also added some Simon Says Stamp Pawsitively Dazzling Prism Gems. The Prism gems partly take on the colors of the project, depending on the light.


The background is shimmery, but you can't see all the shimmer in the photos.

Die cut sentiment from Simon Says Stamp Paper Cut Words.

Die cut hello from Simon Says Stamp Paper Cut Words Vol. 1, from blue glitter cardstock and from watercolored cardstock. I misted the latter with a little Picked Raspberry Distress Spritz. The sentiment was stamped on the same paper as the butterflies were die cut from, using Simon Says Stamp A Little Artsy and Prize Ribbon Archival Ink.

Layers of ink - Petal Tipped Card Tutorial by Anna-Karin Evaldsson.

A shaped card is a fun surprise for the recipient.


Join us this week in our Get in Shape challenge! You have a chance to win a $25 gift voucher to do some fun shopping at Simon Says Stamp. You have until Monday 8am Ohio time. 1pm UK time, 2 pm CET to join in.


Do you use Instagram? If so please add #sssmchallenge so we can see your entries there too.


Thank you so much for visiting today! 

Happy crafting!

Anna-Karin

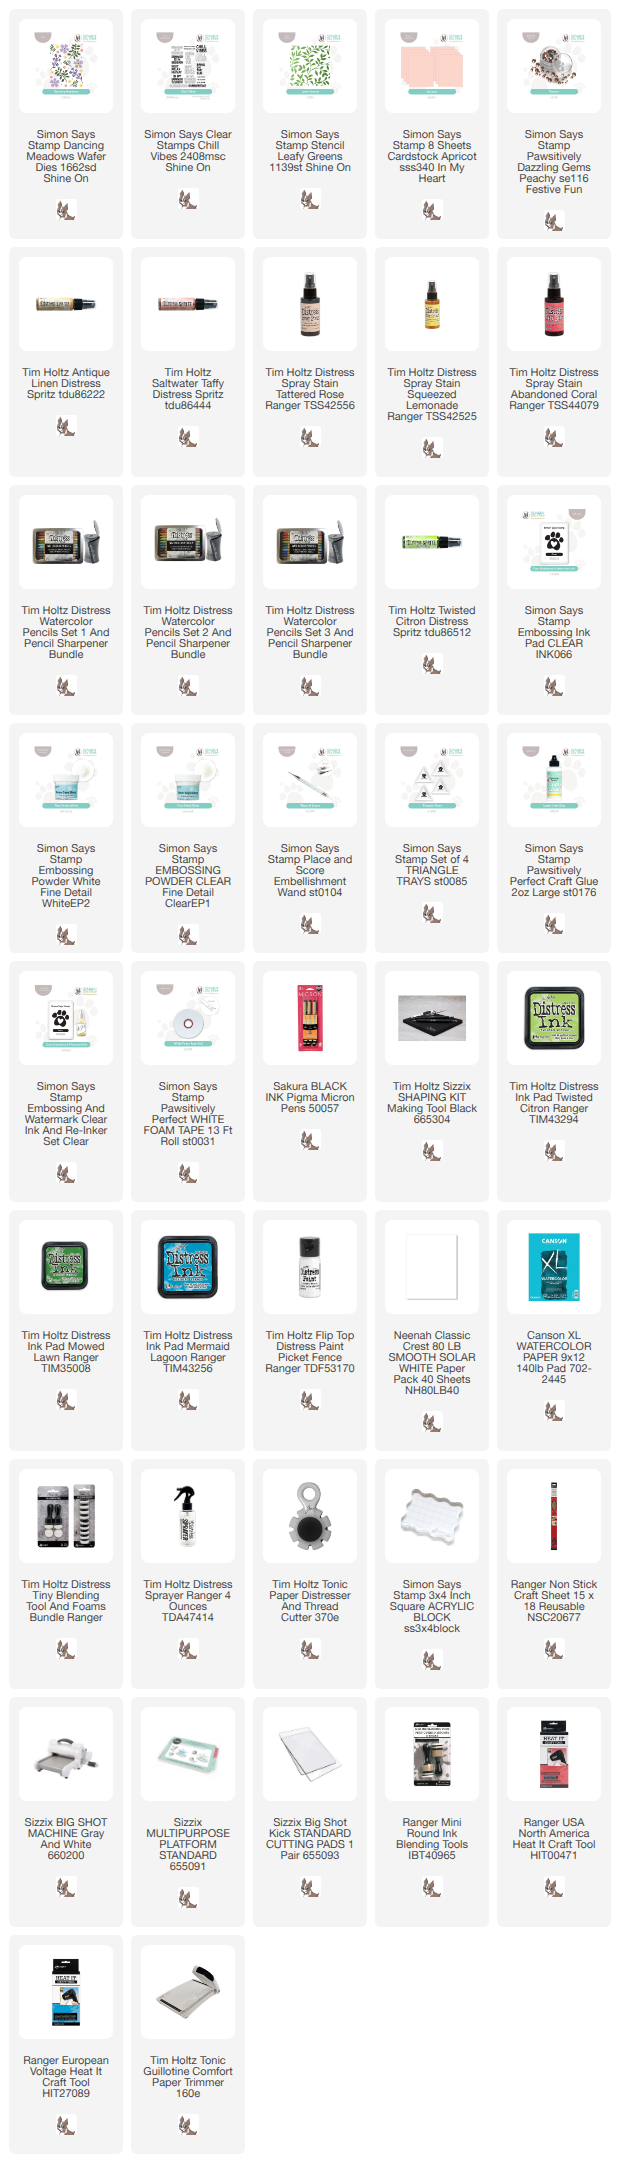
Supplies:

* Please note: the links are affiliate links, for which I receive a small percentage of sales generated by the link, at no extra cost to you.


Monday, June 29, 2026

Shimmer Star Tag Tutorial

Hi friends! I hope you had a good weekend! Here is is a little too warm for my taste. But the evenings are very nice.

Please note: this post has affiliate links, for which I receive a small percentage of sales generated by the link, at no extra cost to you.


This week we have a Stars and/or Stripes theme at the Simon Says Stamp Monday Challenge BlogDon't miss the last project by our June guest designer Ann Chuang.

Layers of ink - Shimmer Star Tag Tutorial by Anna-Karin Evaldsson.

I made a tag with a star background, a large 'star' sentiment and small sequin stars. The background shimmers, which the photos don't give justice to. I had fun adding some buttons and a bunch of stamped sentiments. 

Dry emboss Simon Says Stamp Crystal Stars.

I used the stunning Simon Says Stamp Crystal Stars embossing folder. Ink the folder with embossing ink. Emboss a watercolor tag and then sprinkle white embossing powder all over. Remove the excess and melt. Always be careful when melting embossing powder and do not touch the melted powder until it has cooled down completely.

Mist with various mists.

Mist the tag with Distress Spray Stains and Saltwater Taffy Distress Spritz. The embossing will resist the ink.

Die cut Tim Holtz Alphanumeric Bulletin.

The letters were die cut with Tim Holtz Sizzix Alphanumeric Bulletin, from Simon Says Stamp holographic cardstock and from a piece of watercolor paper that I had painted with watercolors and covered with plastic wrap.

Die cut Tim Holtz Handwritten Journey.

Die cut the second sentiment with Tim Holtz Handwritten Journey, using the same two papers.

Stitch buttons.

I stitched matching buttons to the tag with blue DMC floss.

Add Simon Says Stamp North Star embellishment.

The stars are Simon Says Stamp North Star embellishments. The sentiments is a part of a sentiment stamp from Simon Says Stamp Plaque Slides Love and Friendship. 

Assemble the letters.

Glue the letters to the tag and add the silver frames. I also stapled a ribbon to the tag, as a base for the letters. I really like these large letters.


Off set the handwritten word a little, with the holographic word at the top.


The rest of the sentiments are from Simon Says Stamp Sunburst and Stay True stamp sets, and from Tim Holtz Tiny Text.


The stars are very shimmery and since the embossing powder did not give a complete cover, there is a lovely speckled texture in the white areas. 

Layers of ink - Shimmer Star Tag Tutorial by Anna-Karin Evaldsson.


Join us this week in our Stars and/or Stripes challenge! You have a chance to win a $25 gift voucher to do some fun shopping at Simon Says Stamp. You have until Monday 8am Ohio time. 1pm UK time, 2 pm CET to join in.


Do you use Instagram? If so please add #sssmchallenge so we can see your entries there too.


Thank you so much for visiting today! 

Happy crafting!

Anna-Karin

Supplies:

* Please note: the links are affiliate links, for which I receive a small percentage of sales generated by the link, at no extra cost to you.


Saturday, June 27, 2026

Forget-me-not card tutorial

Hello crafters! Today I am happy to share a card made with Simon Says Stamp brand new Shine On release.

Please note: this post has affiliate links, for which I receive a small percentage of sales generated by the link, at no extra cost to you.


The Shine On release is filled with a great variety of products, perfect for summer crafting. You can see them all here.

Layers of ink - Forget-me-not card tutorial by Anna-Karin Evaldsson.

I made a card today, of a summer meadow filled with forget-me-not flowers, greenery and three sparkly pink flowers. It was inspired by forget-me-nots that I photographed on a recent walk. All the flowers and greenery were die cut with a single die, the versatile Dancing Meadows. The background was done with a fun resist technique using the Simon Says Stamp Leafy Greens stencil. Sentiments were stamped with the Chill Vibes set.

Die cut Simon Says Stamp Dancing Meadow.

Start by die cutting a bunch of flowers and greenery with Simon Says Stamp Dancing Meadows, from watercolor paper.

Color with Distress Watercolor Pencils.

I colored most of them with Distress Watercolor Pencils (although not the yellow flowers that you see to the right). The small branches were made more textured than the rest.

Add a dot with a micron pen.

I added a dot to the center of each forget-me-not.

Mist with Distress Spray and Shimmer spray.

The small yellow flowers and the larger flowers were misted with a combination of Distress Spray Stain and Distress Spritz.

Mist with Distress Shimmer.

Mist the greenery a little too, with Distress Spritz for glimmer.

Shape the flowers.

Shape all the flowers with Tim Holtz Shaping Kit.

Ink with Distress Ink.

The background was done by first preparing watercolor paper with several layers of Distress Ink. Let dry in between layers.

Ink embossing ink through Simon Says Stamp Leafy Greens.

Apply embossing ink through Simon Says Stamp Leafy Greens. Sprinkle with clear embossing powder and melt with a heat tool. Always be careful when using a heat tool.

Sponge with white paint.

Apply white paint over the paper. When the paint is almost dry, wipe it off from the embossed areas and the leaves will appear. Repeat if you want a more opaque white.

Stamp with Simon Says Stamp Chill Vibes.

The sentiments were also heat embossed. This Simon Says Stamp Chill Vibes set is so cool. 'Summertime' was first stamped with the outline word and white embossed. Stamp the solid word and off-set slightly. Emboss with clear powder. The clear powder will give the Simon Says Stamp Apricot cardstock a darker shade of pink and thus look like a shadow. 


Mount on white cardstock and then adhere with Simon Says Stamp Pawsitively Perfect Foam Tape.


The background has a nice chalky look and the leaves have just the right amount of texture.


The shimmery pink flowers were layered with a yellow center and a Simon Says Stamp Pawsitively Dazzling Peachy Gem.

Add  Simon Says Stamp Pawsitively Dazzling Peach Gems.

The flowers are much more shimmery in real life than what they appear here.


Most of the meadow consists of forget-me-nots and greenery.


The second sentiment was first white embossed and then embossed with clear power, again off-setting slightly.


Don't aim for perfection when coloring the flowers. 

Layers of ink - Forget-me-not card tutorial by Anna-Karin Evaldsson.


Happy crafting!

Anna-Karin

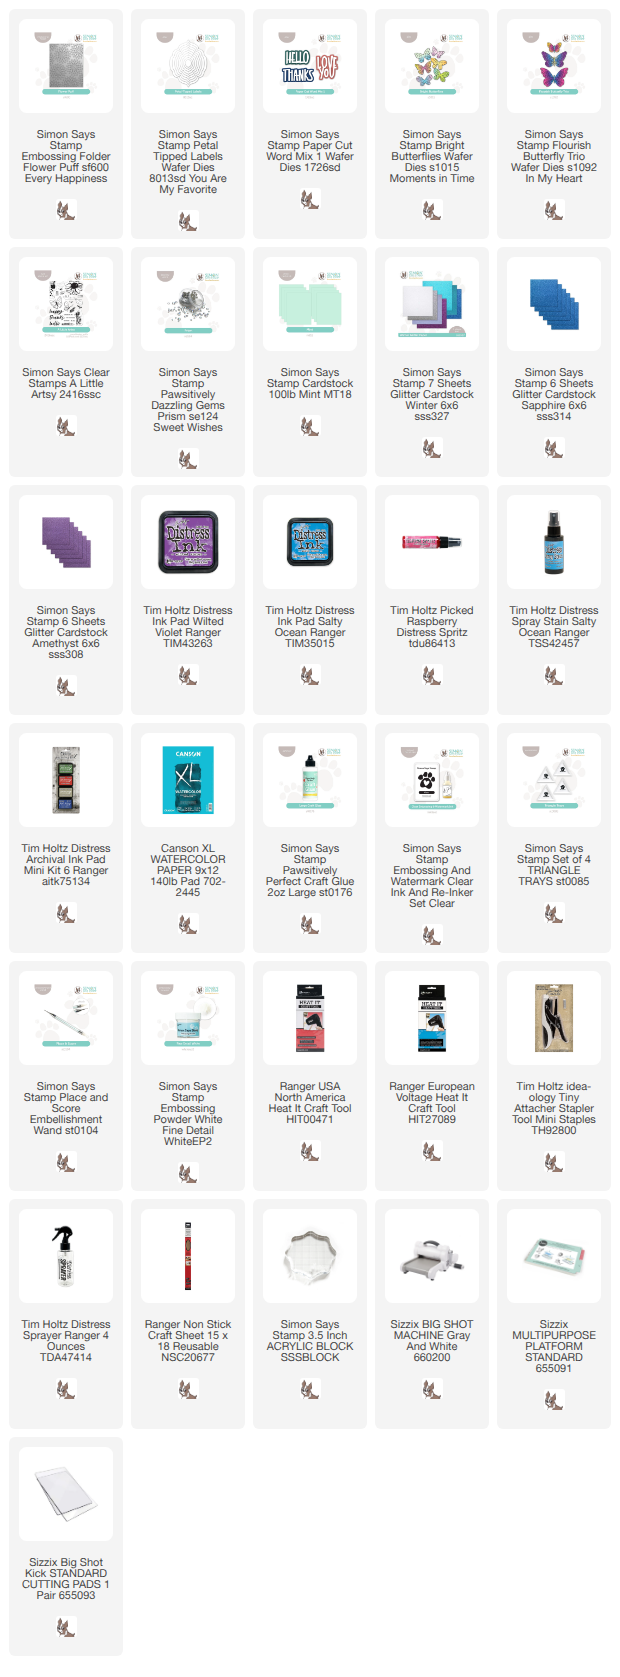
Supplies:

* Please note: the links are affiliate links, for which I receive a small percentage of sales generated by the link, at no extra cost to you.