Showing posts with label Distress Watercolor Pencils. Show all posts

Saturday, July 18, 2026

Embossed Gel Print

Hello crafters! Today I have an art journal page to share with a fun gel printing and dry embossing technique. 

Please note: this post has affiliate links, for which I receive a small percentage of sales generated by the link, at no extra cost to you.

Layers of ink - Embossed gel printed page tutorial by Anna-Karin Evaldsson.

I made a page in my Small Creative Journal, but you can also turn the design into a card. I had a gel printing session last week, printing mainly with dry embossed papers and today I used some of those printed papers. I particularly had fun dry embossing and then coloring one of the designs. 

Make the gel print.

This is the paper I started with. It was gel printed on Gelli Arts 5x7 Gel Printing Plate using a paper embossed in Simon Says Stamp Peony Trio embossing folder. The folder comes from the new Shine On release. The smaller flowers were printed with a paper embossed in Simon Says Stamp Star Lattice folder.

Make print with Simon Says Stamp Peony Trio.

I made four different prints using this dry embossed paper, as well as some other embossing folders. 

Emboss in Simon Says Stamp Peony Trio.

I planned to color directly on to the print, but then I looked at the embossing folder and thought it would be fun to dry emboss the design first. Line it up in the folder and emboss. This brings the design forward and adds interest.

Color with Distress Watercolor Pencils.

I colored with flowers with Distress Watercolor Pencils, picking the color up with a paint brush from the tip of the pencils.

Splatter.

Next. I splattered with Antique Linen and Scorched Timber pencils. Dipp the pencil in water and flick a paint brush against it. 

Splatter with white gouache.

I also splattered the page with Winsor & Newton Permanent White gouache. 

Stamp with Tim Holtz School Desk.

I added just a little bit of stamping with the alphabet stamp from Tim Holtz School Desk. 


Two of the sentiments were stamped on another gel printed paper with Simon Says Stamp Be Your Beautiful Self and die cut with the coordinating dies.

Stamp with Tim Holtz Tiny Text.

The third sentiment comes from Tim Holtz Tiny Text. I also added Simon Says Stamp Cottontail sequins. 


The gel printing is to some extent unpredictable, which adds interest to the flowers.

Stamp with Simon Says Stamp Be Your Beautiful Self.

The title was die cut with Tim Holtz Sizzix Vault World Travel from another piece of gel printed paper.


Leave some of the paper showing, for highlights.


Each flower looks different because of the printing.


The top flower was the faintest and the dry embossing helped to bring it out from the background.

Layers of ink - art journal spread.

I rounded the outer corners and adhered the page into my Small Creative Journal. You can find the tutorial for the page to the right here on the Simon Says Stamp store blog.


Happy crafting!

Anna-Karin

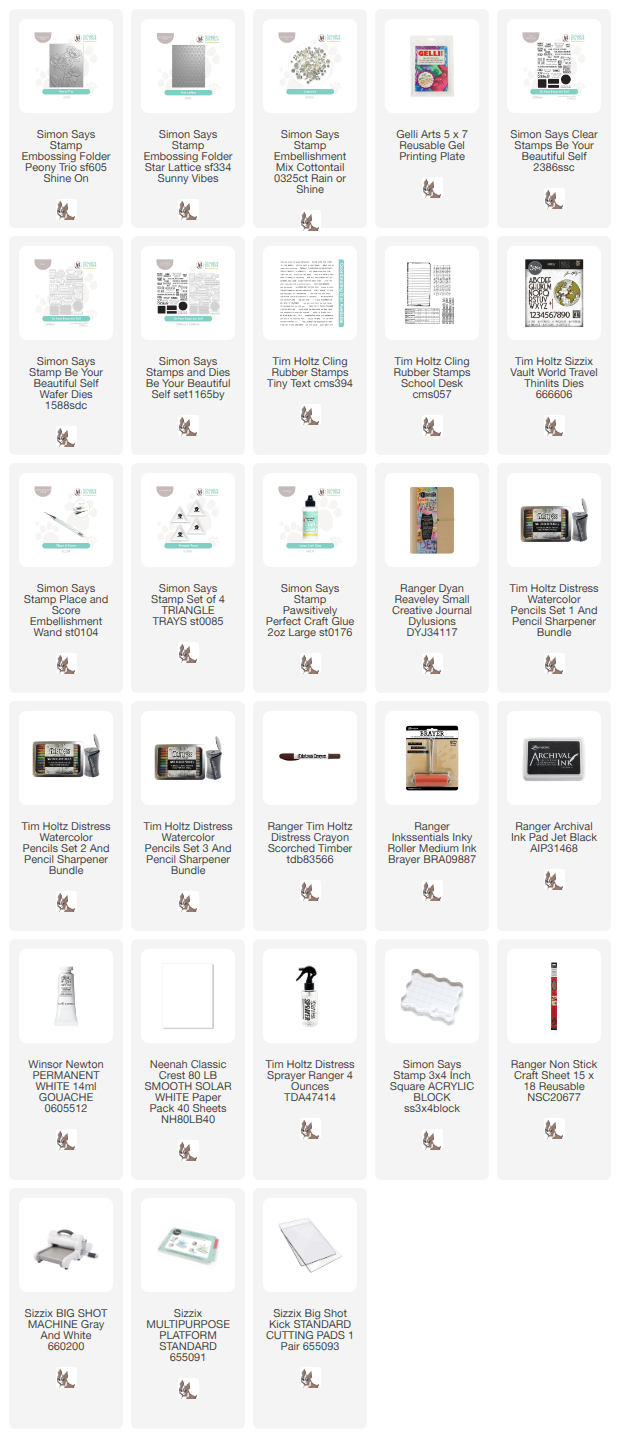
Supplies:

* Please note: the links are affiliate links, for which I receive a small percentage of sales generated by the link, at no extra cost to you.


Saturday, June 27, 2026

Forget-me-not card tutorial

Hello crafters! Today I am happy to share a card made with Simon Says Stamp brand new Shine On release.

Please note: this post has affiliate links, for which I receive a small percentage of sales generated by the link, at no extra cost to you.


The Shine On release is filled with a great variety of products, perfect for summer crafting. You can see them all here.

Layers of ink - Forget-me-not card tutorial by Anna-Karin Evaldsson.

I made a card today, of a summer meadow filled with forget-me-not flowers, greenery and three sparkly pink flowers. It was inspired by forget-me-nots that I photographed on a recent walk. All the flowers and greenery were die cut with a single die, the versatile Dancing Meadows. The background was done with a fun resist technique using the Simon Says Stamp Leafy Greens stencil. Sentiments were stamped with the Chill Vibes set.

Die cut Simon Says Stamp Dancing Meadow.

Start by die cutting a bunch of flowers and greenery with Simon Says Stamp Dancing Meadows, from watercolor paper.

Color with Distress Watercolor Pencils.

I colored most of them with Distress Watercolor Pencils (although not the yellow flowers that you see to the right). The small branches were made more textured than the rest.

Add a dot with a micron pen.

I added a dot to the center of each forget-me-not.

Mist with Distress Spray and Shimmer spray.

The small yellow flowers and the larger flowers were misted with a combination of Distress Spray Stain and Distress Spritz.

Mist with Distress Shimmer.

Mist the greenery a little too, with Distress Spritz for glimmer.

Shape the flowers.

Shape all the flowers with Tim Holtz Shaping Kit.

Ink with Distress Ink.

The background was done by first preparing watercolor paper with several layers of Distress Ink. Let dry in between layers.

Ink embossing ink through Simon Says Stamp Leafy Greens.

Apply embossing ink through Simon Says Stamp Leafy Greens. Sprinkle with clear embossing powder and melt with a heat tool. Always be careful when using a heat tool.

Sponge with white paint.

Apply white paint over the paper. When the paint is almost dry, wipe it off from the embossed areas and the leaves will appear. Repeat if you want a more opaque white.

Stamp with Simon Says Stamp Chill Vibes.

The sentiments were also heat embossed. This Simon Says Stamp Chill Vibes set is so cool. 'Summertime' was first stamped with the outline word and white embossed. Stamp the solid word and off-set slightly. Emboss with clear powder. The clear powder will give the Simon Says Stamp Apricot cardstock a darker shade of pink and thus look like a shadow. 


Mount on white cardstock and then adhere with Simon Says Stamp Pawsitively Perfect Foam Tape.


The background has a nice chalky look and the leaves have just the right amount of texture.


The shimmery pink flowers were layered with a yellow center and a Simon Says Stamp Pawsitively Dazzling Peachy Gem.

Add  Simon Says Stamp Pawsitively Dazzling Peach Gems.

The flowers are much more shimmery in real life than what they appear here.


Most of the meadow consists of forget-me-nots and greenery.


The second sentiment was first white embossed and then embossed with clear power, again off-setting slightly.


Don't aim for perfection when coloring the flowers. 

Layers of ink - Forget-me-not card tutorial by Anna-Karin Evaldsson.


Happy crafting!

Anna-Karin

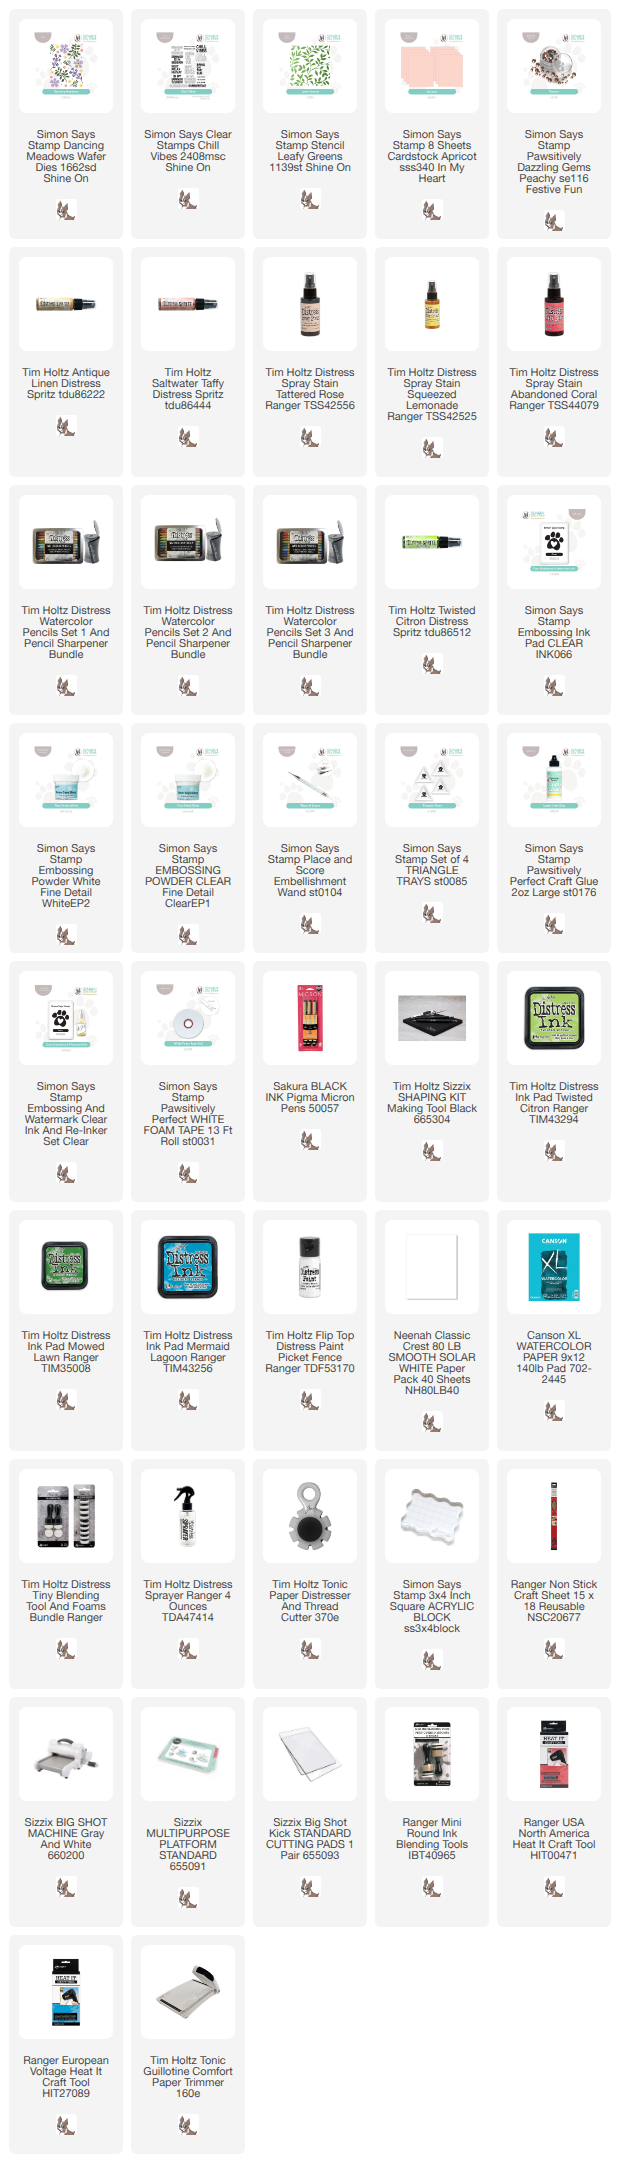
Supplies:

* Please note: the links are affiliate links, for which I receive a small percentage of sales generated by the link, at no extra cost to you.


Saturday, March 21, 2026

Simon Says Stamp In My Heart Blog Hop

Hello and welcome to my blog! I am so happy to take part in the Simon Says Stamp Blog Hop to celebrate the new In My Heart release. If you are following along in the hop, you should have come here from the wonderful Sandi MacIver.

Please note: this post has affiliate links, for which I receive a small percentage of sales generated by the link, at no extra cost to you.

Simon Says Stamp In My Heart.

The Simon Says Stamp In My Heart release is filled with of a great variety of new and versatile stamps, embossing folders, stencils, dies, ink and sequins, perfect spring-time, Easter and Mother's Day crafting. You can find the entire In My Heart release here.

Simon Says Stamp In My Heart.

The not-yet-released Simon Says Stamp Exclusive Beautiful Day 3x4 stamp is automatically added to your cart that contains any purchase from the exclusive In My Heart collection! This gift with purchase will expire 3/22 at 11:59 pm EDT or while supplies last.

 
Layers of ink - Everlasting Flowers Tag Tutorial by Anna-Karin Evaldsson.

I made a spring-time tag with an embossed floral background. I wanted most of the background to be visible, and just added two sentiments and a few ribbons. I used the new Simon Says Stamp Everlasting Flowers embossing folder for the background, the Bereavement Thank Yous and Getting Old sets for the sentiments and the Little Bows for the ribbons.

Emboss Simon Says Stamp Everlasting Flowers.

Start by applying Distress Ink directly to the Simon Says Stamp Everlasting Flower folder. Then mist the folder with water. Cut a tag from watercolor paper, mist the back with water and emboss. 

Color with Distress Watercolor Pencils.

When dry, watercolor the flowers with Distress Watercolor Pencils. I used a paint brush to pick the pigment up from the tips of the pencils.


Do the same with the stems. You can leave the background like this, if you want to.

Splatter with Distress Watercolor Pencils.

I wanted more texture and splattered the entire tag heavily with the pencils. Dip the pencil in water and flick a paint brush against it. 

Mist with a little Distress Spritz.

Next, I added a little shimmer, by misting with Antique Linen Distress Spritz at the bottom and in a couple of places and splattering with Tumbled Glass.

Stamp sentiment with Simon Says Stamp Bereavement Thank You.

The banner from Simon Says Stamp Getting Old was stamped on left-over inky paper. Stamp a sentiment from Bereavement Thank Yous in the middle. 

Die cut Simon Says Stamp Little Bows.


Distress the edges of the tag. Glue the bows to the background and add a Simon Says Stamp Pawsitively Dazzling Peachy Gem to the center. 


I stamped another sentiment from the Simon Says Stamp Bereavement Thank Yous on left-over inky paper, but didn't use the entire sentiment, just the first part.


Here you can see the shimmer from the Distress Spritz better.


The Everlasting Flowers are so cute. I also made one version with only yellow flower, but tested something after that which didn't quite work out.


Fold the banner and staple to the tag with two ribbons underneath it. 


Antique Linen adds a nice shimmer, without adding much color.

Layers of ink - Everlasting Flowers Tag Tutorial by Anna-Karin Evaldsson.

Thank you for stopping by here today, next stop is is my friend Lorraine Aquilina.

Don't miss all the inspiration along the hop! There are of course prizes to be won too, and at each stop on the hop Simon Says Stamp is giving away a $25 coupon, randomly drawn from those who leave a comment. The winners will be posted post on the Simon Says Stamp store blog on 25 March.

Here are all the stops along the hop:

Anna-Karin Evaldsson (you are here)

For more inspiration, remember to check out the In My Heart gallery at Simon Says Stamp, and if you make something with products from the range, it is fun if you post it in the galleries too. There are galleries for all releases, and for the card kits, full of inspiration.

This is the second In My Heart blog hop, don't miss blog hop number day number 1, which was yesterday.


Thank you so much for stopping by here today! 


Anna-Karin

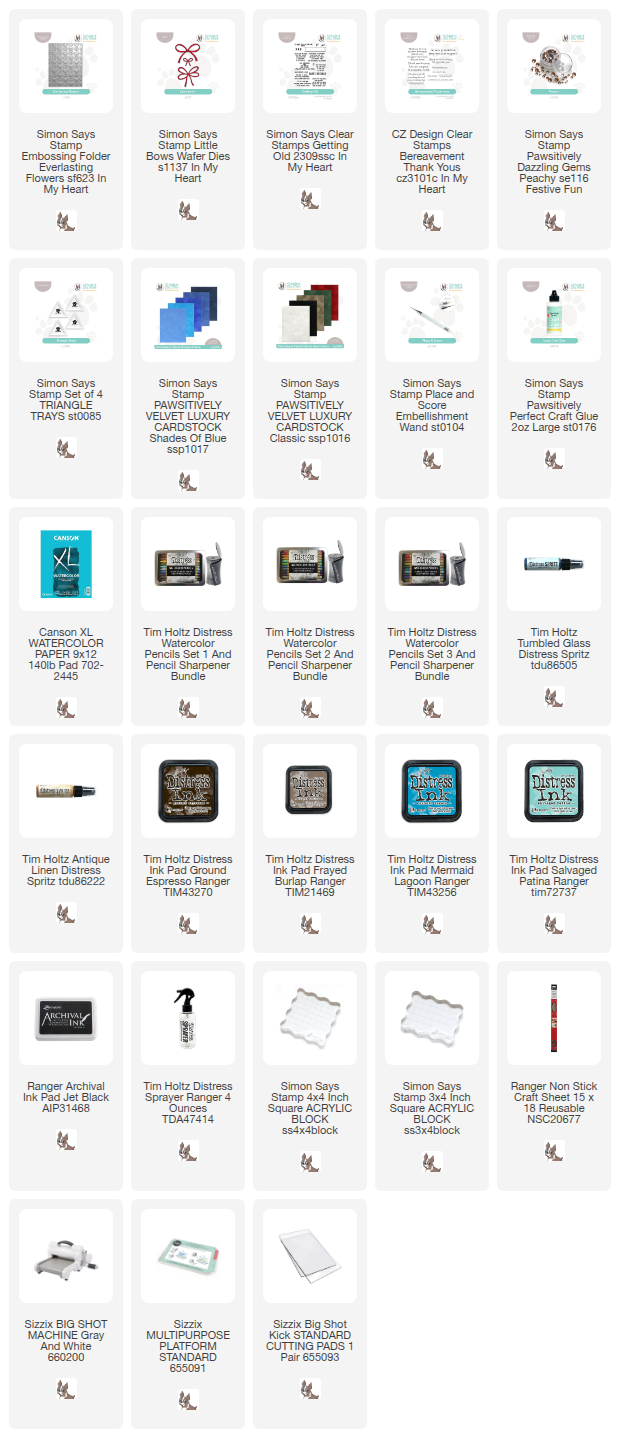
Supplies:

* Please note: the links are affiliate links, for which I receive a small percentage of sales generated by the link, at no extra cost to you.